Smart Scheduling
Updated
Smart Scheduling intelligently picks out the best time to publish based on the time of the day and selected account. In this article we will cover what smart scheduling is and how you can leverage it while publishing from Sprinklr.
What is Smart Scheduling?
Smart Scheduling decides what time of the day you should schedule your post to receive maximum engagement per post — which is different for each social account and varies by the time of day you’re scheduling
Smart Scheduling will always choose the most optimal time for each post:
Eliminate the guesswork in social scheduling: Use Smart Scheduling to share your posts at the highest traffic times for each social account
No more busy work or manual scheduling: Let Sprinklr AI worry about getting your posts out at the right time!
Using Smart Scheduler you can select a date and get multiple recommended time slots on that date. You can also take into consideration your already scheduled posts to ensure gaps between posts.
This feature is available to all users by default. However, you can remove permission for a user, as it is Permission-controlled. Smart Scheduling is available for the following Social channels -
Facebook
Instagram
Twitter
LinkedIn
How Smart Scheduling Works?
Smart Scheduling takes 30 days of data for every account.
It considers all posts made by the account. As of now, the smart scheduler runs every day to compute the best time for each account.
AI-based Smart Scheduling calculates a score for every hour of the day based on 5 engagement metrics - Share, Comment, Like, Impression, and Fan Count (Hourly online Fan Count only available for Facebook and Instagram). Then, put them in order to find the best time in the next 7 days.
If for your account there is no data available in Sprinklr then the score will be zero. In such cases, it shows insufficient data for Smart Scheduling. As posting happens through the account, the smart scheduler starts predicting the best time.
Steps to Smart Schedule a Post in the Publisher
After creating the post in Quick Publisher, Click the Schedule Post in the bottom left corner to schedule your post for a future date and time. To know more check out Create a post using Quick publisher.
Check the Smart Scheduling box at the bottom of the Scheduler box.
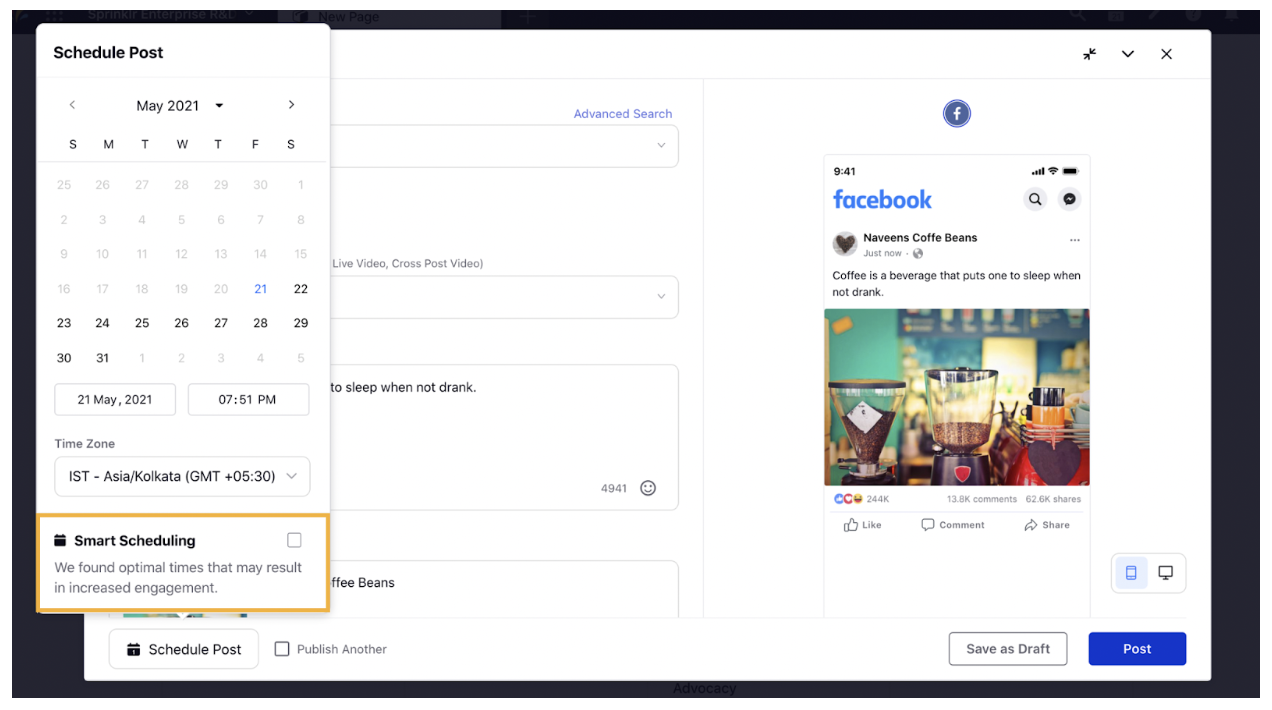
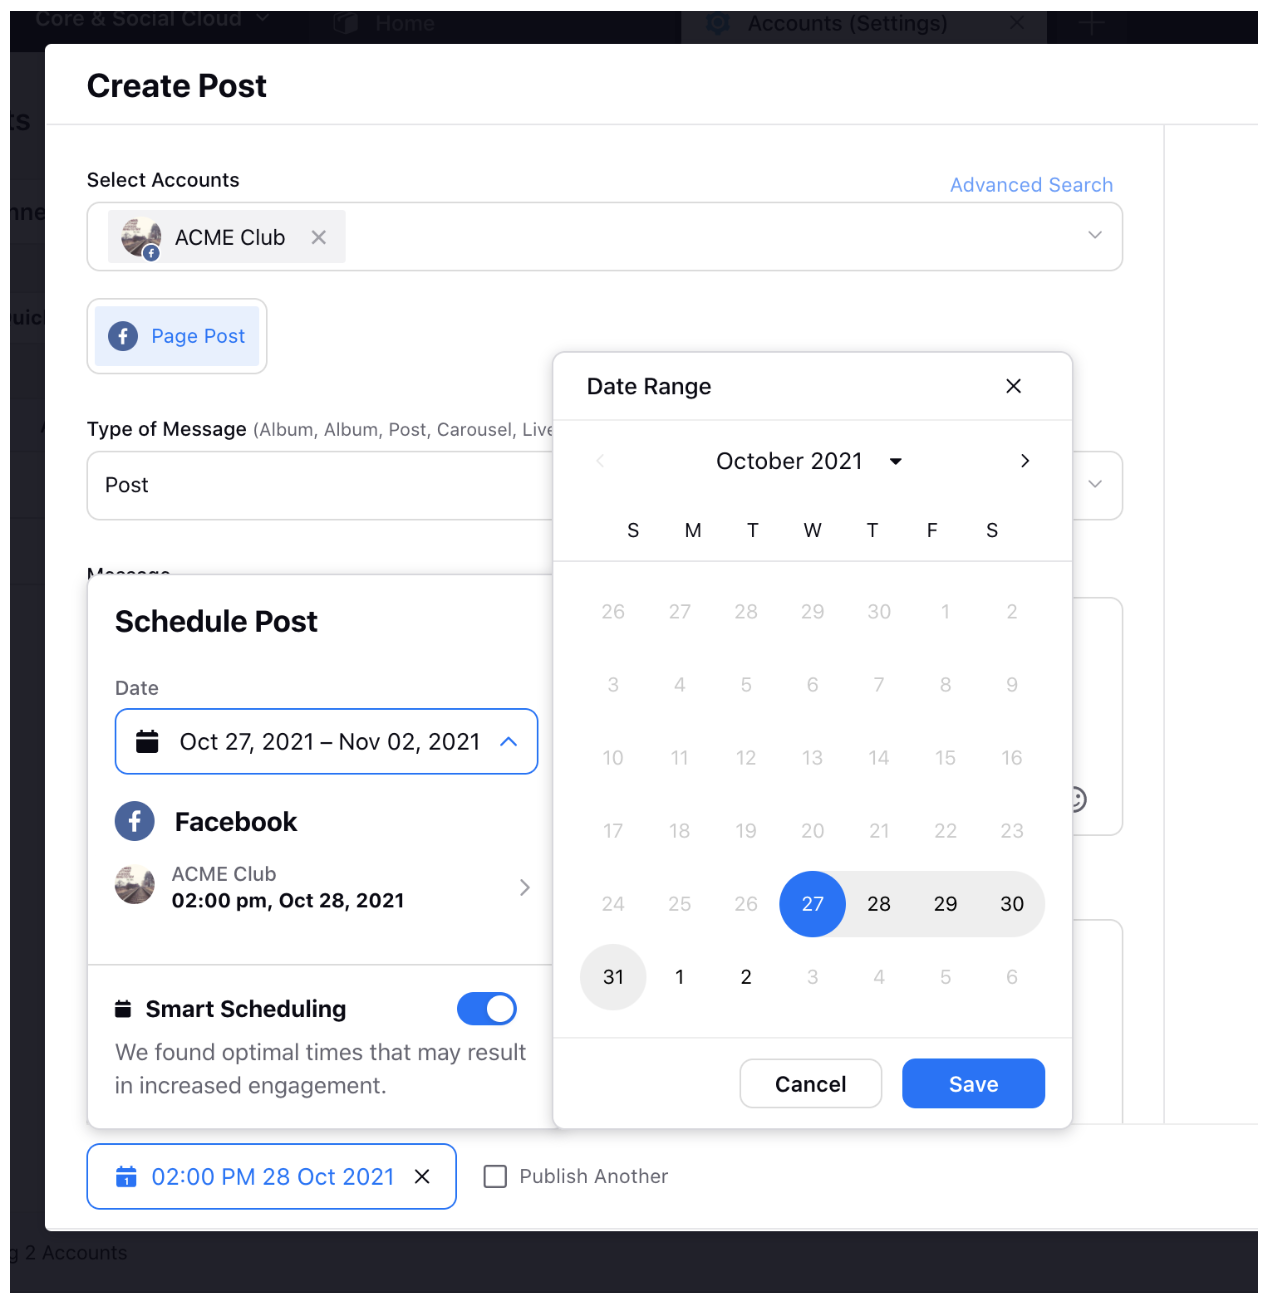
Select the date range. When you check the Smart Scheduling box, the Date Picker selects the next 7 days by default. However, you can change the date range and select the date range of your preference(not exceeding 7 days).
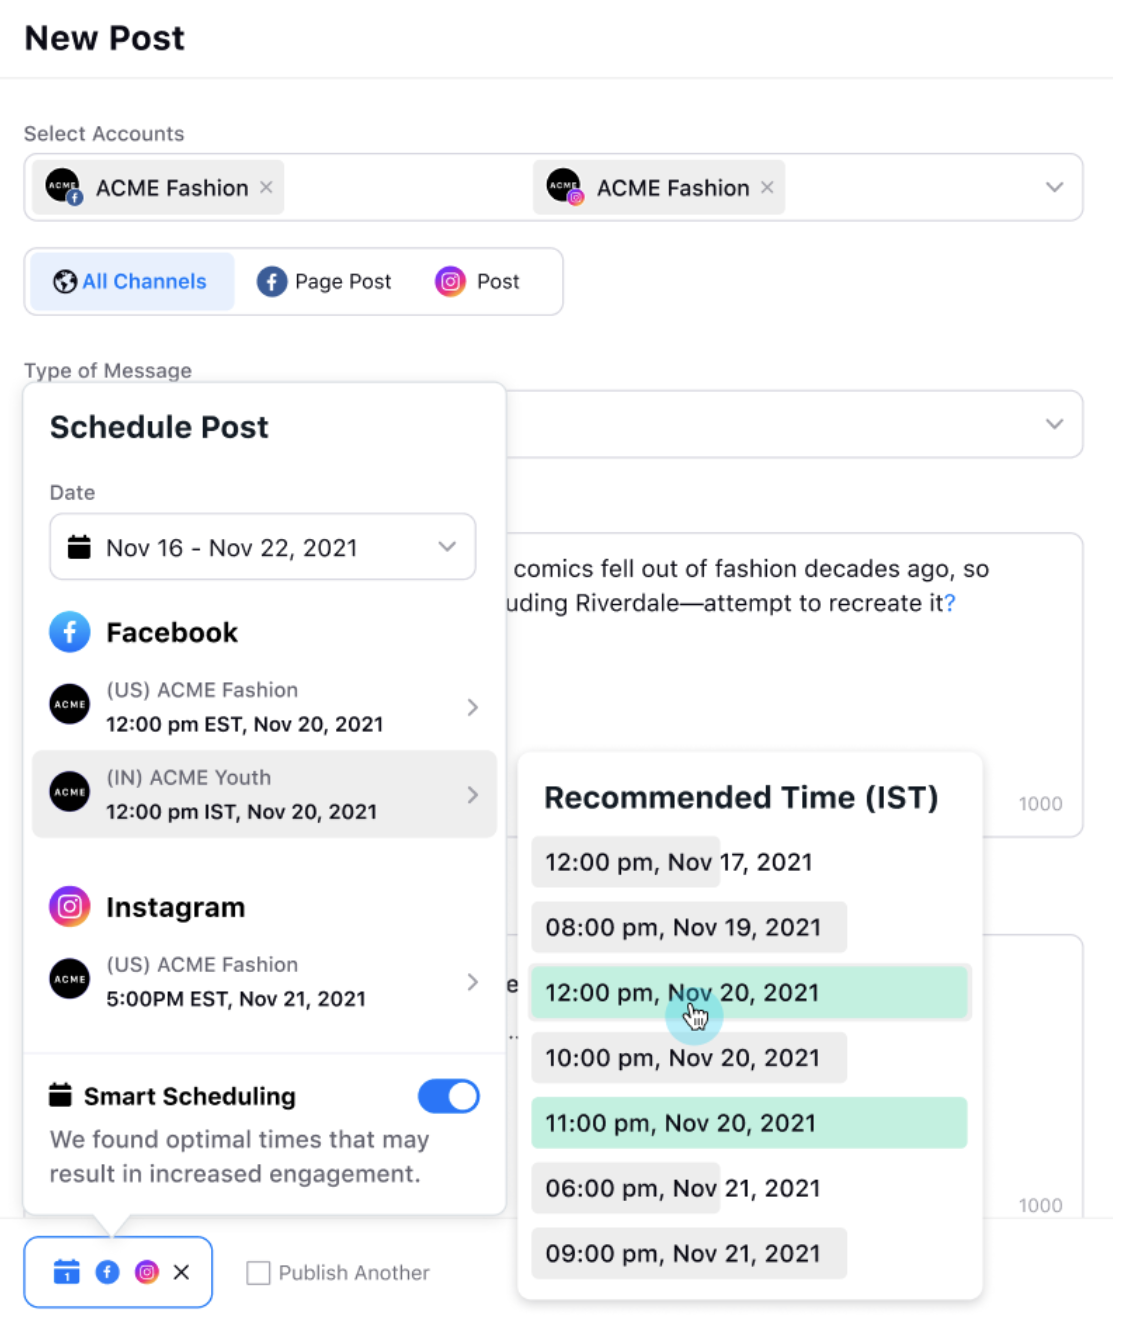
Select from the suggested time-frame: A time-frame will automatically be selected. Click the existing time frame. The pop-up box will show the best suitable time frames for publishing the post. The most suitable time frame will be highlighted in green, while the secondary time-frame suggestions will be highlighted in gray. Note: We consider previously scheduled posts and ensure a minimum of 1 hour gap between two posts. The length of the bar for the recommended time suggestions determine the preferability of the time frame.
Click Schedule in the bottom right corner of the Create Post window.
Reporting
You can get reporting for smart scheduled posts. Select Is Smart Scheduled Dimension when you select Outbound Message as the Data Source, while creating widgets for reporting