Account macros
Updated
You have the ability to create macros for the asset type Account. Additionally, you will be able to set/unset account properties in bulk in the account settings window using macros. This article covers steps to add and mange permissions for account macros.
To manage permissions for Account Macro
Click the New Tab icon
in your Sprinklr platform. Under the Platform Modules, click All Settings within Listen.
In the Platform Settings window, expand User Management from the left-side panel or center of the page.

In the User Management window, select Workspace Roles or Global Roles, depending on your requirement.
In the top right corner of the Roles (Settings) window, click Create Role.

In the Create Role window, under Role Permissions, search and select Apply Account Macro under Account within Setup, and click Create in the bottom right corner.

To Create an Account Macro
Click the New Tab icon
. Under the Platform Modules, select All Settings within Listen.
Expand General Settings from the left pane and then select Macros.
Click Create Macro in the top right corner of the Macros(Settings) window.
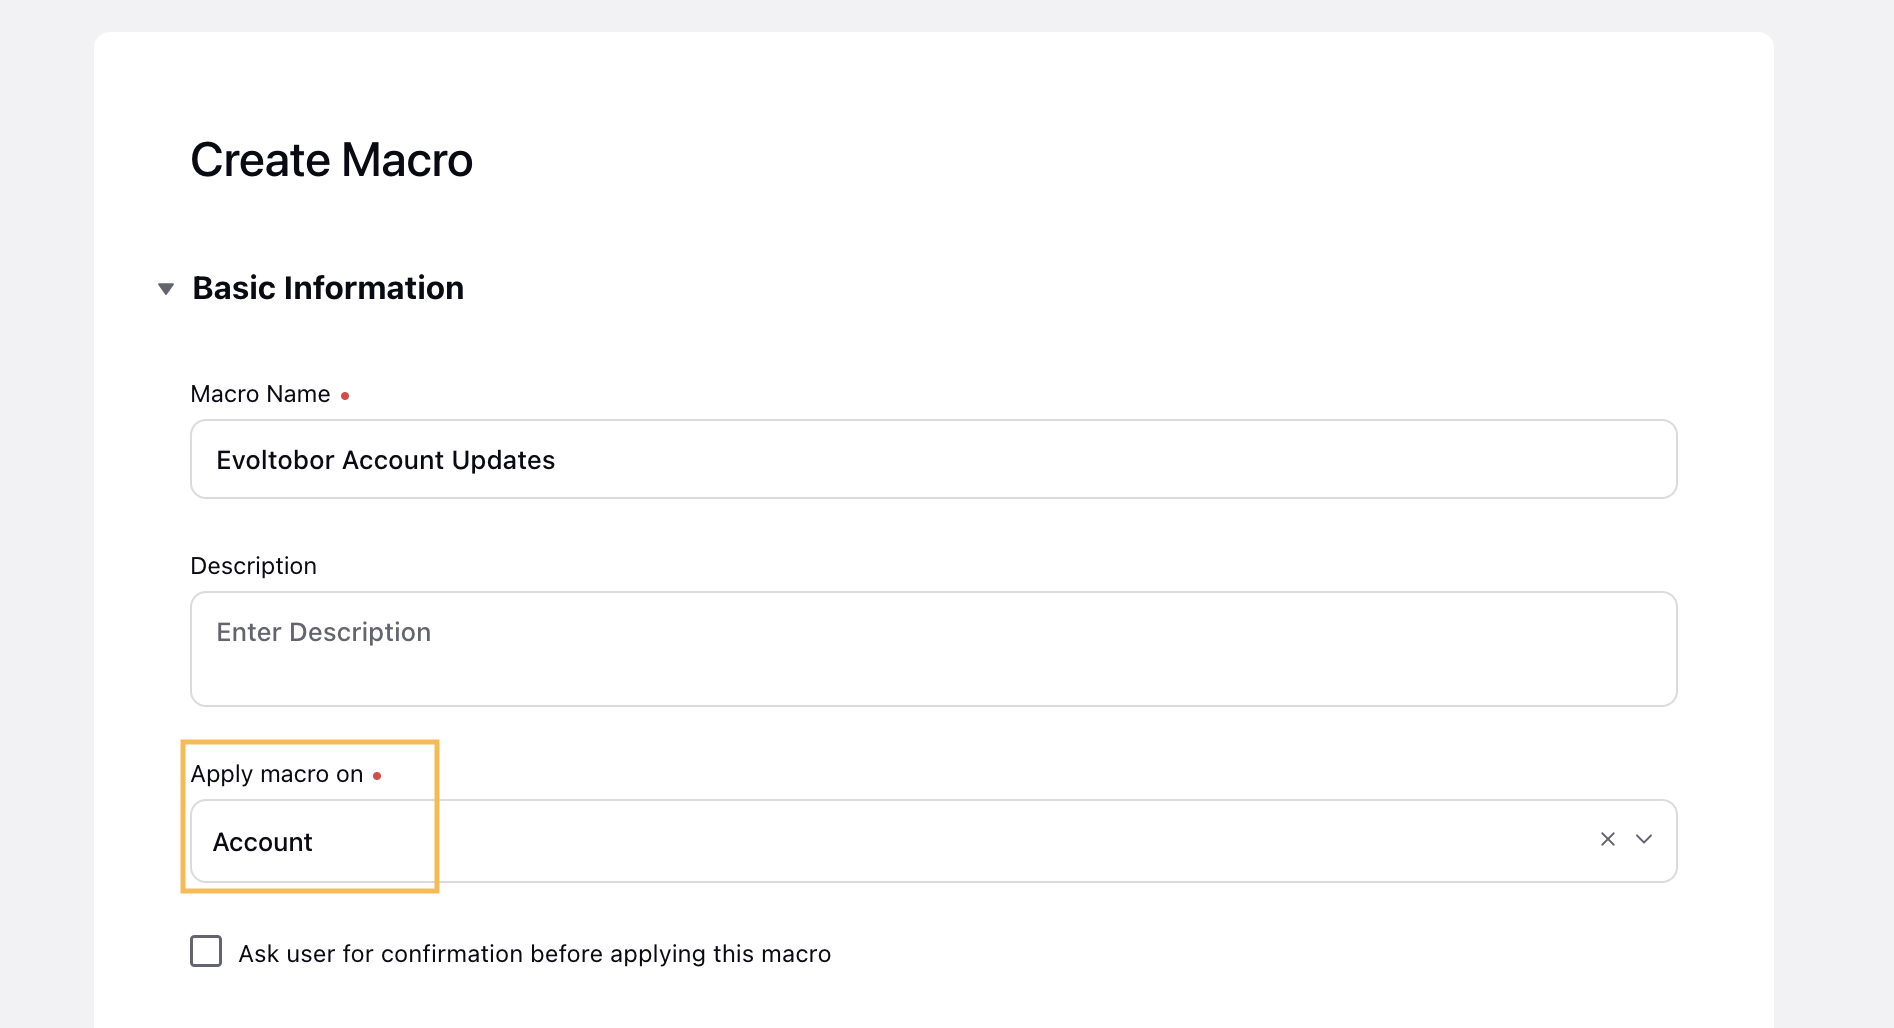
On the Create Macro window, fill in the required details. Make sure to select Account in the Apply macro on option. For more information, see Create a Macro.
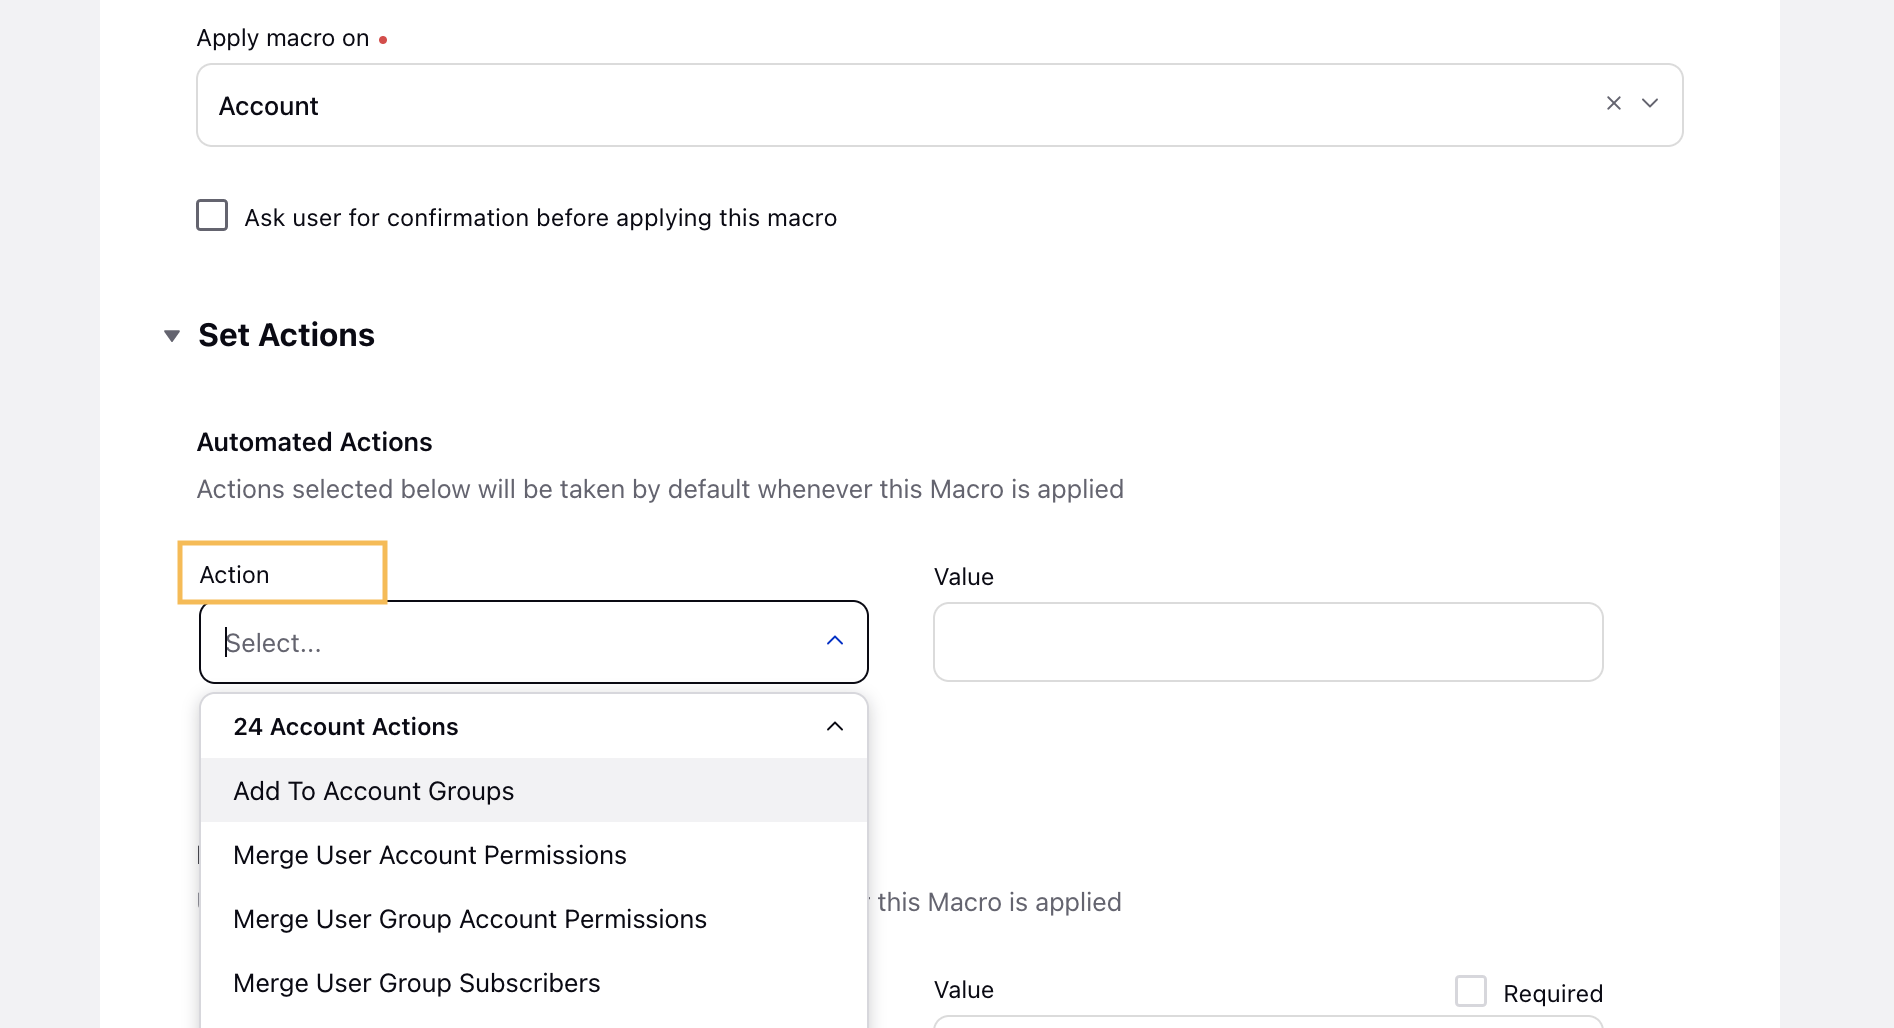
Under Set Actions, you will find account-specific actions available. For more information, see below Available Account Actions.
Click Save in the bottom right corner of the Create Macro window.
Available Account Actions
Add To Account Groups | Merge Workspace Visibility | Remove User Subscribers | Set User Group Account Permissions |
Merge User Account Permissions | Remove From Account Groups | Remove Workspace Group Visibility | Set User Group Subscribers |
Merge User Group Account Permissions | Remove Timezone | Remove Workspace Visibility | Set Workspace Group Visibility |
Merge User Group Subscribers | Remove User Account Permissions | Set Default URL Shortener | Update Account Owner |
Merge User Subscribers | Remove User Group Account Permissions | Set Timezone | Merge User Group Subscriber |
Merge Workspace Group Visibility | Remove User Group Subscribers | Set User Account Permissions | Set Workspace Visibility |
Steps To Apply Macros in Account (Settings) window
Click the New Tab icon
In the Account (Settings) window, check the box to the left side of the Account Name.
Next, click Apply Macro in the botttom center of the Account (Settings) window.
Next, select the create macro from the drop-down menu.