Configure Contests in Community
Updated
Permissions
Users must have the View and Manage Contests permission under Care Community to use this feature. 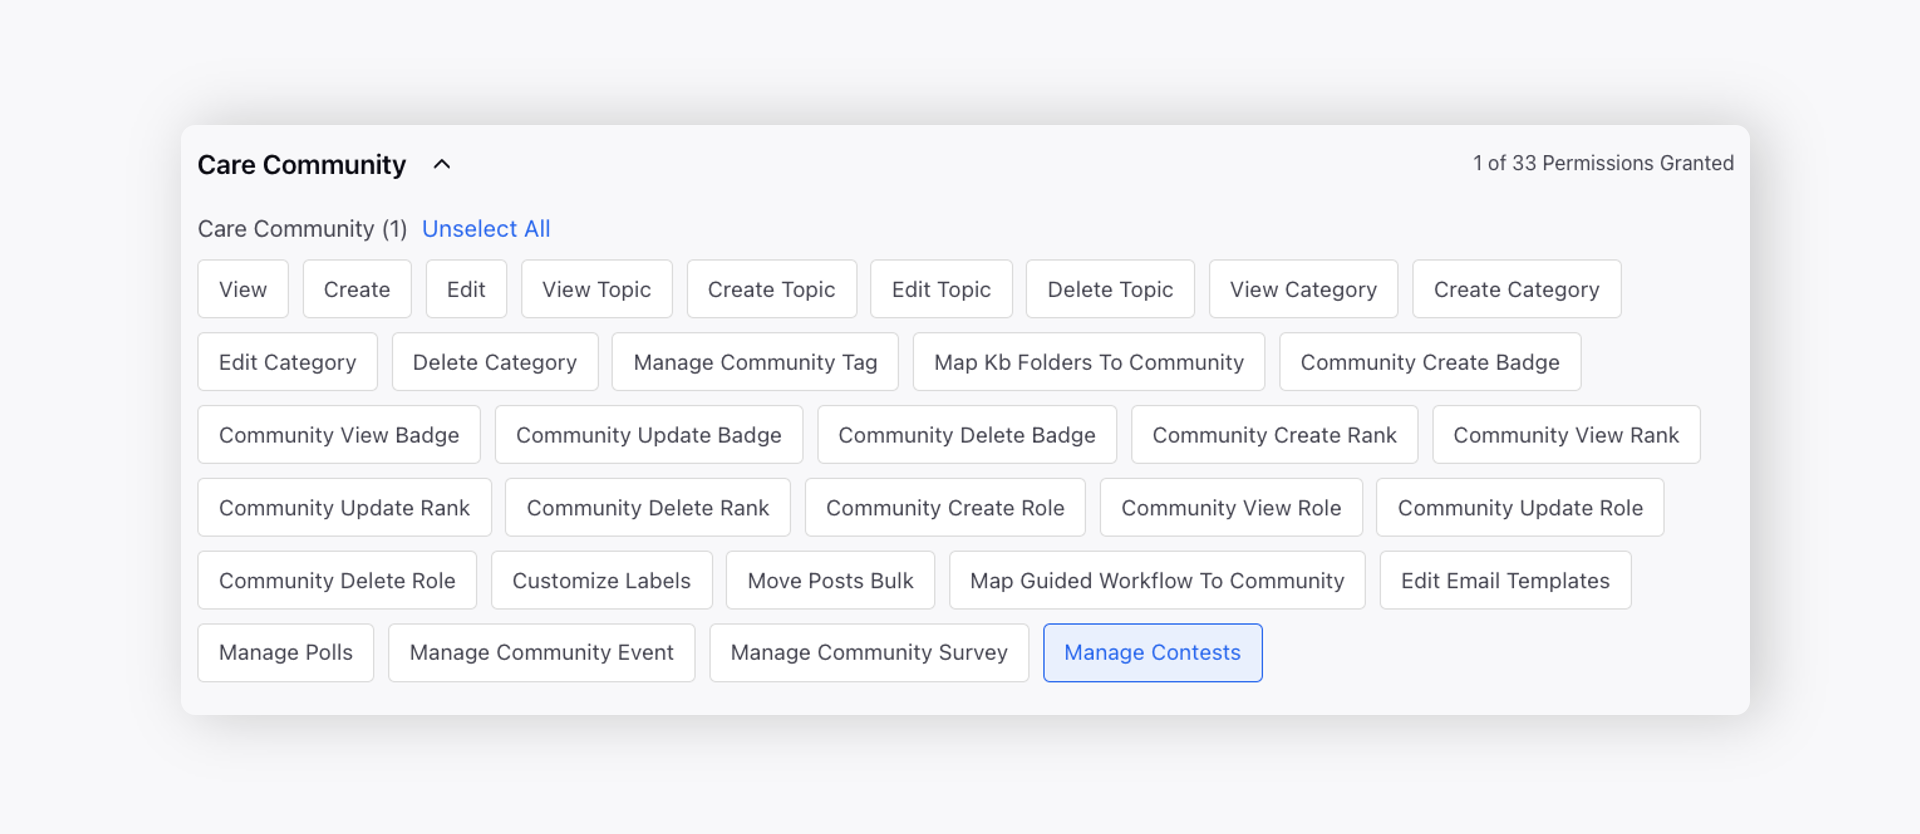
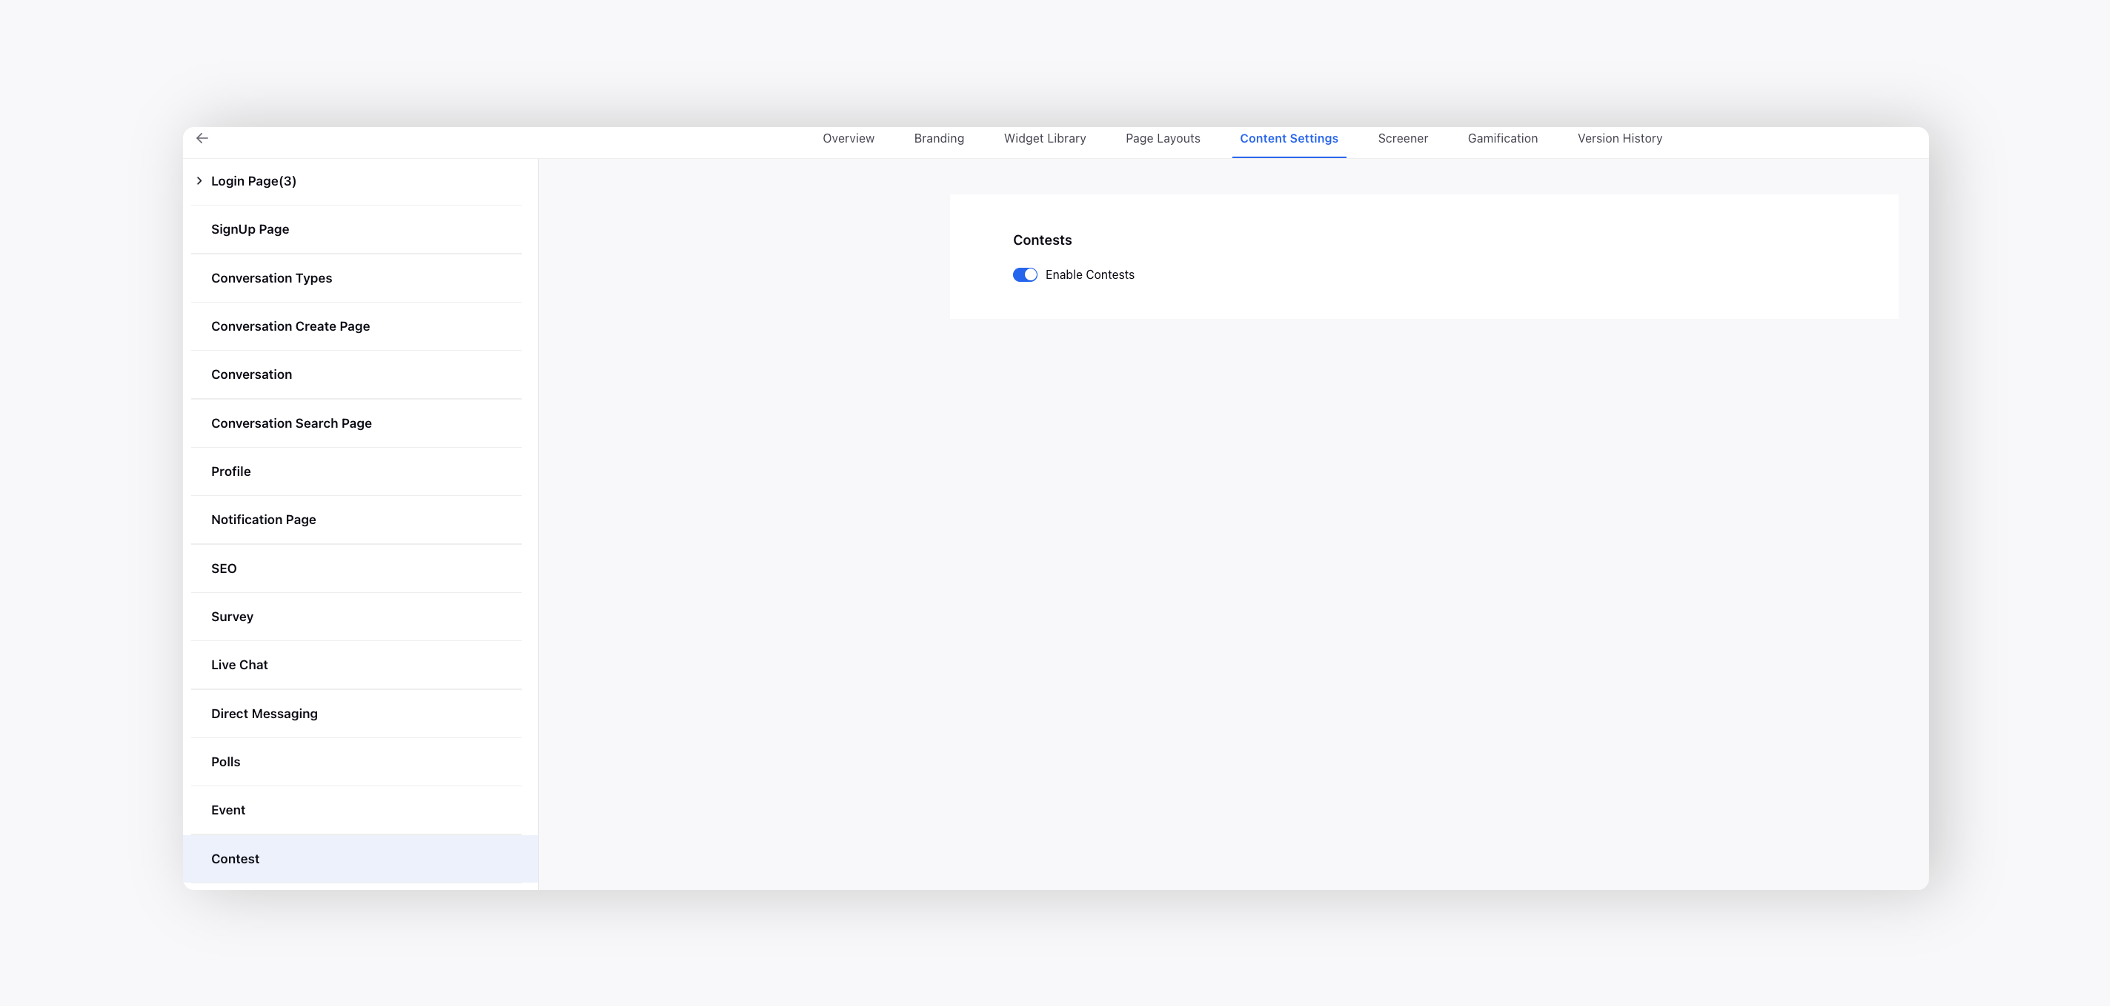
Within the Content Settings tab of the Community Builder, click the Contest tab on the left.
Slide the toggle to the right to Enable Contests which will allow permissioned community users to create and publish contests on the Community Forum.
Configuration Steps
Follow these steps to configure a Contest in your Community:
Navigate to Community Builder.

Click the vertical ellipsis (⋮) icon corresponding to the Community where you want to configure the Contest. This displays a list of available options.
Select Contests Management from the list to open the Community Contests page.
Select Create Contest in the upper right corner to open the Create Contest page.
Fill in the required fields in the Create Contest page. Fields marked with a red star are mandatory. Below are the descriptions of all the fields in this section:

Featured Image: Upload the primary image that represents the Contest.
Thumbnail Image: Upload the image to use as the Contest thumbnail in mobile devices.
Contest Title: Enter a clear and descriptive title for the Contest. (Required)
Contest Description: Enter a description that provides details about the Contest, such as its purpose, participation requirements, and other relevant information.

Terms and Conditions: Enter the terms and conditions that participants must follow when participating in the Contest.
Contest Type: Select the type of entries that participants can submit. (Required)
The following options are available:
Story Contest: Allows participants to include a description with their entry and add multiple images.
Image Contest: Allows participants to submit a single featured image without a description.

Category: Select the Community Category in which you want to organize the Contest.
Topic: Select the Topic under which you want to organize the Contest. (Required)
Tags: Select existing Community Tags or create new tags to help identify and organize the Contest.
Number of entry allowed per person: Enter the maximum number of entries that each participant can submit to the Contest.
Start date and end date: Select the start and end dates to define the duration of the Contest. Participants can submit entries during this period. (Required)
Winner announcement date: Select the date on which the Contest winner will be announced. This will be displayed on Contest details page. (Required)
 Note: Winner announcement date must be on or after the configured Contest end date.
Minimum characters length for Entry content: Enter the minimum number of characters that participants must include in the content of a Contest entry. (Required)
Maximum characters length for Entry content: Enter the maximum number of characters that participants must include in the content of a Contest entry. (Required)
Note: The Minimum and Maximum characters length for Entry content fields are available only for Story Contests.Advanced Configurations

Contest Voting Window: Enable this option to allow users to vote on Contest entries during a specified period. Configure the start and end dates to define when voting is available. This option is disabled by default.
Note: Contest Voting Window start date must be on or after the configured Contest end date and before the Winner announcement date.
Custom Fields: Enable this option to display additional information on the Contest page. Select the applicable Custom Fields and specify the values that you want to display in the Contest details. This option is disabled by default.
Hide featured images: Enable this option to hide featured images from Contest entries. This option is disabled by default.
Select Create in the bottom right corner. Once created, you can edit or delete a contest.
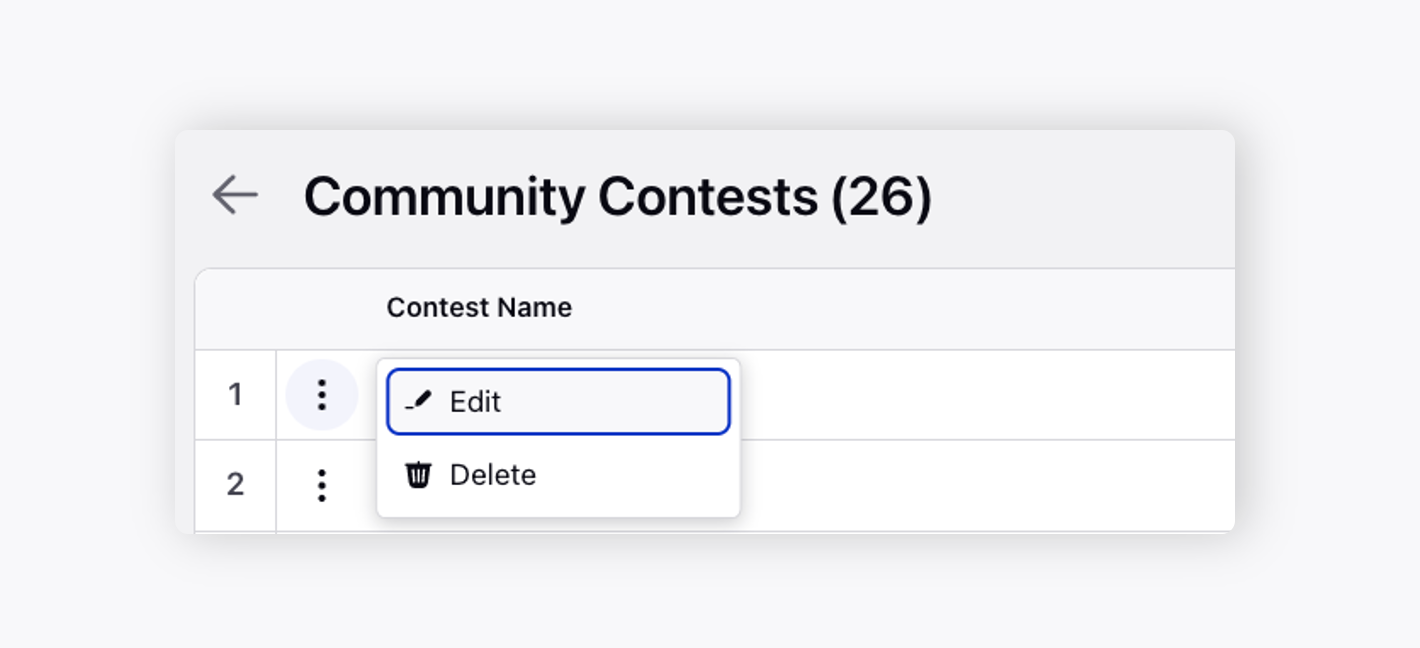
On editing, you can change the language from the top right to translate the contest into.
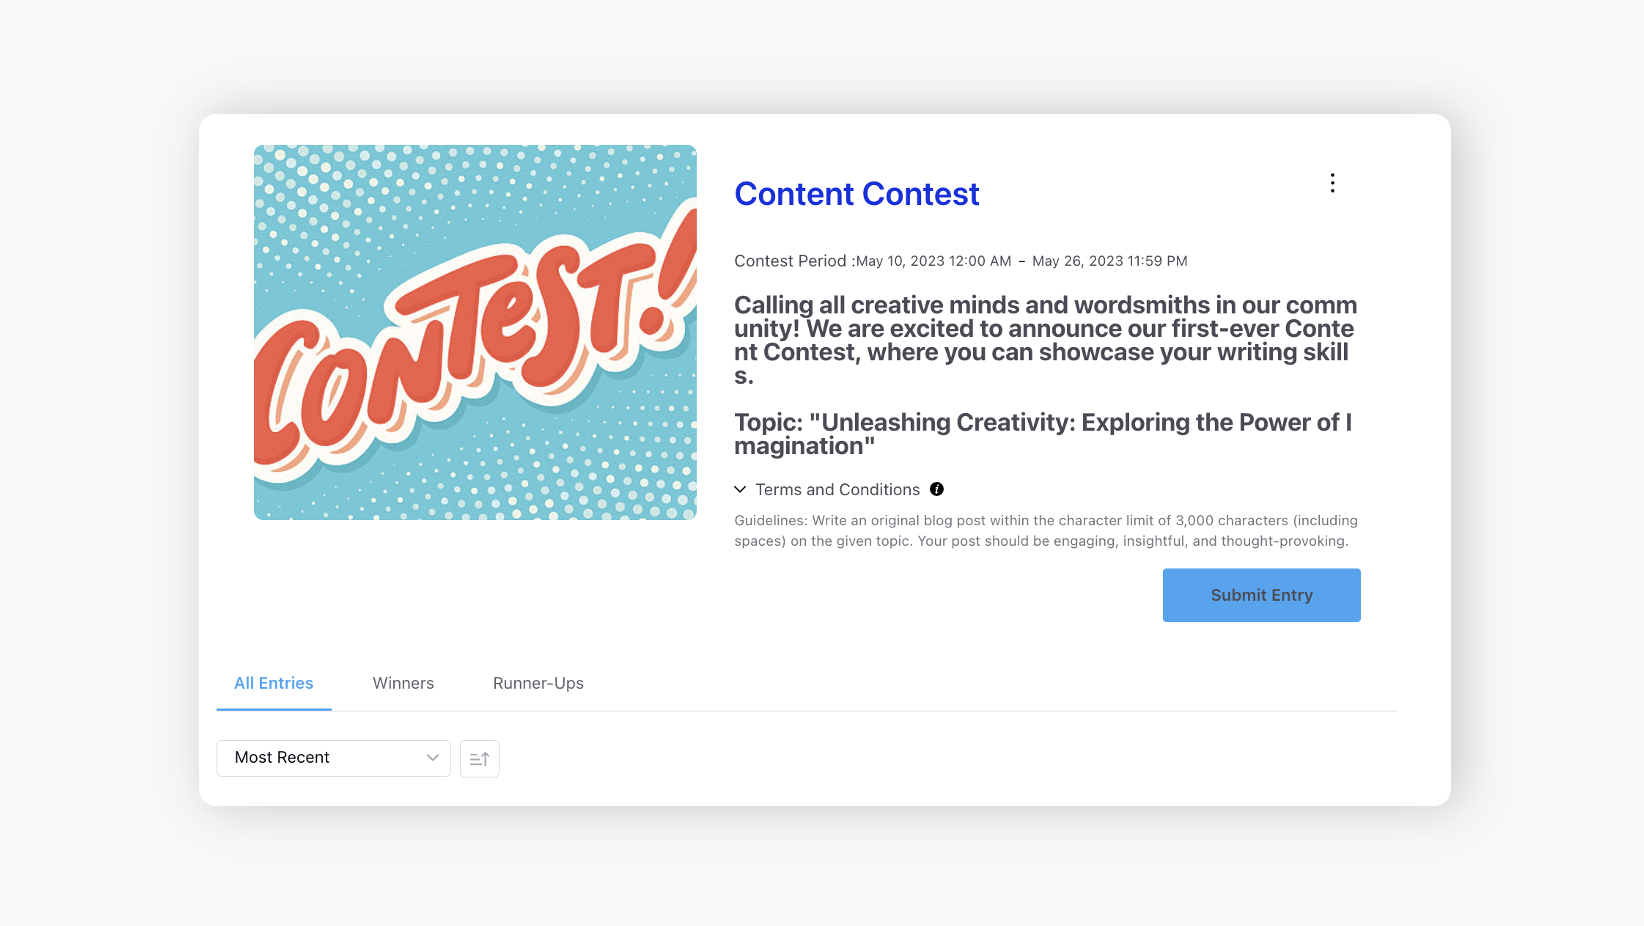
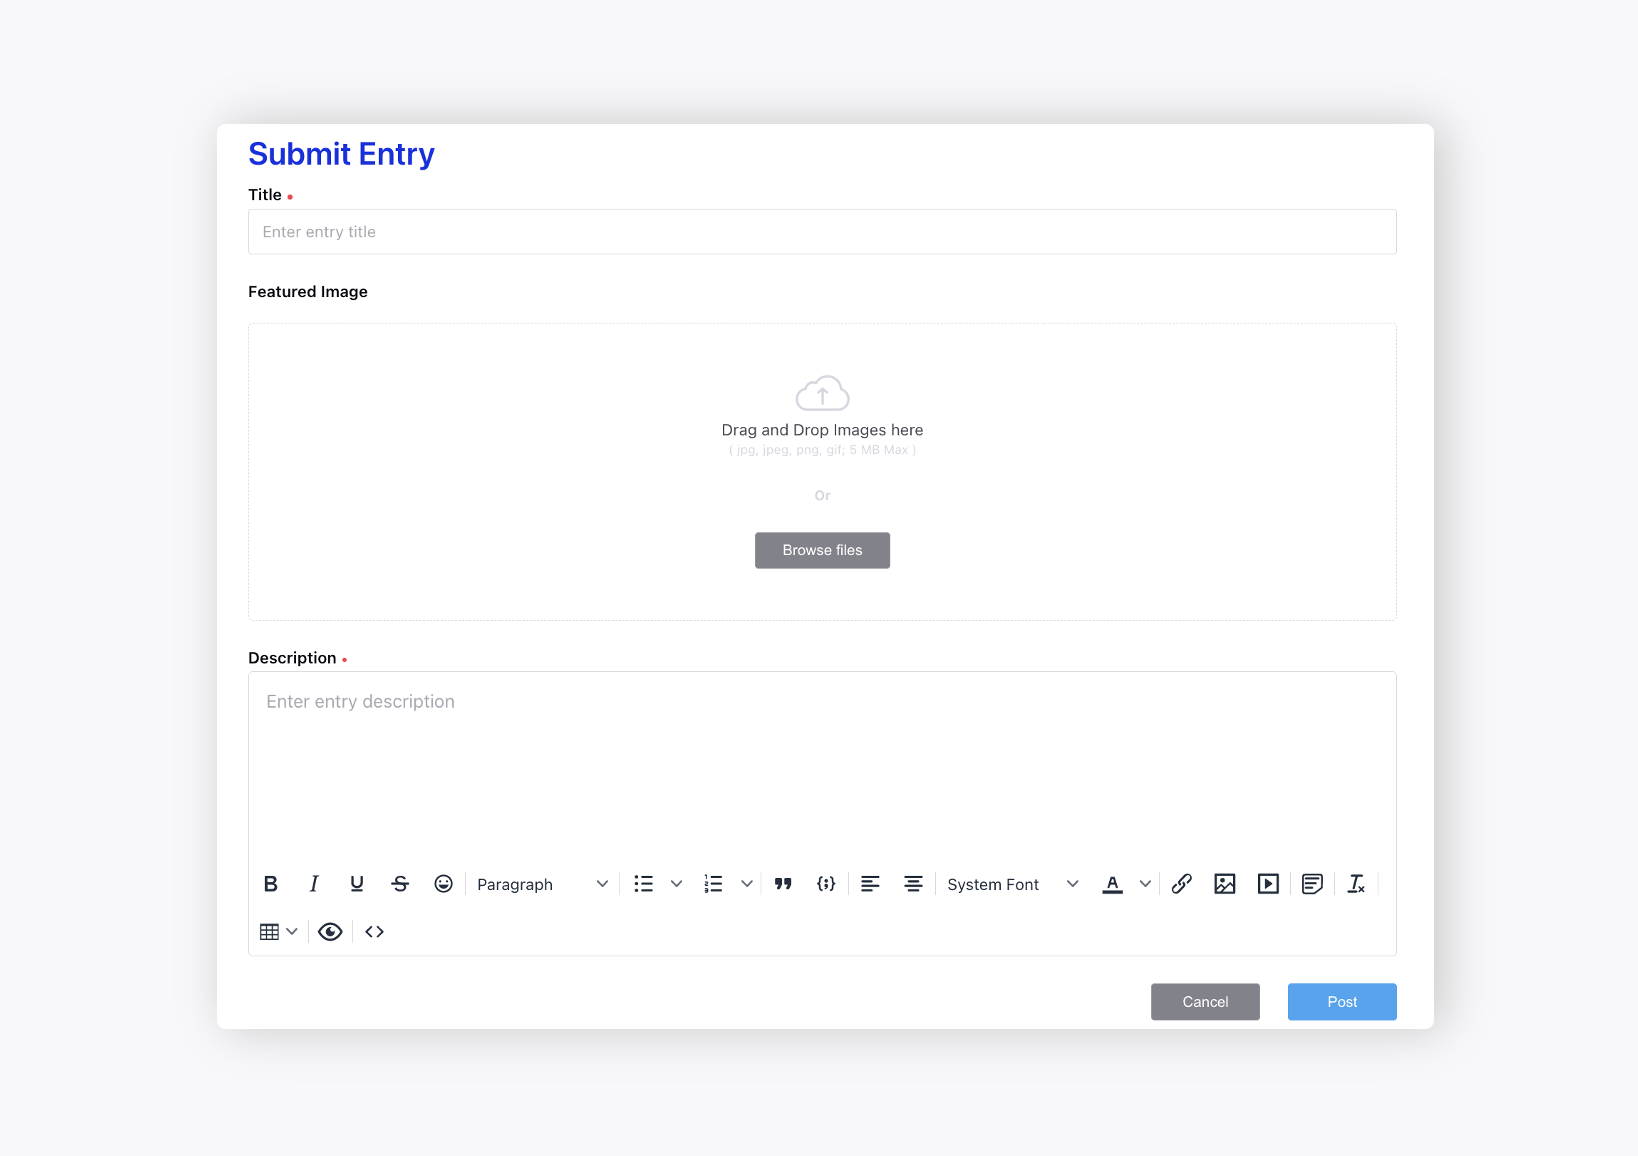
Here is an example of a contest that has been published on a community platform.
Language Translation for Contests
The system supports language translation for Contests, allowing users to view them in their preferred language and enabling administrators to manage localized names directly from the builder.
When a user selects a locale, the Contest names are automatically displayed in the selected language.

Administrators can manage translations directly from the builder. They can add localized names for Contests for supported locales, update existing translations without affecting other locales, and maintain consistent naming across all user experiences.