Agent Dialer
Updated
Agent Dialer is a manual dialing mode that gives agents complete control over when and how customer calls are placed. Unlike automated dialing modes, where calls are initiated by the system, Agent Dialer allows agents to review assigned customer records through a preview window before engaging with the customer. This preview time enables agents to understand the customer's history, gather context, and prepare for the conversation, ensuring a more informed and personalised interaction. Once ready, agents can manually initiate the call, or the system can proceed automatically based on the configured dialing behaviour.
Agent Dialer is particularly well suited for workflows that require preparation, accuracy, and context, such as case follow-ups, escalations, high-value customer engagements, and relationship-driven interactions. By giving agents control over call initiation and pacing, it helps improve conversation quality, reduce agent fatigue, and create more meaningful customer experiences.
As a result, organisations can benefit from:
Better call preparation: Agents can review customer information before placing a call, enabling more informed and effective conversations.
Improved call quality: Since agents initiate calls when they are ready, interactions are often more personalised and productive.
Controlled pacing: Unlike automated dialers, Agent Dialer prevents continuous back-to-back calls, helping agents manage their workload more effectively and reduce burnout.
Suitability for complex interactions: Ideal for scenarios that require context, preparation, or relationship management, such as escalations, follow-ups, and high-value customer engagements.
Answering Machine Detection (AMD) support: Automatically identifies whether a call is answered by a live person or a voicemail system before connecting it to an agent, allowing agents to focus on customer conversations rather than voicemail handling.
Customer First Dialing: Increases dialing efficiency by enabling multiple simultaneous dialing attempts for a single agent while ensuring that only contacts assigned to that agent are dialed, preserving ownership and accountability.
Understanding Agent Dialing Modes
Agent Dialer supports two dialing modes:
Agent First:
In Agent First mode, records are assigned to agents and presented through a preview screen. Agents can review customer information before initiating the call or allowing the configured preview behavior to take effect.
This mode is best suited for scenarios where agents need time to prepare before speaking with a customer.
Customer First:
In Customer First mode, the system automatically dials multiple contacts assigned to the same agent in parallel. The first customer who answers is connected to the agent automatically.
This mode helps improve dialing throughput while preserving agent ownership of assigned contacts.
If multiple customers answer at the same time, additional answered calls can either:
Be routed to a configured IVR, or
Be dropped if no IVR is configured.
.png "image-20260916-093727 (1).png")
 Note:
Note:
Agent Dialer supports Answering Machine Detection (AMD) for outbound calls.
When an agent initiates a call, the system first analyzes the answered call to determine whether it was answered by a live person or an answering machine.
If a live person answers, the call is connected to the agent.
If an answering machine or voicemail is detected, the system automatically applies the configured machine-answer disposition.
The agent is not connected to the voicemail greeting and can immediately continue to the next record.
Configuring an Agent Dialer
Click the New Tab icon. Under the Sprinklr Service tab, click Voice Care within Listen.
In the left panel of the Voice Settings window, click Dialer Profiles.
On the Dialer Profiles window, click + Add Dialers in the top right corner.
Enter the Dialer Name and Description.

Select the Dialer Type as Agent from the drop down list.
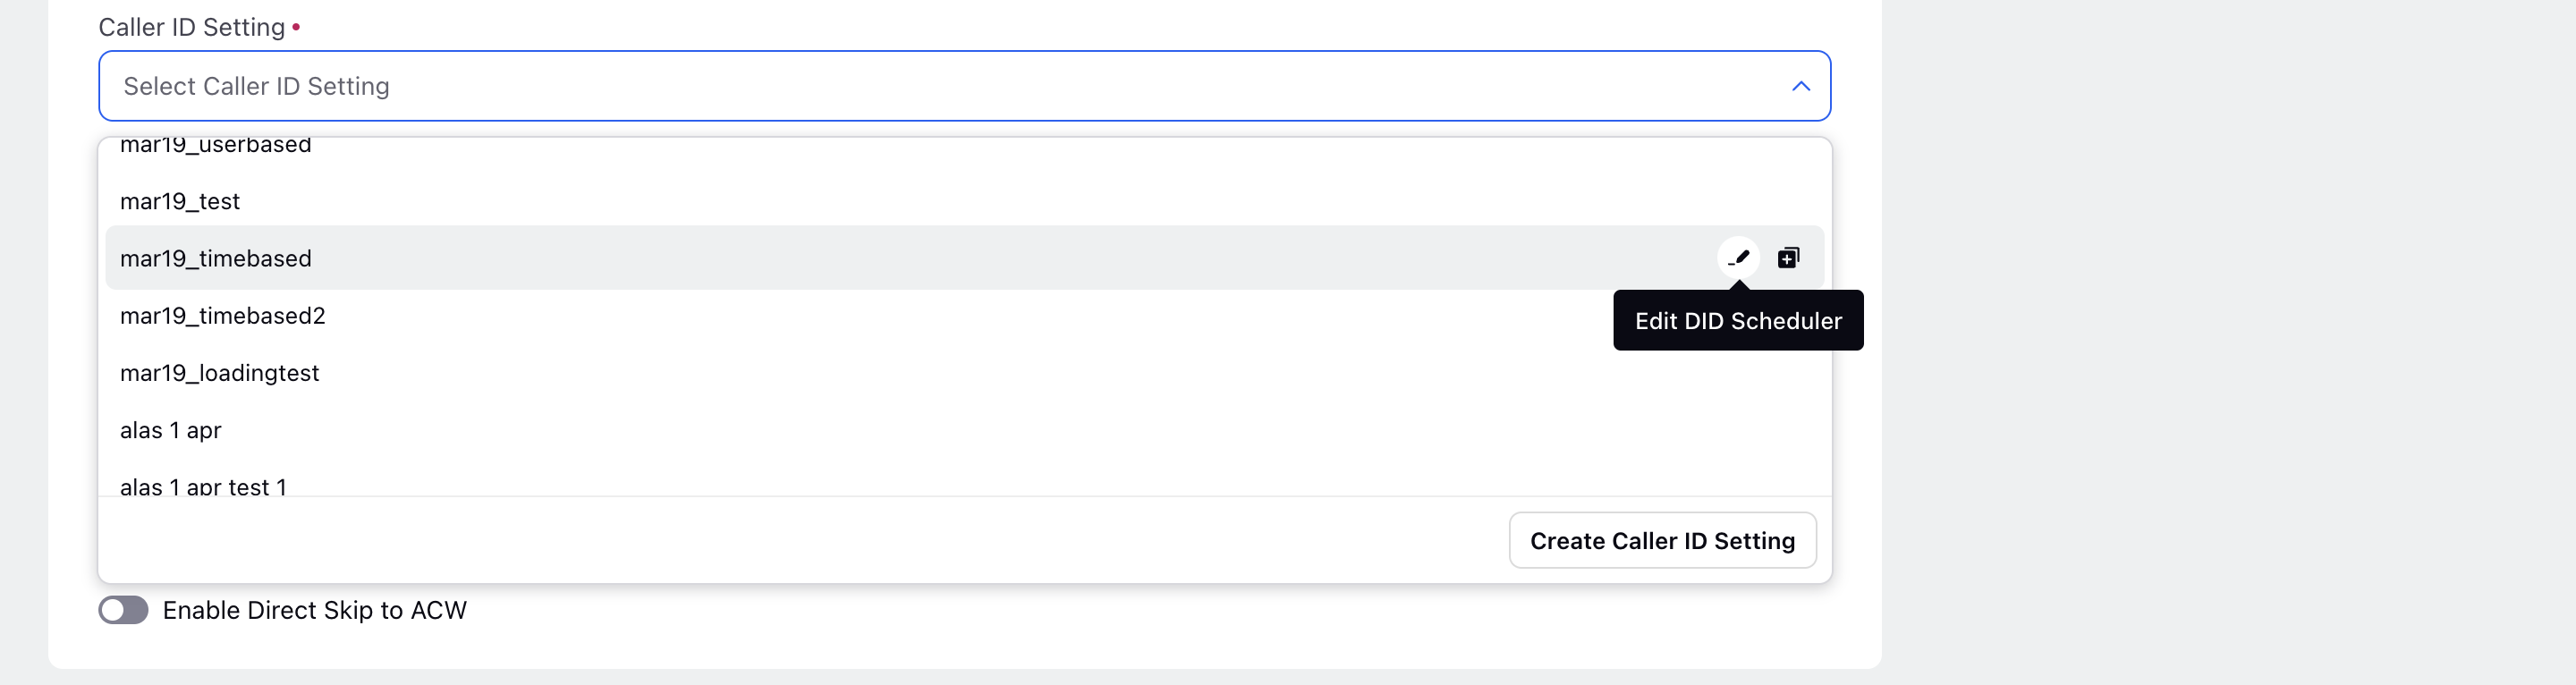
Select the Caller ID Setting from the drop down menu.
Select the Queue from the drop down menu.
Select the Dialing Mode from the drop down menu.
Enter the Preview Time.
Select the Campaign from the drop down menu.
Select the When preview time ends from the drop down menu.
Click Enable Call Skip During Preview to enable it if you want to allow agents to skip the callback if they are not ready.
Click Enable Direct Skip to ACW if you want to allow agents to move directly to After Call Work without taking the call.
Click Enable Auto Respond to automatically connect the first answered call to the agent. This setting is always enabled in Customer First mode.
Click Next.
The Advanced Settings screen is displayed.


Under the Filters section, select the Filter Type from the drop down menu.
Select the Rule from the drop down menu.
Enter the Call Ring Time.
Enter the Call Setup Time.
Enter the Speech Profile.
Select the Language from the drop down menu.
Enter the Number of Channels.
Enter the Inter-Call Delay.
Enter the Custom SIP Header.
Click Enable DNC Calls if the telecom provider has call scrubbing disabled, that is, they allow calls to DNC customers.
Click Add Ringtone.
Enter Custom Properties if any.
Click Save.
Refer to the below table for parameter description:
Field | Description |
Dialer Name | This field is mandatory and contains the name of the dialer. |
Description | This field is optional and user might enter any notes or reason of creating the dialer in order to remeber it |
Dialer Type | Specifies the dialer type which in this case will be Preview dialer |
Preview Time | The time for which the agent will see the customer preview before making a call. |
Dialing Mode | Select the dialing experience for the dialer.
|
Unassigned Call Timeout | Sets the transfer timeout in seconds for unassigned calls.
|
Abandoned Call handling |
This gives customers an alternative experience instead of ending the call immediately.
|
Campaign | Associated campaign to set business hours, ACW, and apply suppression lists. |
When preview time ends | Choose what should happen when the preview time ends:
|
Rule | Rules can also be assigned to Manual dialers based on the business necessities which get triggered whenever a manual call is placed. |
Call Ring Time | Call ring time is basically the time for which the call will be dialed at customer end i.e. the time for which customer is called before the calling stops if customer doesn't picks up |
Call Setup Time | Call setup time is basically the time the dialer awaits the confirmation whether the customer has been dialed or not.
This means the dialer will wait for 15 seconds to receive confirmation from the telco (Telecommunication service provider) whether a call has been placed or not. Once the call is set up it will ring for 60 seconds for the customer before it gets answered or receives any other telephony outcome. |
Compliance Policy | This ensures that all outbound calls through the selected dialer follow the specified recording and data retention rules defined in the compliance policy. |
Language Selection | Language preferences can be configured at the dialer level based on customer lead attributes to ensure that transcripts are generated in the appropriate language for different leads dialed from the same dialer. When a call is initiated, the system verifies if a language is configured at the dialer level and whether the specified attribute value matches the customer's lead. If both conditions are met, the corresponding language setting is applied. If no match is found, the default language specified at the dialer level is used. In the absence of a default language at the dialer level, it defaults to the workspace language setting. |
Enable DNC Calls | Enabling this gives the dialer rights to call customers or dial to phone numbers which are in DND list or which do not give consent to be dialed. |
Queue | The queue defines the list of agents for which the call would be placed for by the dialer. Inline queue creation is supported. Example There are 5 agents in the queue then when the dialer dials the call would land to one of the agents who is idle(The one who has capacity to take the call) out of the 5 agents present in the queue. Queues can be made in the unified routing under Triaging in modern care.
|
Inter-Call Delay | Add delay between the calls being dialled automatically by the dialer. Predictive dialers can lead to very little time between calls for agents, this option can be used to give the agents a breather between the calls |
Caller DIDs | Select the desired Caller ID Setting based upon the use case. There are six types of Caller IDs.
All configurations made within the Caller ID Setting for the selected scheduler, including settings such as default voice application, DID numbers, and other configurations, will be displayed in the right pane of the dialer profile. You can also edit, clone and create a new Caller ID Setting from here
|
Voice Application | Application in which the DID numbers and the voice account is shared. Twilio,Avaya, Amazon connect and Ozontel are the voice accounts used by Sprinklr. One voice application can be used in multiple dialers.
Inorder to dial numbers voice application should also be the users. |
DID Numbers | These are the caller ids from which the customer will receive the call. Users can select the DIDs from the dropdown list which displays the DID numbers present in the Voice application. |
Configure Pacing Ratio | The pacing ratio refers to the ratio at which calls are placed by the dialer. For example, if the pacing ratio is 3 and there are 10 agents in the dialer's queue, then 30 customers would be called simultaneously. This means that there would be 3 customer calls made for every agent in the queue. Supervisors and campaign managers can now also view the pacing ratio directly on the Campaign Monitoring screen. It appears in:
The pacing ratio displayed in Campaign Monitoring is derived from the dialer configured at the campaign level. While a campaign can include multiple segments, each potentially having its own dialer setup, the monitoring view does not account for segment-level configurations. Instead, it reflects only the pacing ratio of the dialer assigned directly to the overall campaign. |
Configure Drop Rate | In this setup, the Initial Pacing Ratio, Call Abandoned Threshold (%), and Ringing Disconnect Threshold (%) are crucial parameters for optimizing the performance of the dialer system.
1. Initial Pacing Ratio: This parameter determines the initial rate at which calls are placed by the dialer system when calling is initiated. For example, a ratio of 3 would mean that if there are 10 available agents, the system will dial 30 calls initially to connect customers with agents.
2. Call Abandoned Threshold (%): The Call Abandoned Threshold represents the acceptable percentage of calls that are abandoned when the number of customers who answer the call exceeds the available number of agents. For example, if the Call Abandoned Threshold is set to 3%, it means that up to 3% of calls can be abandoned if all agents are busy.
3. Ringing Disconnect Threshold (%): This parameter refers to the percentage of calls dialed that were disconnected by the platform while they were still ringing. For instance, if the Ringing Disconnect Threshold is set to 5%, it means that up to 5% of calls may be disconnected by the system before they are answered by customers.
How it works The system dynamically adjusts the Pacing Ratio to maintain the specified Call Abandoned Threshold. As the threshold approaches, the system automatically modifies the pacing ratio to optimize call placement and minimize abandoned calls. For example, if the abandoned threshold is set to 3% and the system detects that the rate of abandoned calls is increasing, it will adjust the pacing ratio to dial fewer numbers per agent, thus reducing the likelihood of abandoned calls.
Setting a Ringing Disconnect Threshold provides the system with more flexibility and time to manage call abandonment effectively. When the system anticipates the need to decrease the pacing ratio or detects a reduction in available agents, it will disconnect some calls while they are still ringing, ensuring that calls are not abandoned after customers answer. This approach not only enhances customer experience by avoiding sudden call disconnections but also allows the system more time to reach the Call Abandoned Threshold. Consequently, the dialer system can continue operating efficiently even during high call volumes or when agent availability is limited. |
Auto Respond | If this is enabled the agent would be connected as soon as the call is answered by the customer but if this is not enabled the agent would receive an option to either accept the offer or decline it |
Custom Properties | Add the desired custom properties. These custom fields can be created by selecting "Asset" as Dialer Profile. |