Configure Events in Community
Updated
The Events Management feature offers brands a comprehensive solution within the Sprinklr community platform. With this capability, brands can effortlessly create and promote both online and offline events, allowing users to express their interest and participation. Whether it's virtual webinars, workshops, or physical gatherings, Sprinklr's events management ensures businesses have a powerful tool to orchestrate successful events and connect with their audience effectively. Utilizing this feature could serve as a strategic approach to advertise events within a community that already boasts a substantial user presence.
Permissions
Users must have the View and Manage Community Event permissions under Care Community to use this feature. 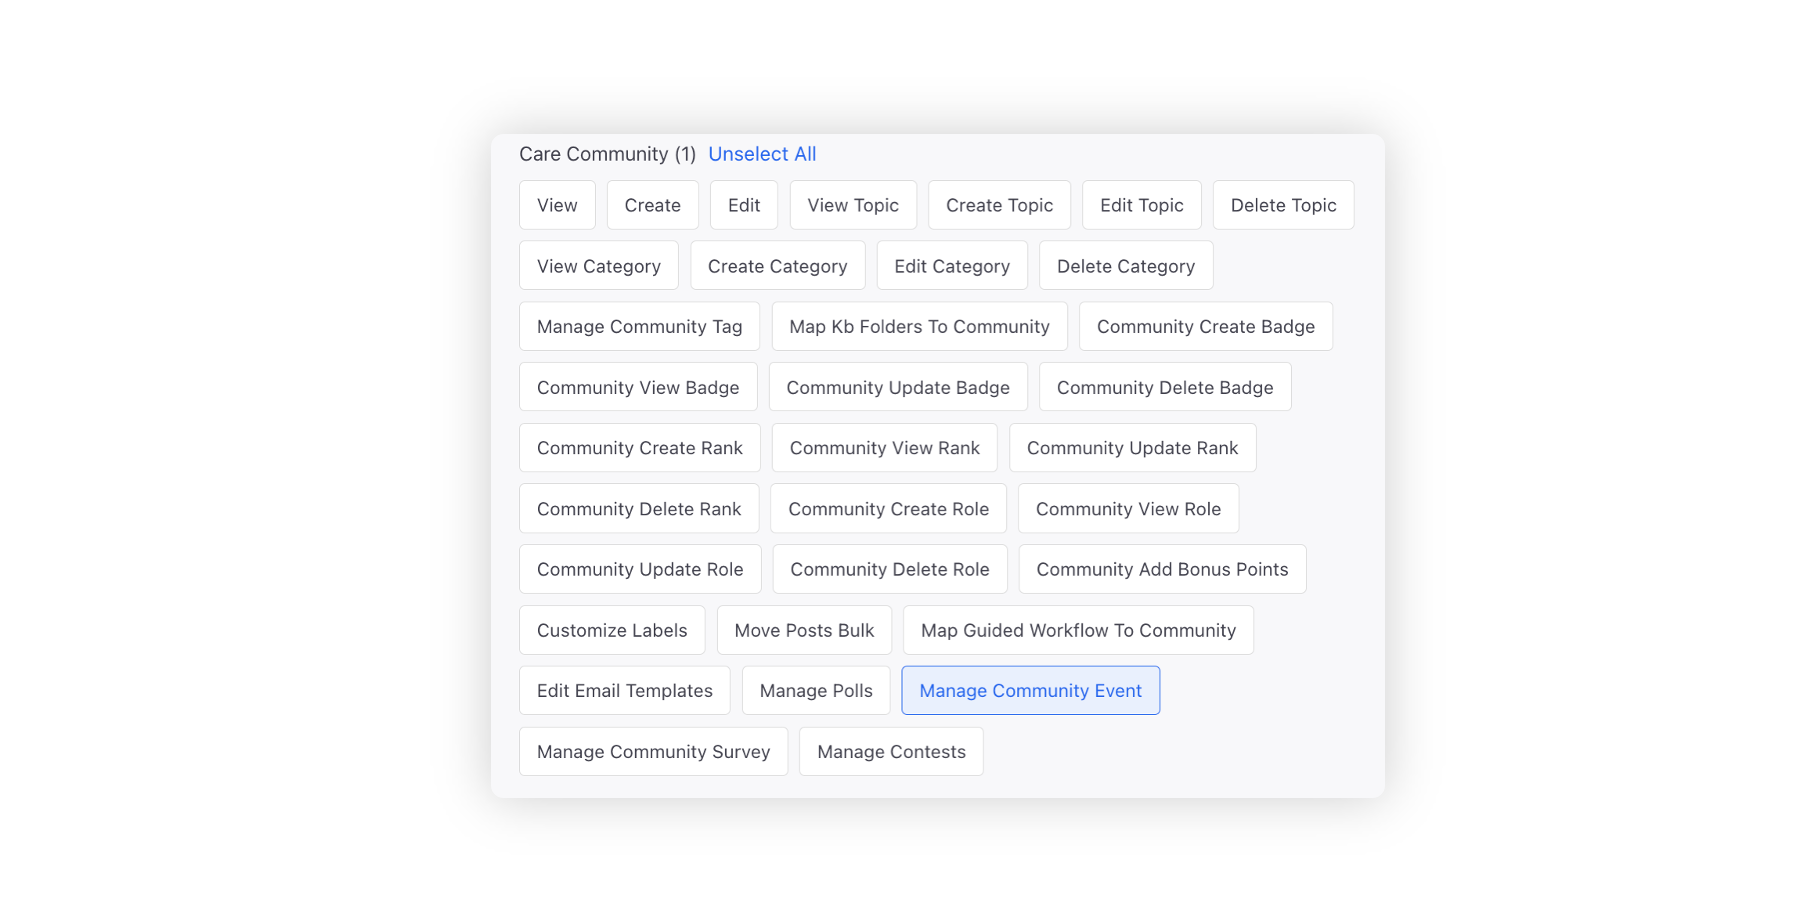
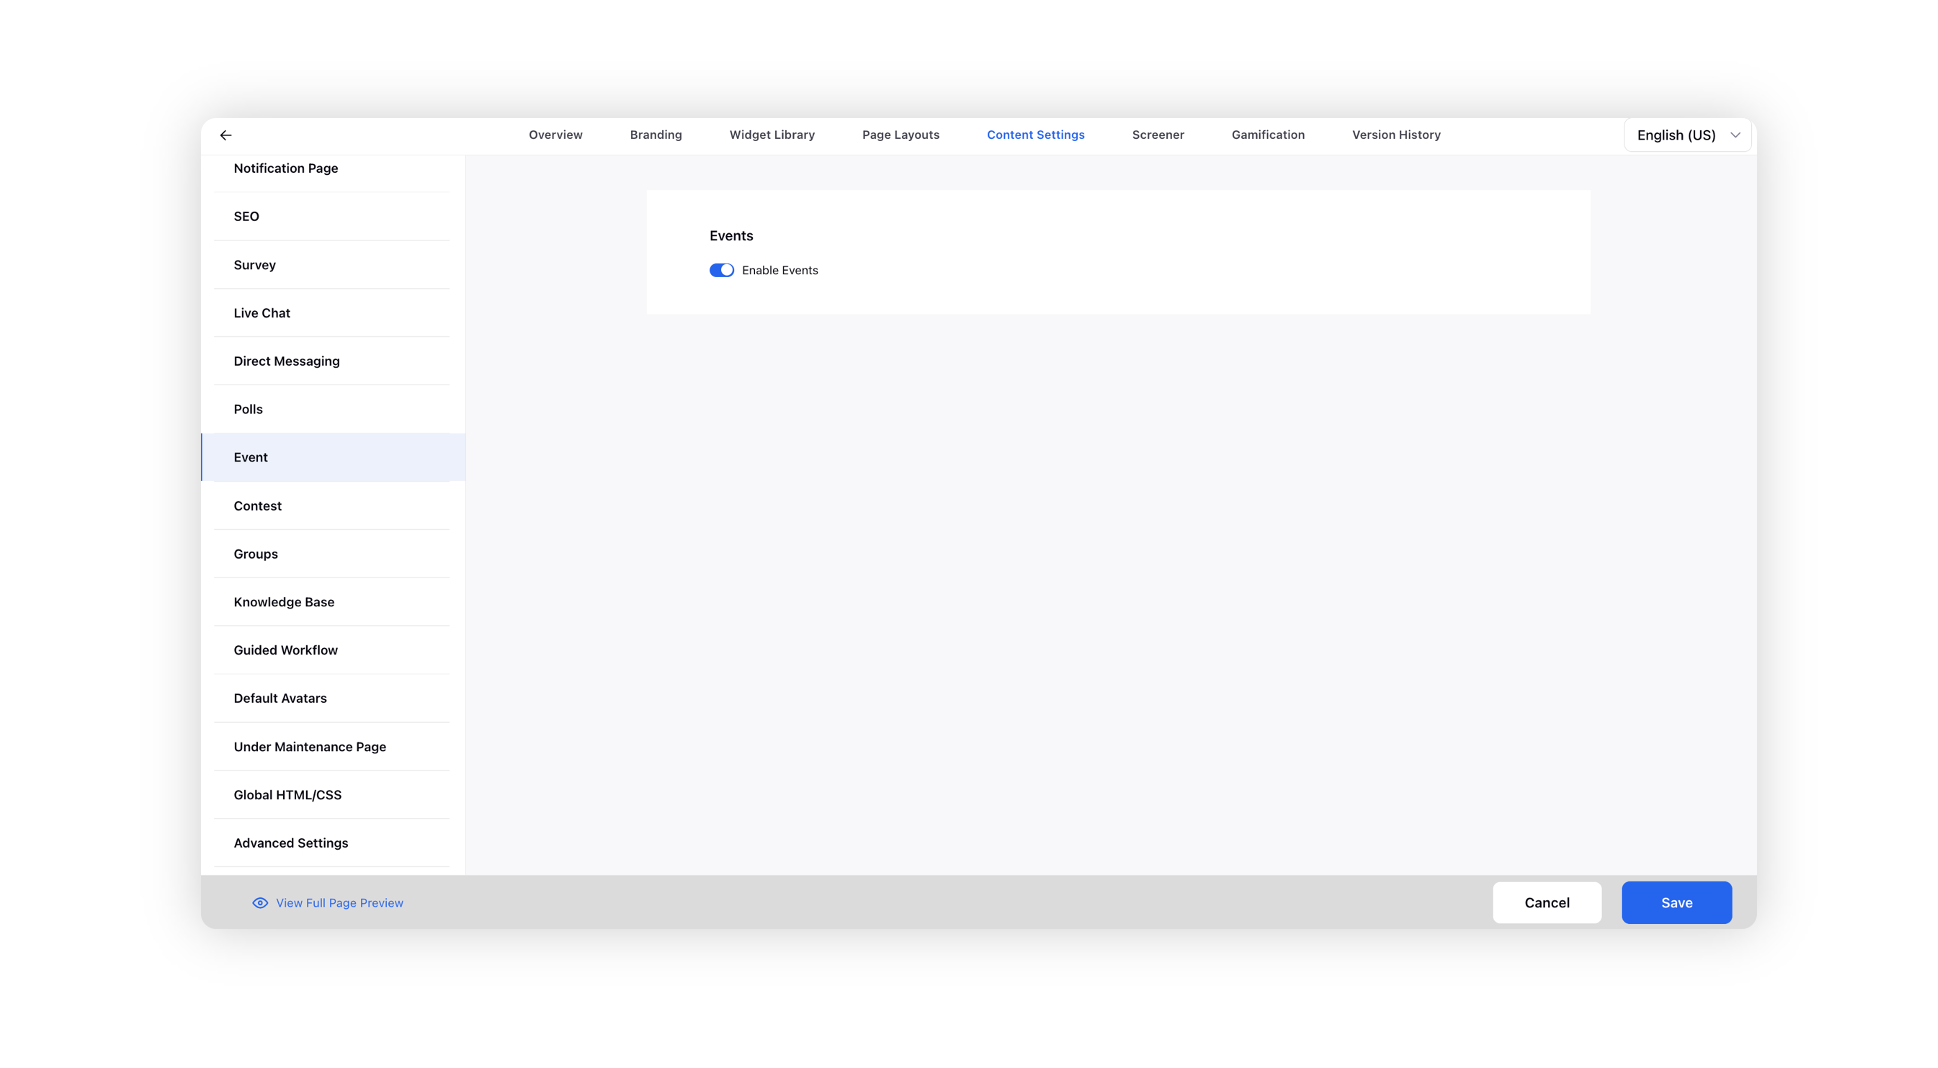
Within the Content Settings tab of the Community Builder, click the Event tab on the left.
Slide the toggle to the right to Enable Events which will allow permissioned community users to create and publish events on the Community Forum.
Configuration Steps
Follow these steps to configure an Event in your Community:
Navigate to Community Builder.

Click the vertical ellipsis (⋮) icon corresponding to the Community where you want to configure the Event. This displays a list of available options.
Select Events Management from the list to open the Community Events page.
Select Create Event a the upper right of the page to open the Create Event page.
Fill in the required fields in the Create Event page. Fields marked with a red star are mandatory. Below are the descriptions of all the fields in this section:

Event Name: Enter a clear and descriptive name for the Event. (Required)
Description: Enter a description that provides relevant information about the Event, such as its purpose, agenda, participation details, or other important information.
Featured Image: Upload the primary image that represents the Event.
Thumbnail Image: Upload the image to use as the Event thumbnail in mobile devices.

Timezone: Select the time zone in which the Event is scheduled. The Event start and end times are based on the selected time zone. (Required)
Start Date and End Date: Select the start and end dates and times to define the duration of the Event. (Required)
Event Language: Select the language for the Event. (Required)
Category: Select the Community Category in which you want to organize the Event.
Topic: Select the Topic under which you want to organize the Event.

Tags: Select existing tags to help identify and organize the Event.
Event Type: Select whether the event is Online or Offline.
Google Map Link: Enter the Google Maps iframe link for the Event location to display the location on a map.
Country: Select the country where the Event will take place.
State: Select the state where the Event will take place.
City: Select the city where the event will take place.
 Note: The Country, State, and City fields define the physical location of an Offline Event.
Event Address: Enter the address of the event location. (Required)
Fill in the required fields in the Advanced Configuration section. Fields marked with a red star are mandatory. Below are the descriptions of all the fields in this section:

Additional Placeholders: Use this section to add supplementary Event information as label-and-value pairs.
Label: Enter a label that identifies the additional Event information you want to display.
Value: Enter the information associated with the specified Label.
Add Placeholder: Select to add another label-and-value pair to the Event.
Additional Description: Use this section to add supplementary descriptive content to the Event to provide attendees with more comprehensive event information. You can add multiple sections, each with a title and detailed content.

Title: Enter a title for the additional description section.
Content: Enter the detailed information that you want to display under the specified Title. Use the available rich-text formatting options to format the content as needed.
Add Description: Select to add another description section to the Event.
Speakers: Add Community users or external speakers to the Event. Provide each speaker’s avatar, name, title, and company to display relevant speaker information to event attendees.

SEO Details: Configure search engine optimization (SEO) metadata for the Event page to improve its discoverability and control how the event is presented in search results and social sharing previews.

SEO Title: Enter the title to use for the Event page in search engine results and other supported previews. Use a clear, concise title that accurately represents the Event.
SEO Description: Enter a brief description of the Event for search engine results and other supported previews. Summarize the Event clearly to help users understand its purpose and content.
Fill in the required fields in the Notify Users section. Fields marked with a red star are mandatory. Below are the descriptions of all the fields in this section:

Select users who you want to notify: Select individual Community users to notify about the Event.
Select profile lists to notify: Select one or more Profile Lists to notify the users included in those lists about the Event.
Message to include with the notification: Enter an optional message to include with the Event notification. The message appears in the email, web notification, and direct message (DM) sent to the selected users.
Select Create.
This creates the Event with the specified details. Once created, you can edit or delete an event.
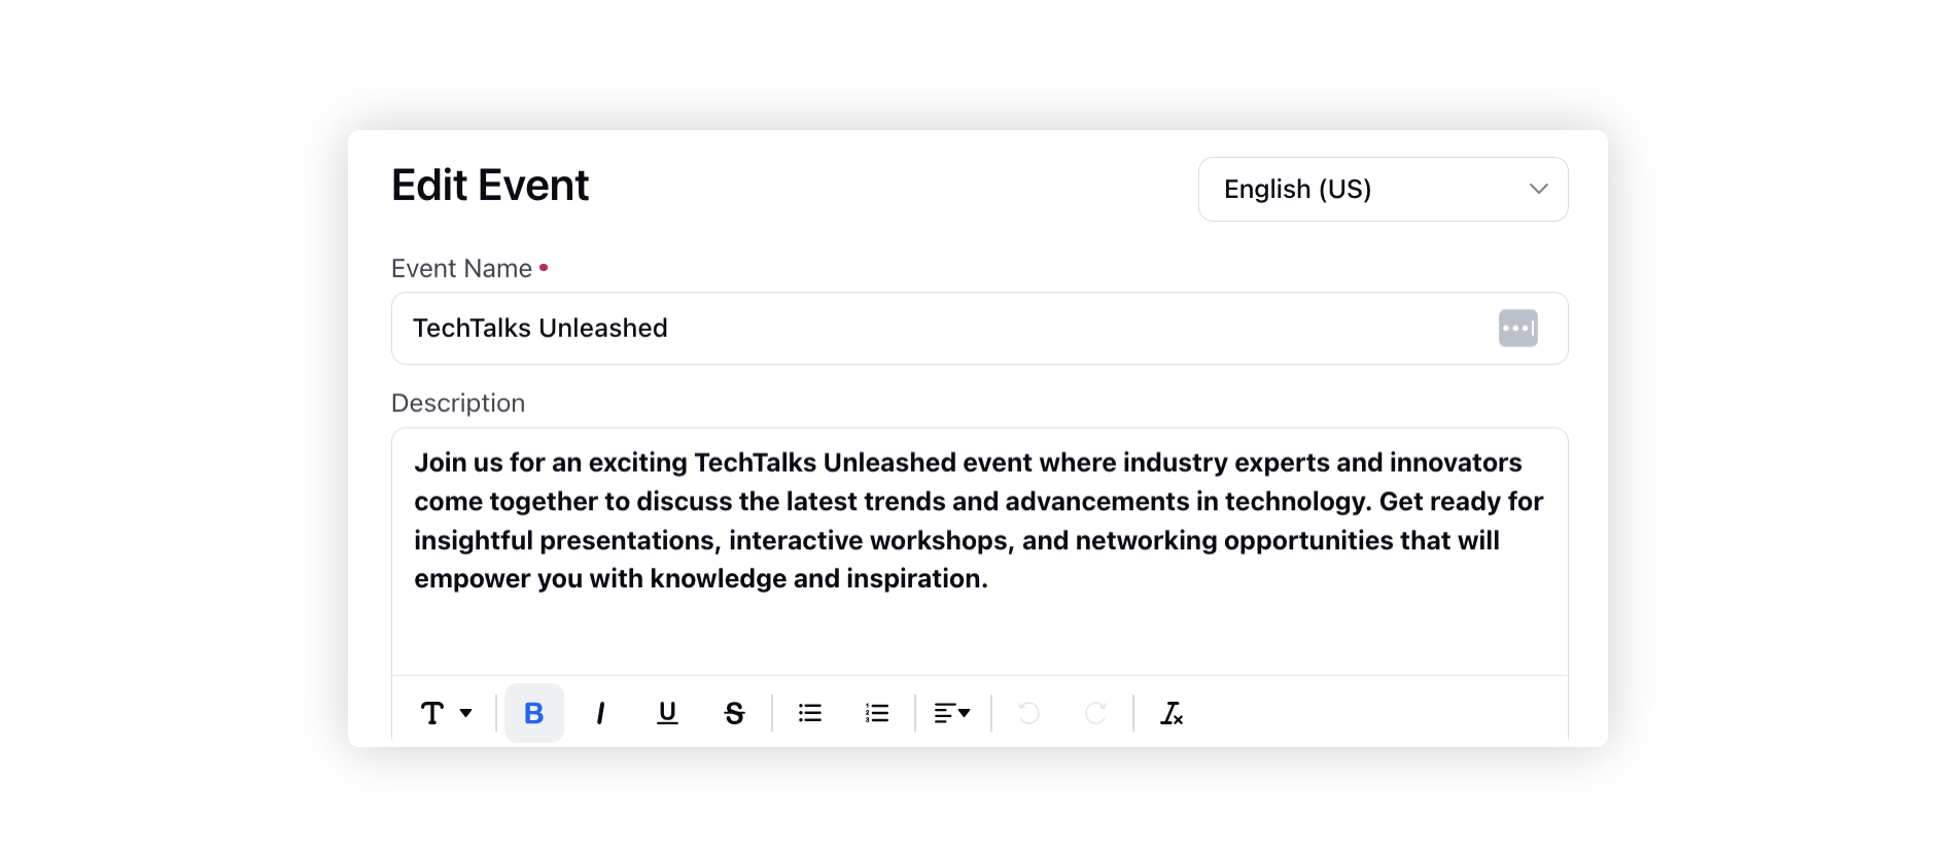
On editing, you can change the language from the top right to translate the event into.
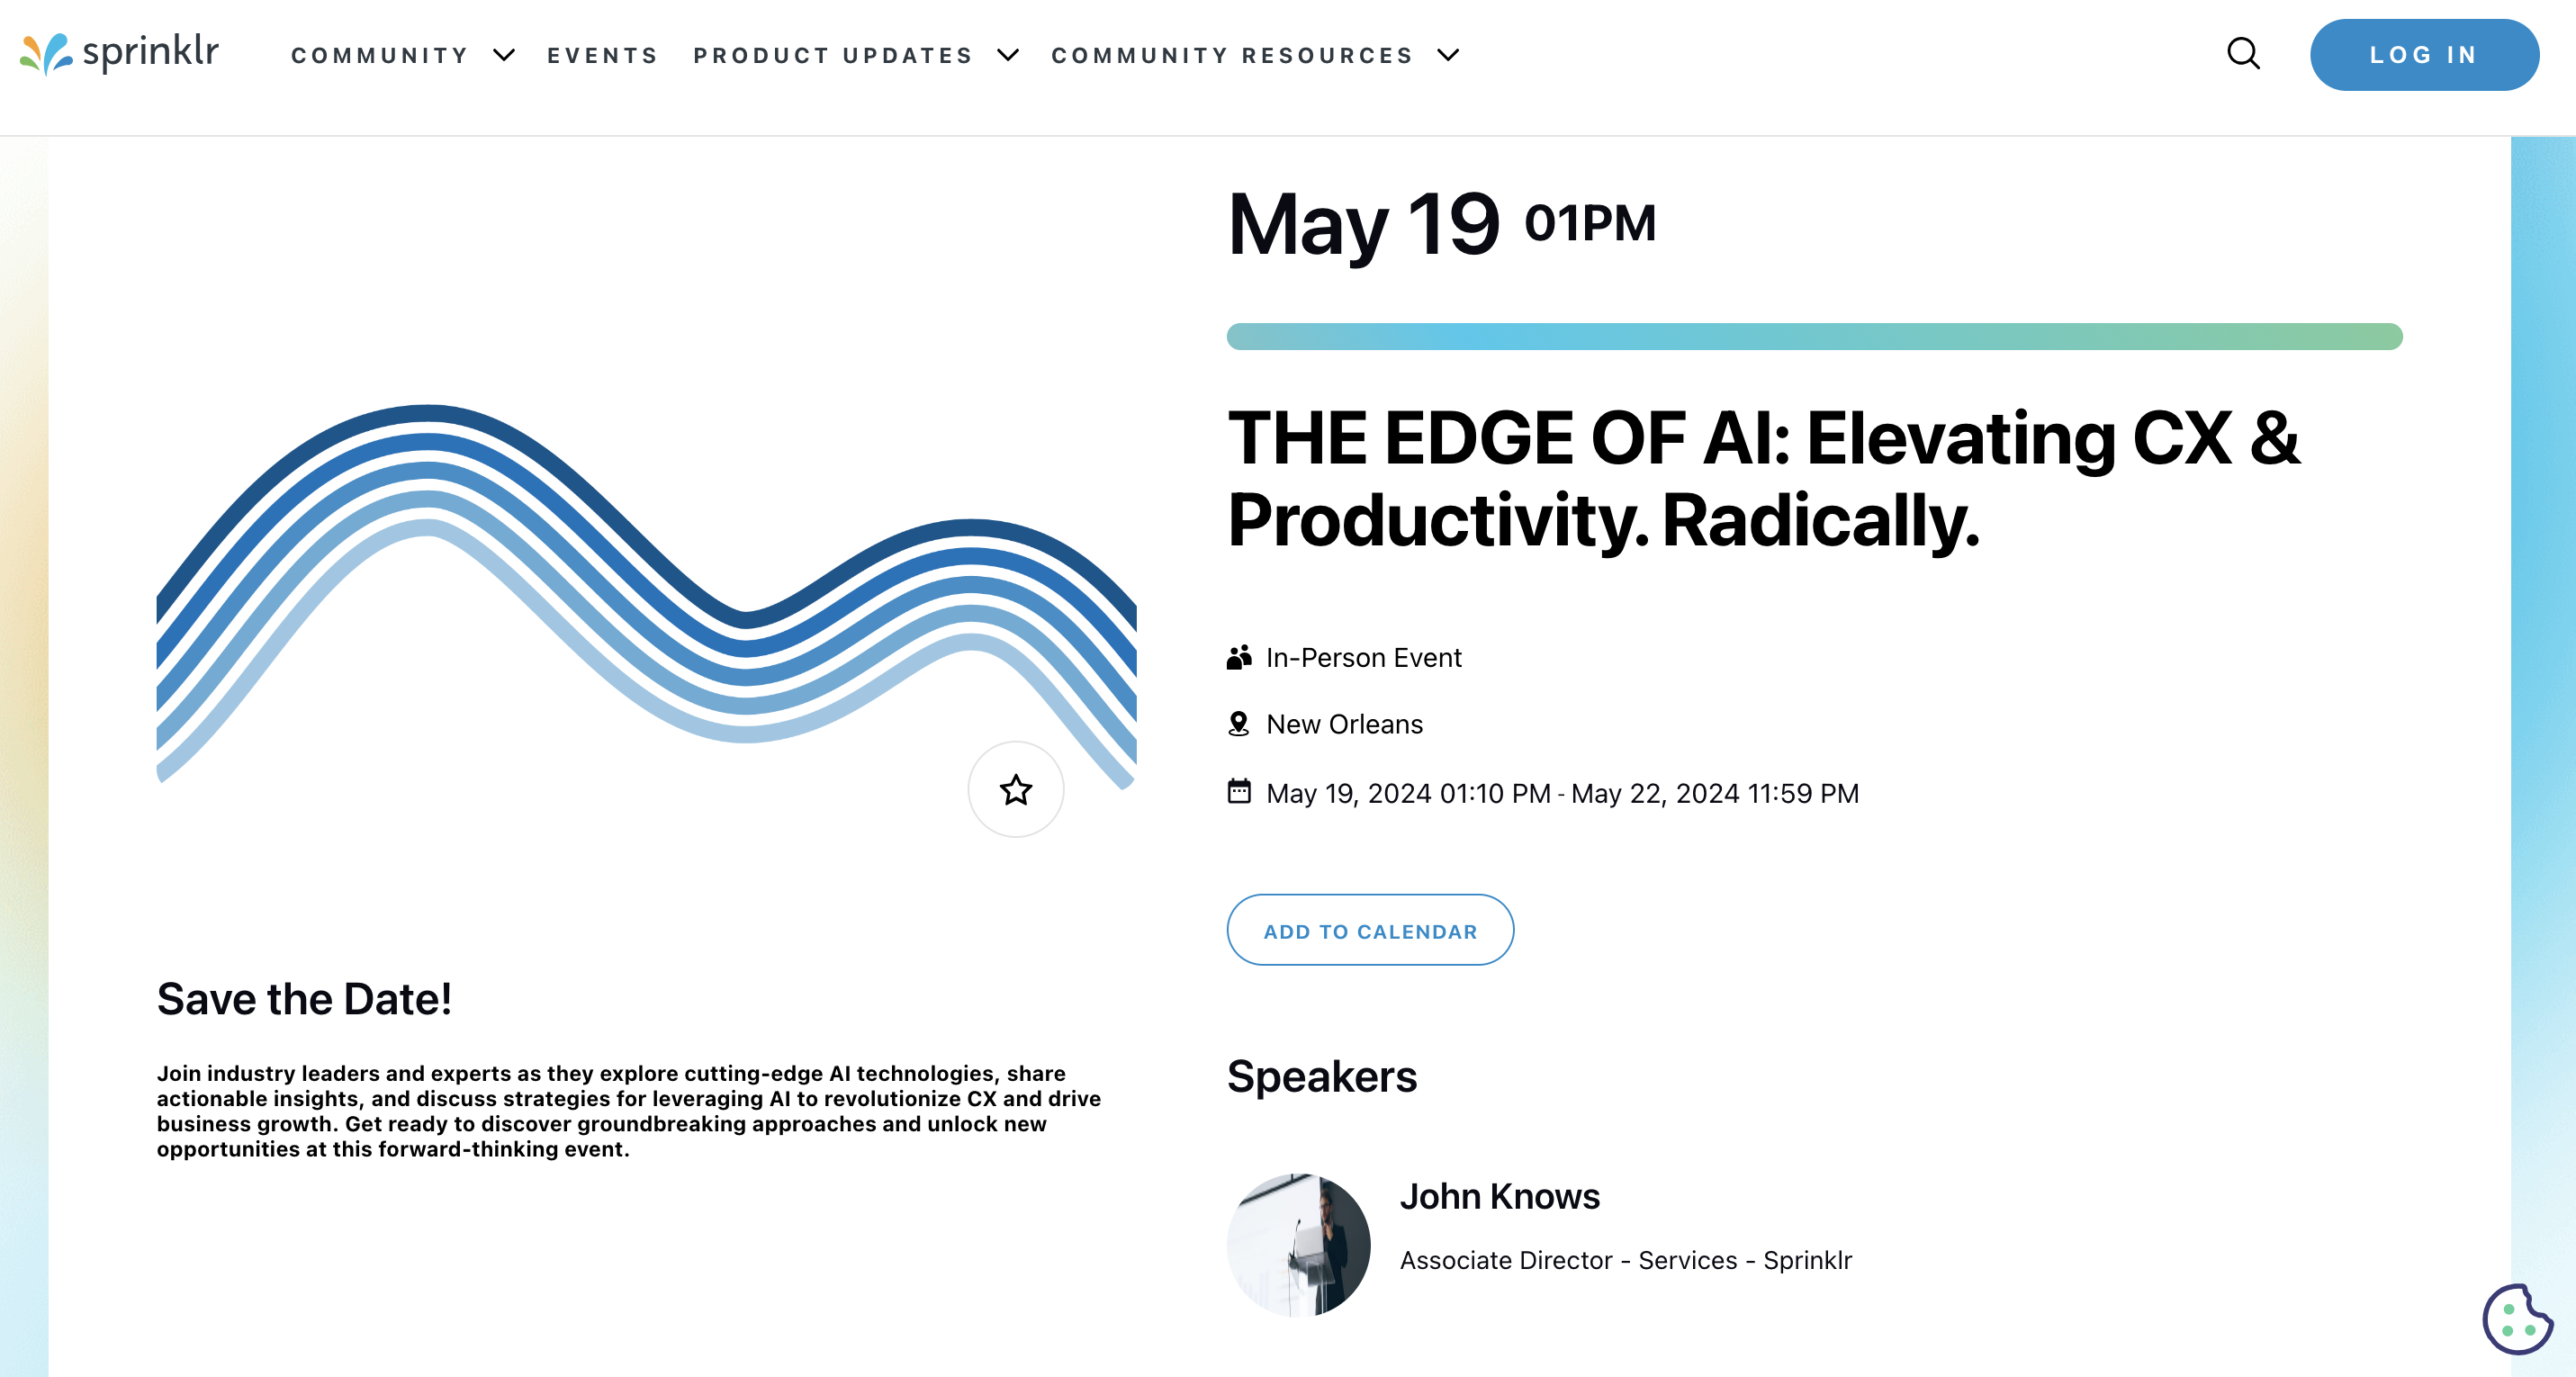
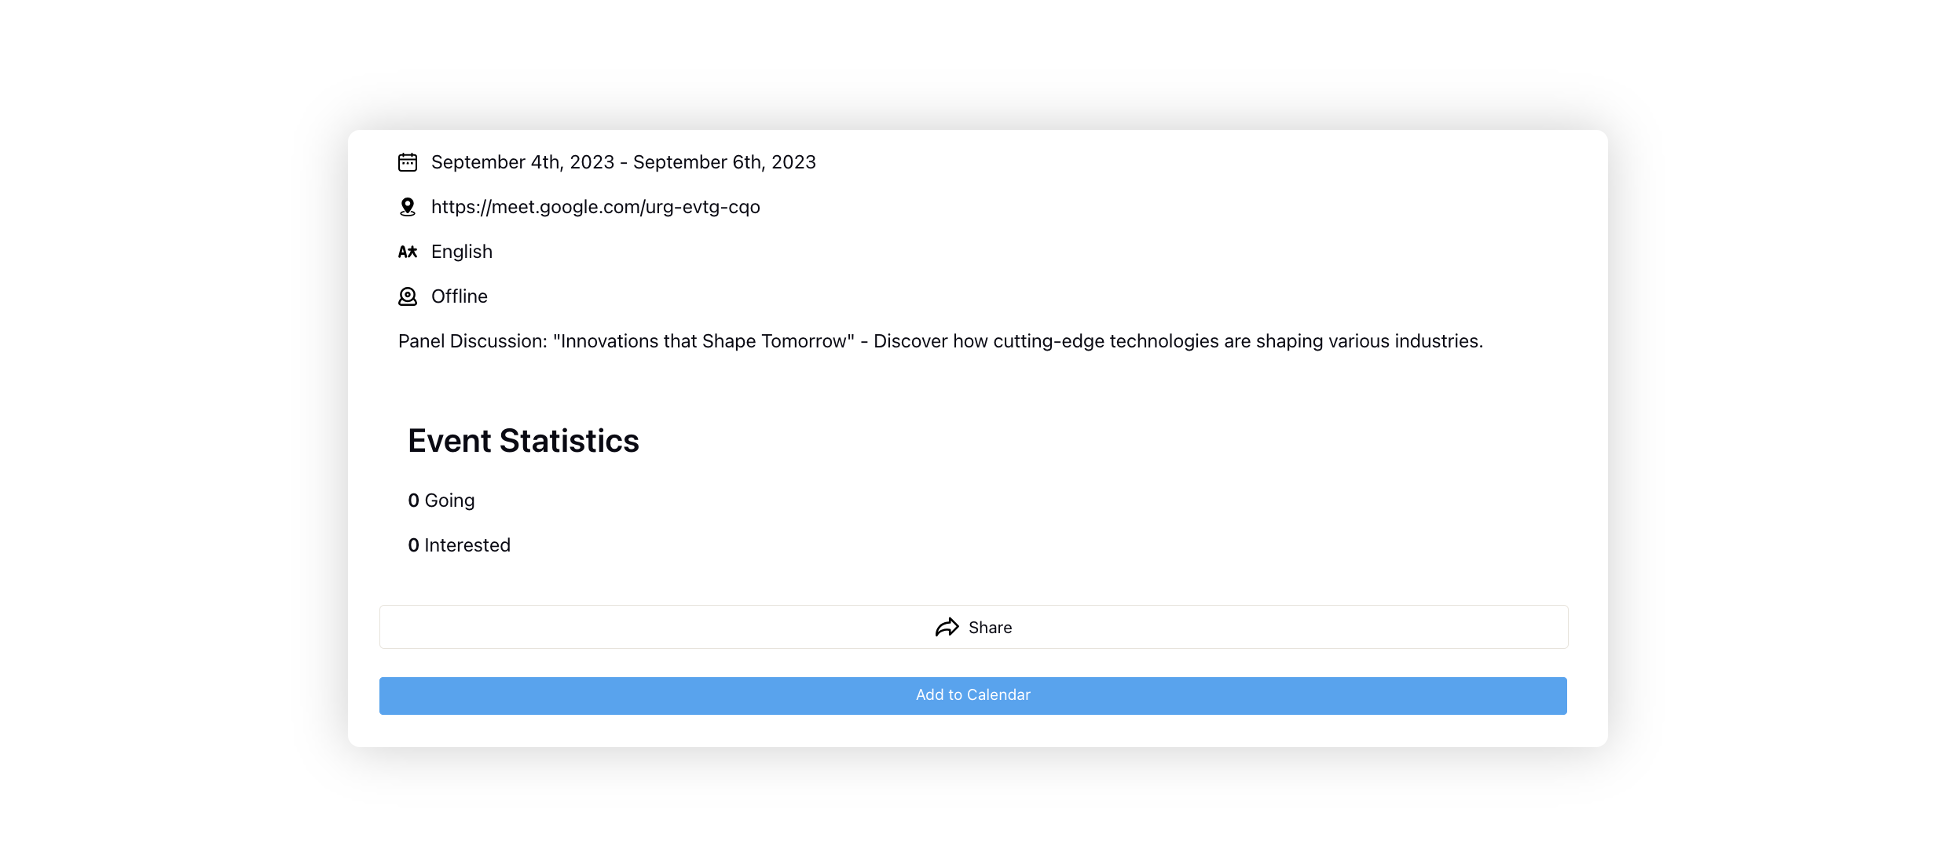
Here's an illustration of an event posted on a community platform, allowing users to express their interest by voting "Interested," "Going," or "Not Going." Additionally, attendees have the option to add the event to their calendar for easy reference.
Users also have the capability to access event statistics indicating the number of people who are "Going" and those who have shown "Interest."
Language Translation for Events
The system supports language translation for Events, allowing users to view them in their preferred language and enabling administrators to manage localized names directly from the builder.
When a user selects a locale, the Event names are automatically displayed in the selected language.

Administrators can manage translations directly from the builder. They can add localized names for Events for supported locales, update existing translations without affecting other locales, and maintain consistent naming across all user experiences.