Select Date Range in Production Dashboard
Updated
In this article, you will learn how to configure the date range for your production dashboard
Select Date Range
Click on the Date Range option at the top right of the Production Dashboard.
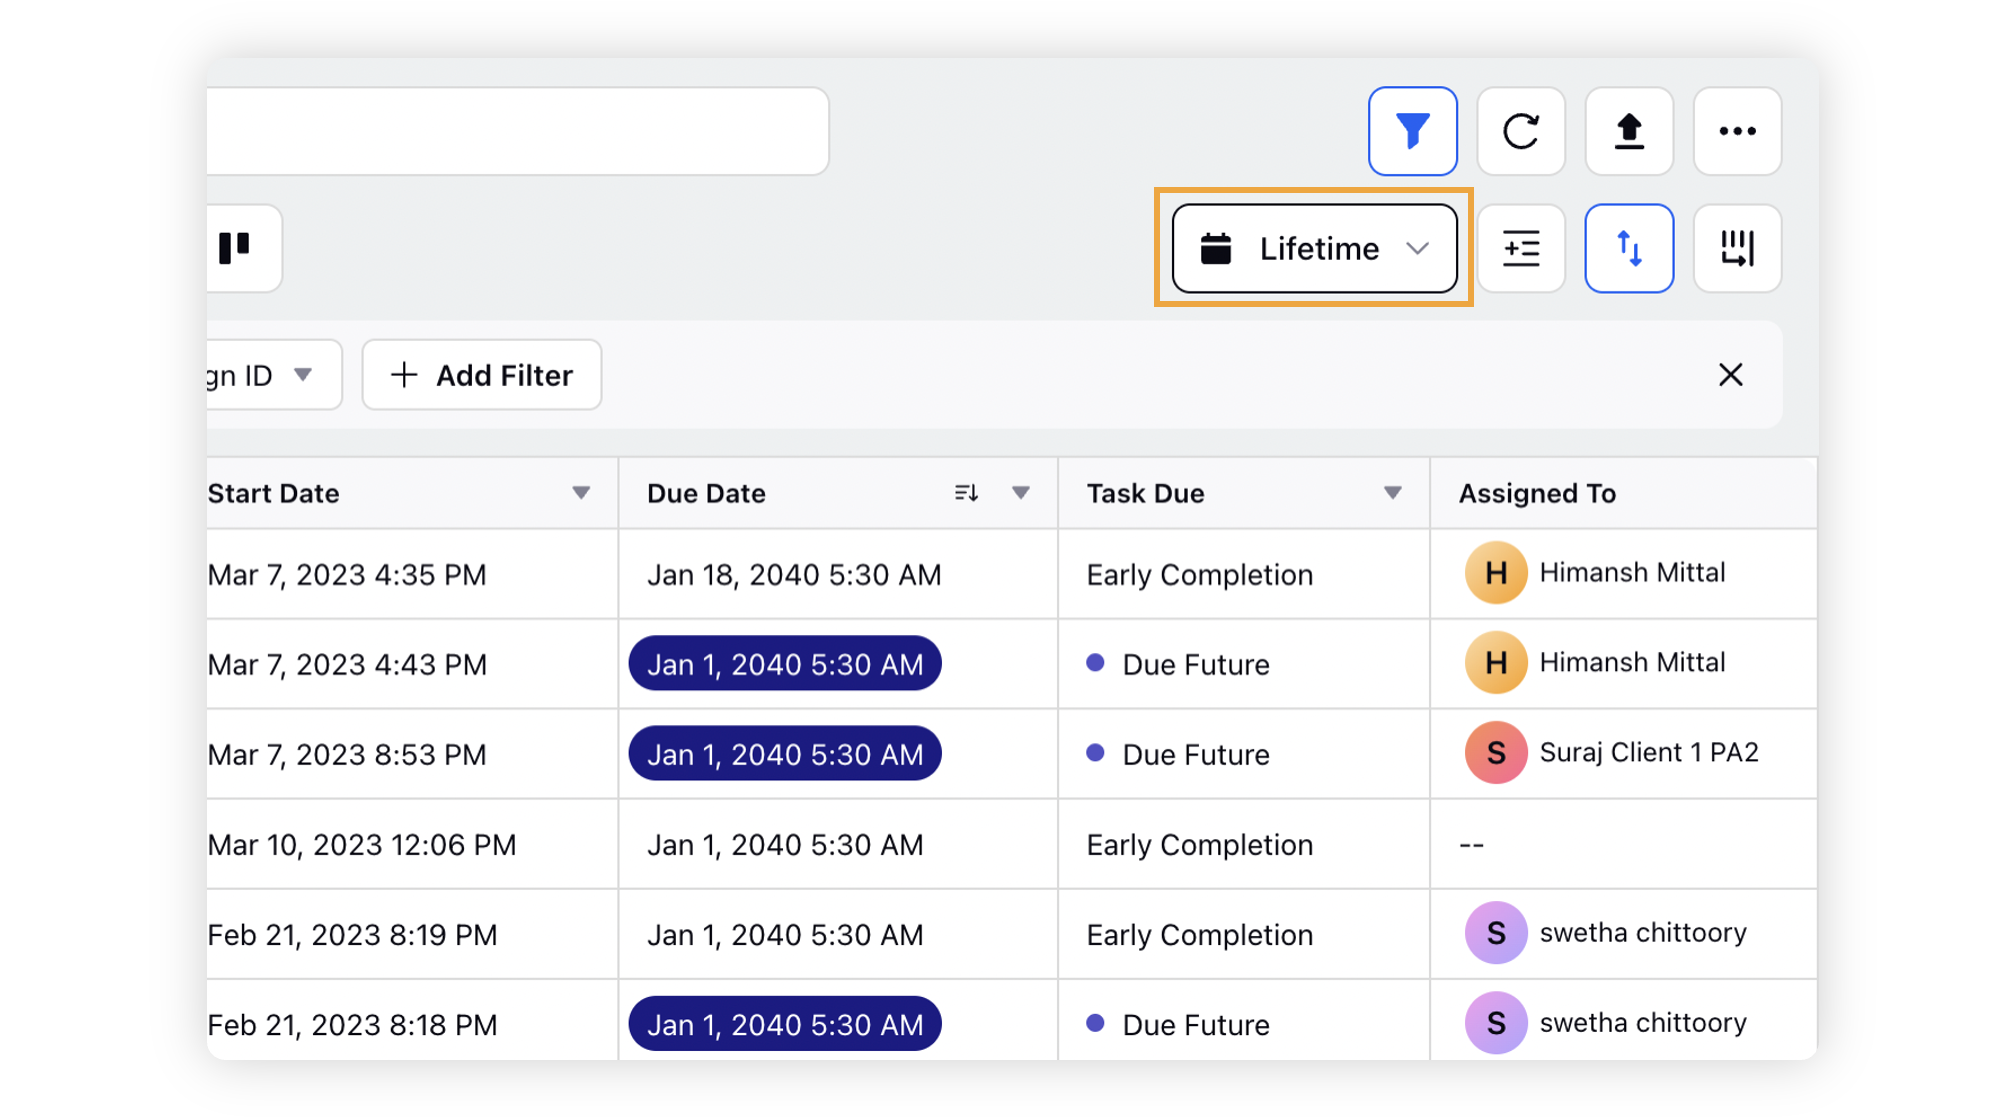
Select the Date Field ( available in both standard and custom dashboards ) to which you want to apply the date range. To filter campaigns and sub-campaigns based on when they are active, see Active Period Filtering.
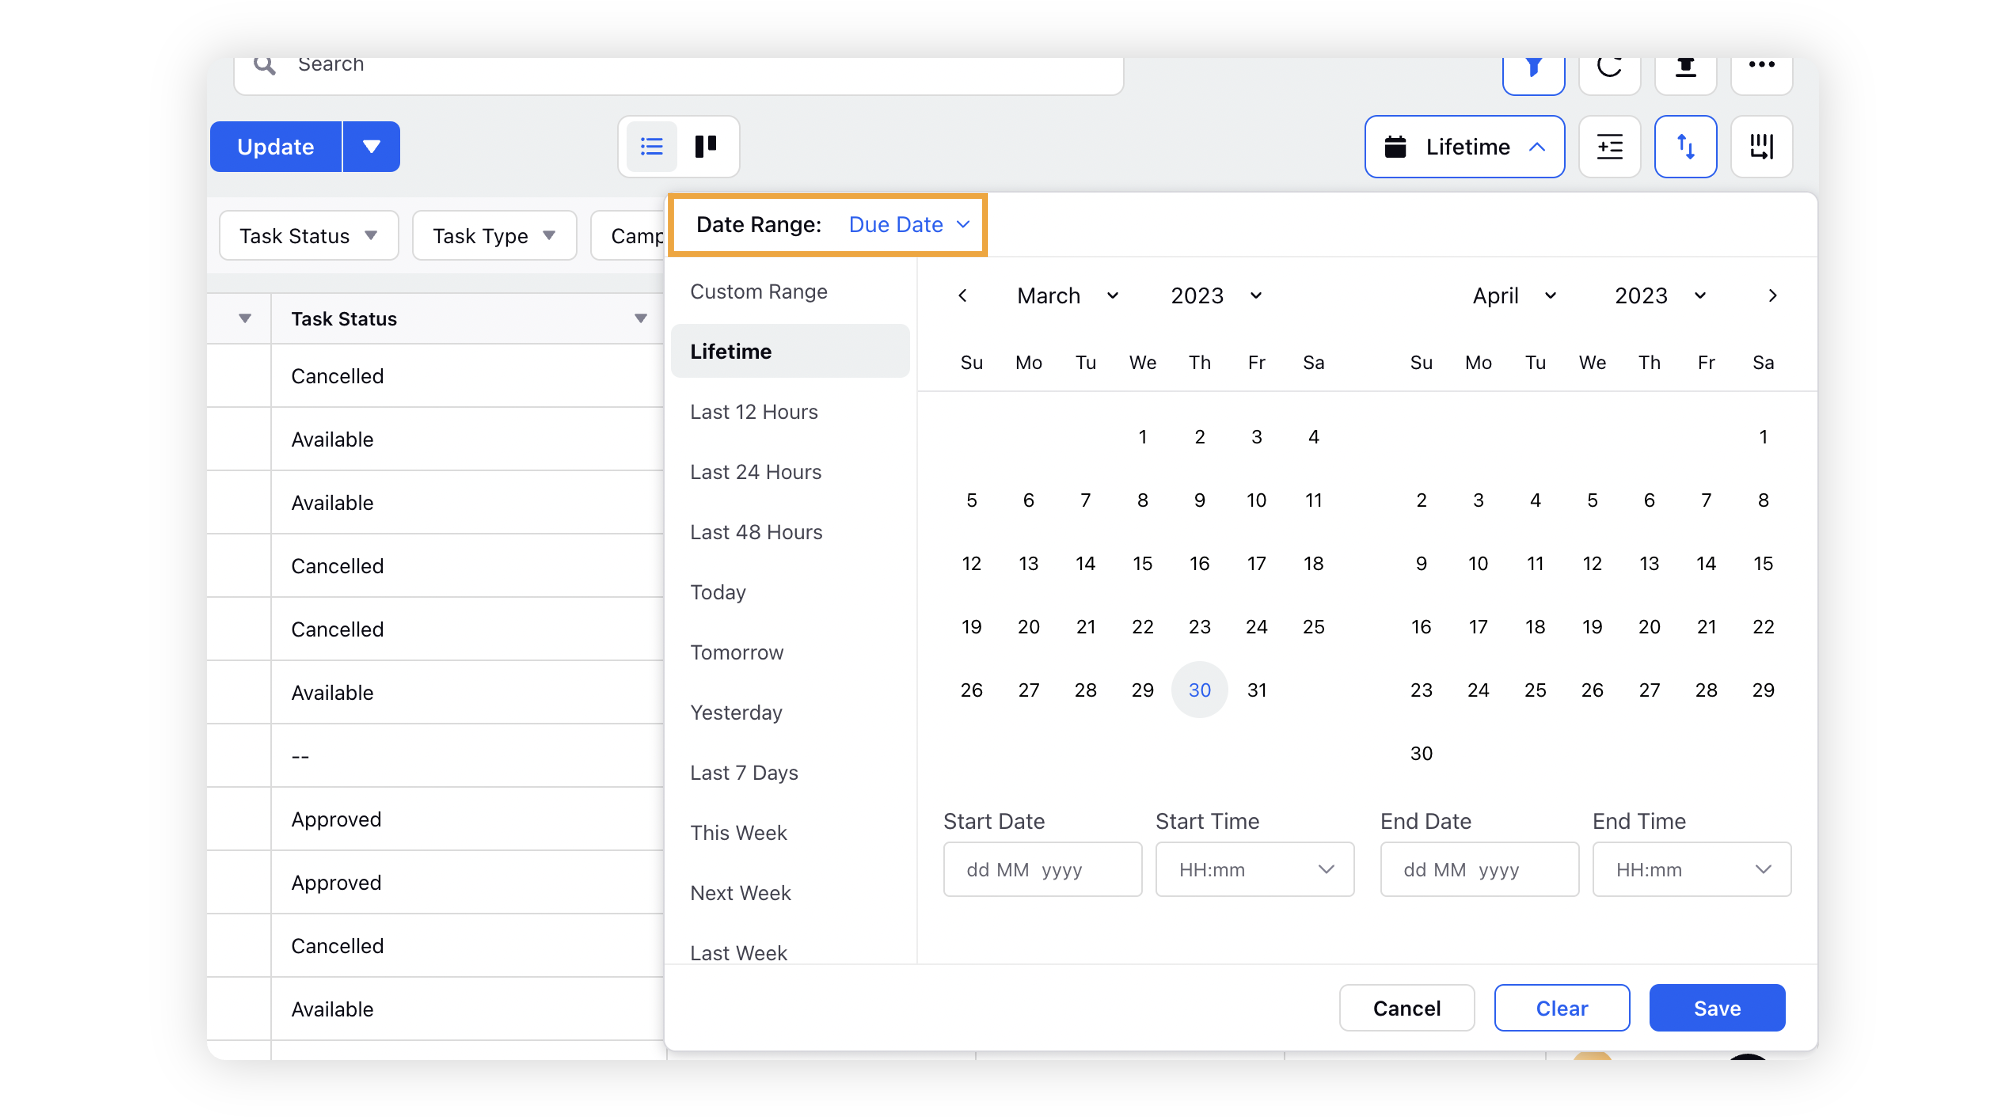
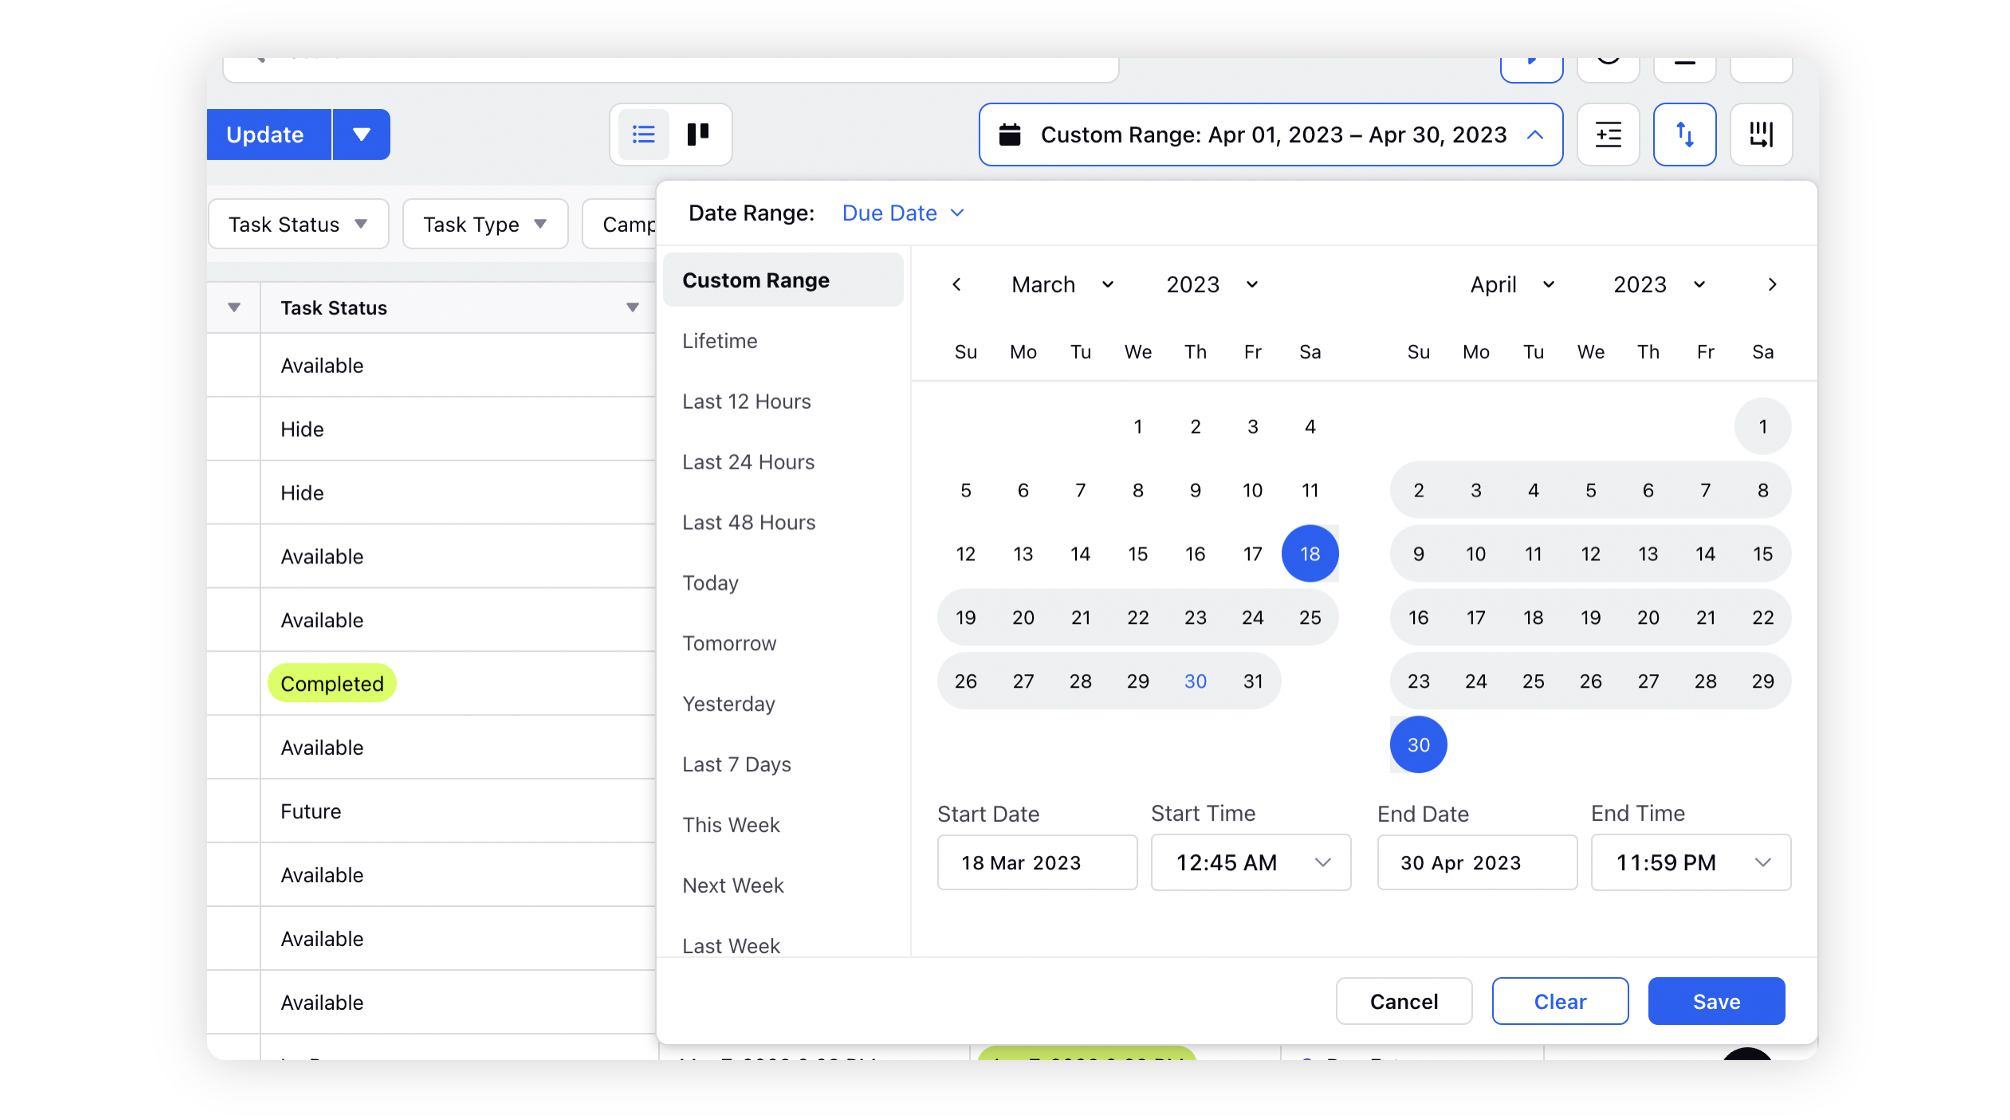
Select a custom range or directly select the default date range options (Lifetime, Today, Last 12 hours, Last 24 hours, This Week etc.)
Click ‘Save’ to get the data between the selected date range.
Active Period Filtering
Use Active Period to view campaigns and sub-campaigns that are active within a selected date range. This option is available in campaign and sub-campaign tabs in both standard and custom Production Dashboards.
Click the Date Range selector.
Select Active Period from the date type dropdown.
Select the required Start Date and End Date.
Click Save to apply the filter.
The dashboard displays campaigns and sub-campaigns that match any of the following conditions:
The start date is before the selected End Date, and the end date is after the selected Start Date.
The start date is before the selected Start Date, and the end date is after the selected Start Date.
For evergreen campaigns, the start date falls within the selected date range or before the selected Start Date.
