Publish to Whatsapp from Distributed

Updated 

This functionality allows Distributed users to send messages to multiple contacts simultaneously. It streamlines the communication process by enabling users to reach a broader audience with a single action, thus saving time and effort. By delivering a consistent message to all recipients, it ensures clarity and uniformity in communication. Additionally, this feature provides a native-like experience, making it user-friendly and intuitive for users to interact with the platform.

Use Cases

  • As a business owner, I can broadcast updates about new products, promotions, or events to my entire customer list.

  • As a marketing manager, I can send promotional messages to a large group of customers at once, ensuring that everyone receives the same information.

  • As a customer support agent, I can send out common troubleshooting steps or FAQs to multiple customers experiencing the same issue, improving response time.

Benefits

  • Improves Consistency and saves time by allowing users to send the same message to multiple contacts in a Single Action.

  • Boosts productivity by streamlining the communication process.

  • Provides a user-friendly experience with a native-like interface, making it easy and intuitive for users.

Note: This feature needs a specific setup. Please get in touch with your Success Manager to get this capability enabled in your environment.

Steps to Send a Message to a Contact

  • Log in to the Distributed environment.

  • Click the Publisher icon in the left menu bar and select Create Post.

  • Select the WhatsApp Business account from which the messages should be sent.

  • Under Choose Message Type, Standard Message to send a message to a single contact.

  • In the Message box, click on Click to Add Message Templates, which will open the Media Uploader screen.

  • From the Media Uploader, select the desired Message Template and click Add.

  • The other steps are similar to bulk publishing flow.

Steps to use Bulk Messaging Capability

  • Log in to the Distributed environment.

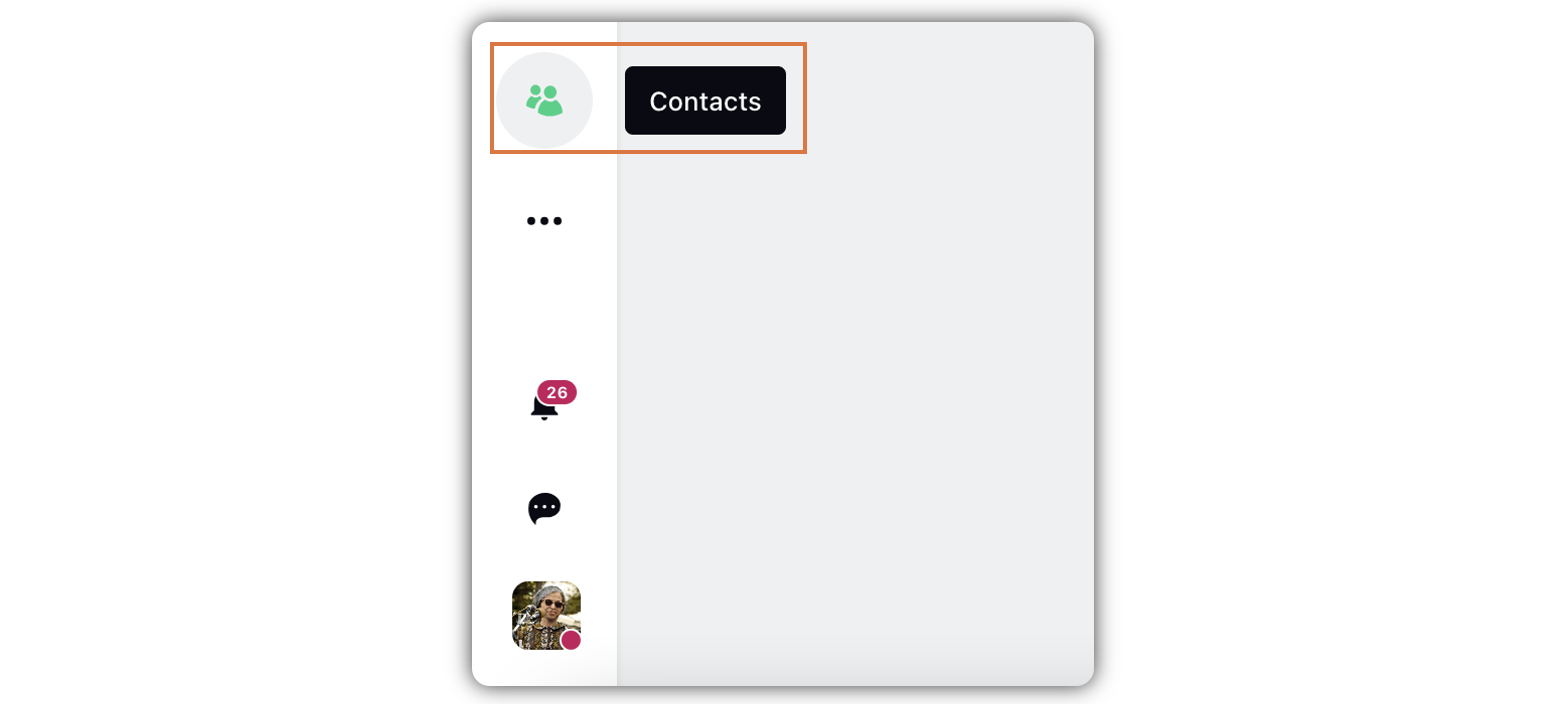
  • Click the Contacts icon in the menu bar to the left.

  • In the Contacts window, Select WhatsApp Business as a Channel and select the contacts by checking the boxes that appear when you hover over them.

Note: You can select a maximum of 50 contacts at a time.
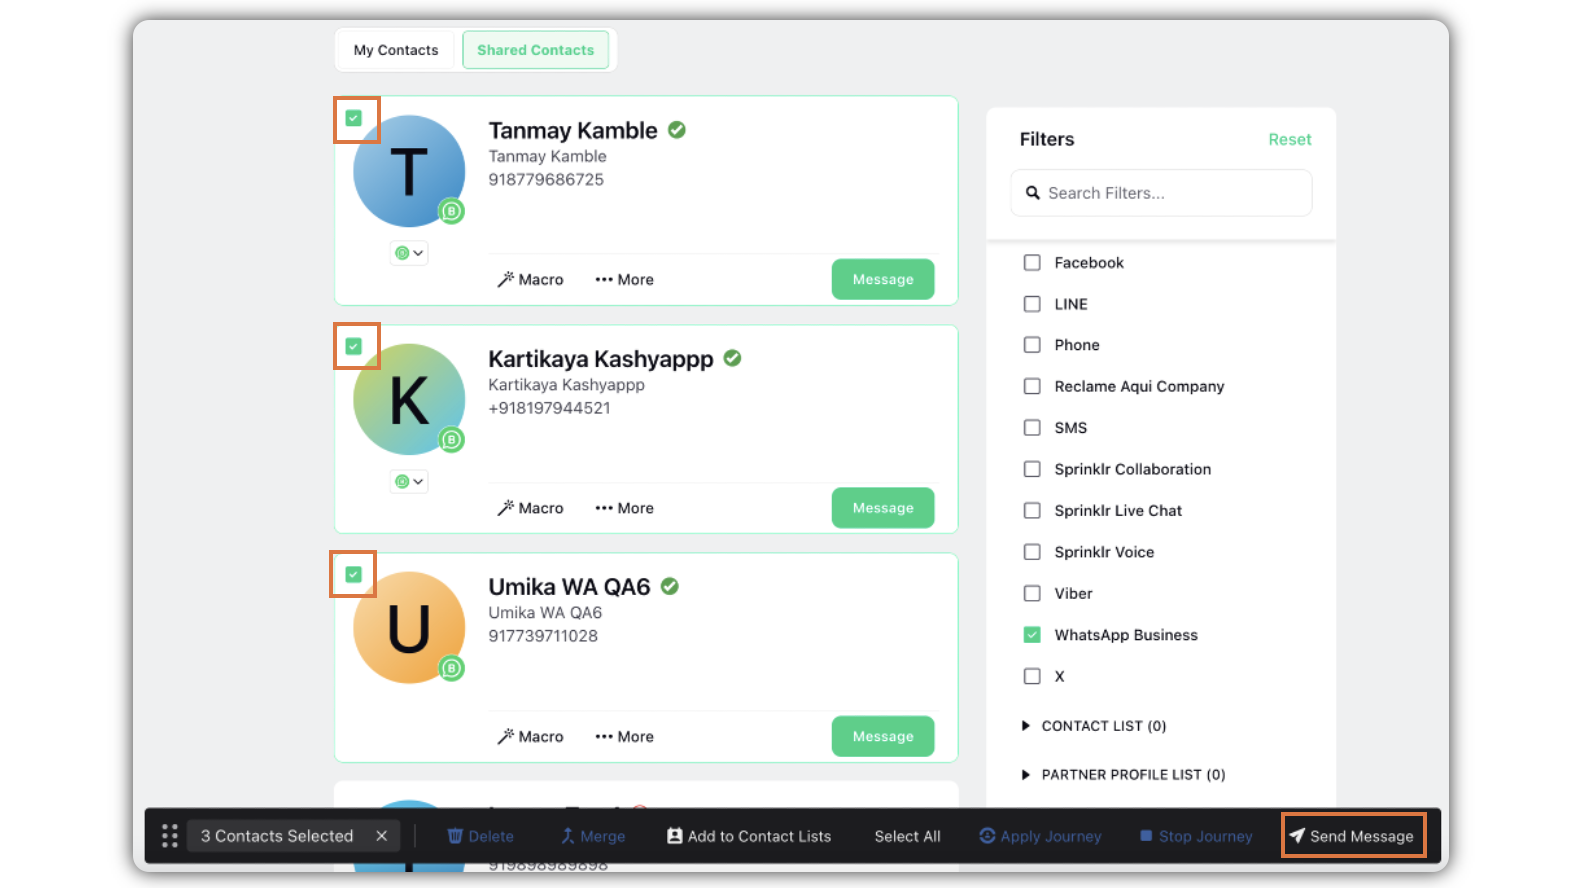
  • Click Send Message in the toolbar that appears at the bottom of the screen.

  • If the selected contacts are more than 50, then the Send Message option will be disabled with a message – ‘You cannot send bulk message to more than 50 contacts at once’.

  • After clicking on Send Message, the Create Post window will open.

  • Select the WhatsApp Business account from which the messages should be sent.

  • Under Choose Message Type, Bulk Publish will be selected by default. Here, you can also view the contacts to whom the message will be sent in bulk.

  • In the Message box, click on Click to Add Message Templates, which will open the Media Uploader screen.

  • From the Media Uploader, select the desired Message Template and click Add.

  • Select a campaign from the Campaign drop-down menu to associate your post with. You can also set your campaign as default by clicking Set as Default. Select a sub-campaign from the Sub-Campaign drop-down menu to associate your post with.

  • You can select URL Shortener to shorten every link that you paste in your message. This helps you make the most of the character limit.

  • Under Approval, set an Approval Type for your post. You can also add an Approval Note.

  • The preview of the post will render on the right pane. Also, you can click the Preview icon in the bottom left corner if you have minimized the Create Post window.

  • Click Post in the bottom right corner to publish the post on the selected Facebook Page immediately. If you are not ready to publish and want to save your post as a draft, click Save as Draft.

  • You can schedule your post for a future date and time by clicking the  Schedule Post in the bottom right corner. Select the month, date, and time of publishing. Click Apply to save your changes. 

  • To continue publishing the post, check the given Publish Another box in the bottom.

  • You will receive a snack bar notification after the post has been published successfully.

  • You will receive a snack bar notification “Message Publishing status report has been generated. Open notifications to view it

  • Click on the Notifications menu item, you will find a link to download the status of the bulk messages.

Note: Notifications will be sent only for Bulk Messaging of Contacts.

Related Articles


Publish FB Post from Distributed
 
Publish FB Reels/Stories from Distributed


Publish on TikTok from Distributed


Publish on Instagram from Distributed


Publish on X from Distributed