Add a Workspace Queue
Updated
Workspace Queues are used to store Inbound Messages. As a message moves through a workflow, the message's Workspace Queue can be manually changed in the Engagement Dashboards, or through the application of a macro. In this article, we will go over how to add a Workspace Queue.
Steps
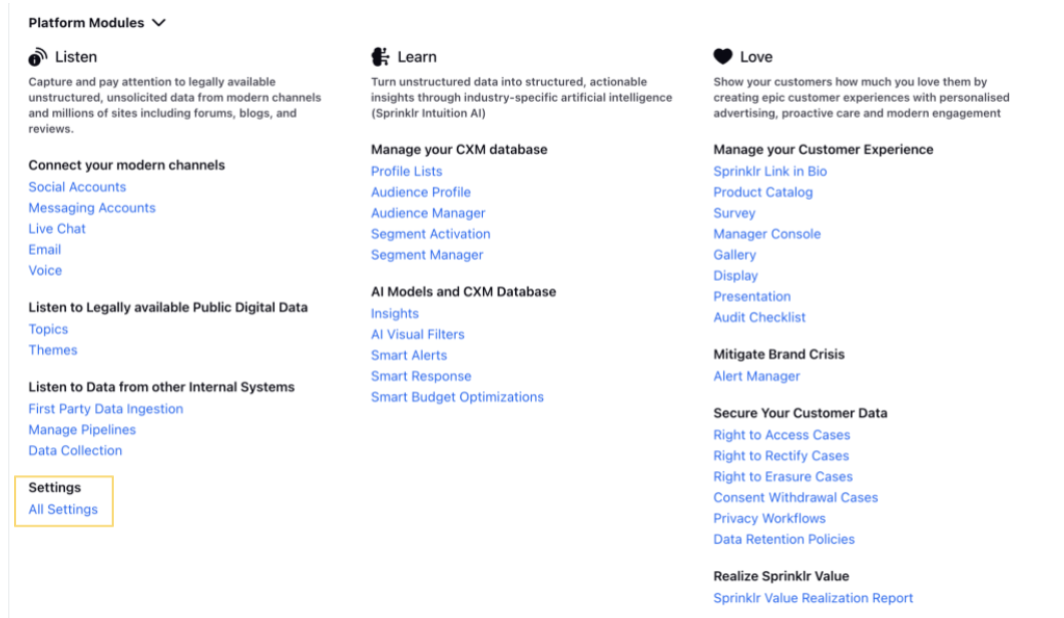
Click the New Tab icon
. Under Platform Modules, click All Settings within Listen.
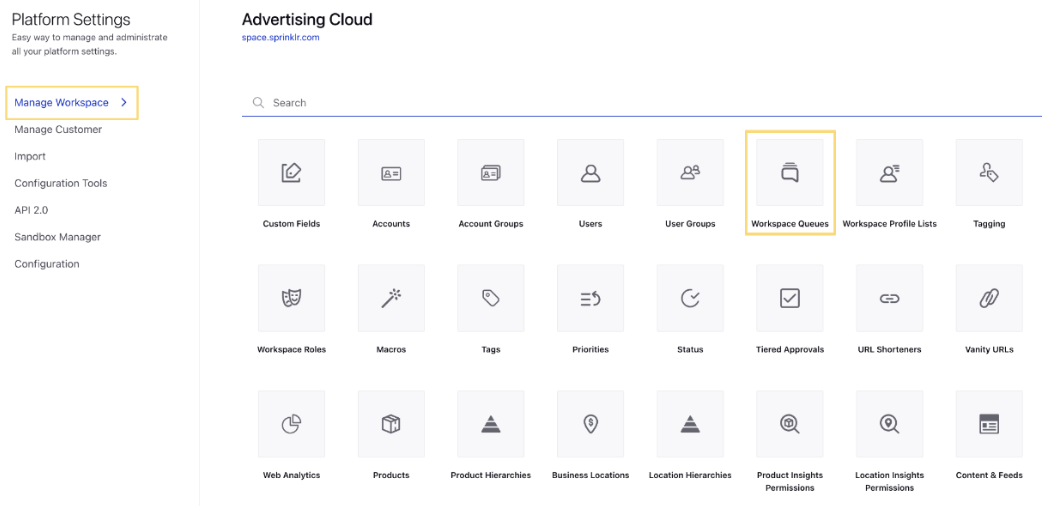
In the Platform Settings window, click Manage Customer in the left pane and select Queues in the right pane
On the New Queue window, enter the details. For more information, see Workspace Queues — Field Descriptions.
In the New Queue creation form, enter the details. Here are the fields and corresponding descriptions to help with:
Term | Description |
Name | Enter a queue name. |
Queue Type | Select the queue type from the drop-down menu. For workspace queues only one option is available (Inbound Messages). |
Description | Enter a queue description. |
Queue Owner | Select a queue owner from the drop-down menu. You can only select one owner at a time. |
Subscribers | Select queue subscribers from the drop-down menu. You can select the Users or User Groups who will receive messages associated with this queue. |
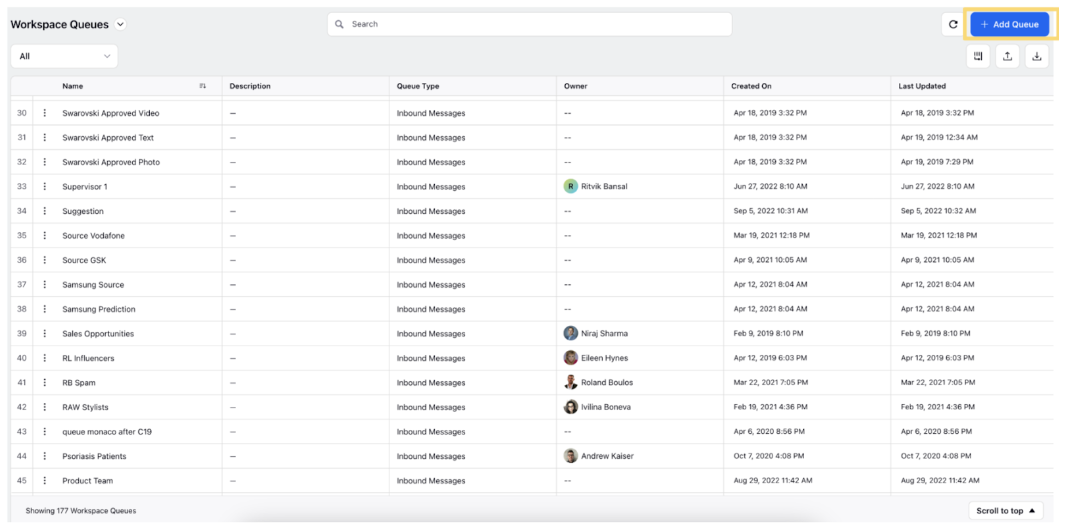
Click Save in the bottom right corner to save your created workspace queue.