Adding a Microsoft Exchange Email Account
Updated
A Microsoft Exchange email account is a type of email account that uses the Microsoft Exchange Server for email communication. Microsoft Exchange email accounts are commonly used in businesses and organizations of all sizes, as well as by individuals who require advanced email and collaboration features. You can directly add your organization's Microsoft Exchange email account into Sprinklr. After adding the Microsoft Exchange email account in Sprinklr, your agents can start using Sprinklr to interact with customers via Email instead of the Native mailbox.
 Note: Sprinklr will use the newer Microsoft Graph API to both fetch (grab) emails from the inbox and publish (send) emails. For further details, refer to Migrate Microsoft Exchange Accounts from EWS API to Microsoft Graph API.
For Existing Customers:
If your current Exchange accounts are configured using EWS (Exchange Web Services), your Sprinklr Success Manager (SM) will reach out to you regarding the migration to the Microsoft Graph API.
Alternatively, you may also reach out directly to your Success Manager to initiate the migration.
Required Microsoft Graph Permissions
When you migrate to the Microsoft Graph API, make sure the Exchange tenant grants the following permissions:
openid
offline_access
profile
Mail.Read
Mail.Read.Shared
Mail.ReadBasic
Mail.ReadWrite
Mail.ReadWrite.Shared
Mail.Send
Mail.Send.Shared
These permissions are required because Microsoft Graph uses a different authorization scope than the earlier EWS-based integration. For more details on permission, refer to Microsoft Graph Permission Reference and Review Permissions Granted to Enterprise Applications.
Note: If the Exchange account doesn't work correctly after you add or re-add it following a password update or permission change, even when all required Microsoft Graph API permissions are granted, try adding the account again one or two times. In some cases, updated credentials or permissions can take a short time to synchronize. If the issue persists after multiple attempts, create a support ticket for further investigation.
(a) To add a Microsoft Exchange account
Click the New Tab icon
. Under Governance Console, click Social Accounts within Listen.
On the Accounts window, click Add Account in the top right corner.
On the Add Account window, search and select Microsoft Exchange.
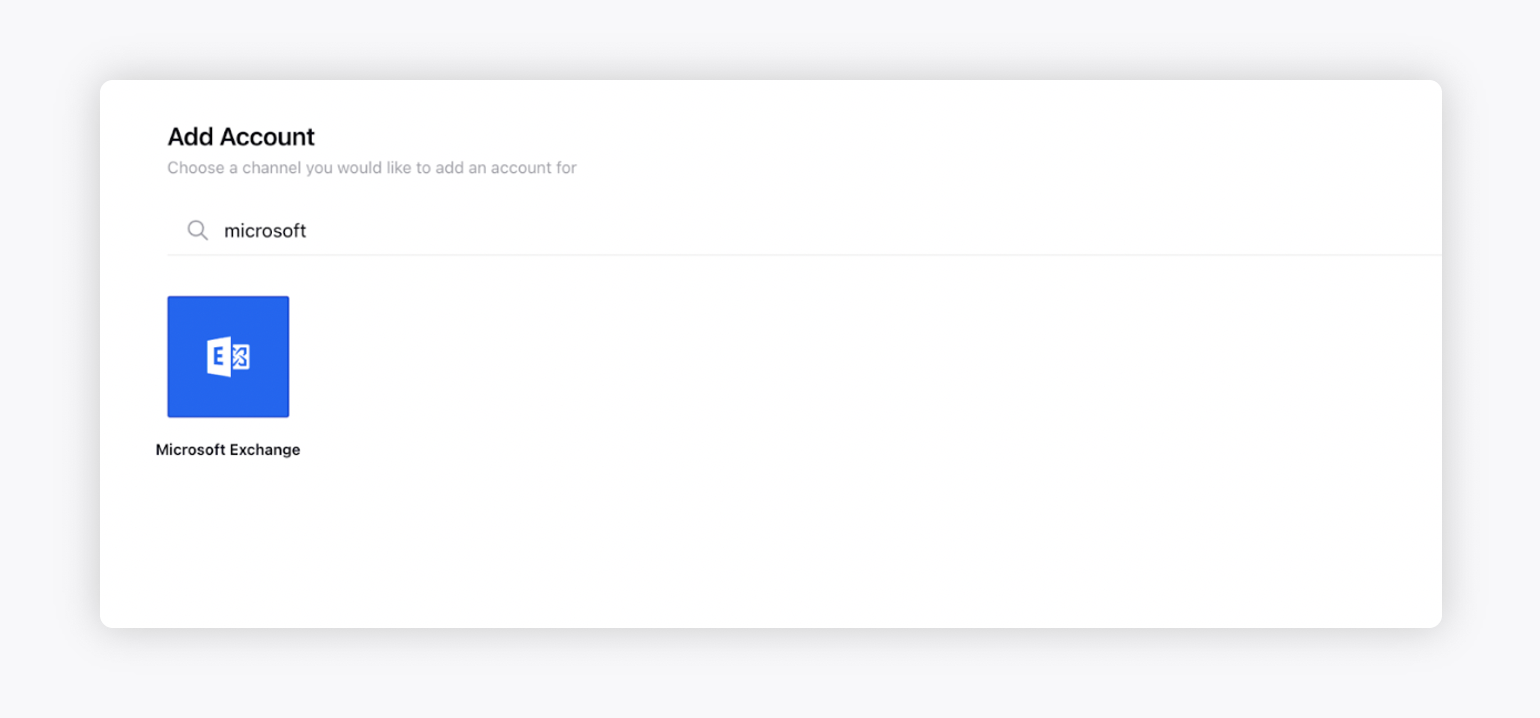
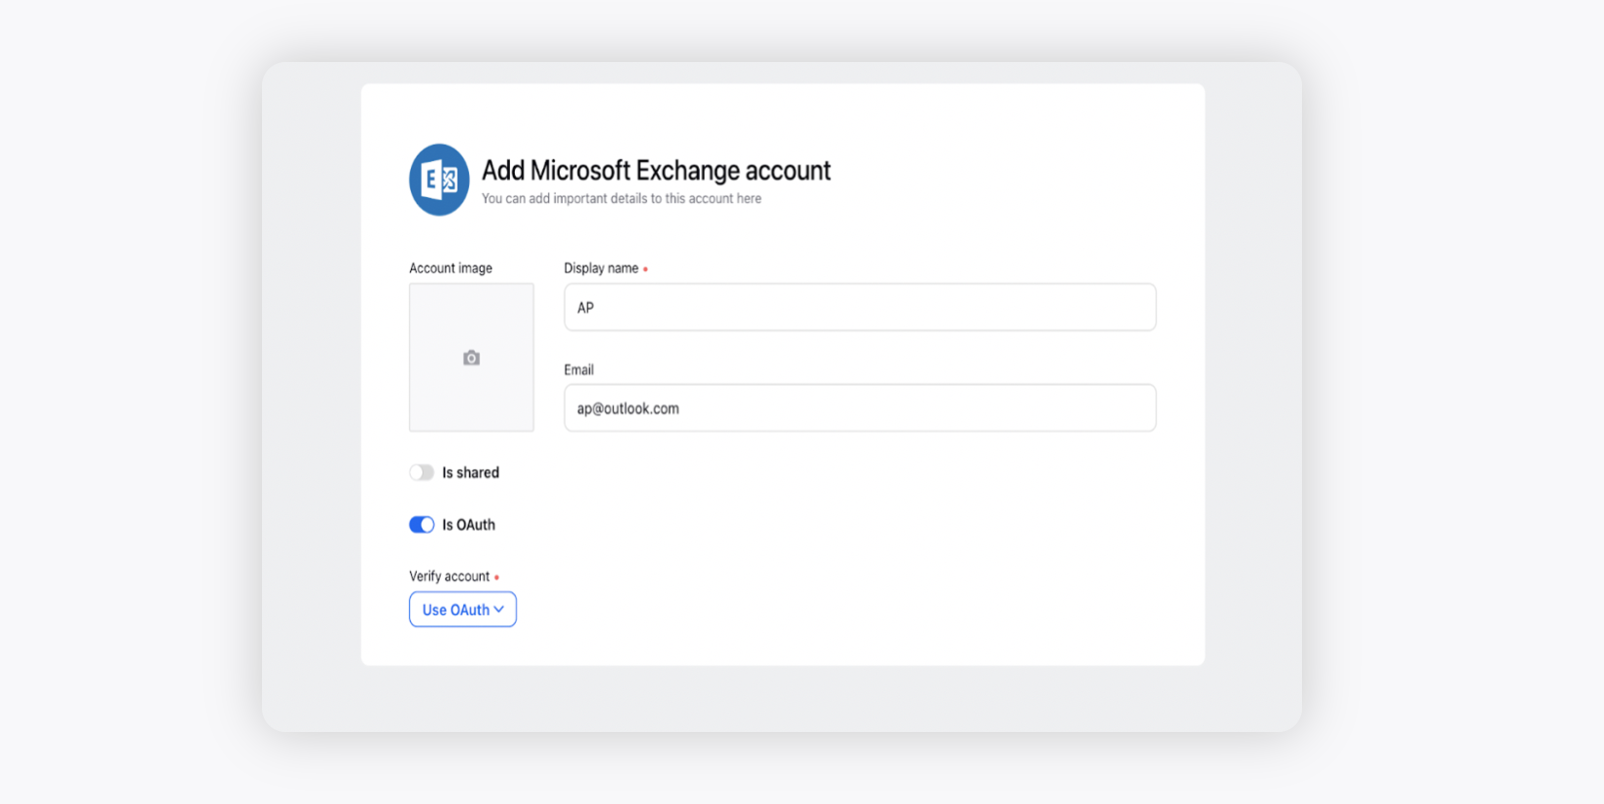
4. On the Add Microsoft Exchange account window, enter a Display name of your choice, and add your Email.
5. Then enable Is OAuth, as shown below.
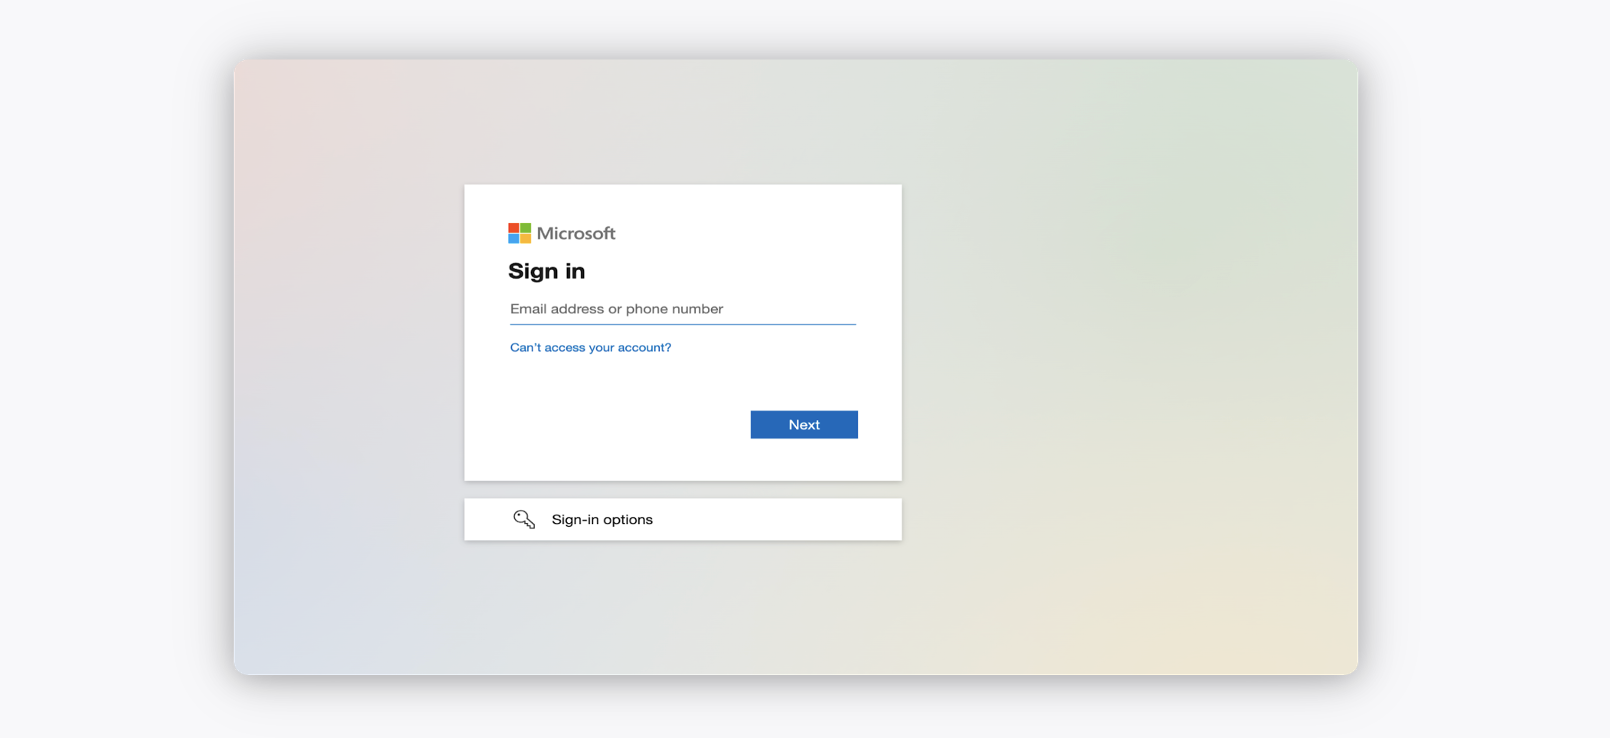
6. Verify your account using OAuth by signing in
7. Click Save in the bottom right corner.
Note: If changes in your Microsoft Exchange tenant affect authentication, you must re-add the account in Sprinklr using updated credentials. Re-adding the account updates the existing configuration—no duplicate account is created.
Note:
By default Sprinklr will fetch emails from the inbox folder of the email account. Sprinklr can also fetch emails from other custom folders. To learn more about getting this capability enabled in your environment, please raise a support ticket at tickets@sprinklr.com.
(b) To add a on premise Microsoft Exchange Account
An on-premise Microsoft Exchange email account is an email account that is hosted on your company's own servers or data center, as opposed to a cloud-based solution such as Exchange Online.
For on‑premises Exchange accounts, the email server runs on the organization’s own infrastructure and is protected by the organization’s firewall. As a standard security measure, most on‑premises environments block requests from external IP addresses by default.
Sprinklr connects to on‑premises Exchange through API requests that originate only from designated Sprinklr proxy IP addresses. These IP addresses are shared during the setup process so the organization can clearly identify the source of incoming requests.
To enable Sprinklr to connect and process emails, you must whitelist the provided proxy IP addresses on your firewall. This ensures secure, controlled communication between the on‑premises Exchange server and the Sprinklr application, while continuing to block all other external traffic.
Note: Raise a support ticket to get the Sprinklr IP addresses which must be whitelisted by your IT Team.
Steps to add an On Premise Account -
Click the New Tab icon
. Under Governance Console, click Social Accounts within Listen.
On the Accounts window, click Add Account in the top right corner.
On the Add Account window, search and select Microsoft Exchange.
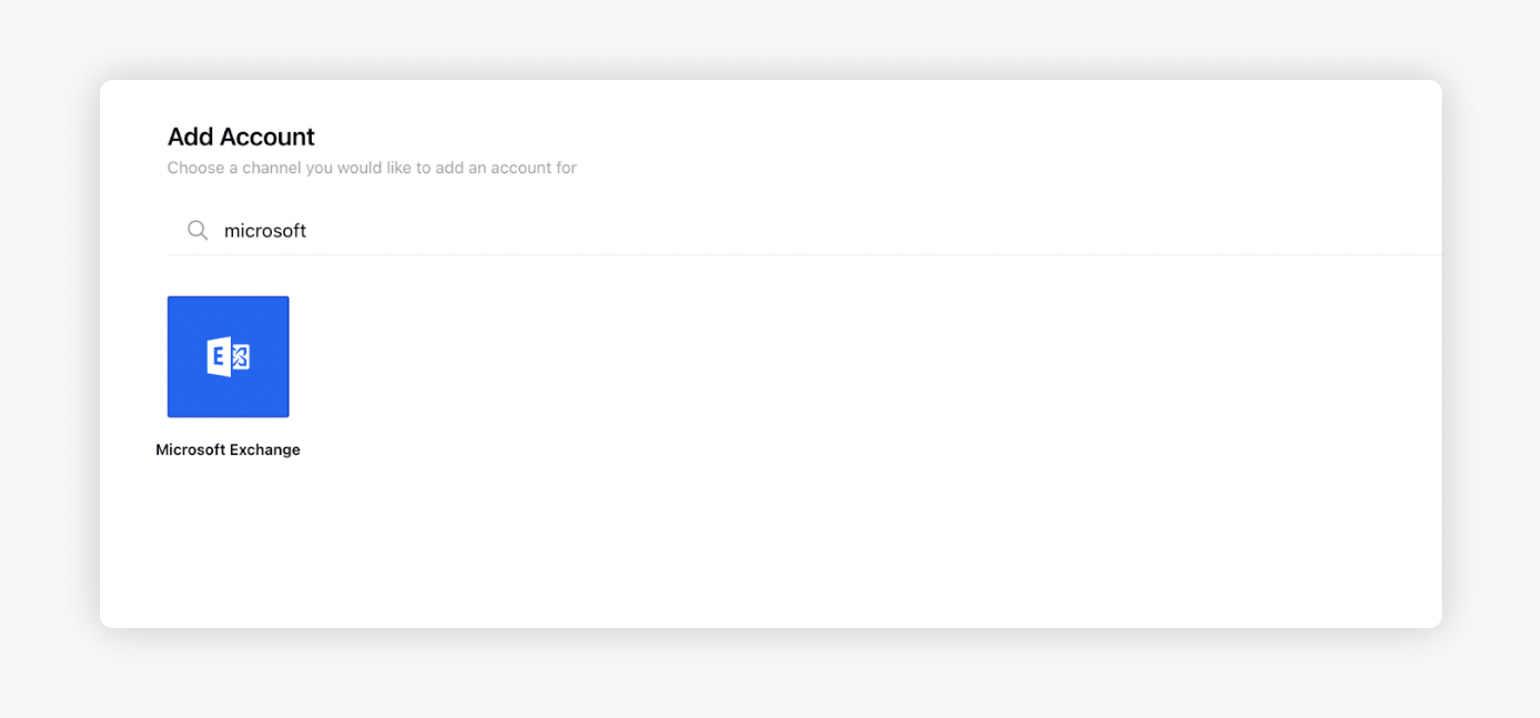
4. On the Add Microsoft Exchange account window, enter a Display name of your choice, and add your Email.
5. Here, Do not use “Is Outh” , instead we need to add the account by adding the ID, Password and the Account URL
6. For account URL please use the following format -
https://<webmailServer>/EWS/Exchange.asmx (<Webmailserver> = Customer’s URL where they natively login)
7. Click Save in the bottom right corner.
(c) To add a shared mailbox
Shared mailboxes are used when multiple people need access to the same mailbox, such as a company information or support email address, reception desk, or other function that might be shared by multiple people.
Note: Users with permissions to the group mailbox can send as or send on behalf of the mailbox email address if the administrator has given that user the permission to do that. (For more information, see Create a shared mailbox).
You can add your organization's shared mailbox into Sprinklr by authenticating using an email with which the shared mailbox is shared.
Note: A shared mailbox does not have its own credentials. You must use a user account with access to authenticate it.
Ensure that the authenticating user has all required permissions to send, publish, and retrieve emails. Missing permissions can cause email publishing or retrieval to fail in Sprinklr.
Click the New Tab icon
On the Accounts window, click Add Account in the top right corner.
On the Add Account window, search and select Microsoft Exchange.
Add a shared email by sliding the toggle Is shared to the right.
Next, enter the email id of the shared mailbox in the Shared with email field.
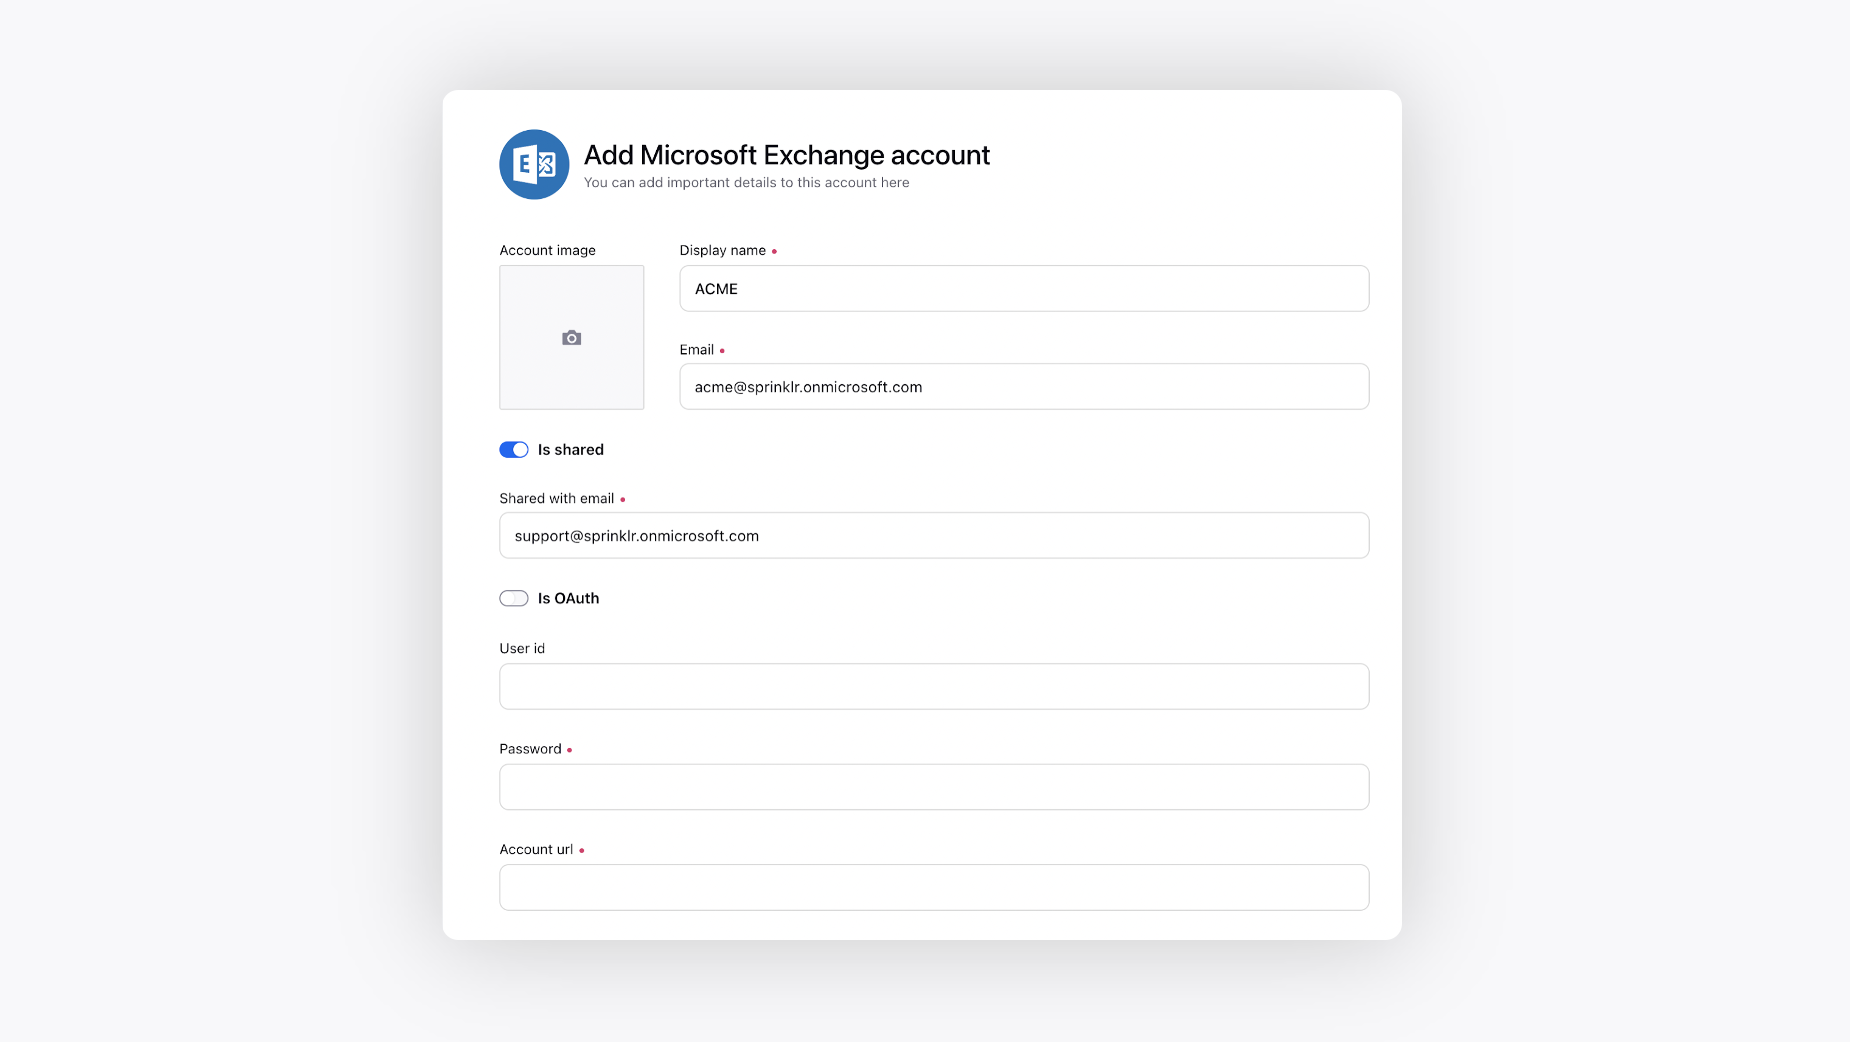
6. Use OAuth and login with the account with the original mailbox (entered in”Shared with email” field).
As here we are trying to add acme@sprinklr.onmicrosoft.com account which shares it’s mailbox with support@sprinklr.onmicrosoft.com, thus, to add the account when we use OAuth, we’ll need to login with support@sprinklr.onmicrosoft.com as this account has the original mailbox which is shared with acme@sprinklr.onmicrosoft.com.
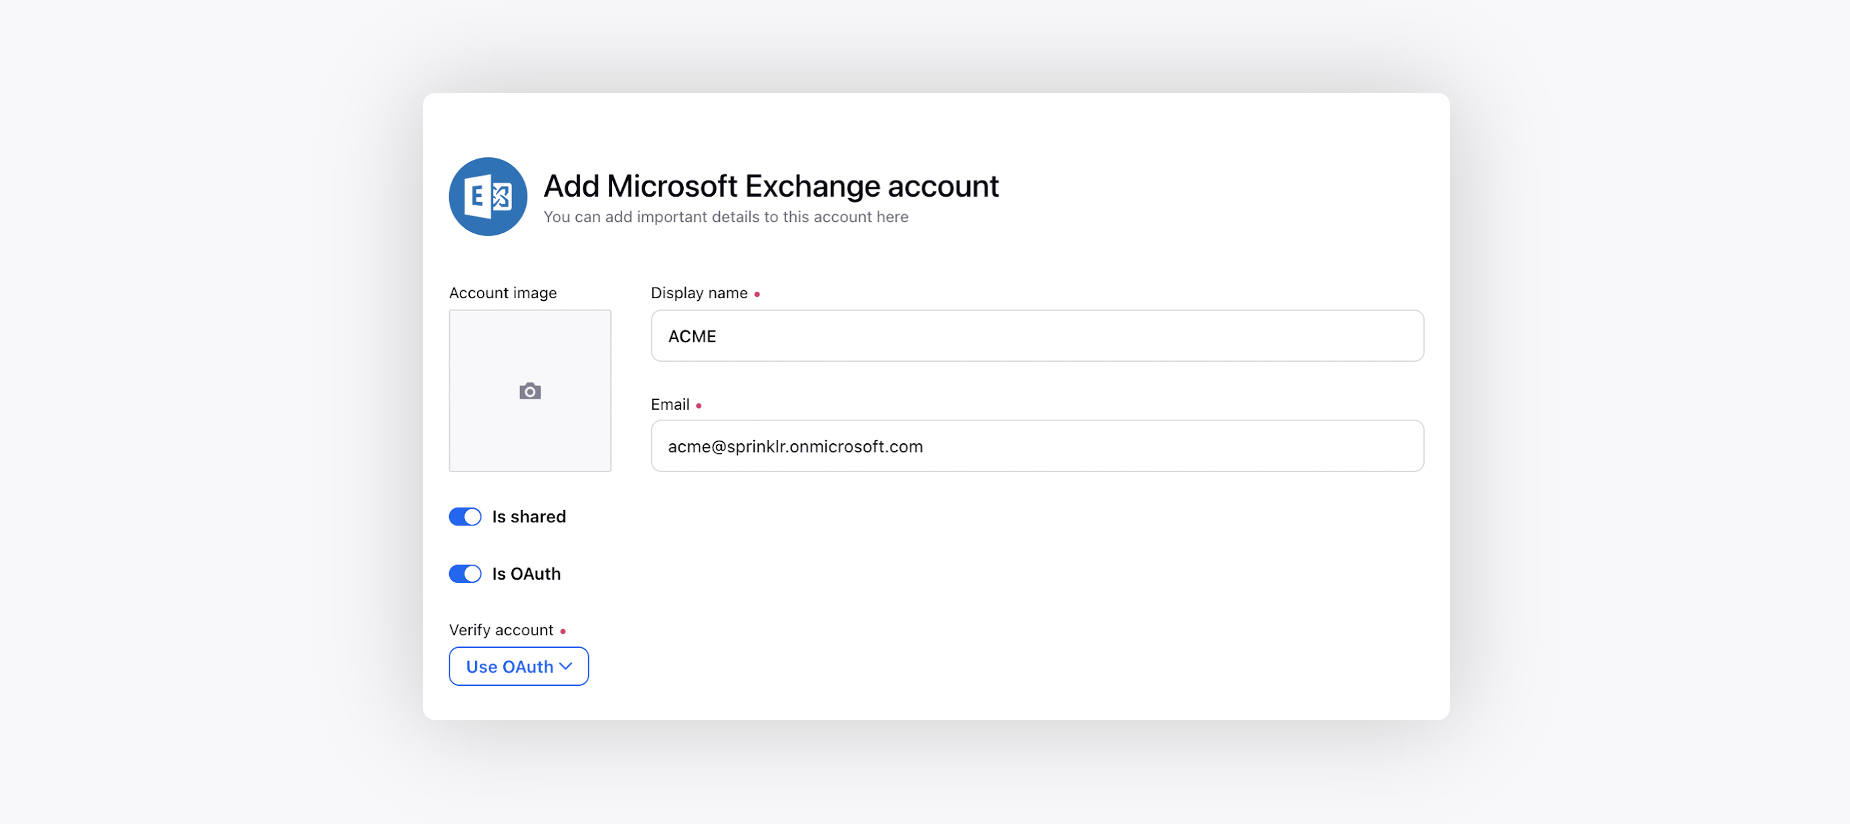
7. Click Save in the bottom right corner.
Note: If the shared mailbox is not functioning after being added to Sprinklr, verify that the user account used to add the shared mailbox has the required permissions. Refer to the Microsoft article for details - Send an email from another User's mailbox. |
Note: Update Authentication for a Shared Mailbox
When adding a shared mailbox, authentication is performed using a user account. If the user who originally authorized the mailbox leaves the organization or no longer has access, you must re-authenticate the mailbox using another user account.
Key points:
- Your new user must have the required permissions for the shared mailbox.
- Do not edit, disable, or delete the existing mailbox configuration.
To update authentication:
- Go to the Accounts section.
- Select Add Account and re-add the same shared mailbox using a new authorized user.
When you re-add the mailbox:
- No duplicate account is created.
- The existing mailbox is automatically updated with the new authentication details.
Important:
Before re-adding the mailbox, ensure the new user has the necessary access permissions. Missing permissions can cause issues after the update.
Note: Email Trail Extraction
Even if Email Trail Extraction is enabled for an account, you might not see the extracted email trail for every message. This can occur when Microsoft Exchange extracts the email trail instead. To view the extracted trail in these cases, open the message, select More options (...), and then select View Original.