Add Support for Azure OpenAI
Updated
You can integrate Azure OpenAI into AI+ Studio using two primary methods:
By Sprinklr's provided keys
By Own Keys
Additionally, we also support fine-tuning Azure OpenAI models to suit specific needs and domains, enhancing their accuracy and performance.
Below is a detailed guide on how to set up and utilize Azure OpenAI through either of these approaches.
Sprinklr Provided Azure OpenAI
1. Enabling Sprinklr Provided Azure OpenAI: The partner can get Sprinklr Azure OpenAI enabled by reaching out to the support team. It’s enabled via the DP GEN_AI_DEFAULT_API_PROVIDER with the value AZURE_OPEN_AI.
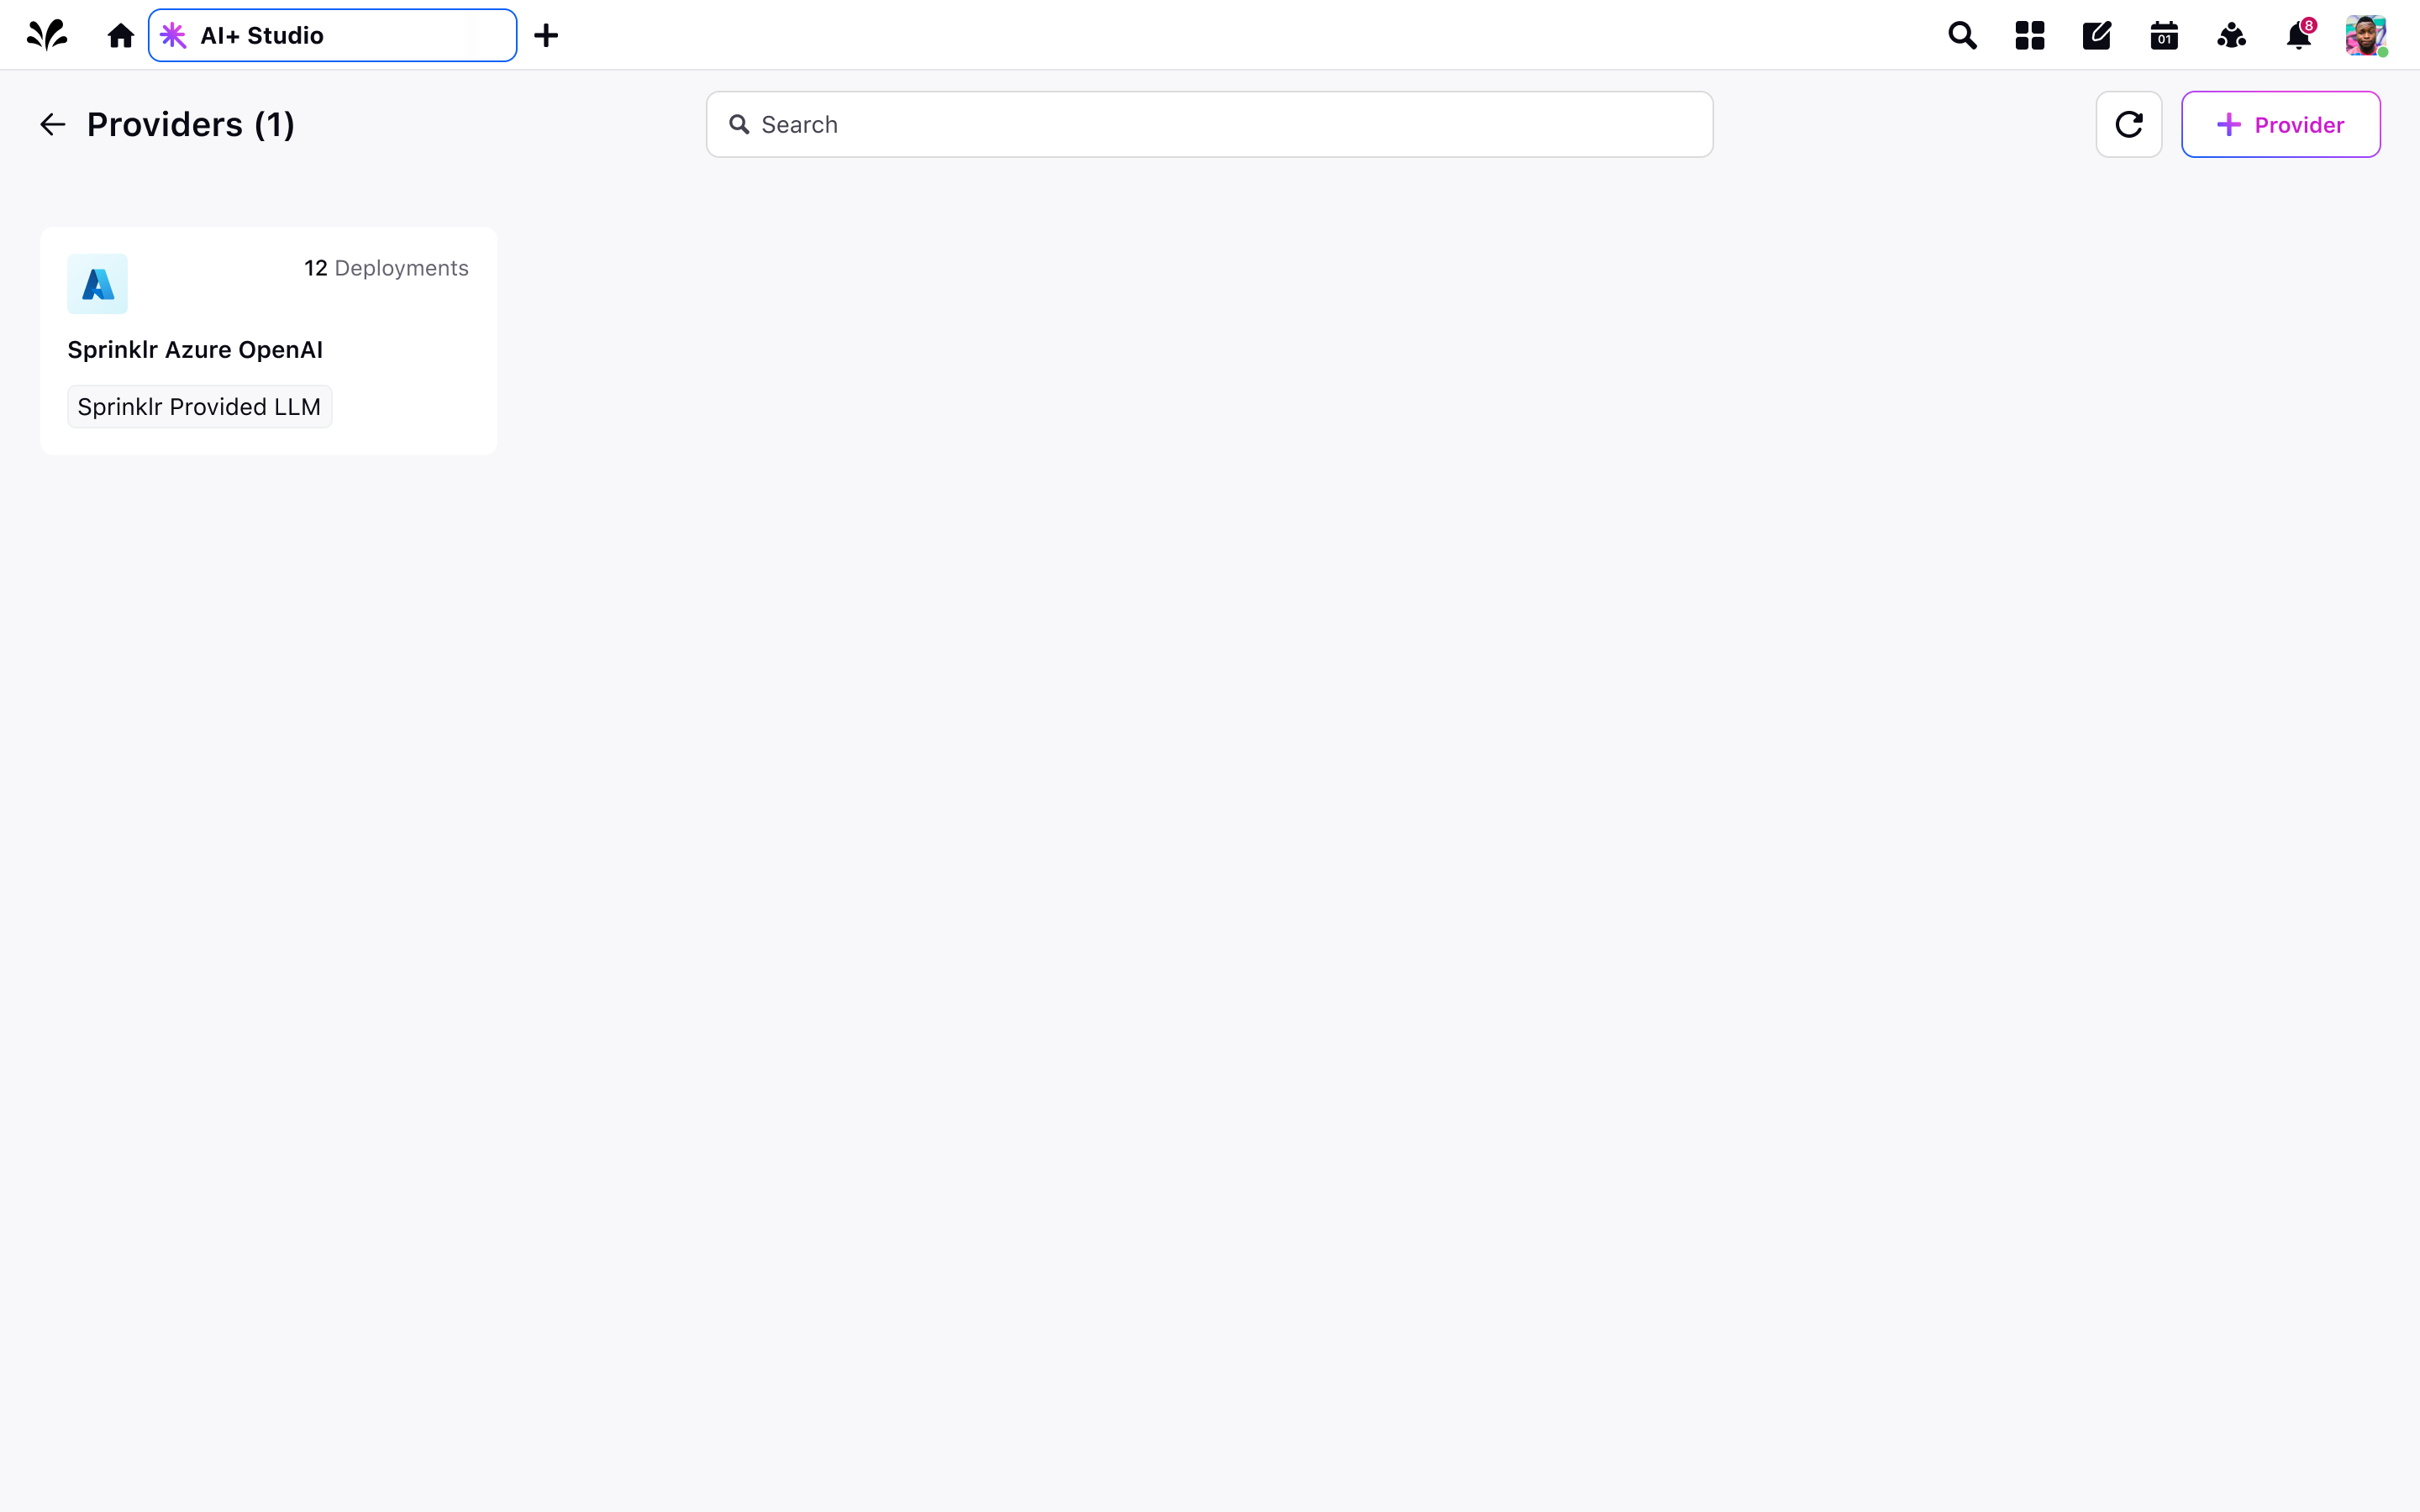
Once enabled, you can see a provider card corresponding to Azure OpenAI on the Providers RM screen with the name “Sprinklr Azure OpenAI” and a tag saying “Sprinklr Provided LLM”.
2. View Default Base Models: For the added Sprinklr Provided Azure OpenAI, you can view all the default models that we offer by clicking on “View Models” that appears on hovering over the provider card.
![]() Note: If you require any model that is not present within the default offering, kindly reach out to the support team for assistance on this matter.
Note: If you require any model that is not present within the default offering, kindly reach out to the support team for assistance on this matter.

3. Fine-Tuning Capability: You can also create custom models via fine-tuning based on specific needs and domain, enhancing model performance and accuracy for their use cases.
4. View Default Azure Deployments: For the added Sprinklr Provided Azure OpenAI, you can view all the default Azure deployments that we offer by clicking on “View Deployments” that appears on hovering over the provider card.
An Azure deployment is the process of setting up a model, specifying details like its name, pricing plan (SKU), and how much compute power (capacity) it will use. It makes the model ready to handle requests in your application.
You can also add a deployment yourself by clicking on “Add Deployment” button on top right of the deployments RM screen

Add Azure OpenAI using Own Keys
The partner can integrate Azure OpenAI using their own keys associated with their license. To do this, they can follow the steps outlined below:
![]() Note: To use Azure BYOK (Bring Your Own Key) integration, you must have Cognitive Services permissions enabled in your Azure account.
Note: To use Azure BYOK (Bring Your Own Key) integration, you must have Cognitive Services permissions enabled in your Azure account.
1. Click on “Add Provider” CTA on top right of the providers RM screen.
2. Select Azure OpenAI from the dropdown below and click on “Next”.

3. Assign an appropriate name to the provider as preferred.
4. Enter the required key details to access your license with Azure OpenAI
5. Select a fallback model. A fallback model is a backup model which would be used for global deployments incase this is the first provider being added for the partner. This is to ensure continuity and consistent functionality of your AI features
6. Once you fill in all details, click on “Save”.

You will be able to see the Azure OpenAI Provider added on the providers RM screen with a tag saying “LLM using Own Key”
![]() Note: You can only edit the name of this provider and not the key details or the fallback model.
Note: You can only edit the name of this provider and not the key details or the fallback model.

You can view all the base/ fine-tuned models and Azure Deployments already present by clicking on “View Models” and “View Deployments” respectively on hovering over the card.
Adding an Azure Deployment
To use a model in a use-case, you must first set it up by creating an Azure Deployment. To do so, follow the below steps:
1. Click on the “Add Deployment” button that appears on top right of the Deployments RM screen.
2. Fill in the details required – Name, SKU, Capacity and Model.
Name: Enter a unique name for the deployment you are creating.
SKU: Specifies the pricing tier and performance configuration, determining the resource's features, speed, and cost.
Capacity: Defines the amount of compute power or resources allocated to the deployment, affecting how many requests it can handle at a time.
Model: Select the model to be deployed.
3. Once you’ve added the details, click on “Save”.

This Azure deployment will be visible on the Deployments RM screen and can be used across different AI features within the “Deploy your Use-Cases” section as shown in the screenshot below.

Fine Tuning of Azure OpenAI Models
Partners can fine-tune models based on their specific needs and domain, enhancing model performance and accuracy for their use cases.
The process is same as fine-tuning of OpenAI Models, refer steps below:
1. To fine-tune a model, click the “Tune Model” button in the top right corner of the AI Models screen.

2. Basic Details Screen: Select the model you wish to fine-tune from the dropdown list. This list includes both fine-tunable base models and existing fine-tuned models.
Enter a meaningful name and description for your fine-tuned model.

3. Tuning Datasets Screen: Upload your training dataset in either JSON or JSONL format. Ensure the dataset includes a diverse set of examples that closely resemble the types of interactions the model will handle during production.
Validation dataset: You can also upload a validation file to evaluate the accuracy and performance of your fine-tuned model.

4. Advanced Settings: You can fine-tune additional parameters to further customize the training process:
Batch Size: Controls the number of samples processed before the model's internal parameters are updated. Enter manual value or leave it for auto-assignment based on dataset size.
Number of Epochs: Specifies how many times the entire dataset will be used to train the model. Enter manual value or leave it for auto-assignment based on dataset size.
Learning Rate Multiplier: Adjusts the speed at which the model learns during training. Enter manual value or leave it for auto-assignment based on dataset size.
You can refer here on further details for adjusting the parameter values -> Link

5. Click Tune to start the fine-tuning process. This may take a few minutes to complete. You will receive a notification once the process is finished. After that, you can use your fine-tuned model across any of your AI+ driven use cases.
![]() Note: For additional support or customization, please contact the support team.
Note: For additional support or customization, please contact the support team.