Add Support for Google Vertex
Updated
Within the “Providers and Models Settings” section, you can integrate and manage Google Vertex using two primary methods:
By Sprinklr's provided keys
By Own Keys
![]() Note: Fine-tuning for Vertex Models in AI+ Studio is currently unavailable.
Note: Fine-tuning for Vertex Models in AI+ Studio is currently unavailable.
Below is a detailed guide on how to set up and utilize Vertex through either of these approaches.
Sprinklr Provided Vertex
1. Enabling Sprinklr Provided Vertex: The partner can get Vertex enabled by reaching out to the support team.
![]() Note: Access to this feature is controlled by a dynamic property. Kindly reach out to your Success Manager to enable this feature in your environment. Alternatively, you can submit a request at tickets@sprinklr.com.
Note: Access to this feature is controlled by a dynamic property. Kindly reach out to your Success Manager to enable this feature in your environment. Alternatively, you can submit a request at tickets@sprinklr.com.
Once enabled, you can see a provider card corresponding to Vertex on the Providers RM screen with the name “Sprinklr Vertex” and a tag saying “Sprinklr Provided LLM.”
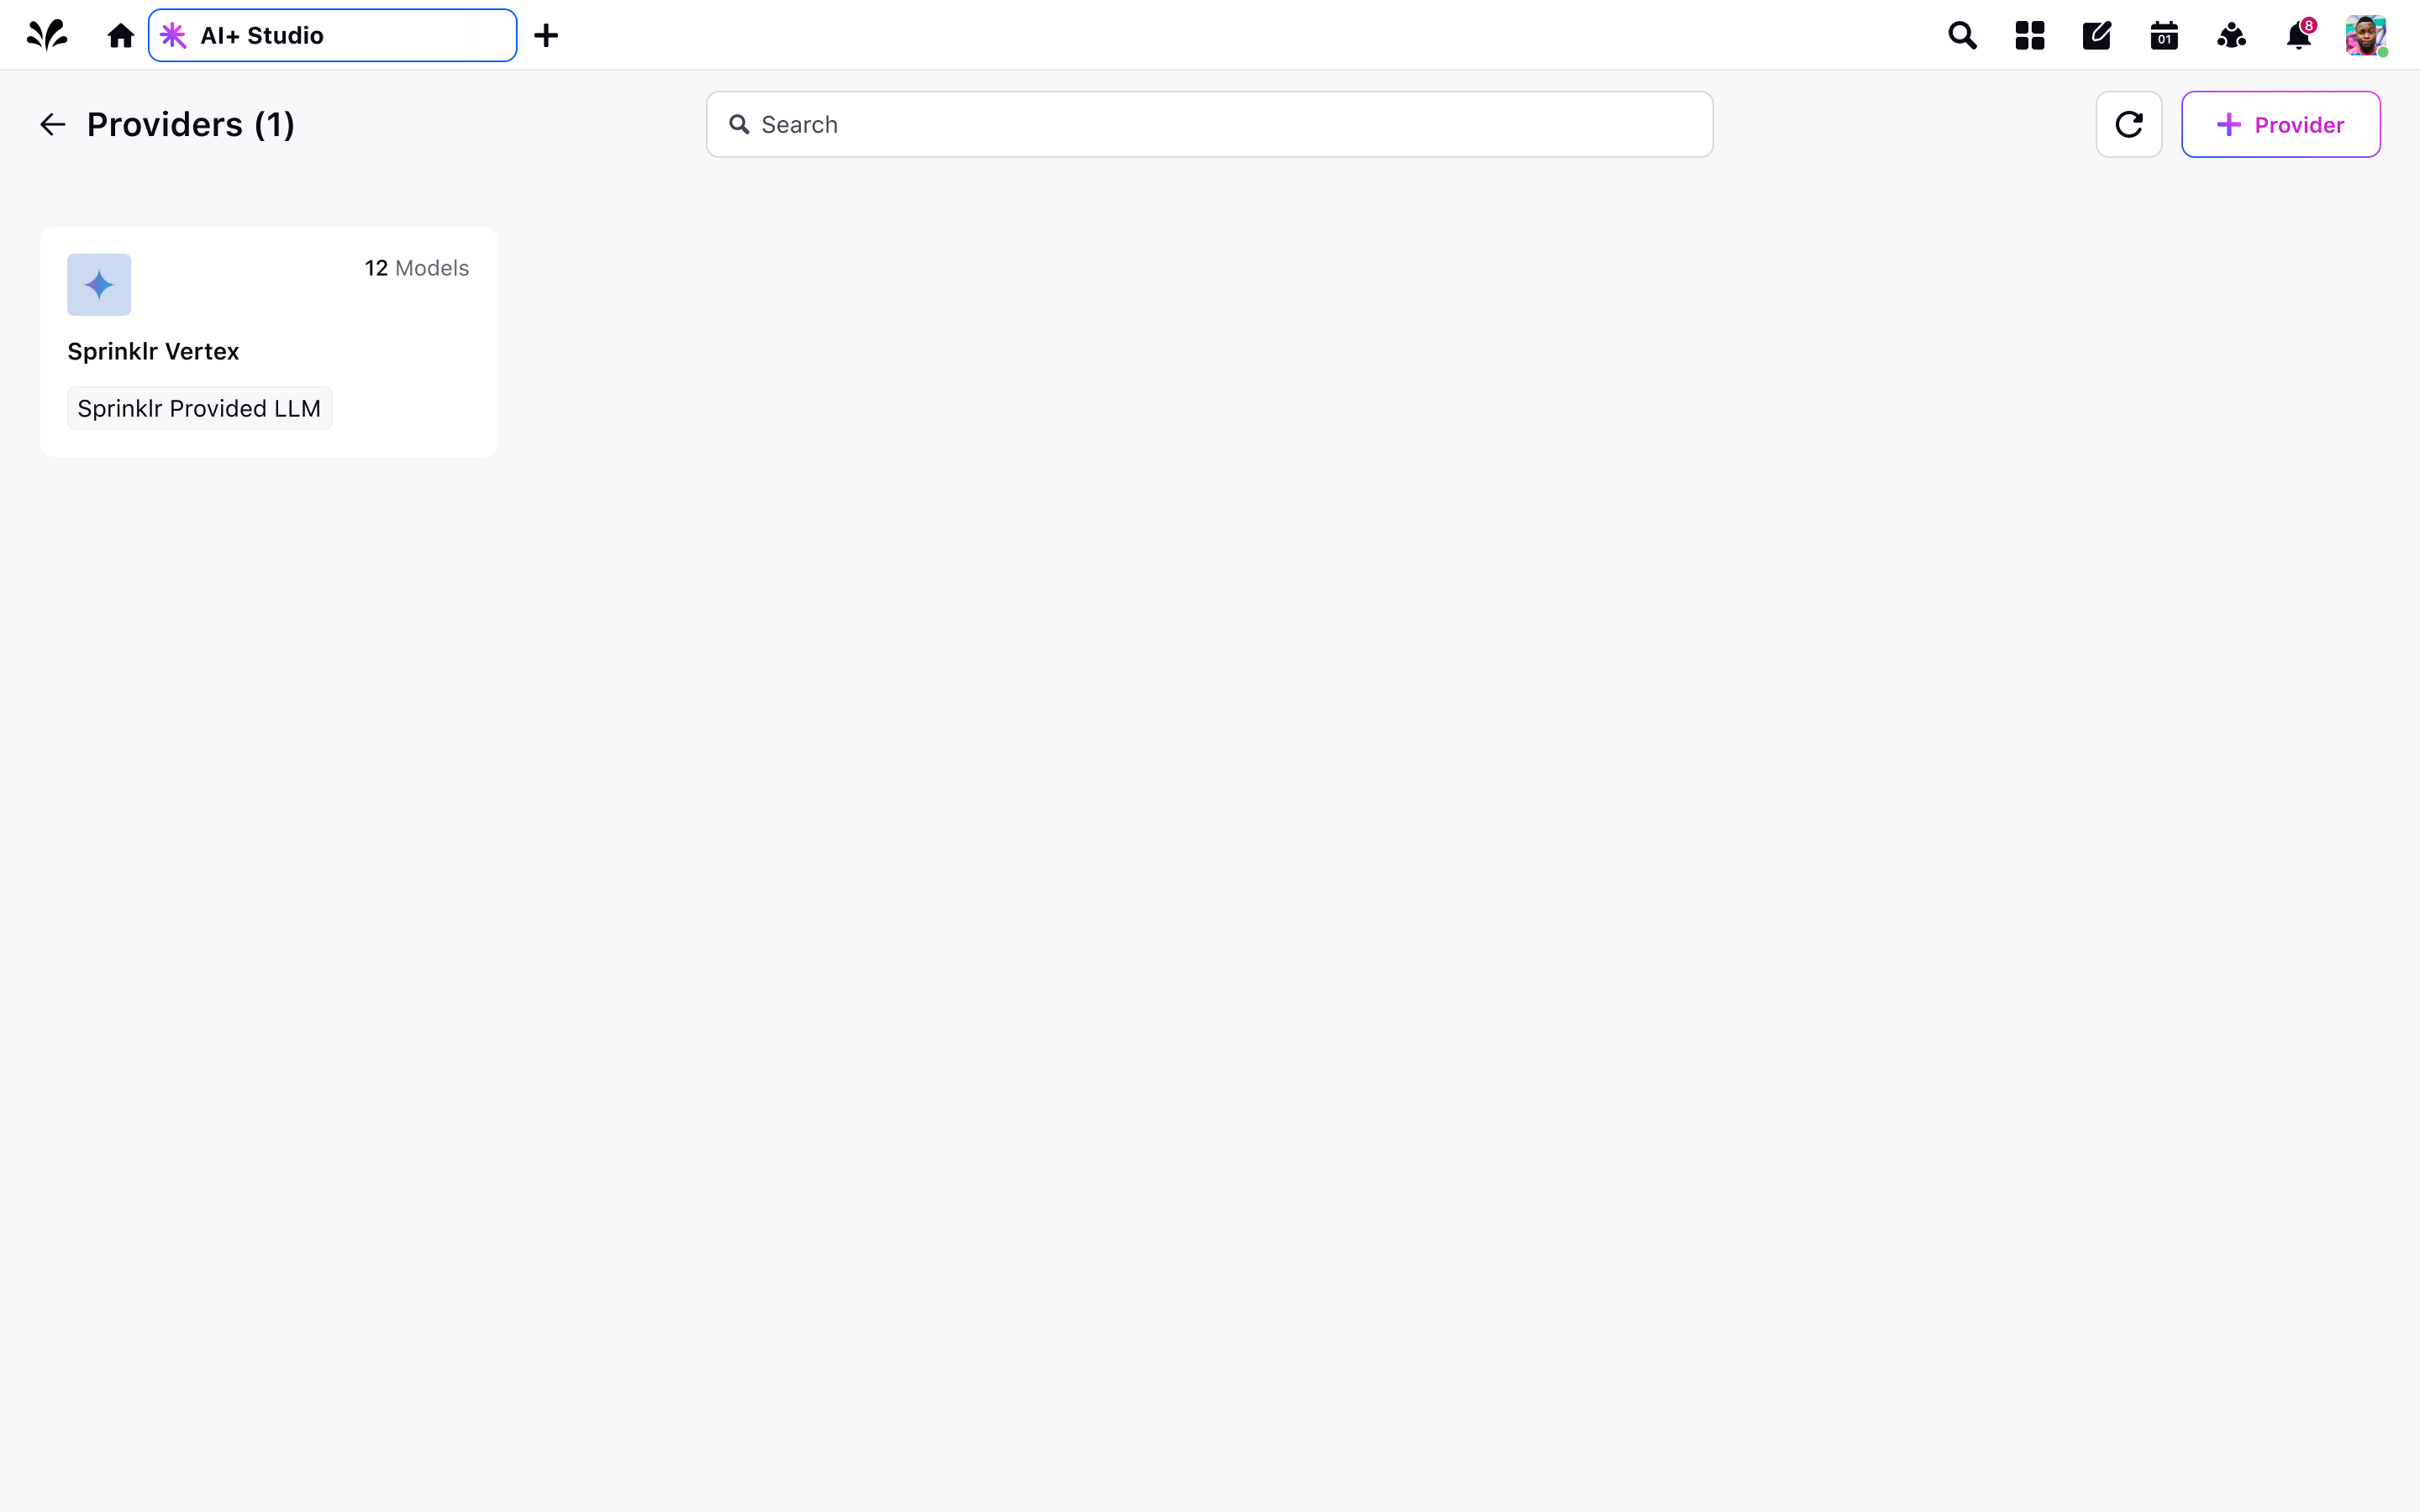
2. View Default Base Models: For the added Sprinklr Provided Vertex, you can view all the default models we offer by clicking “View Models,” which appears when hovering over the provider card.

![]() Note: If you require any model that is not present within the default offering, kindly reach out to the support team for assistance on this matter.
Note: If you require any model that is not present within the default offering, kindly reach out to the support team for assistance on this matter.
Add Google Vertex Using Own Keys
The partner can integrate Vertex using their own keys associated with their Vertex license. To do this, they can follow the steps outlined below:
1. Click on “Add Provider” CTA on top right of the providers RM screen
2. Select Vertex AI Provider from the dropdown below and click on “Next”.
.png)
3. Assign an appropriate name to the provider as preferred.
4. Enter the required key details to access your license with Vertex
5. Select models that you would like to sync in AI+ Studio.
Please note: Due to unavailability of required APIs, we require you to manually enter the models you want to sync.
6. Select a fallback model. A fallback model is a backup model which would be used for global deployments incase this is the first provider being added for the partner. This is to ensure continuity and consistent functionality of your AI features
7. Once you fill in all details, click on “Save”.

You will be able to see the Vertex Provider added on the providers RM screen with a tag saying “LLM using Own Key”
![]() Note: You can edit the name of this provider but not the key details or the fallback model. You can also add more models that you would like to sync but not remove a model.
Note: You can edit the name of this provider but not the key details or the fallback model. You can also add more models that you would like to sync but not remove a model.
You can view all the base models already present by clicking on “View Models” on hovering over the card, which can be used across different AI features within the “Deploy your Use-Cases” section as shown in the screenshot below

![]() Note: For additional support or customization, please contact the support team.
Note: For additional support or customization, please contact the support team.