Create Custom Field
Updated
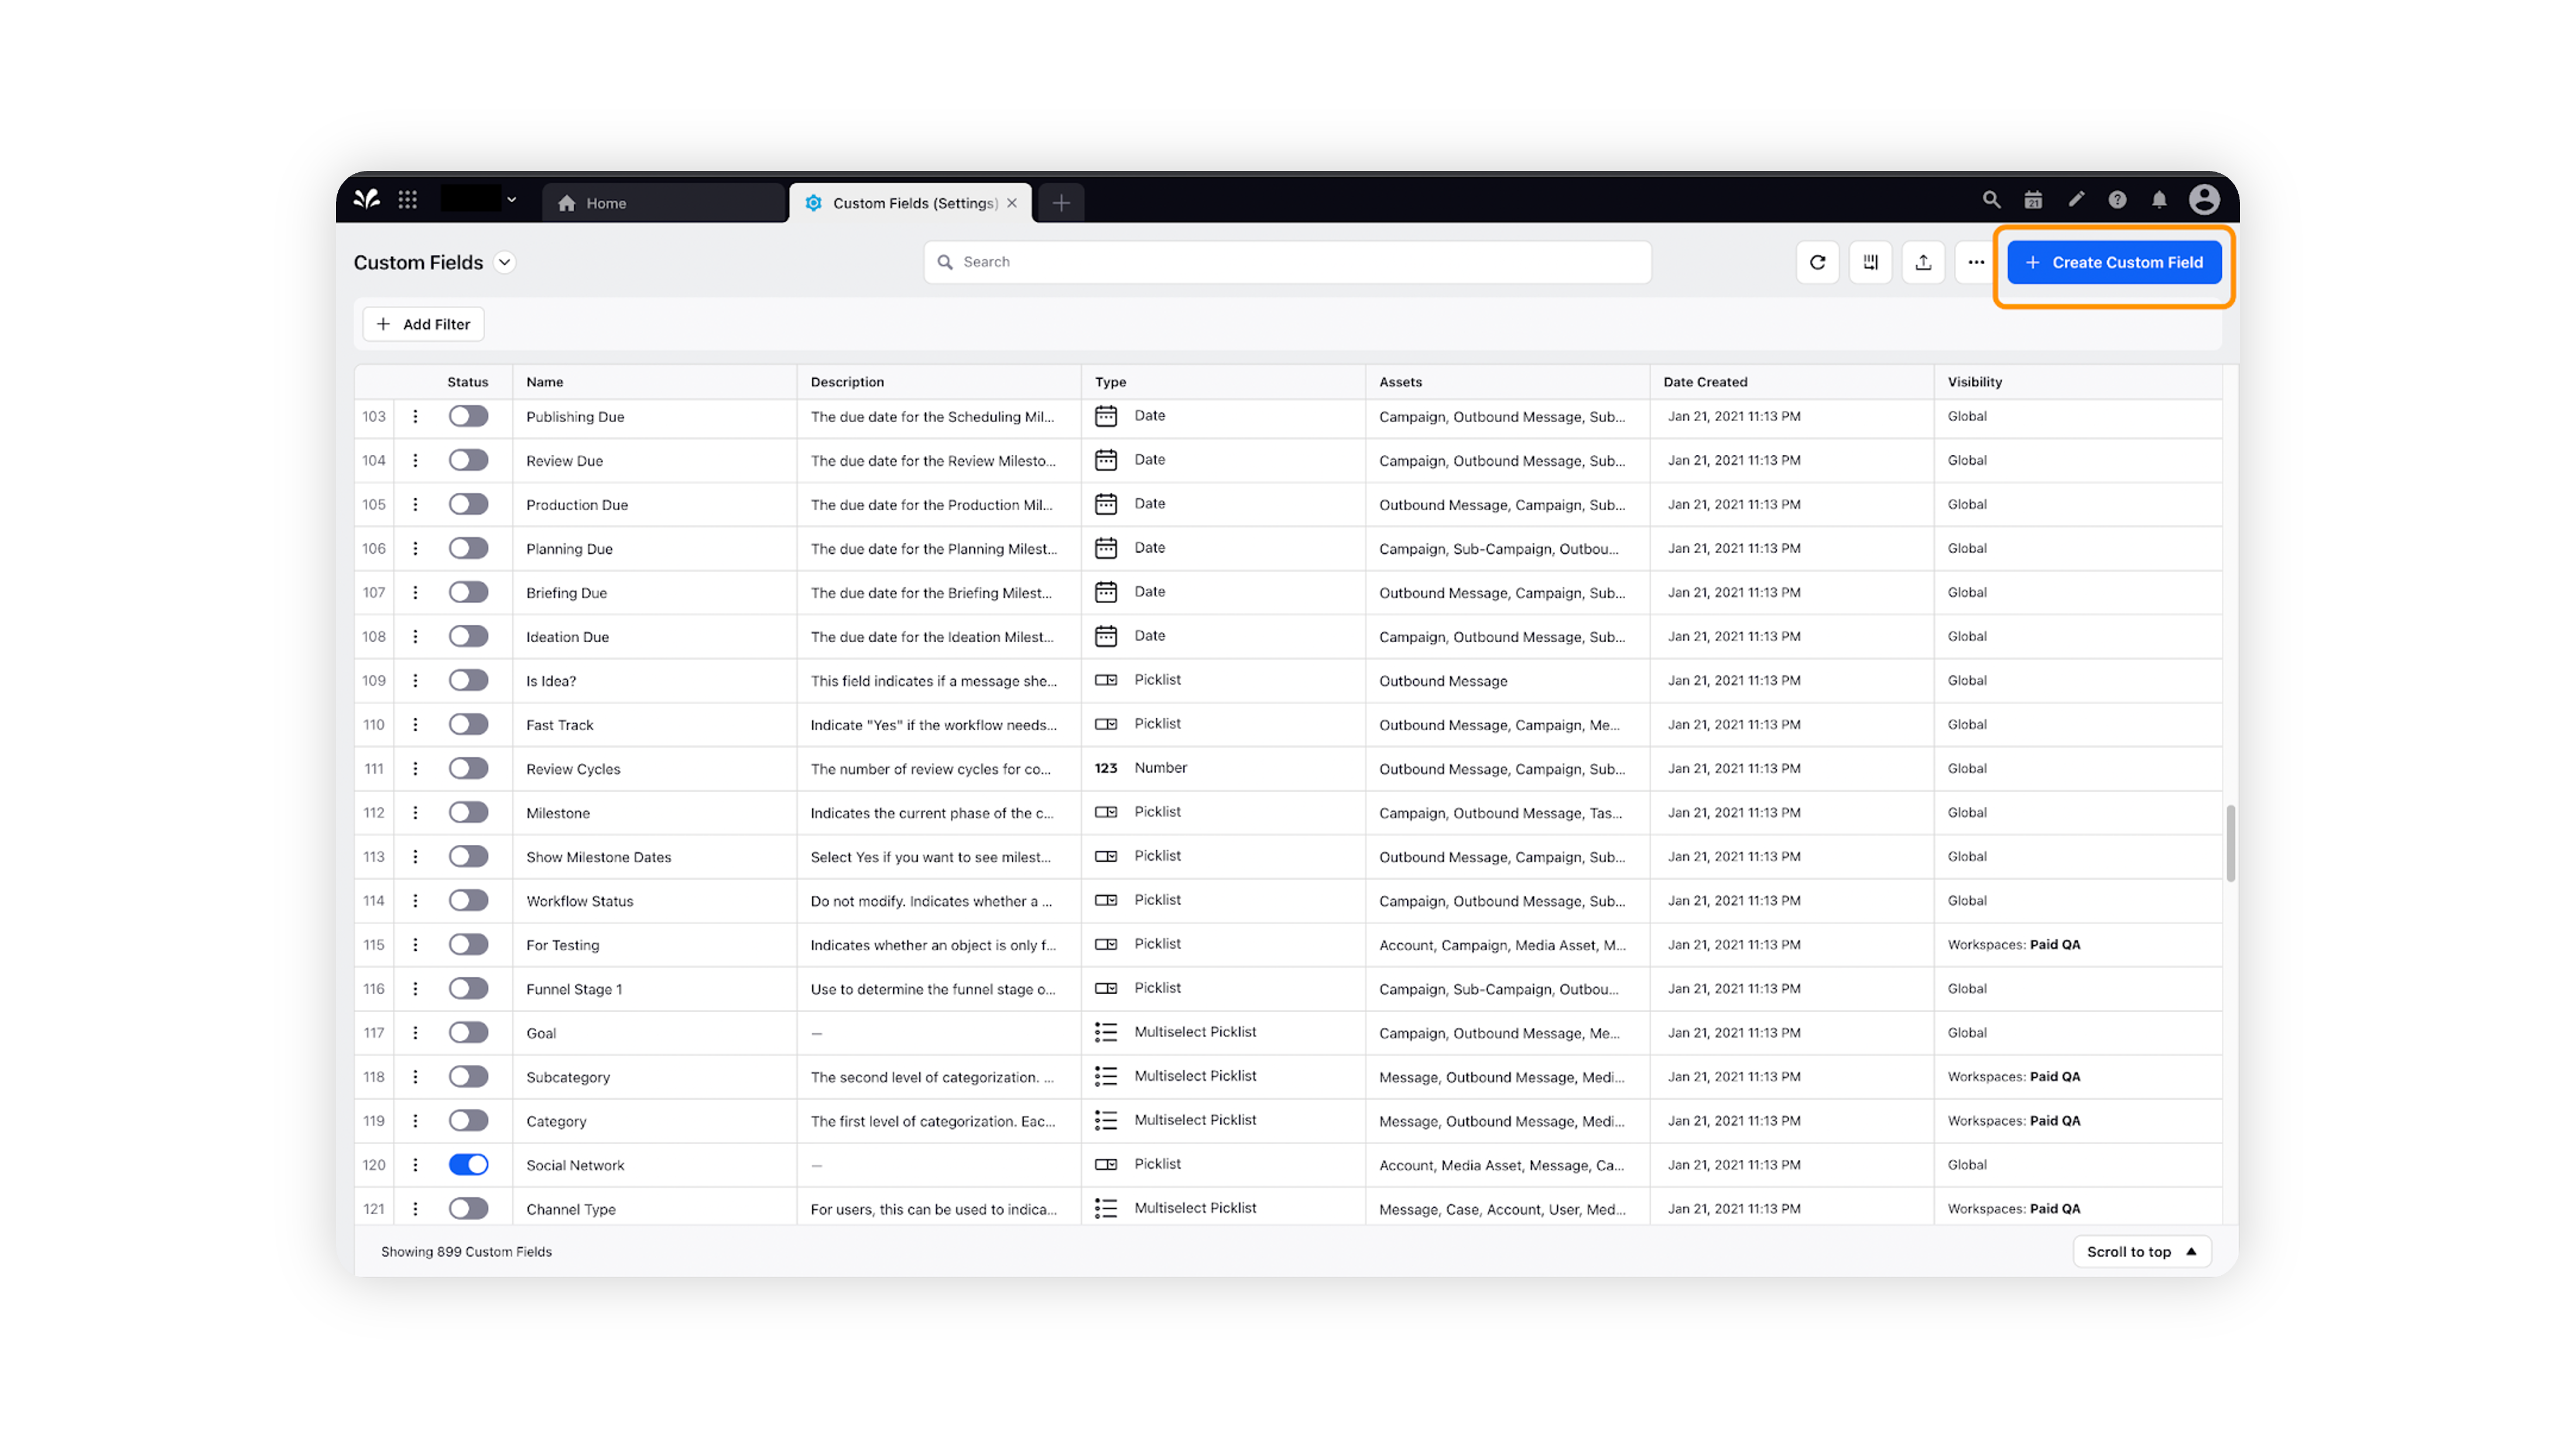
Click the New Tab icon and go to All Settings. Under Manage Workspace, click on Custom Fields.
On the top-right corner of the screen, click on Create Custom Field.
The New Custom Field form should open. Fill in the relevant fields, such as the type of the Custom Field, Name, Values, Visibility etc.
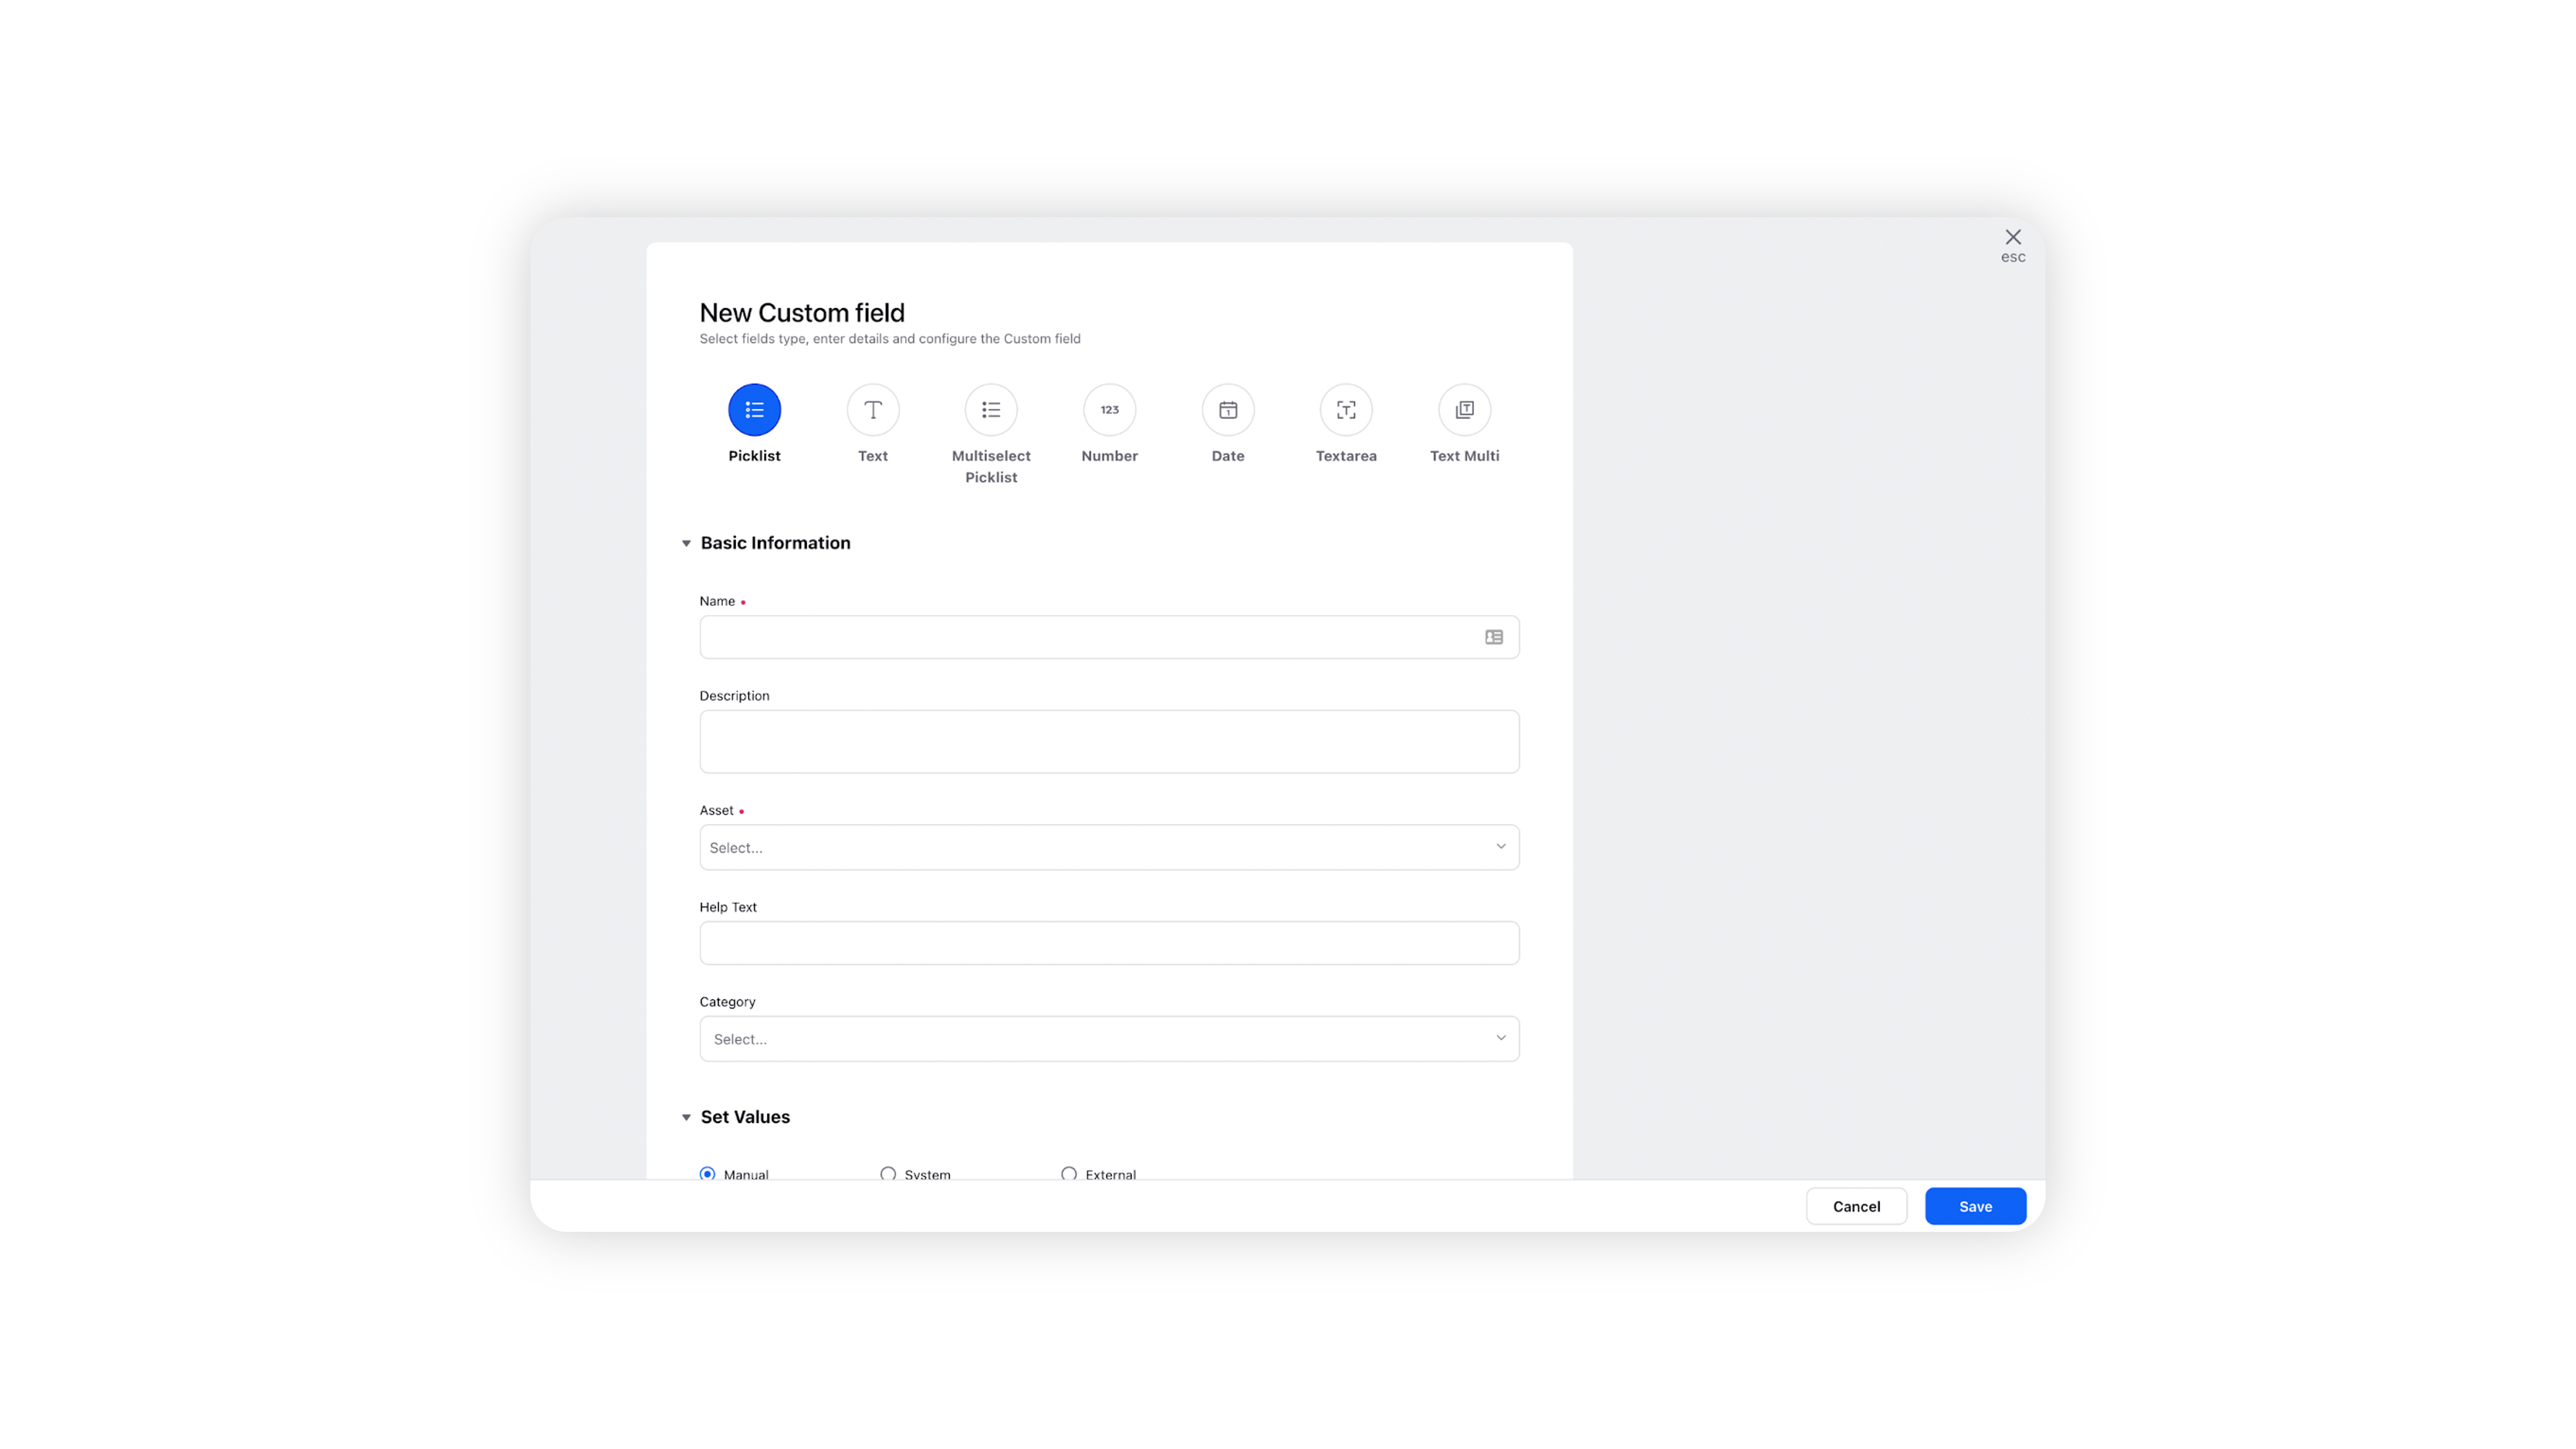
Click Save at the bottom-right corner to save the custom field.
Managing Custom Fields
Hover the mouse over the three dots next to the custom field. The following options are available:
Edit: Allows you to modify the details of the custom field.
Clone: Allows you to clone existing custom field.
Edit Translation: Allows you to manage how a custom field is displayed in different languages across the platform. Users can select the desired language (e.g., English - US) and add the translated labels for the Custom Field Name and its values.
Activity: Provides a comprehensive list of all edits made to a custom field after its creation.
Copy Field Name: Allows you to copy the exact system name of a custom field to clipboard. This is particularly valuable in scenarios where you need the precise identifier for use in API calls, content placeholders, automations, or integrations, where an exact match of the technical field name is critical.
View Usages: Displays and helps track where entities are used across the platform, making it easier to understand dependencies and impacts of changes. It only displays entities the user has access to.
