Install Salesforce Connector in Sprinklr Marketplace
Updated
This guide provides step-by-step instructions on how to install the Salesforce Connector through the Sprinklr Marketplace. It also covers how to manage permissions to ensure proper access control.
Install Salesforce Connector
This section provides step-by-step instructions for installing the Salesforce Connector through the Sprinklr Marketplace. Ensure you have the necessary permissions before proceeding with the installation.
1. Access the Sprinklr Marketplace
Click the New Tab icon.
Under Platform Modules, navigate to All Marketplace within the Integrate section.
In the Sprinklr Marketplace window, navigate to Available Apps and search for Salesforce.
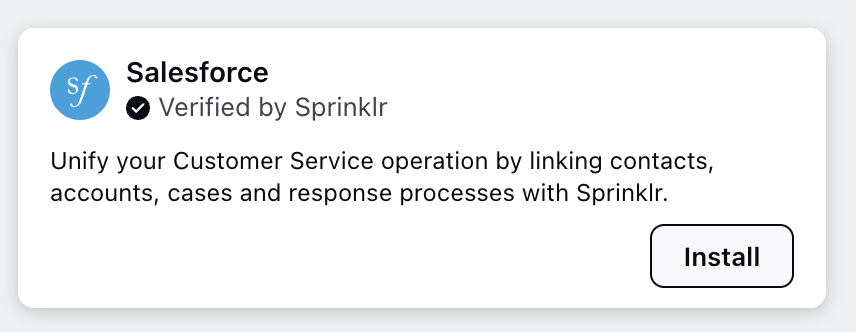
Click Install on the Salesforce application.
2. Configure the Salesforce Connector
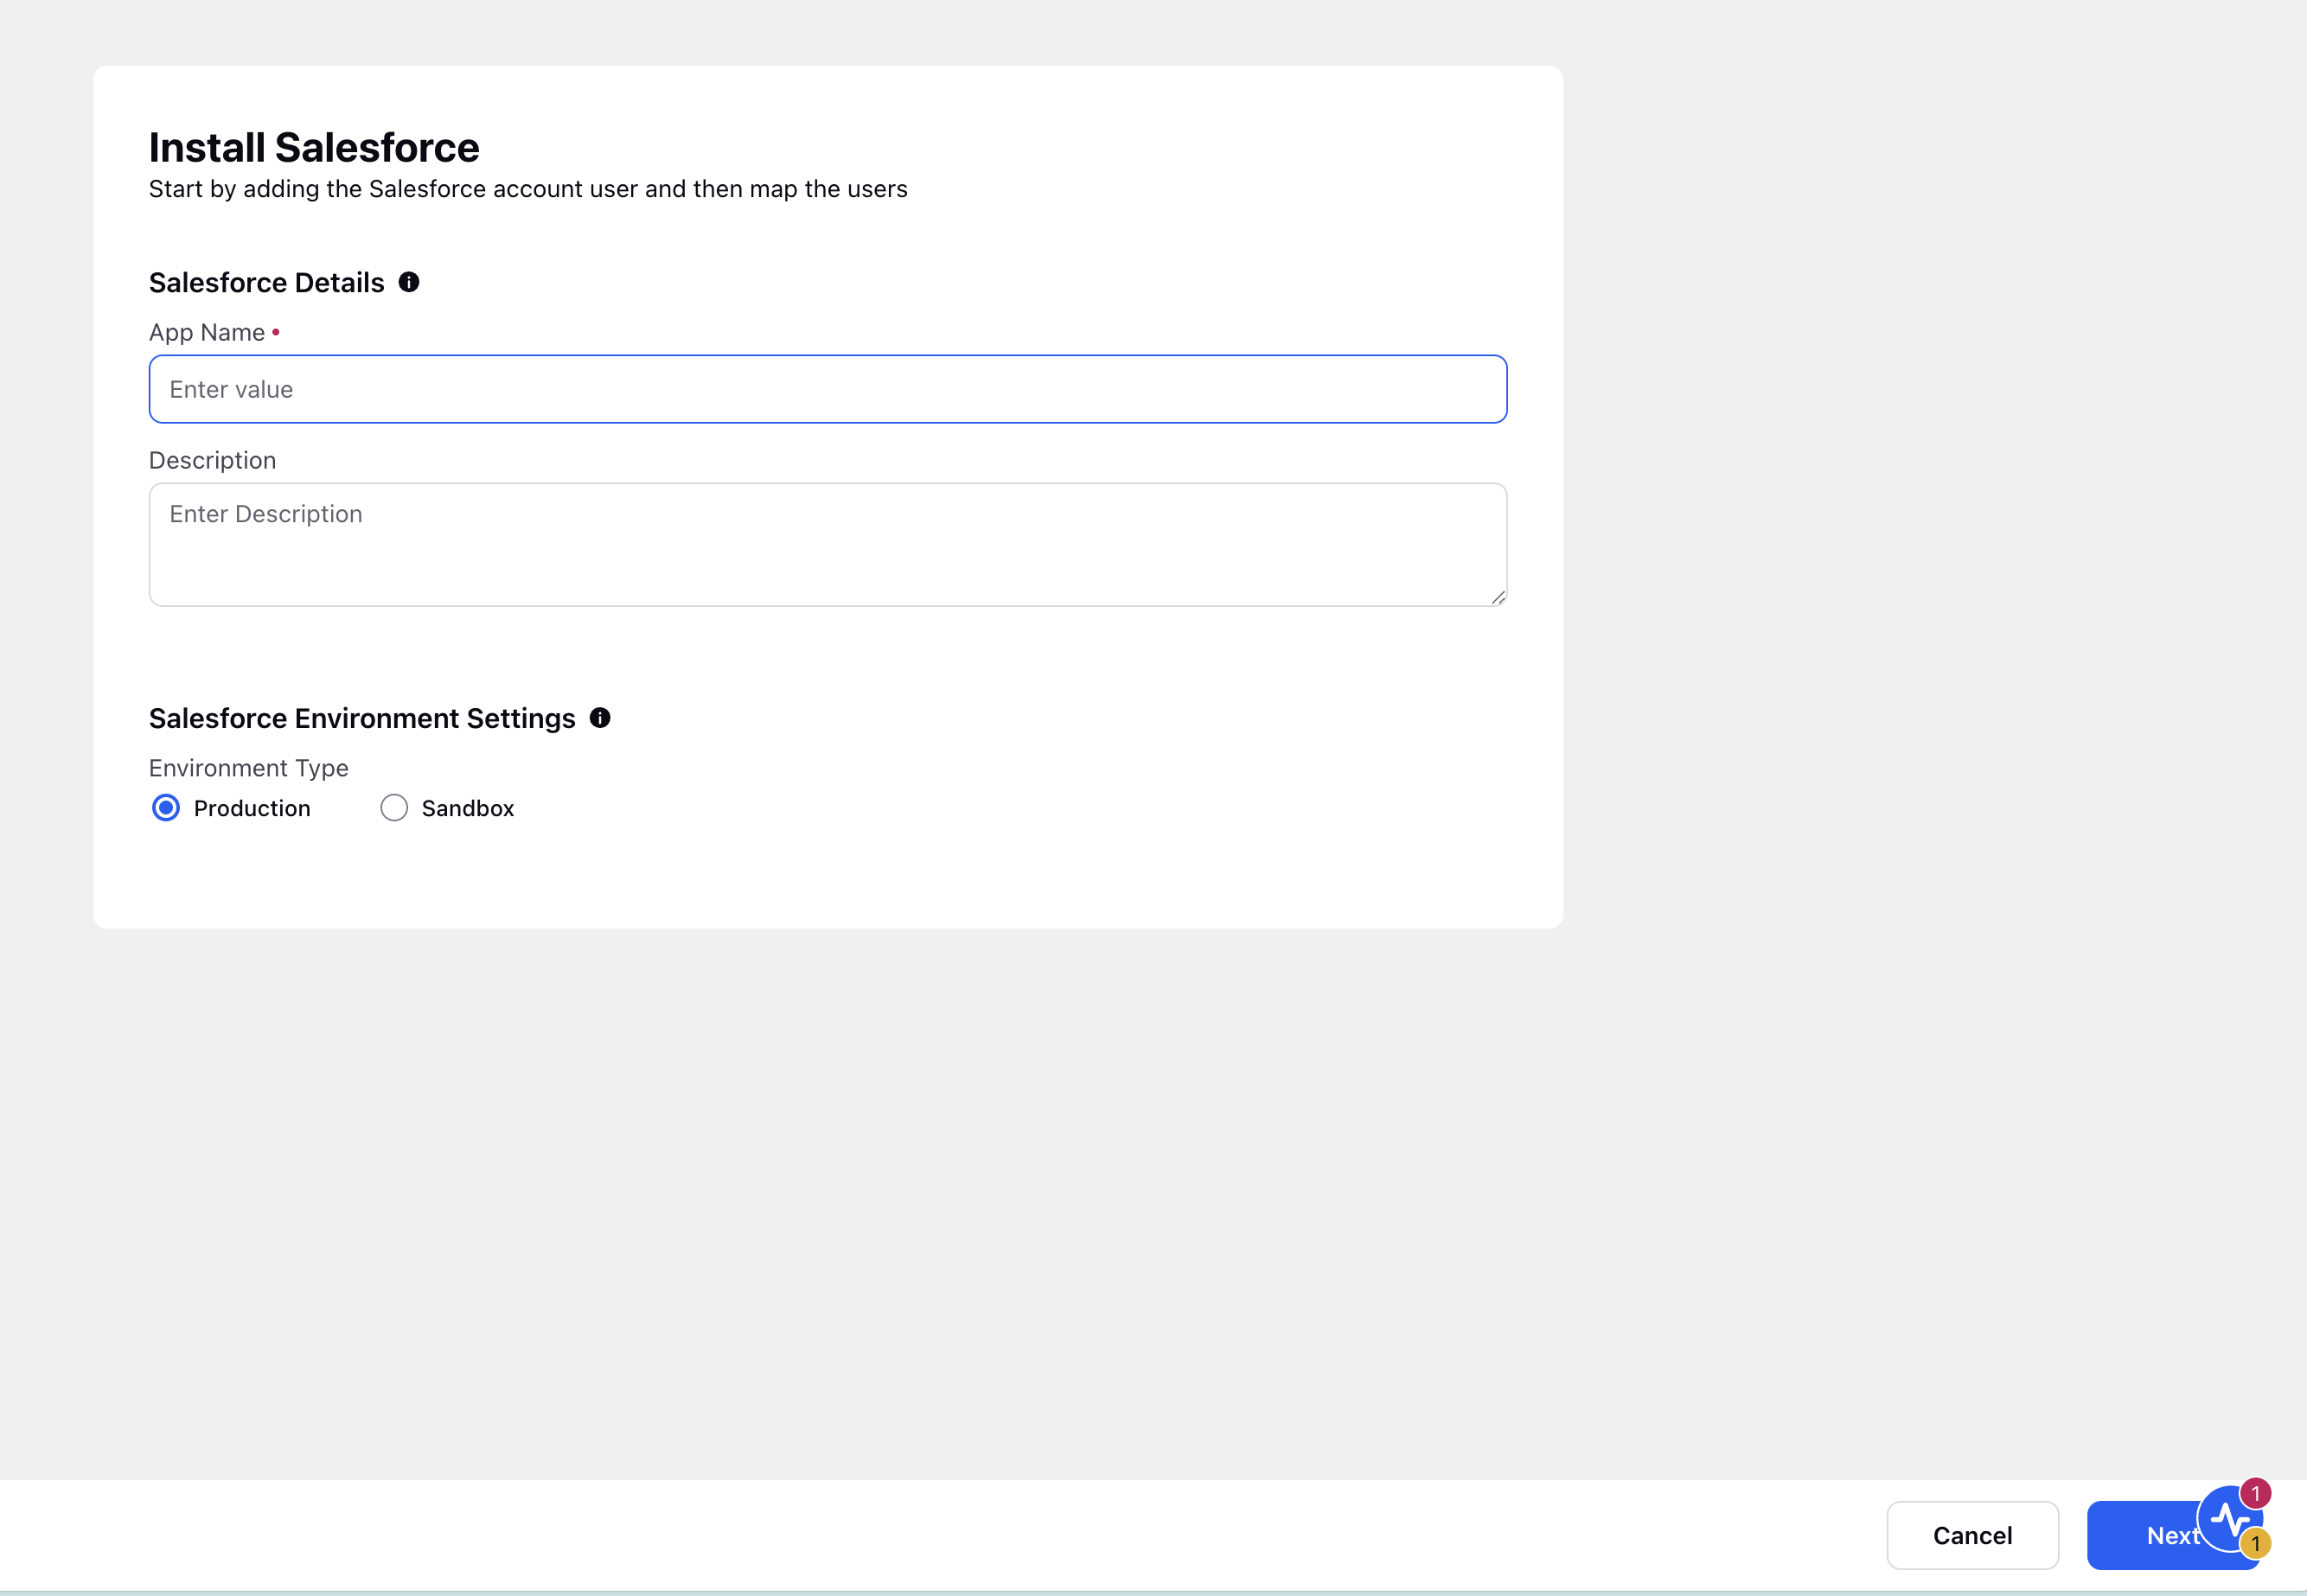
In the Install Salesforce tab, enter a Configuration Name for the connector.
Under the Salesforce Environment Settings tab, select the appropriate Environment Type:
Note:
Select Sandbox Environment for domain starting with 'test.salesforce.com'.
Select Production Environment for domain starting with 'login.salesforce.com'.
Click Next in the bottom-right corner. You will be redirected to the Add User screen.
3. Add a Salesforce User
Click + Add User button to add a Salesforce user to your application.
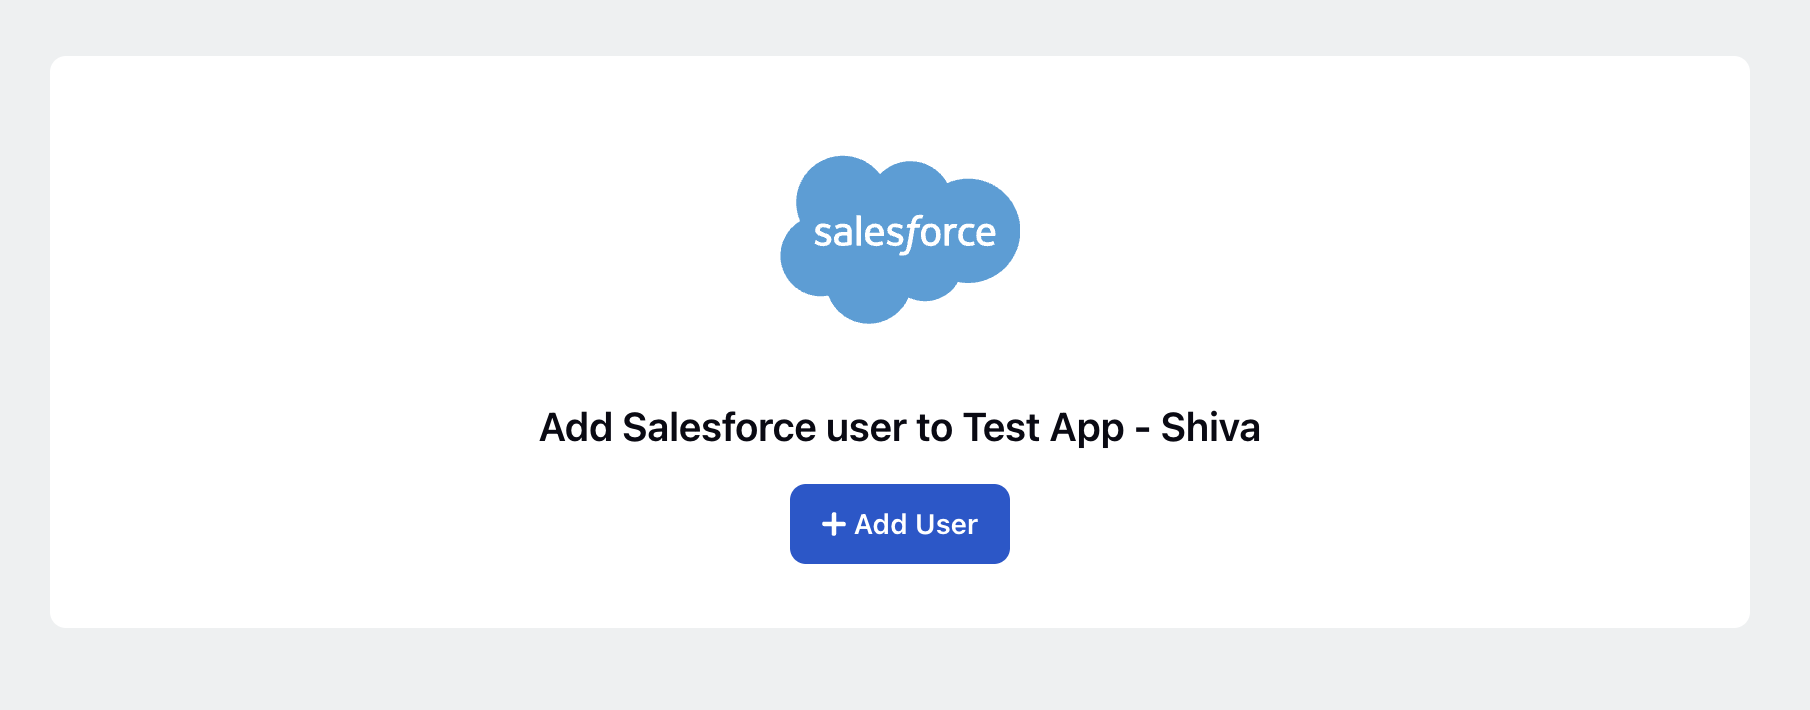
You will be redirected to the Salesforce login screen.
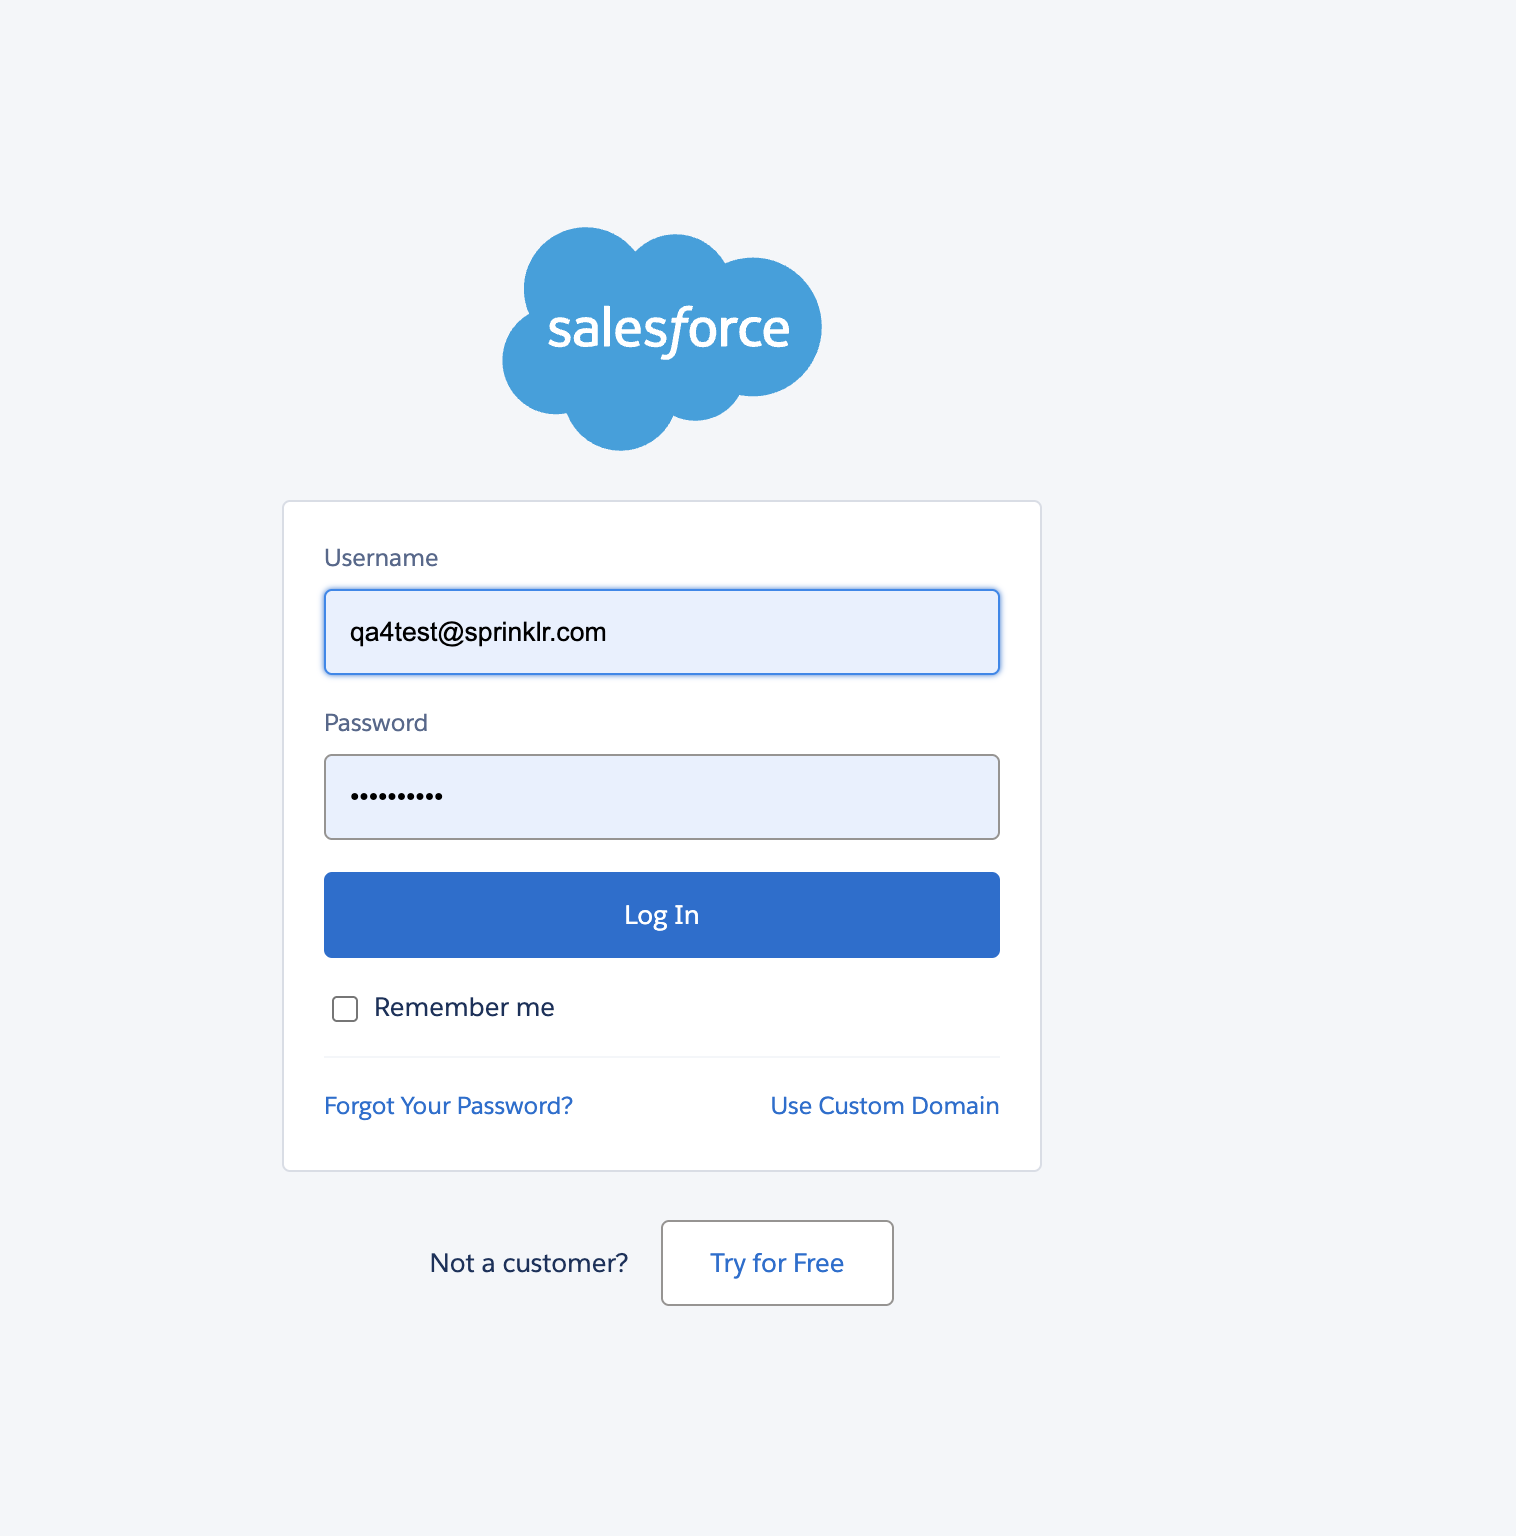
Log in using your Salesforce credentials.
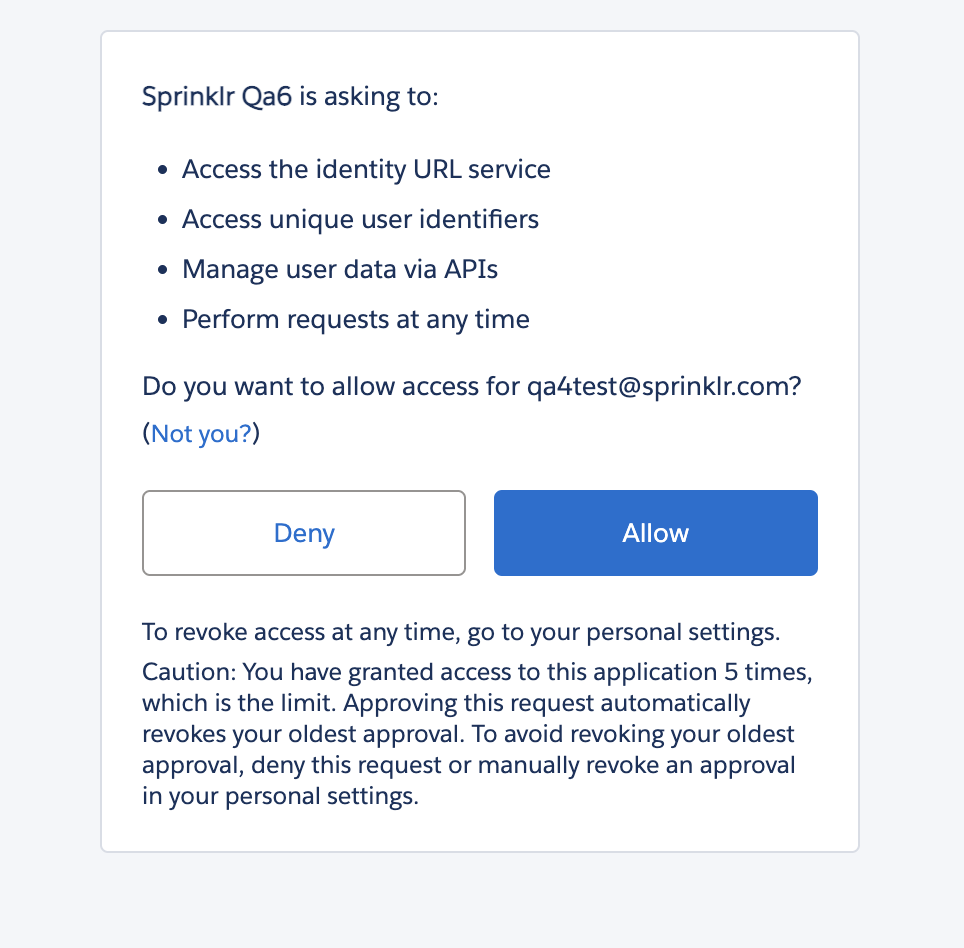
Upon successful login, an authentication screen will appear requesting access permissions.
Click Allow to grant access. This will enable data synchronization between your Salesforce and Sprinklr accounts.
4. Finalize the Installation
Once the application is authorized and installed, you will be redirected to the Sprinklr Marketplace window.
After completing these steps, your Salesforce Connector is successfully installed and ready for use in Sprinklr.