Create Custom Fields for AI Studio
Updated
Custom fields offer a significant advantage in that they enable the creation of attributes that may not be present by default in the Sprinklr platform.
By creating custom fields in AI Studio, you can streamline the organization of your AI projects according to business units and generate corresponding reports.
These custom fields can be utilized as dimensions or filters during the creation or modification of AI projects. The asset for AI Studio is AI Project, which is available at a predetermined level referred to as an Asset. Asset classes, as described in the KB article, can be used to further classify messages.
It is important to note that AI Project Custom fields can be conveniently accessed from the third pane, and all custom field functionalities, including plotting in widgets and using for filtering and editing in the Inline Editable Table widgets, are fully supported.
How are these CFs different from those created for the model?
The custom fields in question are specific to project-level customization rather than message-level customization.
In contrast, message-level custom fields are employed during model training, with the custom field values serving as the relevant classifications for messages once the training is completed.
On the other hand, project-level custom fields are designed to enable the filtering and reporting of all projects across the platform according to specific requirements.
To create Custom Fields for AI Studio
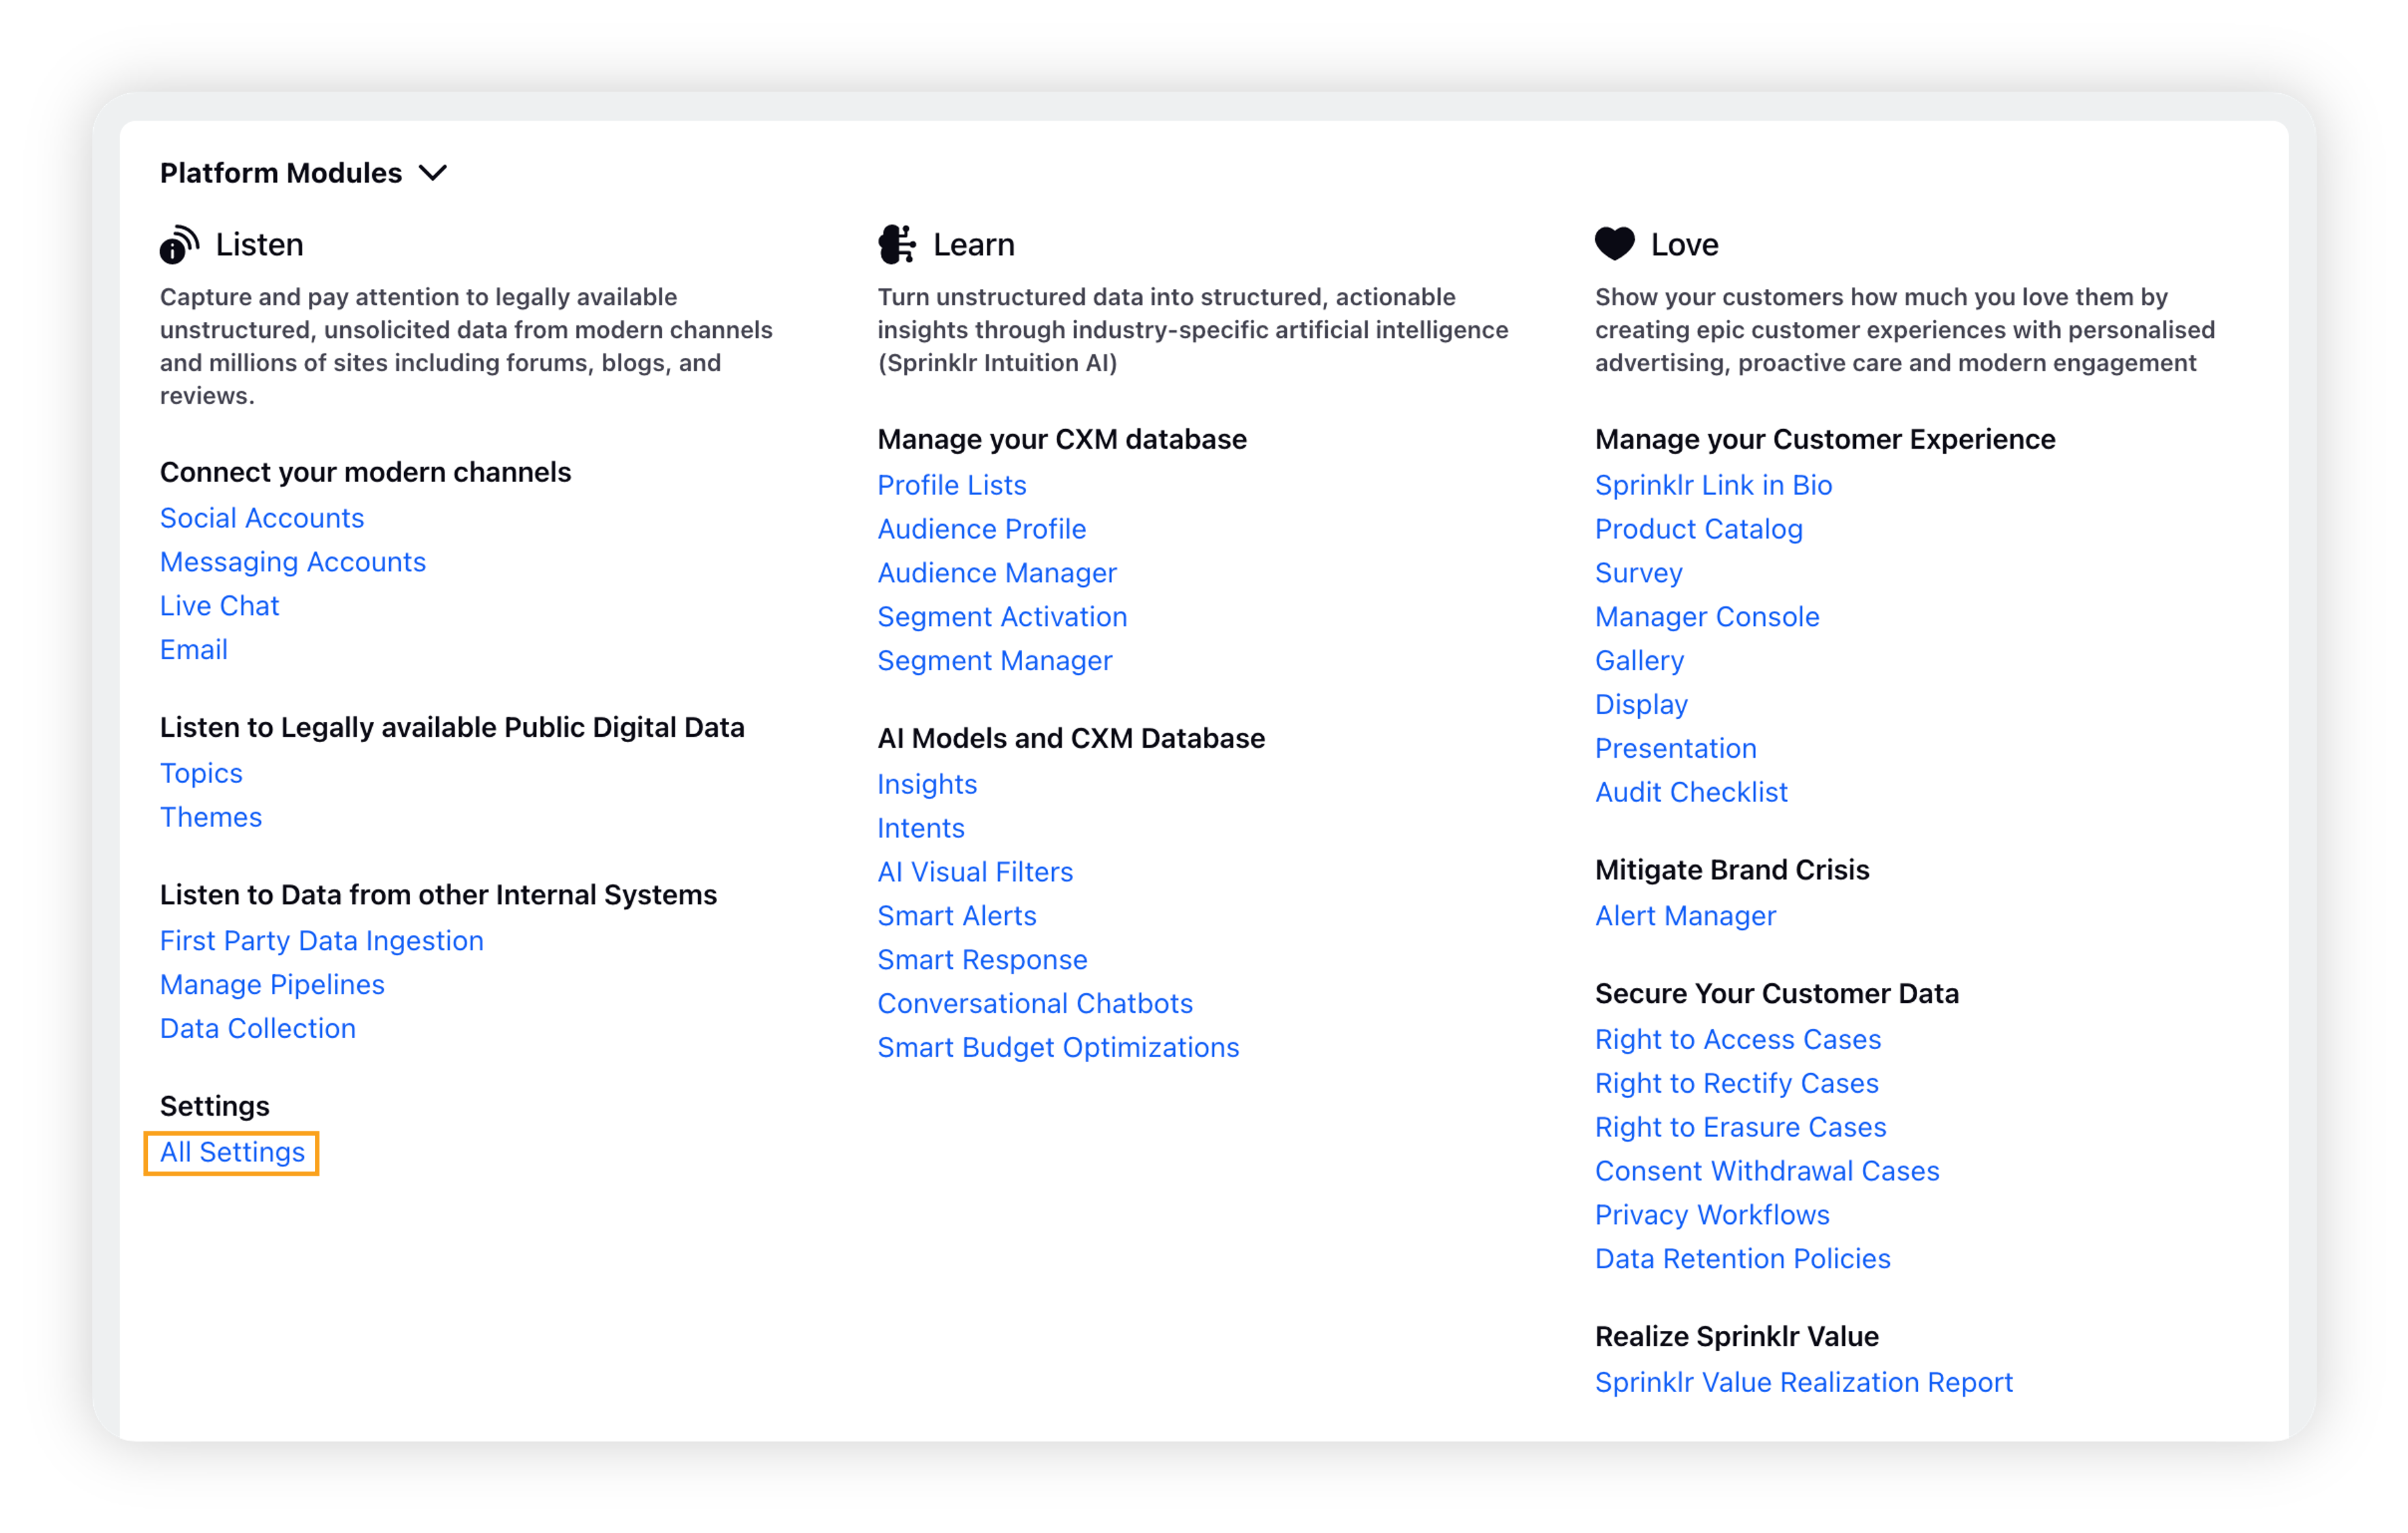
Click the New Tab icon. Under Platform Modules, click All Settings within Listen.
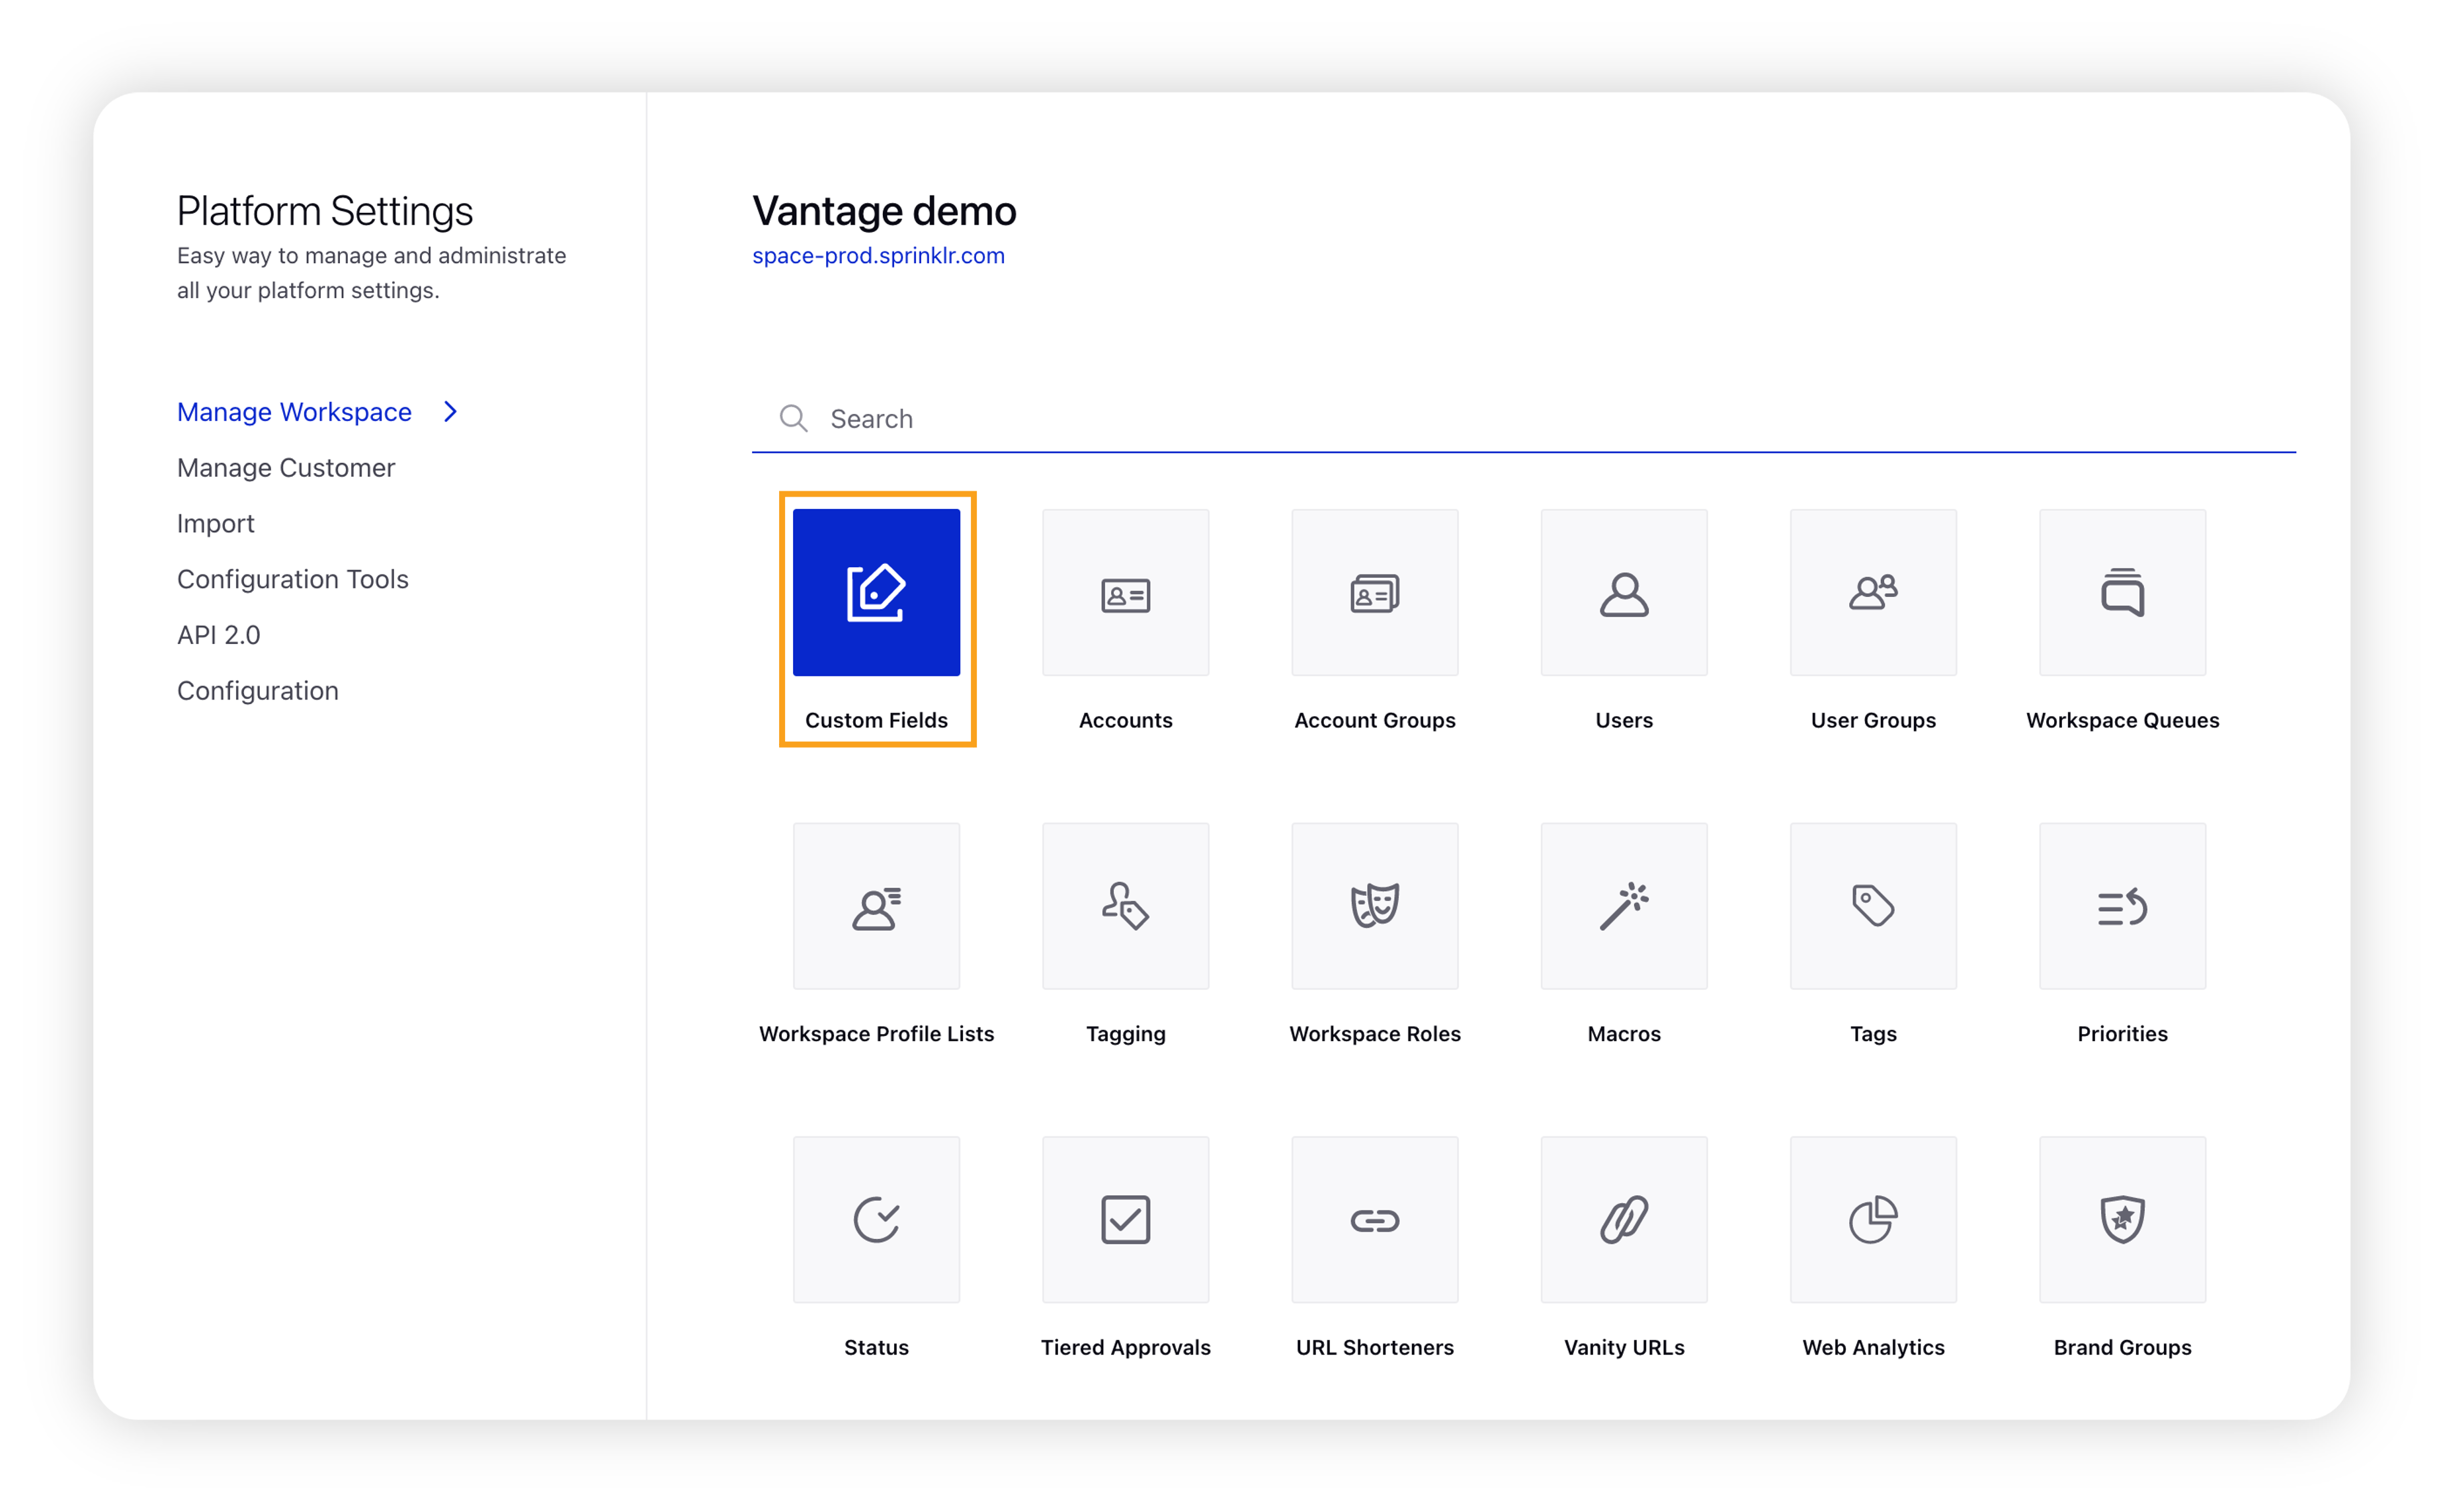
Search and select Custom Fields in the Platform Settings window.
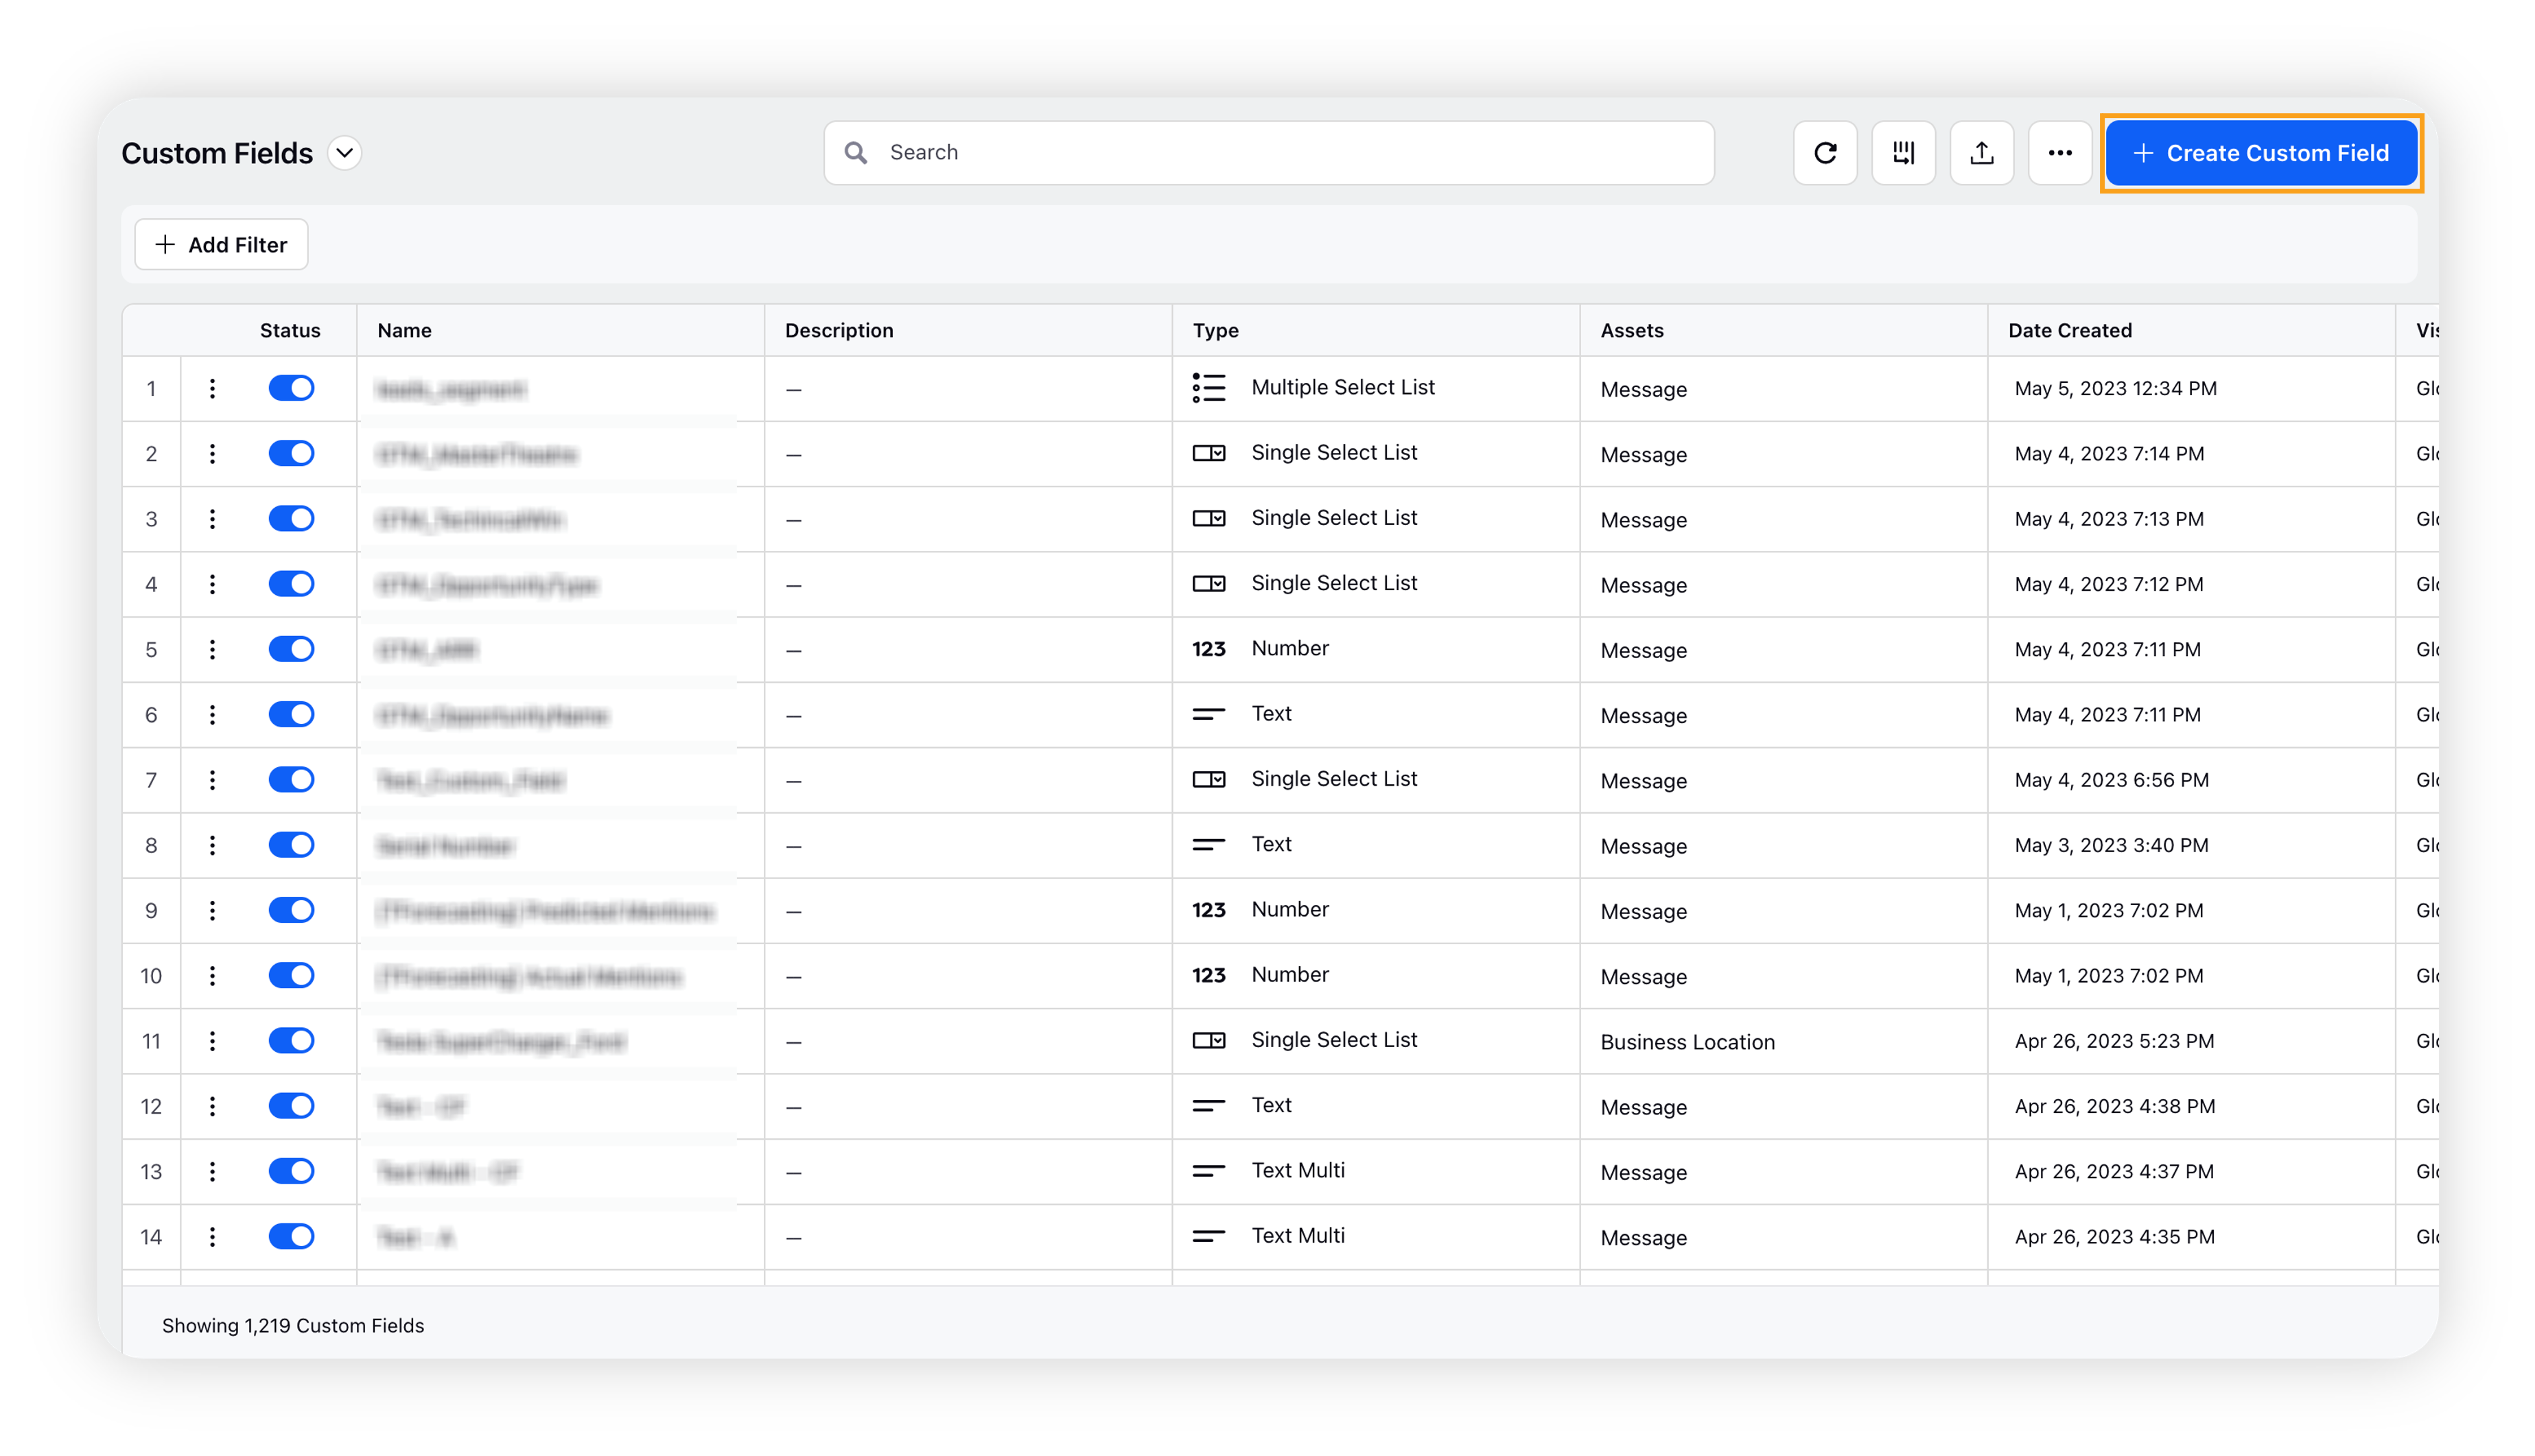
On the Custom Fields window, click Add Custom Field in the top right corner.
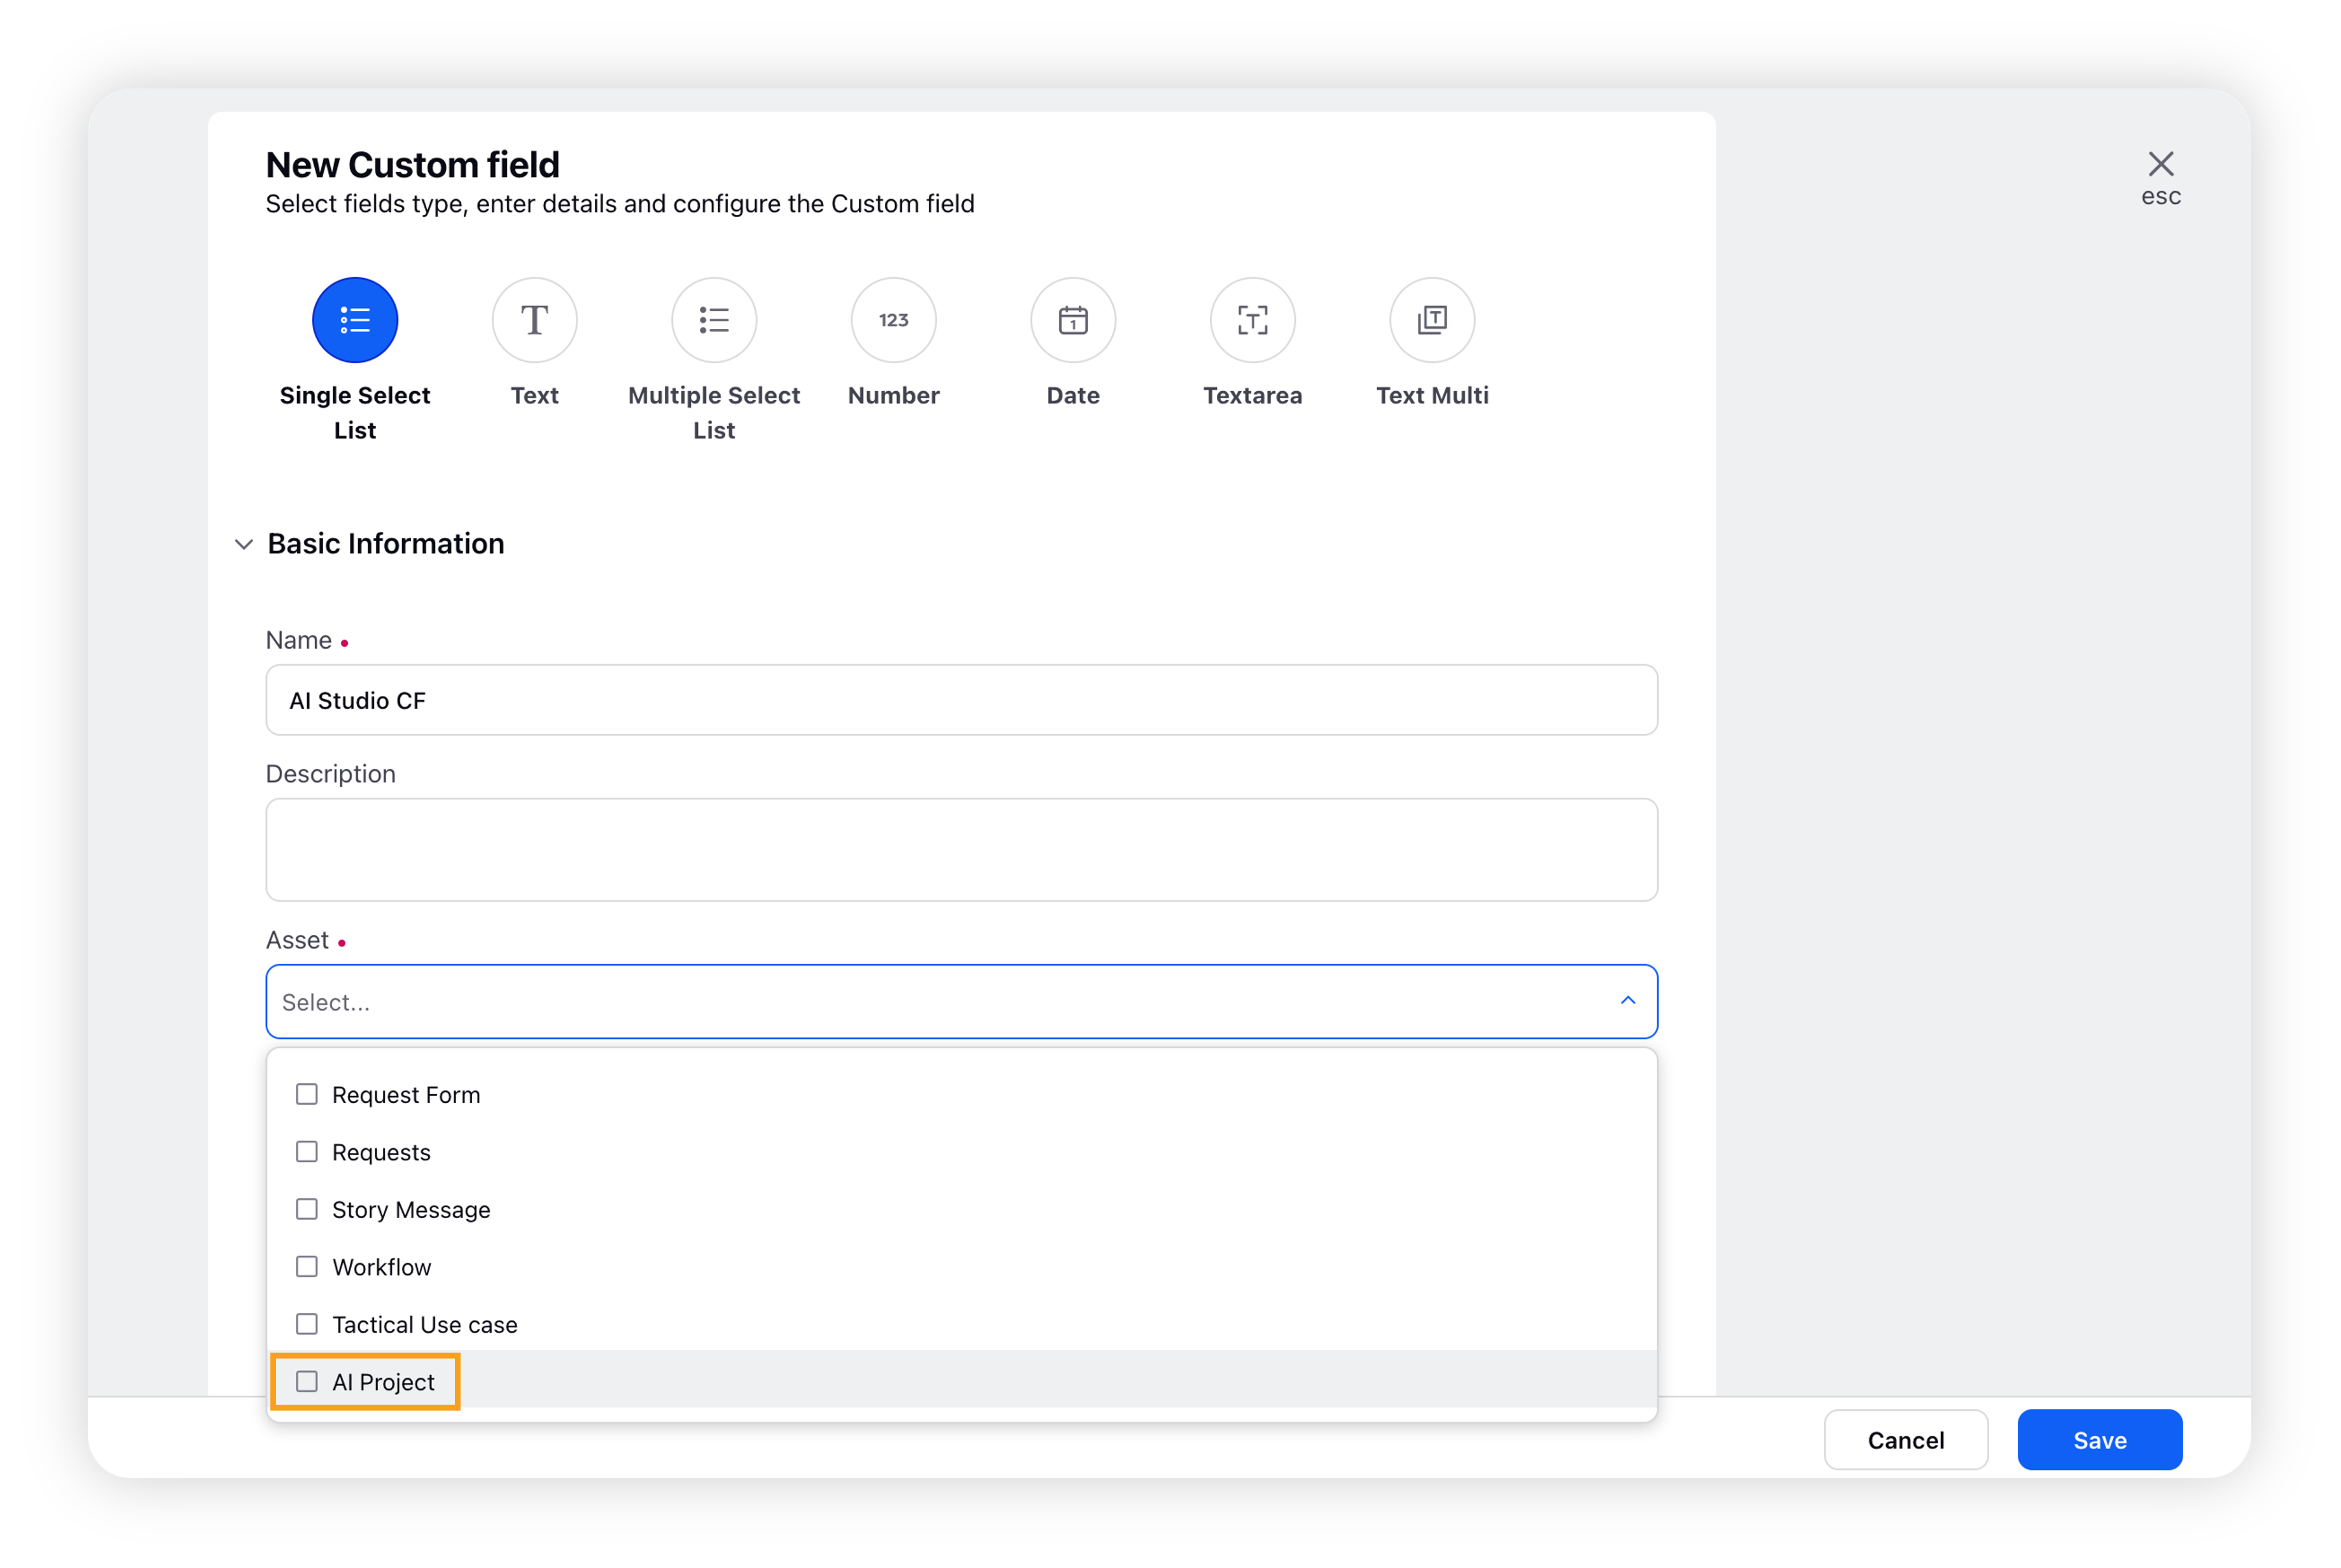
On the New Custom Field window, select the desired custom field type.
Enter the basic information like name of the custom field and its description. Select AI Project as asset. For detailed information, refer to this section – Custom Field types.
Click Save in the bottom right corner to save the custom field.
Custom Field types
Select a Custom Field type. You can select from –
Single Select List: You can select only one value from the available options while applying this type of Custom Field.
Text: This field allows you to add text details, i.e. Name, Customer ID, Description, etc.
Multiple Select List: You can select more than one value from the available options while applying this type of Custom Field.
Number: The value will be in numerical form. Use this field type if you wish to add a phone number, employee ID, etc.
Date: A calendar will pop up while applying a date type custom field, for example, purchase date, complaint date, completion date, etc.
Textarea: This is the same as text but can hold more length than text.
 Note: Apply rich text formatting such as bold, italic, underline, strikethrough, bullets, etc. to the Textarea custom field type. The formatting will be visible in the Advanced Publisher, Production Dashboards, and entity Third Pane. However, within the Production Dashboards, the formatting will be available in the inline edit mode only.Enablement note: To learn more about getting this capability enabled in your environment, please work with your Success Manager. Enablement of this capability requires additional setup.
Text Multi: This is like a multipicklist, but you do not define any values when you create this custom field. You can create options on the go when using it for any asset.
![]() Note:
Note:
When editing a Custom Field, you may change Single Select List to Multiple Select List and from Text to Text Multi.
Within the multi picklist custom fields, we have added the "select all" option that will allow you to apply all the CFs values instead of adding them one by one individually.
![]() Enablement note: To learn more about getting this capability enabled in your environment, please work with your Success Manager. Enablement of this capability requires additional setup.
Enablement note: To learn more about getting this capability enabled in your environment, please work with your Success Manager. Enablement of this capability requires additional setup.