Create new Content Templates
Updated
How to create content templates?
Click New Content Template in the top right corner of the Content Templates window.
Provide a name for your template in the Template Name field.
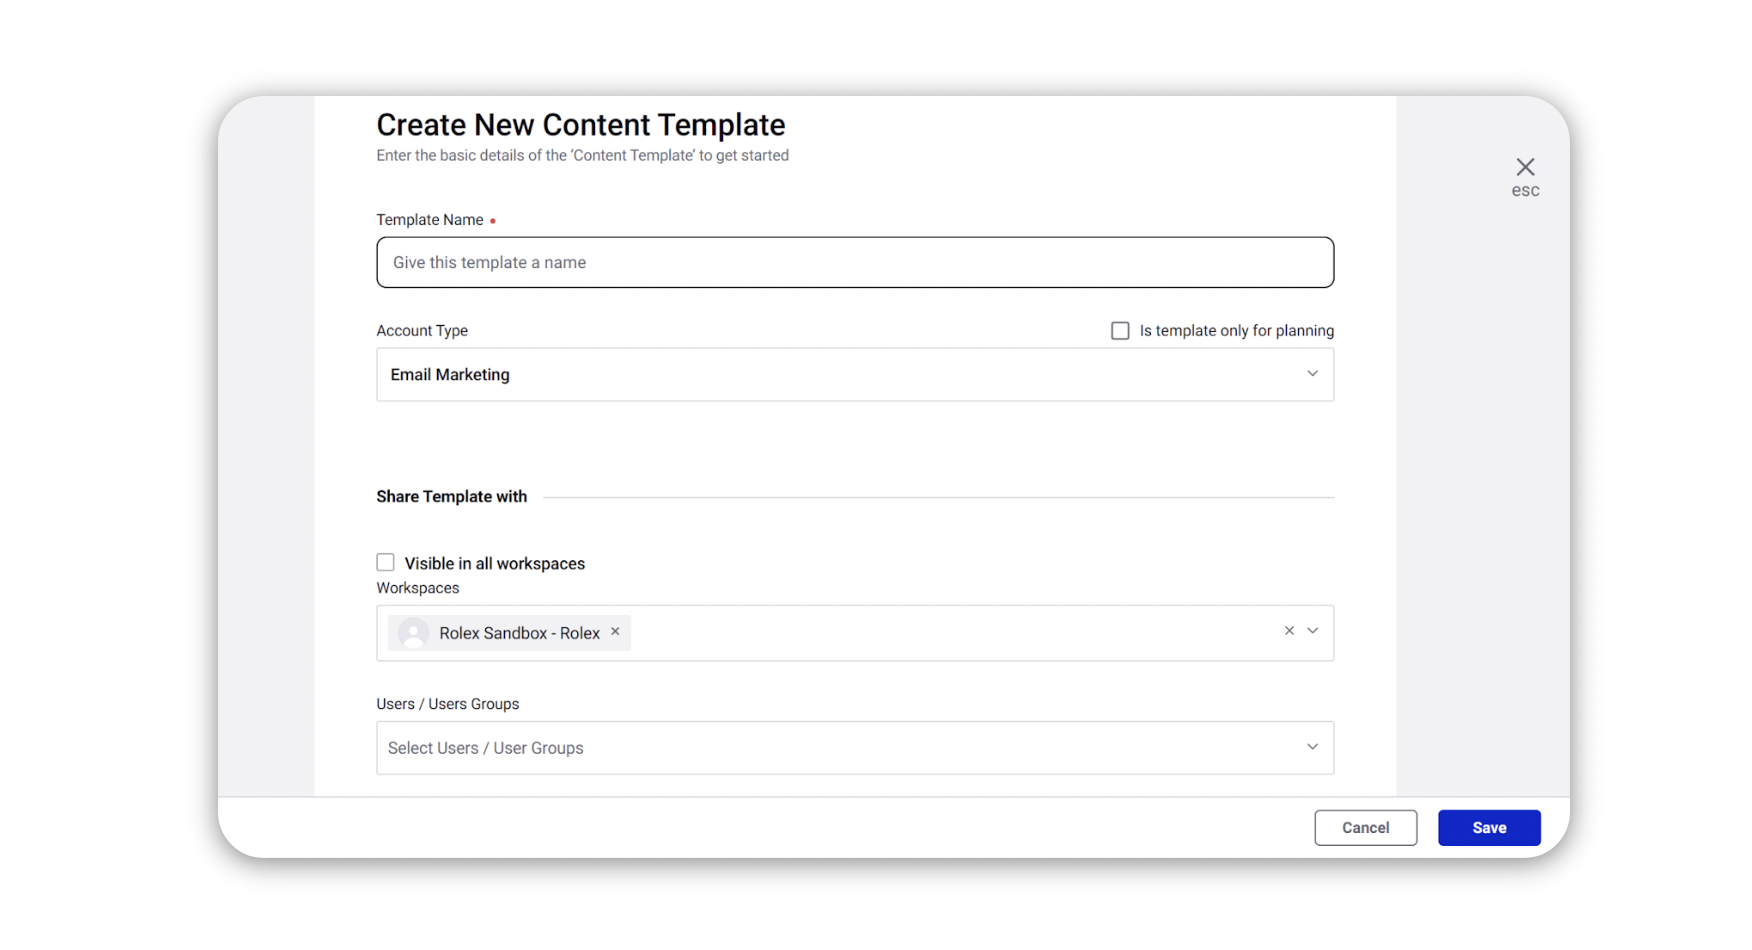
Select the channel for which you are creating the template in the Account Type field. If you want the template available for Planning, check the box.
You can enable Visible in all workspaces to make your template available for all workspaces.
From the Workspaces dropdown menu, you can select the workspaces with which you want to share your template.
From the Users/User Groups dropdown menu, you can select the users/user groups with which you want to share your template
Click Save. You will be directed to the Designer tab in the Content Template Builder window.

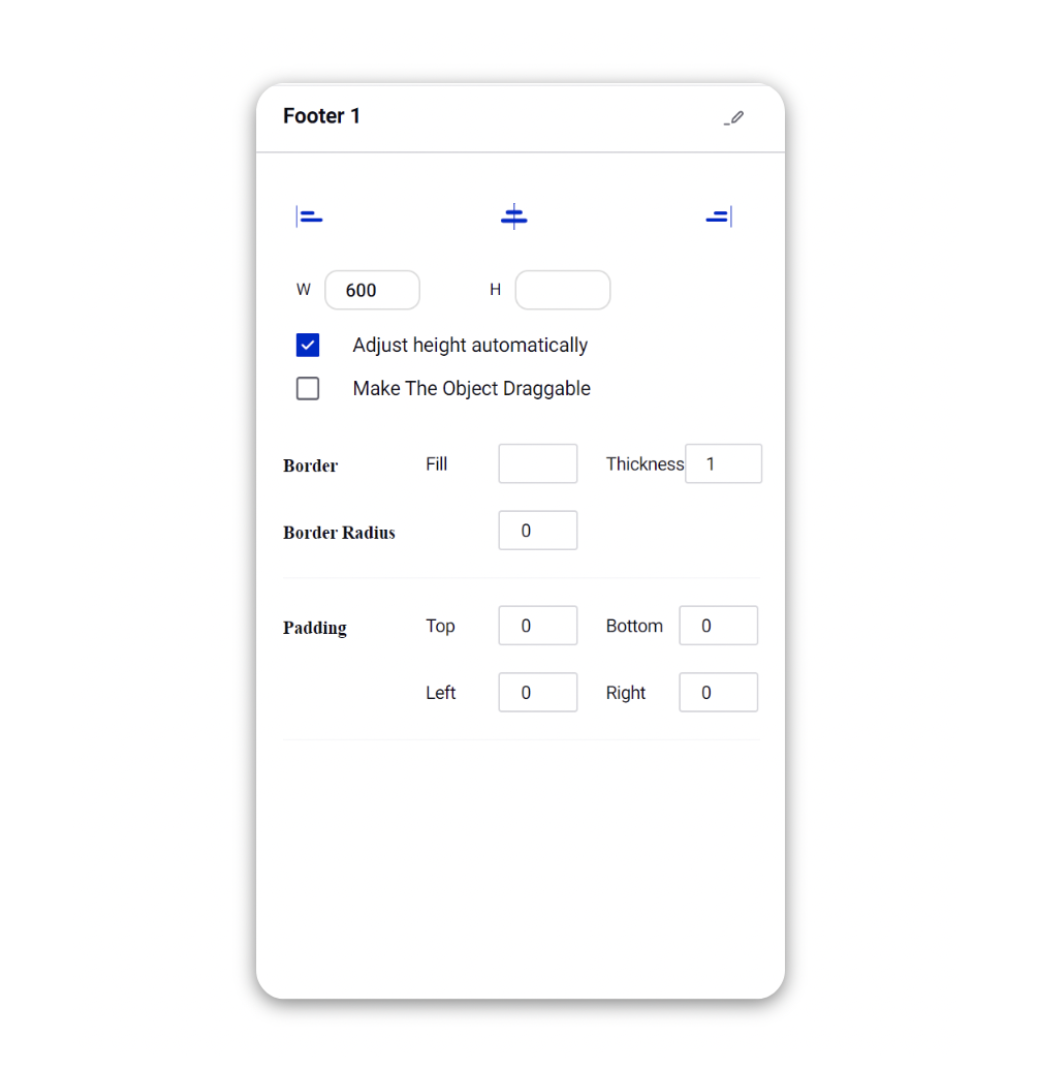
Click the Addition icon in the Designer tab to start creating your template using these components: Image, Spacer, Text, Single Line Text, Button, HTML, Post, Social Footer, Image and Text, Video and Media.
You can click on any component and edit their properties such as background color, padding, alignment etc, from the right-side pane.
Note:
You can also make the component draggable by checking the Make the Object Draggable checkbox in the right-side pane
If there are multiple components of the same type, you can differentiate them by changing the labels of the components from the right-side pane
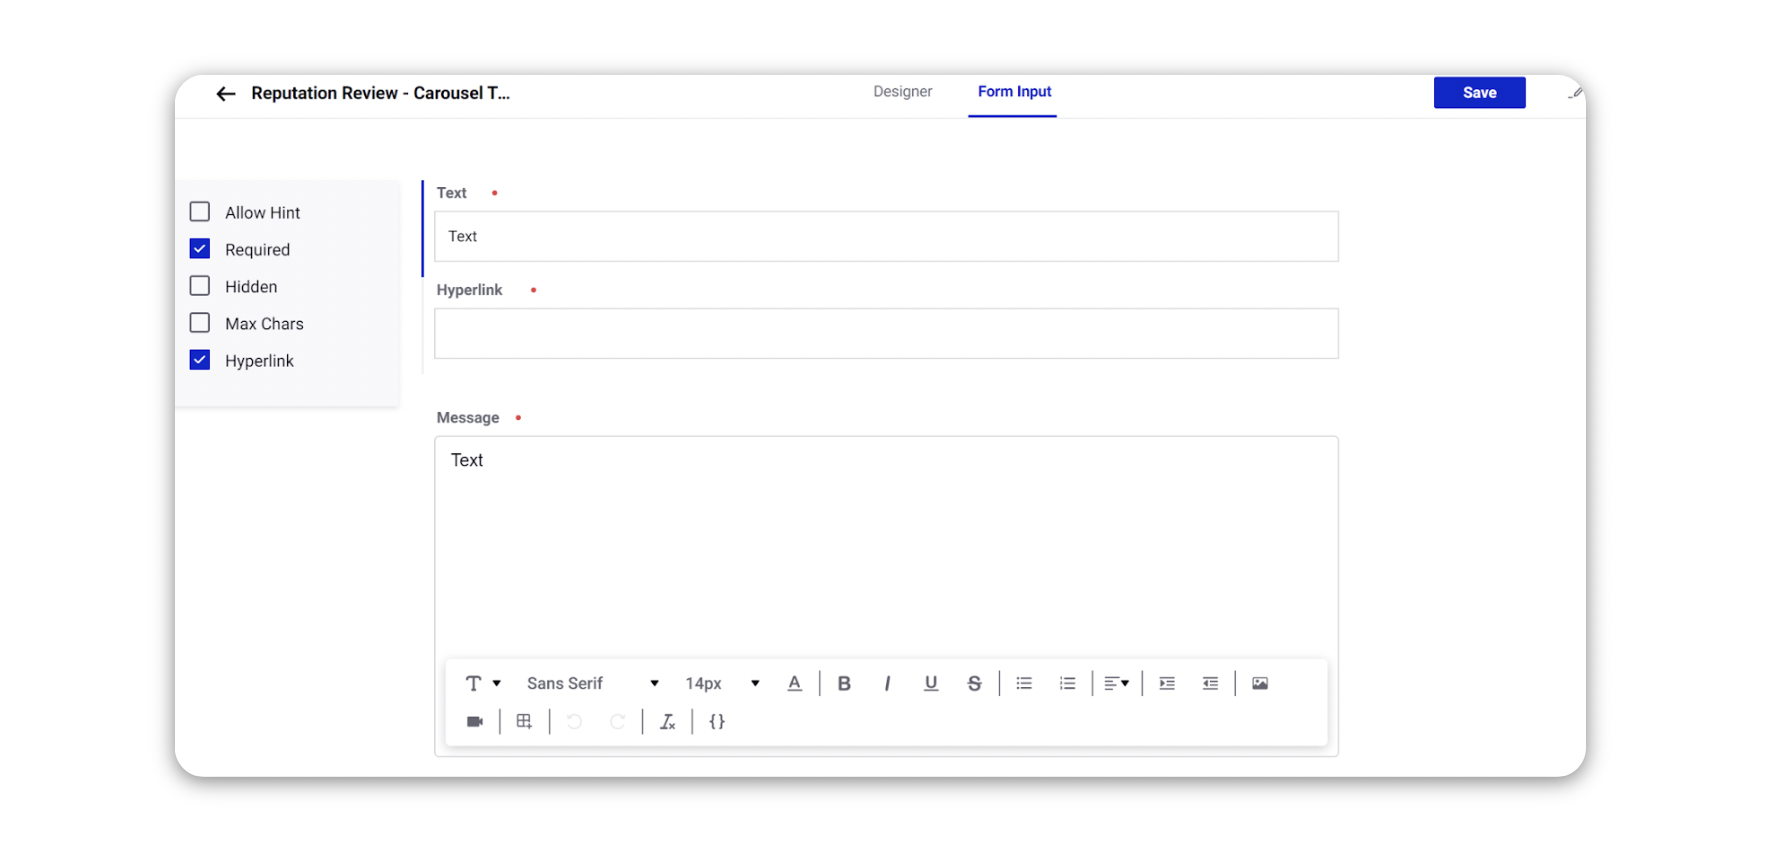
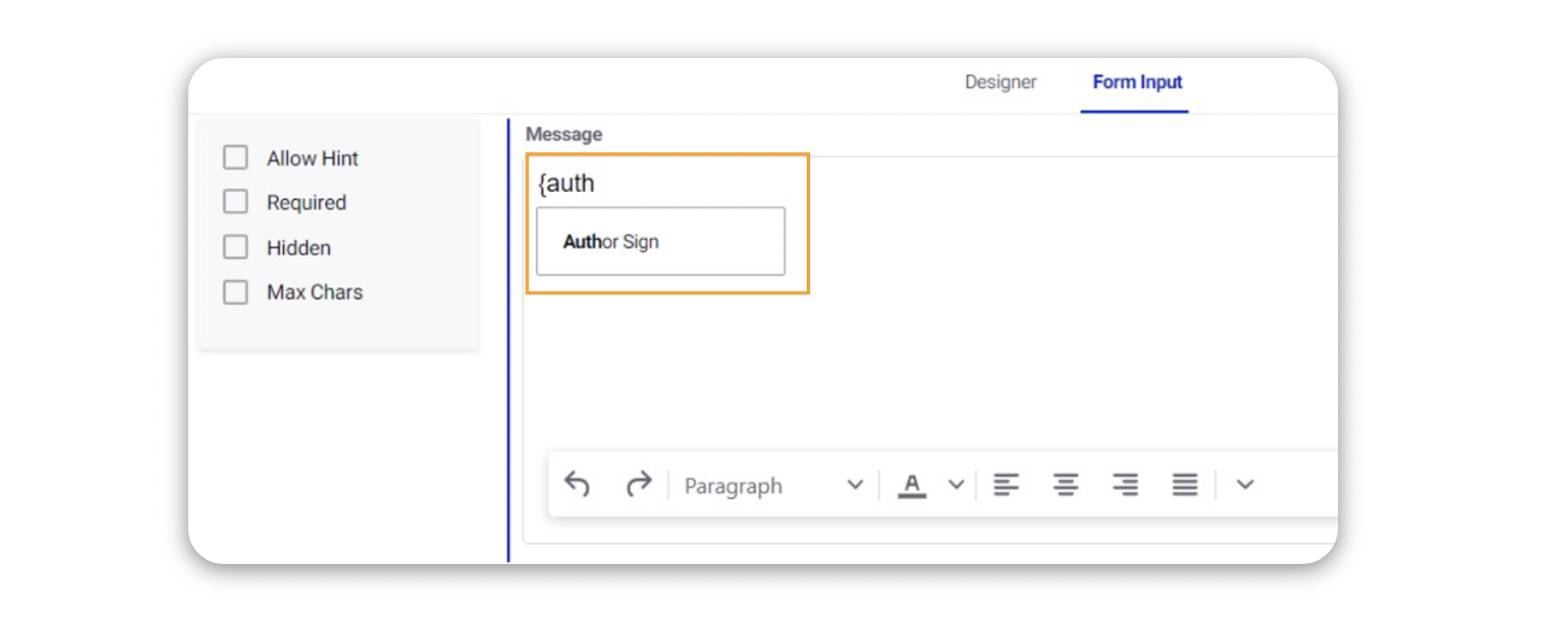
In the Form Input tab, you can add Input, Dropdown, and Attachment by clicking Add New Field. You can also configure the template components from the Form Input tab from the below options:
Set as Thumbnail
Allow Hint
Required
Hidden
Size (in MB)
Resolution
Allow Options
Alternate Text
Hyperlink
Note:
You can add your signatures in content templates as a placeholder such that the value is derived from the pre-configured signature information. This signature will also be available as a placeholder while creating posts, especially for email marketing posts. This ensures brand compliance, minimizes user errors and reduces the time to publish content.
On adding an image component, you can select the Set as Thumbnail checkbox to define the image as a thumbnail and appear in the preview in Editorial Calendar and Message Third Pane.
Within the Editorial Calendar, you can expect the following behavior:
Editorial Calendar > Calendar > Week and Day Views > Large Cards
Editorial Calendar > Timeline > Week View > Small, Medium, Large Cards
Click Save. To view your saved template, click Create Message in Publisher. Select Account Types under Channel. You can edit the content before publishing. For more information, see Publish your content using Content Templates
Account Types available for creating Content Templates
The account types available for creating a content template are Email Marketing, Blog, Email Draft, Website, Press Release, Print, TV, Radio/Podcast, Webinar, Out-of-home Advertising, In store event, Forum, Internal, Display, Whitepaper, Affiliate, Events, Mail, Mobile App, Media Partnership, Phone, SMS, Instagram, Paid Search, Pinterest Ads, Facebook Ads, Twitter Ads, Snapchat Ads, Pinterest, WhatsApp, Kakao Talk, Kakao Story, Sina Weibo, YouTube, Line, WeChat, Twitter, Facebook Page, Client, Channel Agnostic, Advertising, TMall, Bootroom, Connect, Site Ops, Performance Marketing, Digital Toolkit, and Wholesale
You can also select the editor of your preference from Modern Editor and Classic Editor while creating a template. This will not impact the existing content templates. This is enabled for the following account types only:
| Account Types | |
|
|
|
.