How to add brands to Sprinklr?
Updated
In this article, we will learn how to add brands to Sprinklr. You can add not just only your brands but also your competitors' & influencers' brands.
To add a brand
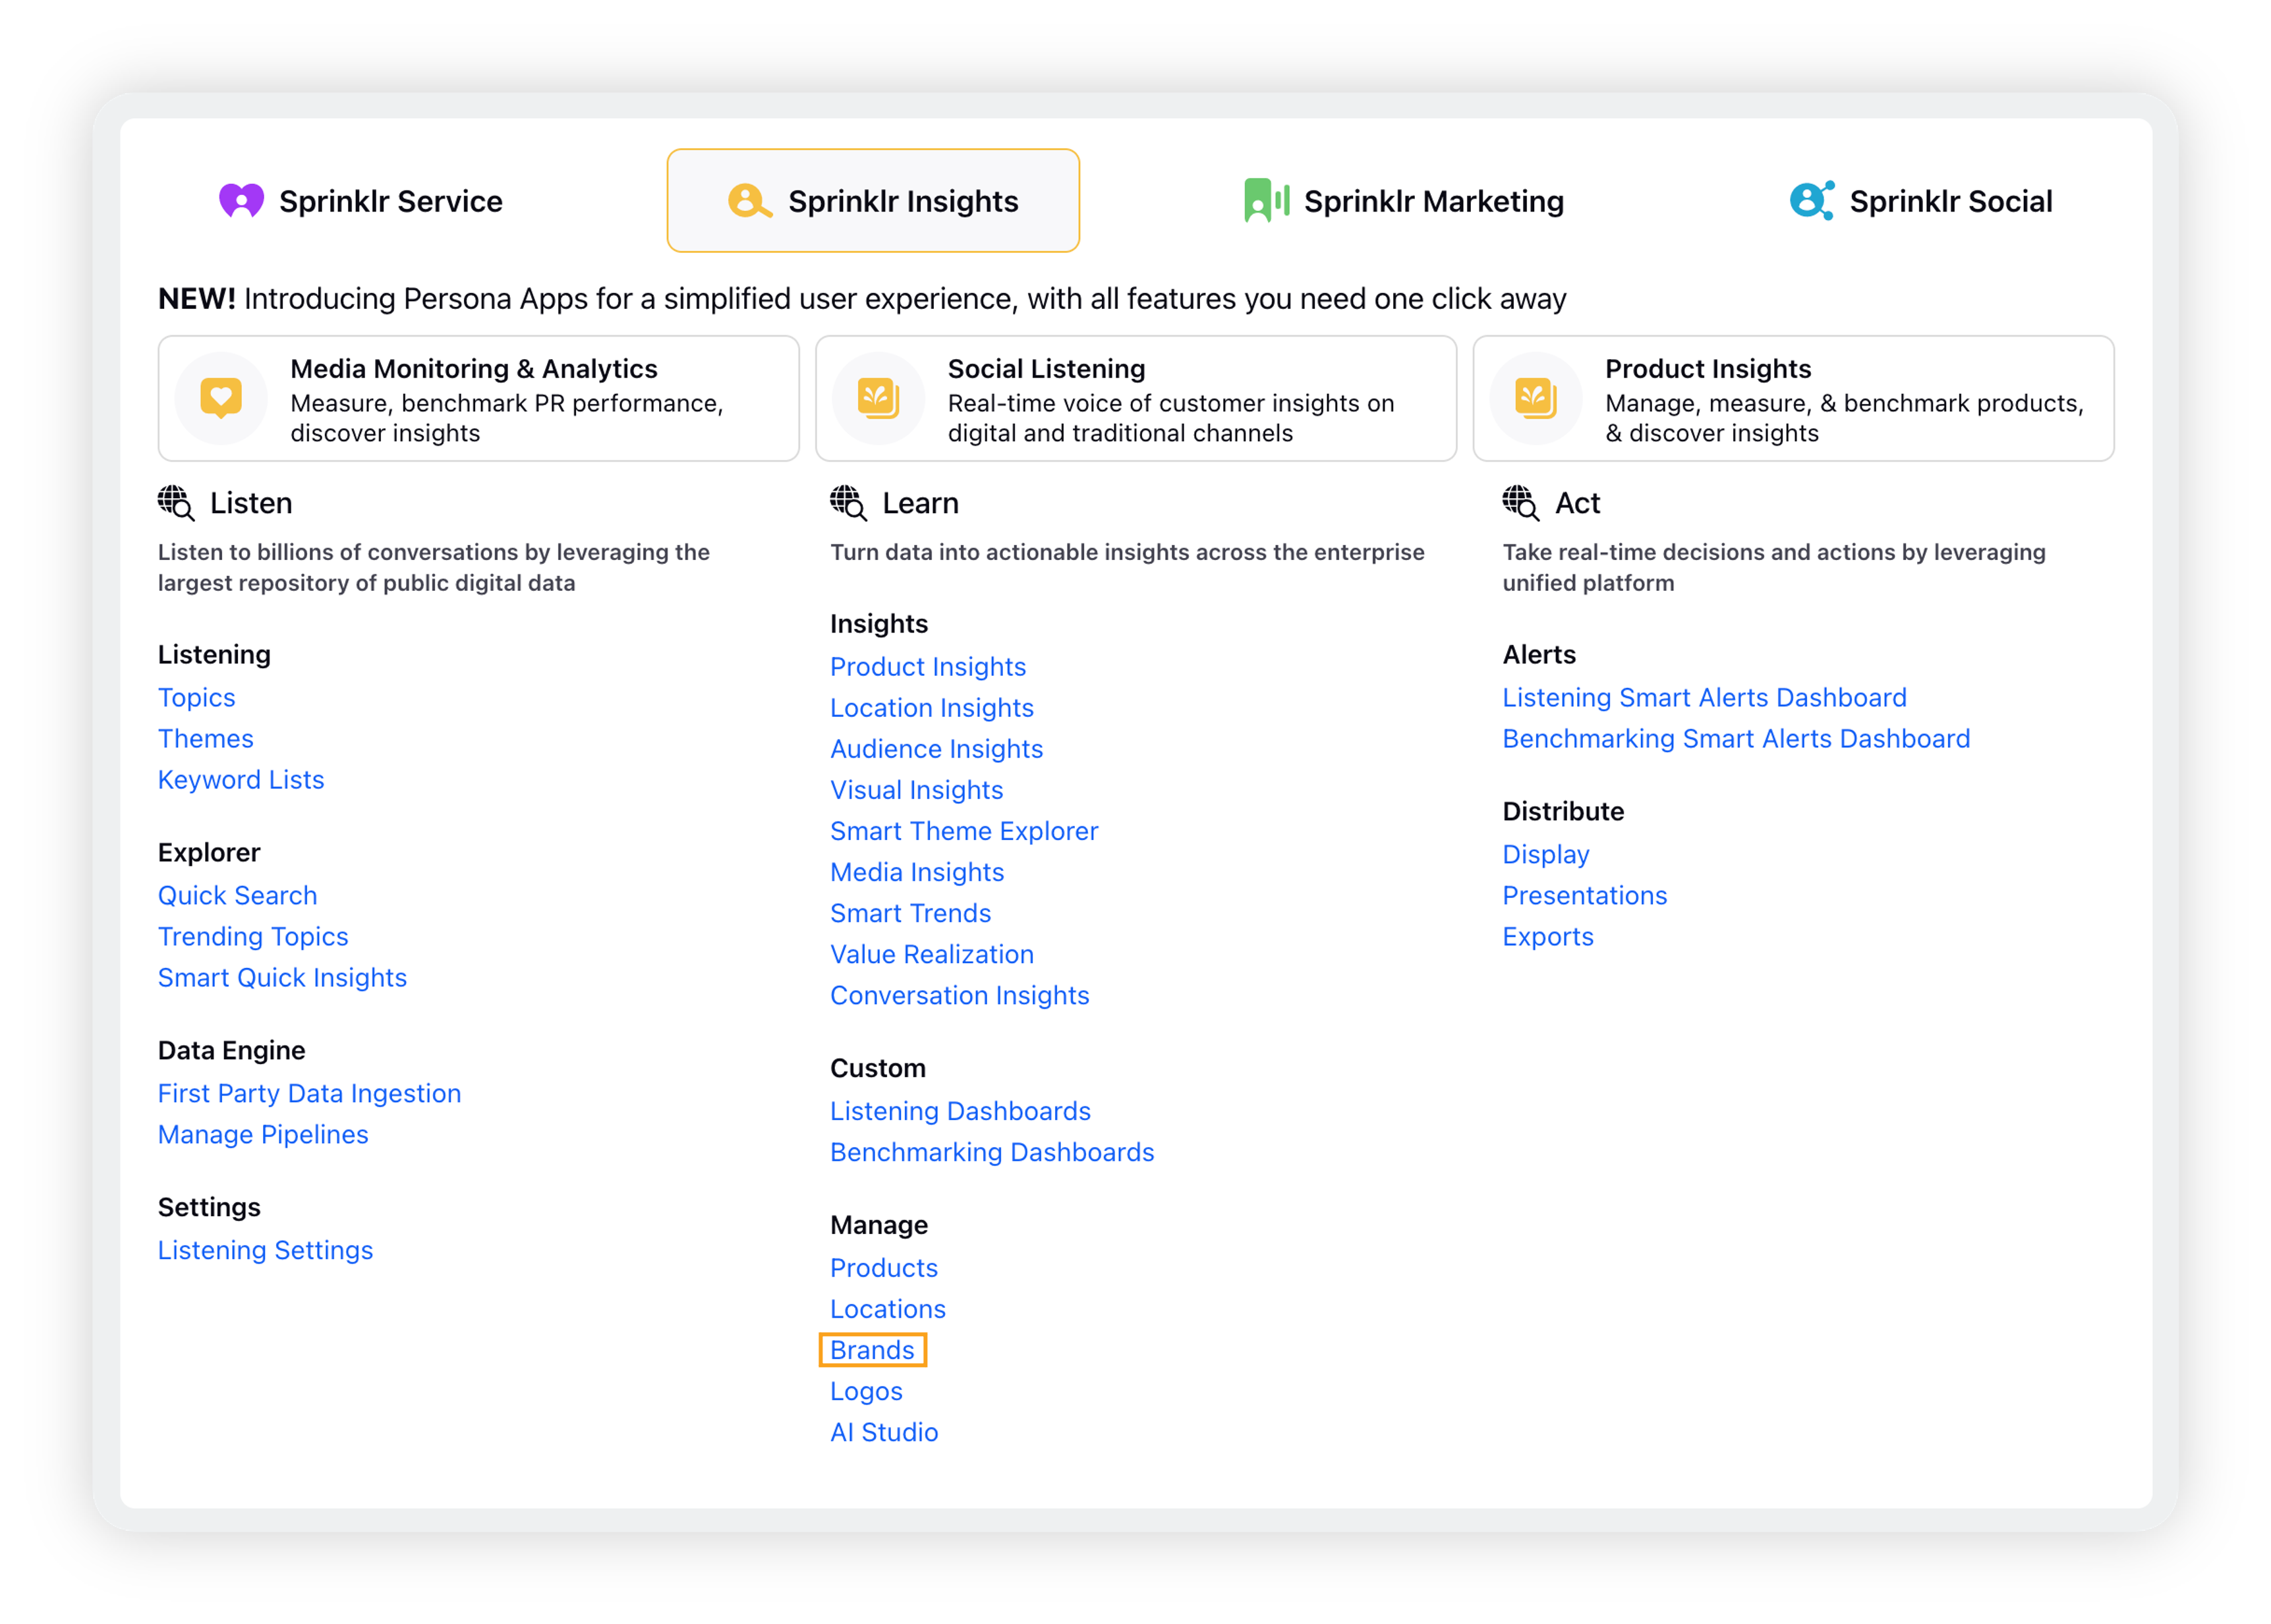
Click the New Tab icon. Under Sprinklr Insights, click Brands within Learn.
On the Brands window, click + Add Brand in the top right corner.

On the Search a Brand screen, fill in the information required. For more information, refer to the section Add Brand – Fields Description.

Fill in the details in Brand Name page.

Navigate to the Brand Accounts page and and Click Add Account (+)option to add accounts.

Go to Properties & Permissions section and fill in details under Edit Permissions section and View Permissions.

Click Create.
Add Brand – Fields & Description
Field | Description |
Name | Enter the name of the brand |
Description | Enter the description (optional) |
Brand Category | Select the brand category – |


Category – My Brand
Brand Accounts |
|
Permissions |
|
Setup Custom Brand Properties |
|


Category – Competitor Brand
Brand Accounts |
|
Permissions |
|
Setup Custom Brand Properties |
|
Category – Influencer
Brand Accounts |
|
Permissions |
|
Setup Custom Brand Properties |
|
Other than adding a new brand, you can also import an existing brand in Benchmarking. Refer to this article for more information.
List of account types supported for a public account
You can add a public account for the following account types –
Facebook
Instagram
X
VK (VKontakte)
Twitch
YouTube
While adding a brand in Benchmarking, the account logo will get detected automatically as your brand logo. So you need not add the logo manually. In case you add multiple accounts, the logo of the last account added will be your brand logo.
 Enablement note: To learn more about getting this capability in your environment, please work with your success manager.
While adding an owned brand, an evergreen campaign of the same name will be created by default. It will be within the campaign list.
Edit Brand Accounts
Let's have a look at the navigation steps:
Go to the Manage Brands page, click on the vertical ellipses, and click Edit.

Go to the Brand Details page and update the Name, Description and Parent Brand's name and click Next.

Go to Brand Accounts page and click +( Add Accounts) option to add a new account.

Select Accounts and add click Add Account and then click Next.
Go to Brand Personality page and select the following:

Brand Logos: The brand logo serves as the visual cornerstone of your identity, a simple and memorable symbol that instantly drives recognition. Select brand logos by selecting the + Add Logos option from the media files.
Brand Colors: Brand colors evoke emotion and set the tone, helping establish a visual identity that reflects your brand’s personality. Click the + option to select brand colors from the color library.
Brand Fonts: Brand fonts bring character to your words, reflect your tone, and strengthen brand recognition. Click the + option to select brand fonts from the list.
Brand Tone of Voice: Tone of voice is how your brand sounds in communication, consistently reflecting its personality and values.
Name: Add a meaningful name.
Description: Add a meaningful description.
Examples: Enter examples of the tone. You can click the + option to add more examples.
+ Tone: Click + Tone option to add additional tones.
Brand Value: Brand values are the core beliefs that guide your actions and foster deeper connections with your audience.
Name: Add a meaningful name.
Description: Add a meaningful description.
Click + Value to add more values and click Next.
Go to Content Guidelines page and fill in the following details:

Keyword List: Brand keywords define your brand’s essence, shaping how it is perceived and associated in the minds of your audience. Select the required inputs:
Positive Keyword List: Select a positive keyword list from the dropdown.
Negative Keyword List: Select a negative keyword list from the dropdown.
Writing Style Guidelines: A brand style guide is a set of rules that ensures your messaging stays consistent in tone, language, and structure across all content. Fill in the details:
Select the preference between Active vs Passive Voice: Refer to the drop-down to select Active Voice, Passive Voice, or No Preferences.
Select the preference between Direct vs Indirect Speech: Select the speech from the drop-down: Direct Speech, Indirect Speech, and No Preference.
Select the acceptable Date Format: Select the date format from the dropdown: either 12-hour format or 24-hour format.
Should Time zone be mandatory when specifying time in content?: Select the preferred time zone. Select from the dropdown either Yes, No, or No Preference.
Should the use of gender-inclusive pronouns be mandatory in content?: Select the pronoun preference from the dropdown: Yes, No, or No Preference.
When using an acronym, on first mention: Select the preferred option from the dropdown: the options are "Introduce acronym in parentheses," "Introduce acronym in reversed parentheses," and "No Preference."
Allow the usage of We / Our / Us in content: Select the option (Yes/No or No Preference) from the dropdown.
Allow the usage of 'I' and first-person perspective: Select the option (Yes/No or No Preference) from the dropdown.
Click Next.
Go to Brand Compliance page and fill in the details:

Go to the Compliance Section to set up compliance. You can also click Generate Compliance option to setup compliance.
Generate Compliance
Select the option to fill in the details:
Metrics: Select the metrics.
Asset Types: Select the asset types from the Photo or Video option.
Objectives: Select the objective from the dropdown.
Click Submit.
Go to Brand Permissions page it helps to maintain brand governance by managing who can access and edit your brand assets.

Edit Permissions: Select users that you want to provide editing access.
View Permissions:Select users that you want to provide view access to.