Configure Zendesk Connector for External Content Management
Updated
Zendesk Connectors enable you to manage articles externally while keeping them synchronized with Sprinklr-specific workflows such as Agent Assist, Live Chat, and more. It also streamlines the import of articles from external content management systems (CMS) without the need for backend development.
Sprinklr supports two modes of content integration with Zendesk: Continuous Synchronization and One-Time Migration.
Continuous Synchronization allows articles and content to remain managed in Zendesk while being continuously synced to Sprinklr. This enables the use of Sprinklr features such as Agent Assist, Live Chat, and bot training, without changing the source of truth.
One-Time Migration permanently transfers articles and content from Zendesk to the Sprinklr Knowledge Base. After migration, Zendesk is no longer the source system. Articles become fully editable within Sprinklr and are leveraged across Sprinklr workflows.
Create Zendesk Data Connectors
Follow these steps to create a Zendesk Data Connector on Sprinklr:

Navigate to Unified Data Connector on the Launchpad. This will open the Data Connectors record manager.

Click the Install Connector button at the top right of the page. Ensure that Import is selected on the Left Pane.
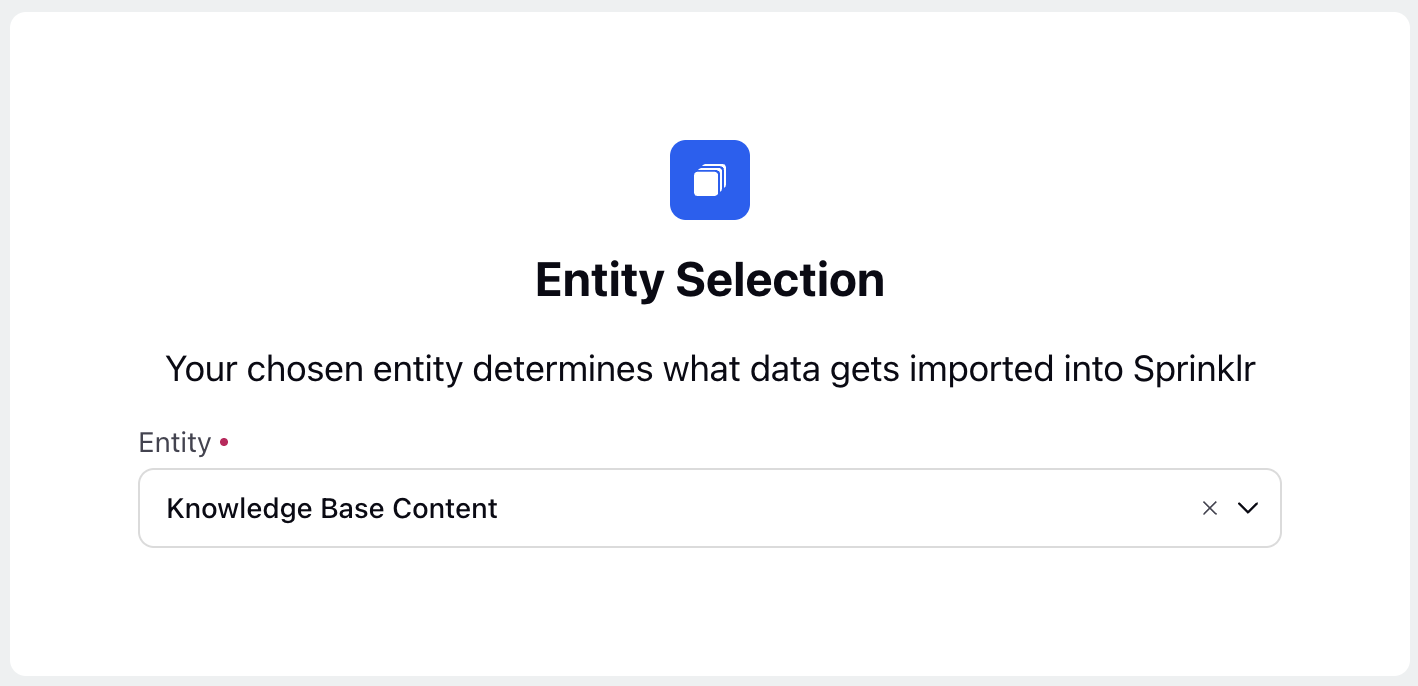
Select Knowledge Base Content in the Entity field on the Entity Selection page.
Click Next to open the Entity Specific Settings page.
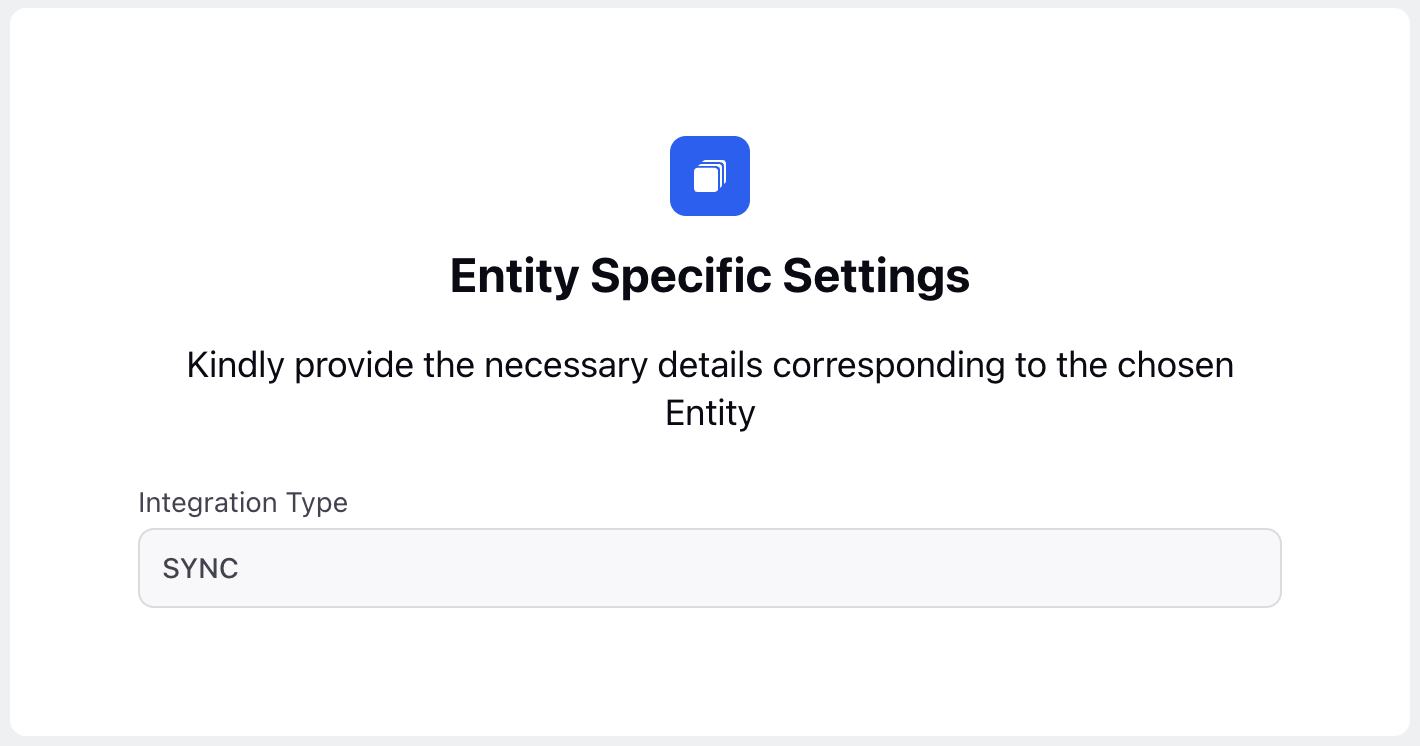
Choose SYNC in the Integration Type field on the Entity Specific Settings page.
Click Next to open the Source Selection page.
Fill in the required fields on the Source Selection page. Fields marked with a red dot are mandatory. Below are the descriptions of the fields on this page:
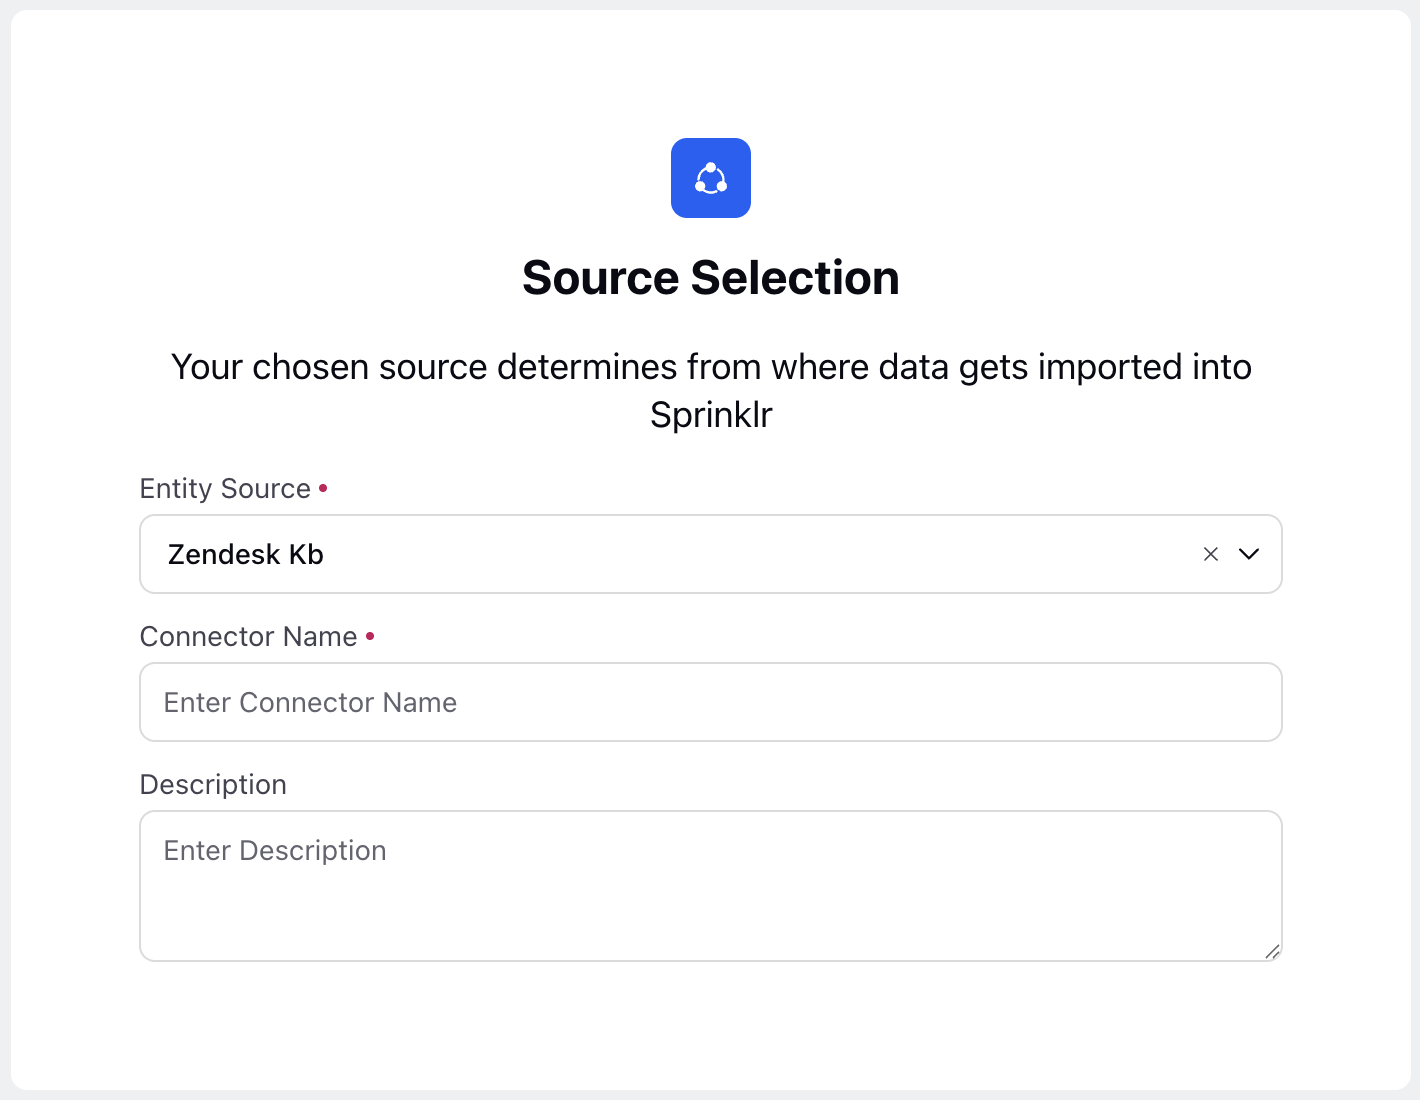
Entity Source: Select Zendesk Kb. (Required)
Connector Name: Enter the name of the Connector. (Required)
Description: Enter a brief description of the Connector.
Click Next to open the Source Specific Settings page.
Fill in the required fields on the Source Specific Settings page. Fields marked with a red dot are mandatory. Below are the descriptions of the fields on this page:
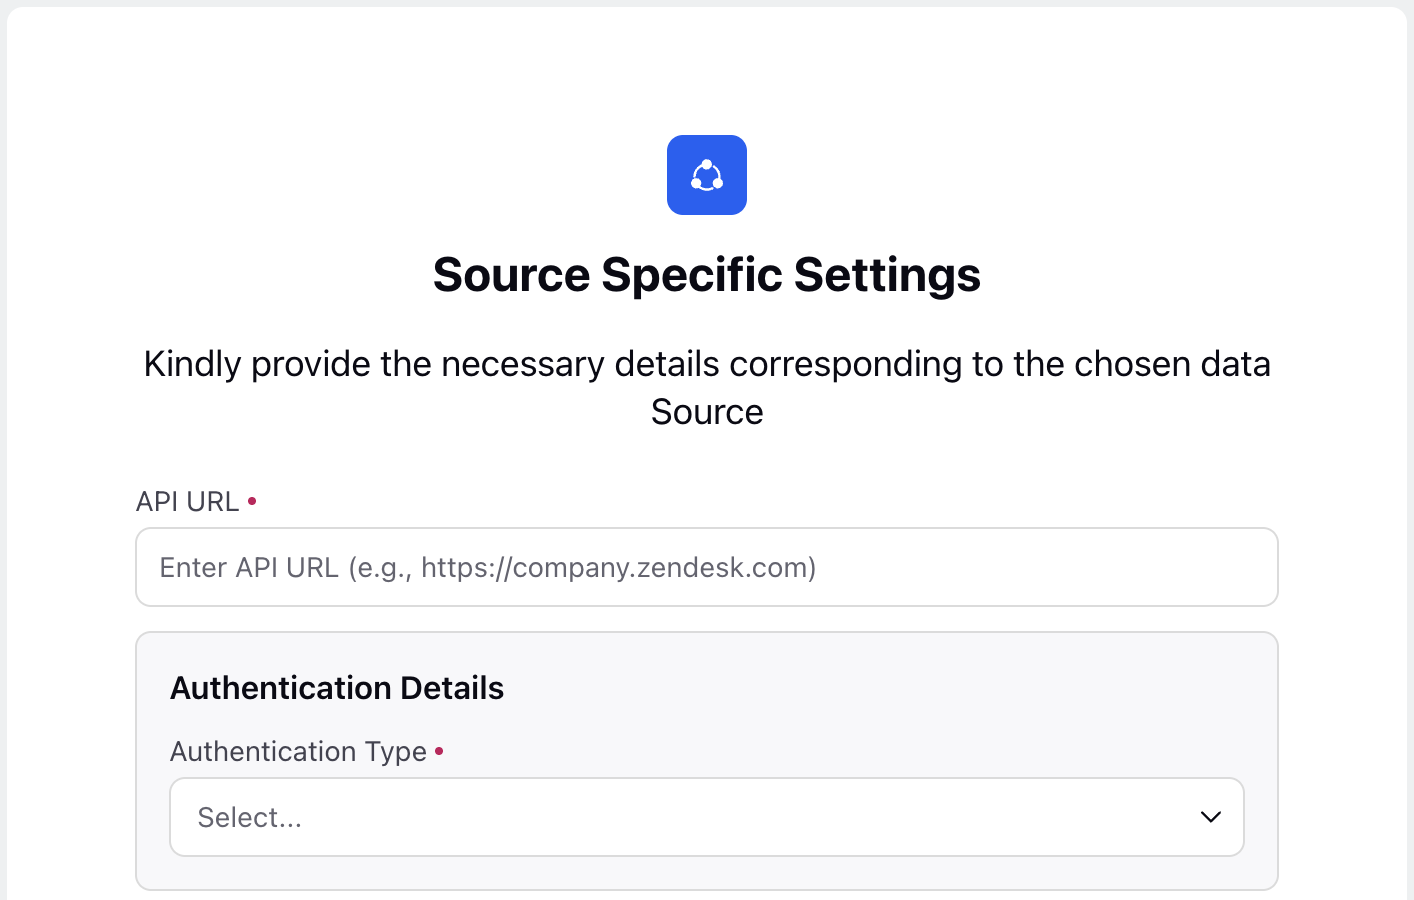
API URL: Enter the API URL or the API endpoint. (Required)
Authentication Details
Authentication Type: Select how you want to authenticate the Connector. (Required)
The following are the available options:
Bearer: Use a bearer token for authentication. Enter the bearer token in the API Token field.
Basic With Auth Token: Authenticate using an authentication token. Enter the authentication token in the Auth Token field.
Basic With Email And API Token: Authenticate using your email address and an API token. Enter the email in the Email field and the API token in the API Token field.
Connection: Authenticate using Sprinklr-level app-based OAuth 2.0 authentication. The Connection field will appear on selecting this option.
Note: The Connection option for authentication is controlled by Dynamic Properties. To enable this feature in your environment, reach out to your Success Manager. Alternatively, you can submit a request at tickets@sprinklr.com.

User Segment Ids: Specify the user segments from Zendesk that are associated with the articles to be migrated.
Include Draft Articles: Enable this toggle to include articles in the Draft state during migration. It is enabled by default.
Article Adaption Settings
Owner User Id: Select the Sprinklr User to be set as the Author of the migrated articles. Only one User can be selected. (Required)
Destination Folder ID: Select an existing Knowledge Base Category where the migrated articles will be stored. (Required)
Import Category Hierarchy from Zendesk?: Enable this toggle to migrate articles along with their existing category hierarchies, ensuring the original structure is retained in the Sprinklr Knowledge Base. It is enabled by default.
Origin Type: Select the Article Type for the migrated articles. (Required)
The following options are available:
Imported: Typically used for one-time migrations. (Recommended)
External: Commonly used for periodic, sync-based migrations.
Ignore Content from Server?: Enable this toggle if IP whitelisting is required and has already been configured. It is disabled by default.
Include Translations: Enable this toggle to include translated versions of articles during migration. It is enabled by default.
Advanced Settings

Client ID: Select the Workspace. Only one can be selected. (Required)
Route via Proxy?: Enable this toggle to route each migration API call through Zendesk’s server. Data will only be retrieved if the Sprinklr server’s IP address is whitelisted. It is disabled by default.
Pattern Regex For Attachment: Define the regular expression (Regex) used to identify attachment links within articles, such as images and PDFs. A default pattern is pre-filled based on common CMS formats, but you can customize it to match other link structures as needed.
Example: For the following URL
https://mycompany.zendesk.com/hc/article_attachments/1234567890/guide.pdf
The regex would capture:
Protocol: https://
Domain and path to attachments: mycompany.zendesk.com/hc/article_attachments/
Attachment ID or folder: 1234567890
File name: guide.pdf
Pattern Regex For Reference Links: Define the regular expression (Regex) used to identify reference links within articles, such as links to other pages or images.
Migrate in debug mode: This option enables debug mode during migration. In debug mode, the backend API responses are not stored, but they help capture detailed error logs for troubleshooting. It is primarily intended for developers and is disabled by default.
Page size for fetching contents: The default is set to 100. It is recommended to keep this value at 100 to ensure optimal performance and consistency during migration.
Batch size of articles for post processing: The default is set to 50. It is recommended to keep this value at 50 to ensure optimal performance and consistency during migration.
Click Next to open the Mapping Configuration page. This page allows you to map the source data headers to destination fields in Sprinklr.
For each header mapping, the following options are available:
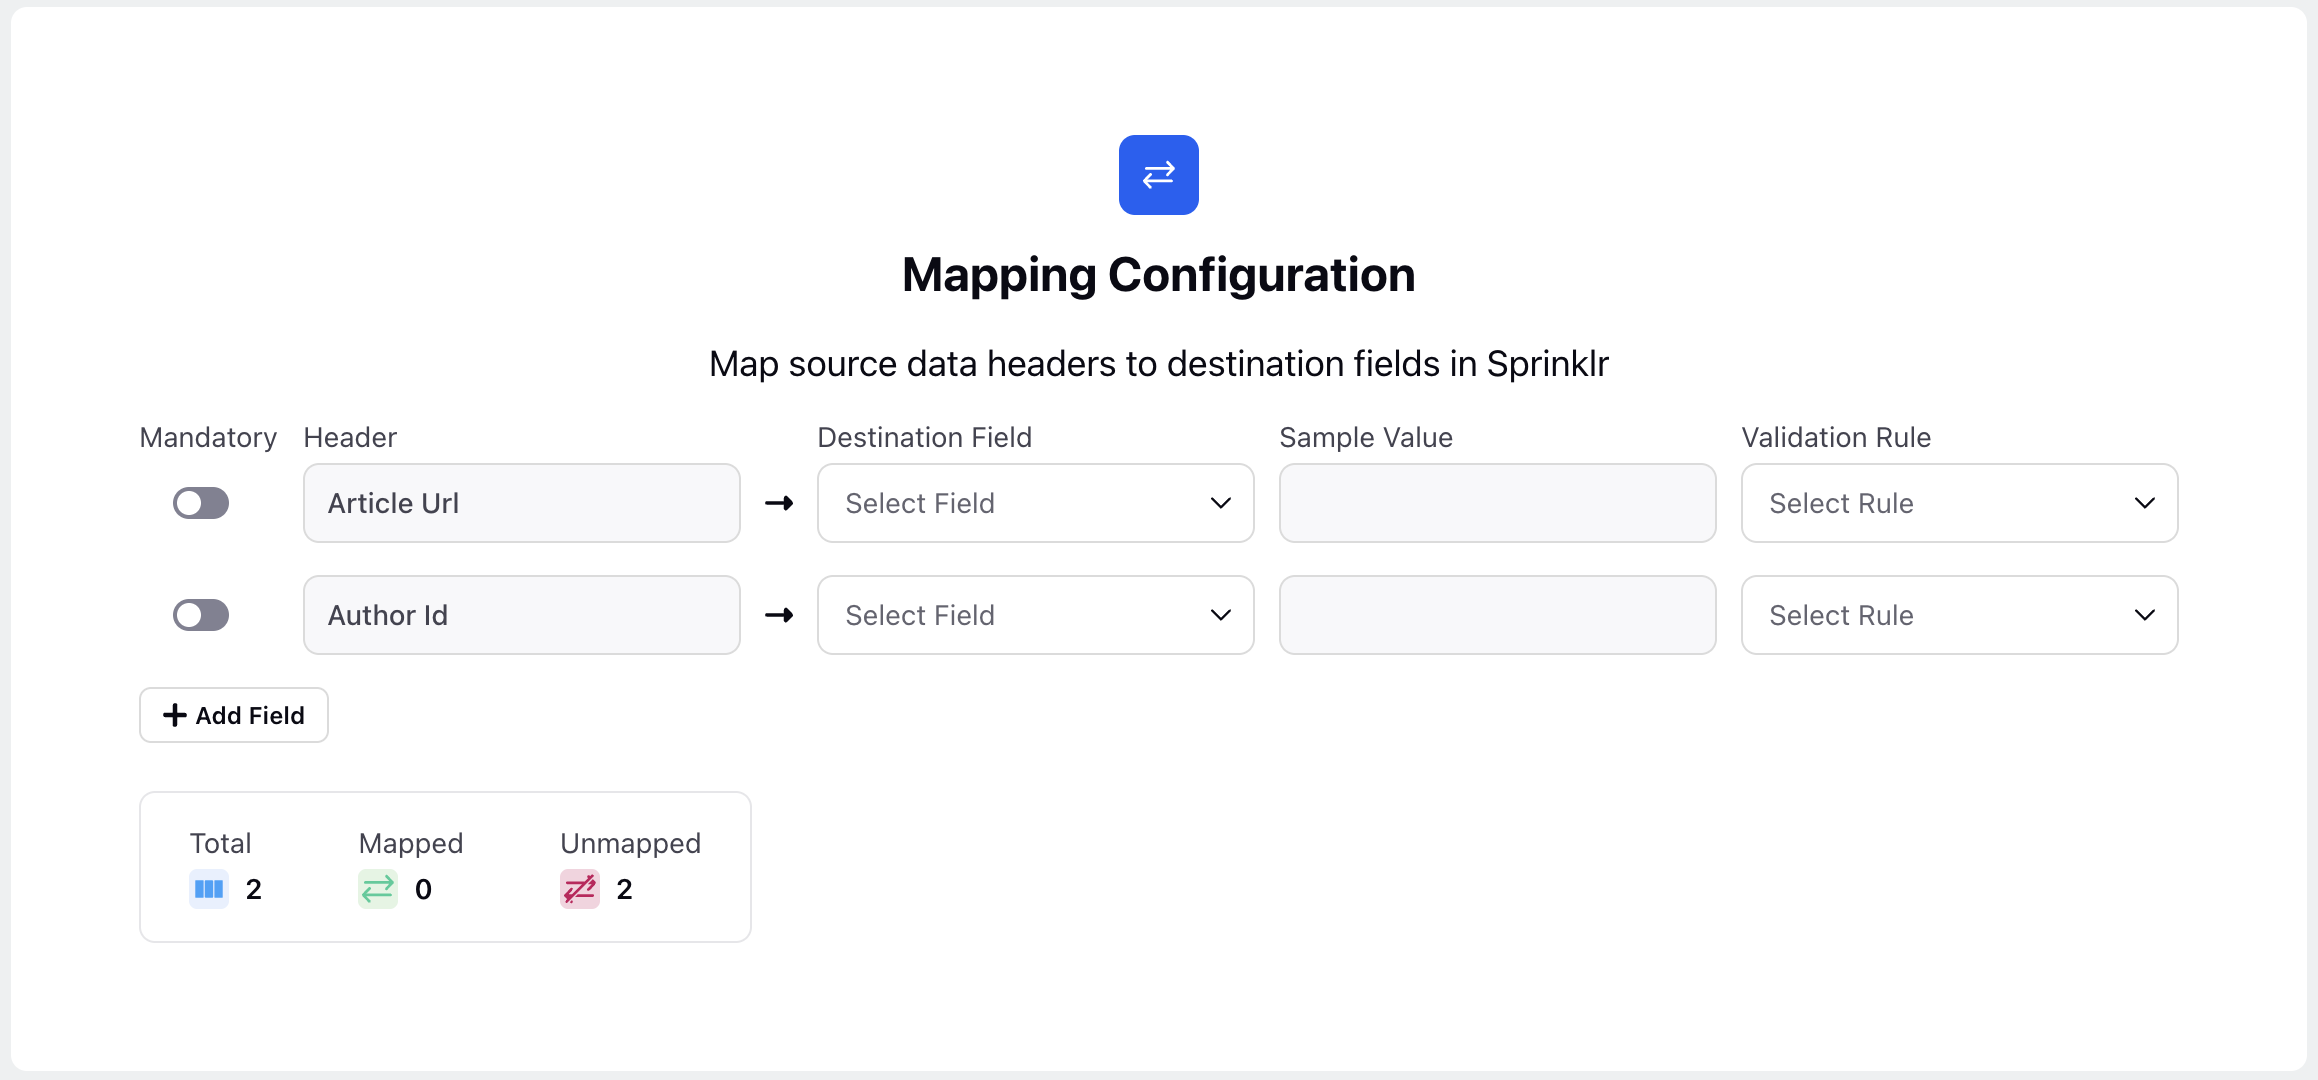
Header: It is the name of the field as it appears in the source API. The Article Url and Author id fields are present by default. You can add more Header fields as required.
Destination Field: It is the corresponding Sprinklr field to which the source Header will be mapped.
Sample Value: This field is disabled and not relevant for this configuration.
Validation Rule: Choose the validation type, if any, if the value of the source Header is expected to be in a specific format, such as email IDs, mobile numbers, or custom patterns using Regex.
Mandatory: Enable this toggle to enforce mandatory Header mapping during migration. For instance, if the Author Id field is marked as mandatory and an article lacks an associated Author Id, the migration process will be halted.
Click Next to open the Additional Settings page.
Fill in the required fields on the Additional Settings page. Fields marked with a red dot are mandatory. Below are the descriptions of the fields on this page:
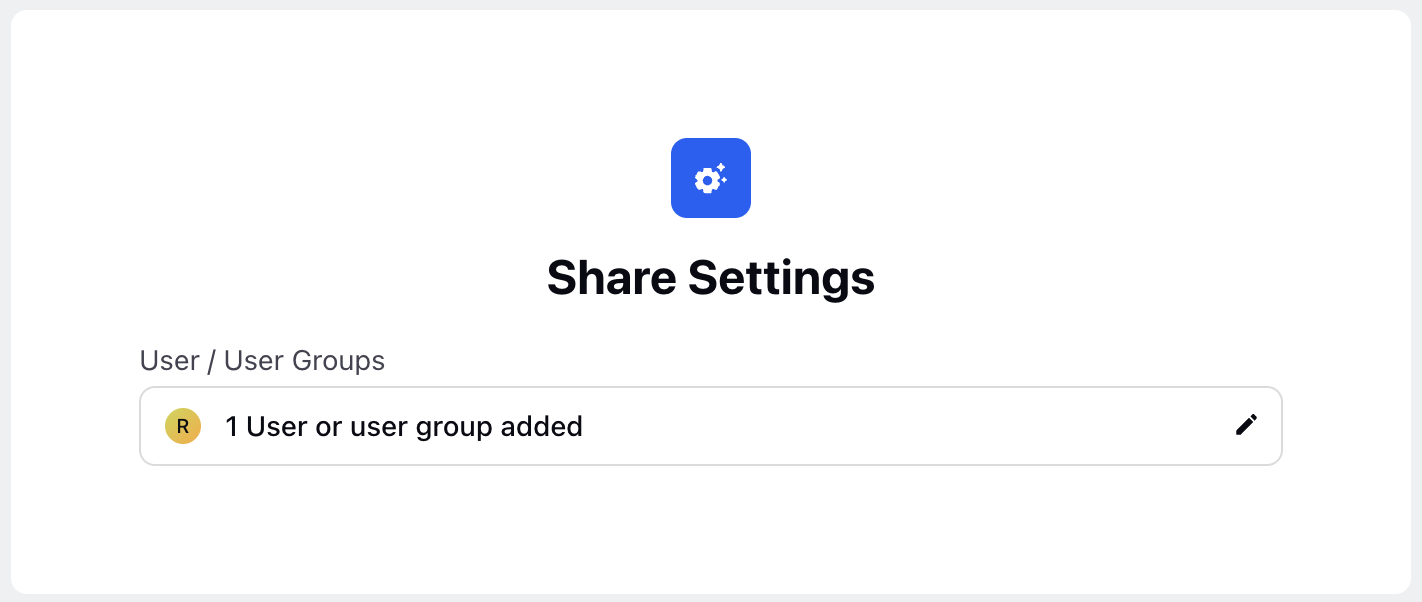
User / User Groups: Specify the Sprinklr Users/User Groups who can view the imported articles.
Schedule Settings

Start Date: Specify the date from which the continuous syncing job will start. (Required)
End Date: Specify the date on which the continuous sync job should stop. Leave this field blank to allow the sync process to run indefinitely.
Timezone: Select your time zone. (Required)
Define Time Slots: Specify the daily time window during which the sync job should run by setting the start and end times.
Click the Save button to save and create the Connector configuration.
Manage Connectors
You can perform essential actions such as editing connector configurations, running sync jobs, and deleting Connectors that are no longer needed. These controls help ensure that your data integrations remain accurate, efficient, and aligned with your system’s operational needs.
Follow these steps to access the Connector controls:

Navigate to Unified Data Connector on the Launchpad under the Integrate column. This will open the Data Connectors record manager.

Hover over the vertical ellipsis (⋮) icon corresponding to the relevant Data Connector. This will show a list of options.
The following options will be available in the list of options:
Edit: Allows you to modify the Data Connector.
Delete: Delete the Data Connector.
Run: This will run the Data Connector once.
Activate: This will enable or disable the continuous sync per the defined schedule.
View Activity: This will show the activity log of the Data Connector.