Journey Level Reporting IVR, Voice Bot and Chatbot
Updated
To provide accurate, comprehensive reporting at the journey level for IVR, voicebot, and chatbot flows, the system captures each unique journey a customer takes within a call (case). It supports custom journey definitions, tracks call progression through each journey, and records snapshot values for every journey.
Journey-level reporting tracks and records every journey within a call or case, whether completed, abandoned, or undefined. This includes:
Start and End transactions to define journeys across IVR, voice Bot, and chatbot systems.
Backend reporting to track calls and cases through each defined journey and capture relevant data at the journey level.
View-only reporting of journey definitions, providing easy management and visibility for you.
Configuration Steps
The configuration would be divided into 3 parts:
Define the Journey: Identify the start and end points within your existing IVR, voice bot, or chatbot configuration, and map out the entire user journey.
Journey Tracking Logic: Track and monitor the flow of interactions, capturing key touchpoints throughout the journey for analysis.
Reporting Logic: Generate reports that provide output data by visualising key metrics and dimensions, offering insights into user behavior and system performance.
Let’s follow the navigation steps for each of these phases:
Define the Journey
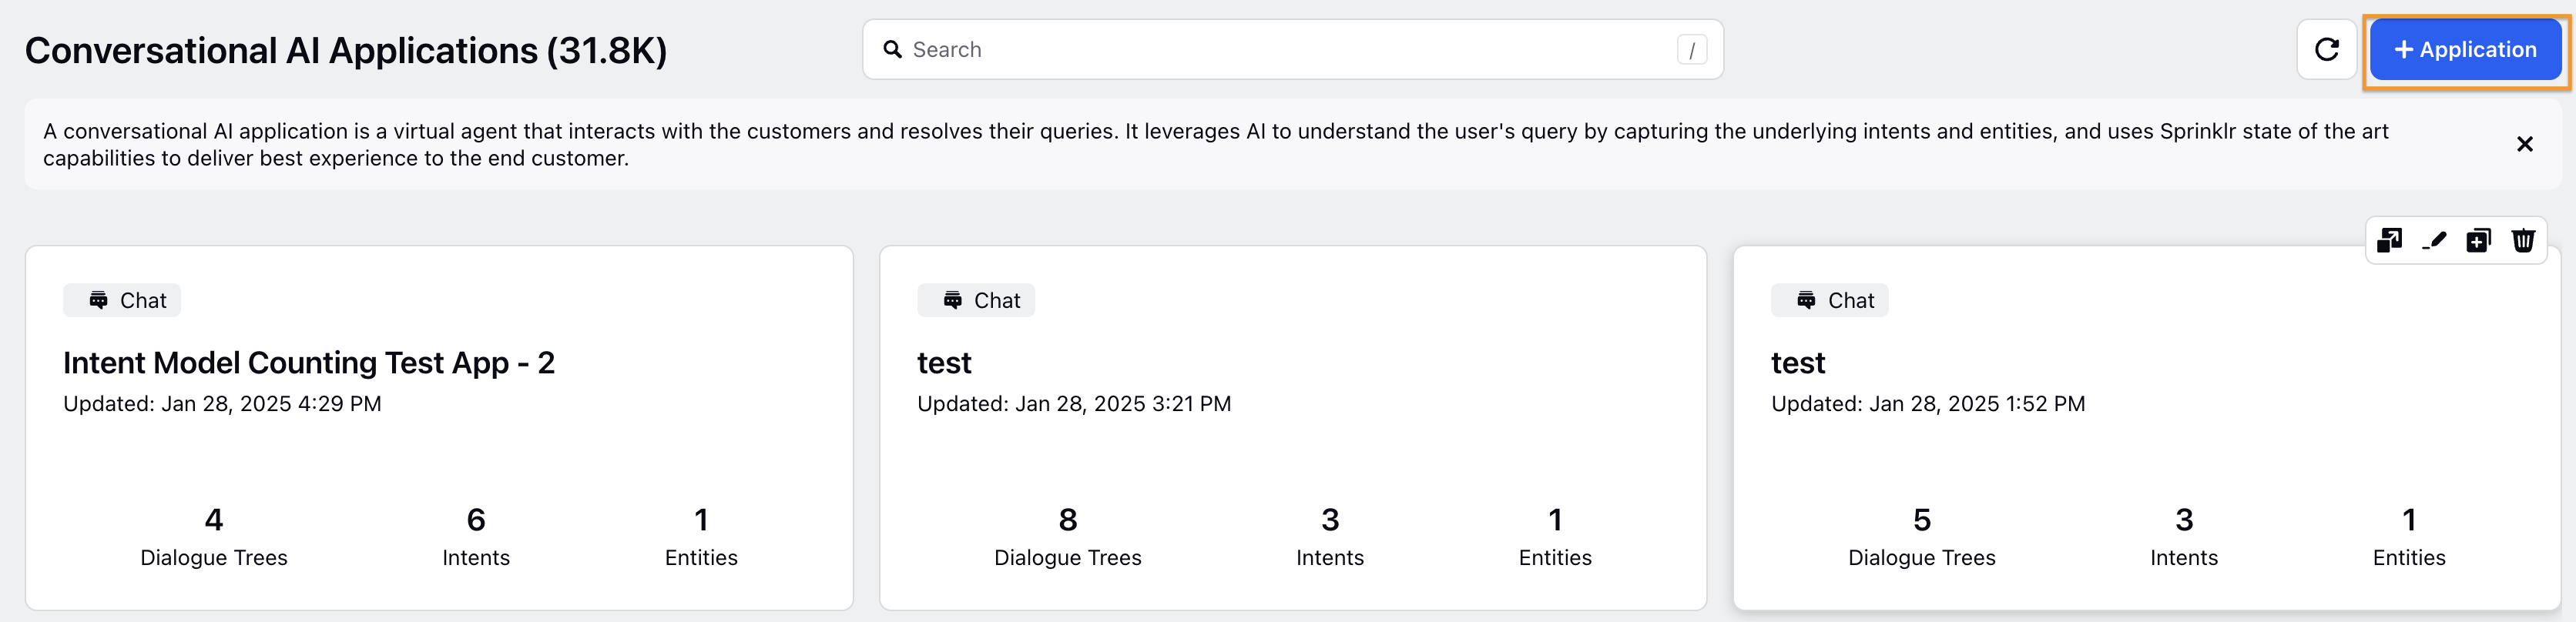
Go to Services > Applications (under conversational AI).
Click + Application and fill details:
In the Create New Application page fill the details:
Name: Enter the name of the Application.
Sharing Settings: Check the box if it is visible in all workspaces or select specific workspaces and users and user groups.
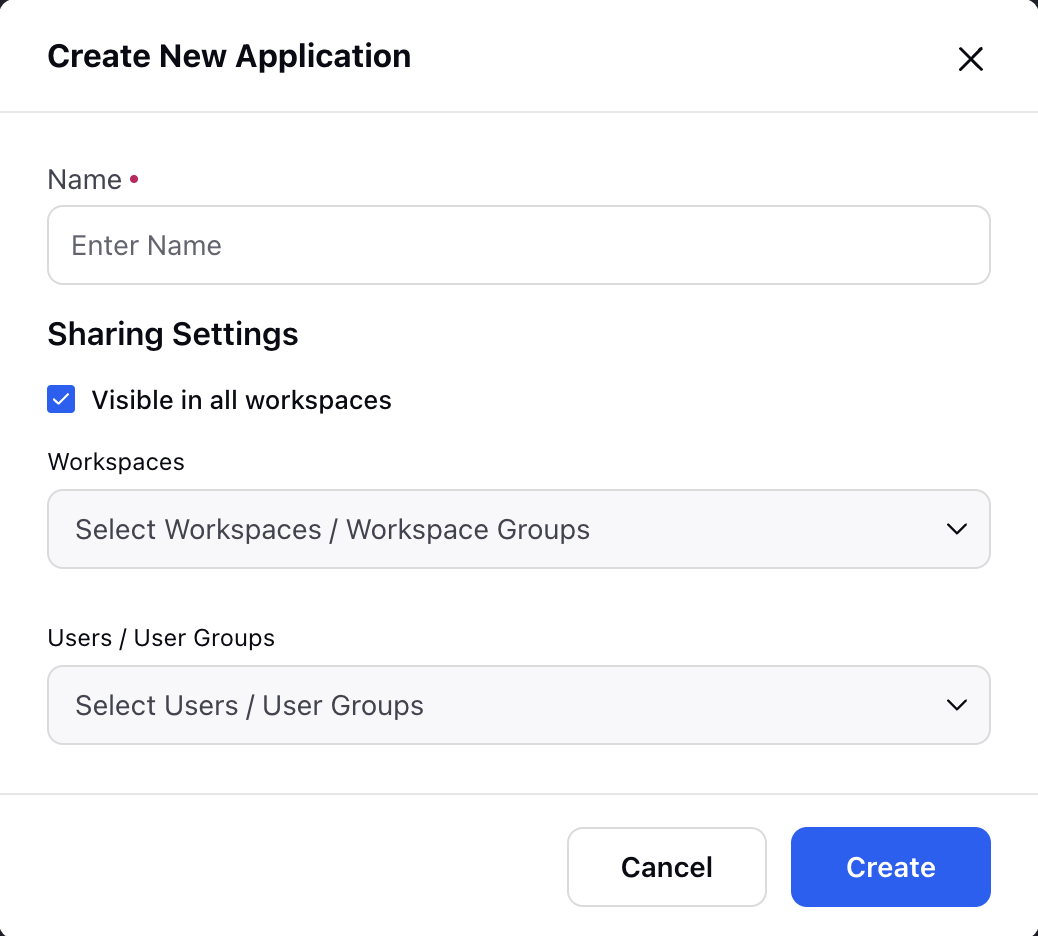
Click Create.
Go to Build.
Click Dialogue Tress under Manage Dialogue.
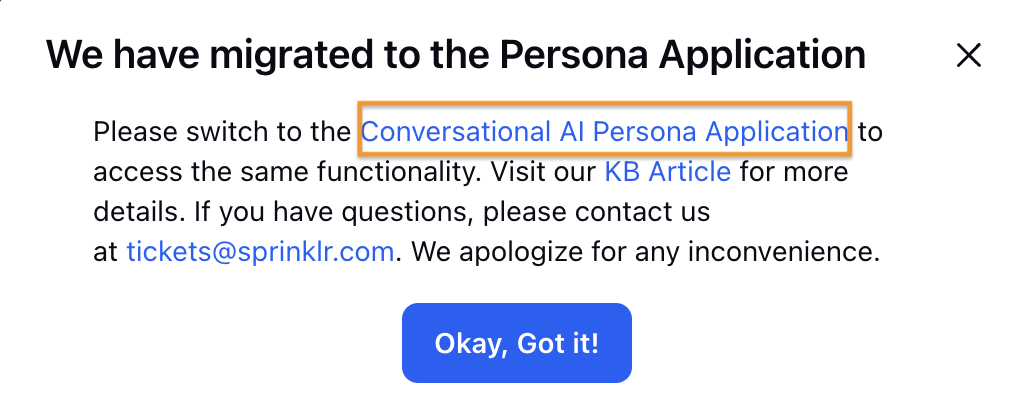
Switch to Conversational AI Persona Application.
Click Dialogue Trees in the left pane or select and existing Dialogue Tree and can add Elements and define a start and end point.
Click + Add Dialogue Tree.
Add Dialogue Tree Name.
Click Save.
Click Add Element (+ option) to add Nodes and define a Start and End Node.
Once the start and end points for the nodes are defined in the IVR, Voice Bot, and Chatbot flows, each journey is assigned a unique backend ID.

Logic for Tracking the Journey
Forward Tracking: The system monitors each node execution, comparing it against the defined start nodes. When a start node is encountered, a new Journey ID is generated.
Backtracking: If a journey doesn't reach the specified end node, it is marked as abandoned or incomplete. Once a defined end node is reached, the context is cleared.
Navigation steps to track Journey
Go to Sprinklr Services > Care Reporting (under Analyze).
Go to Settings.
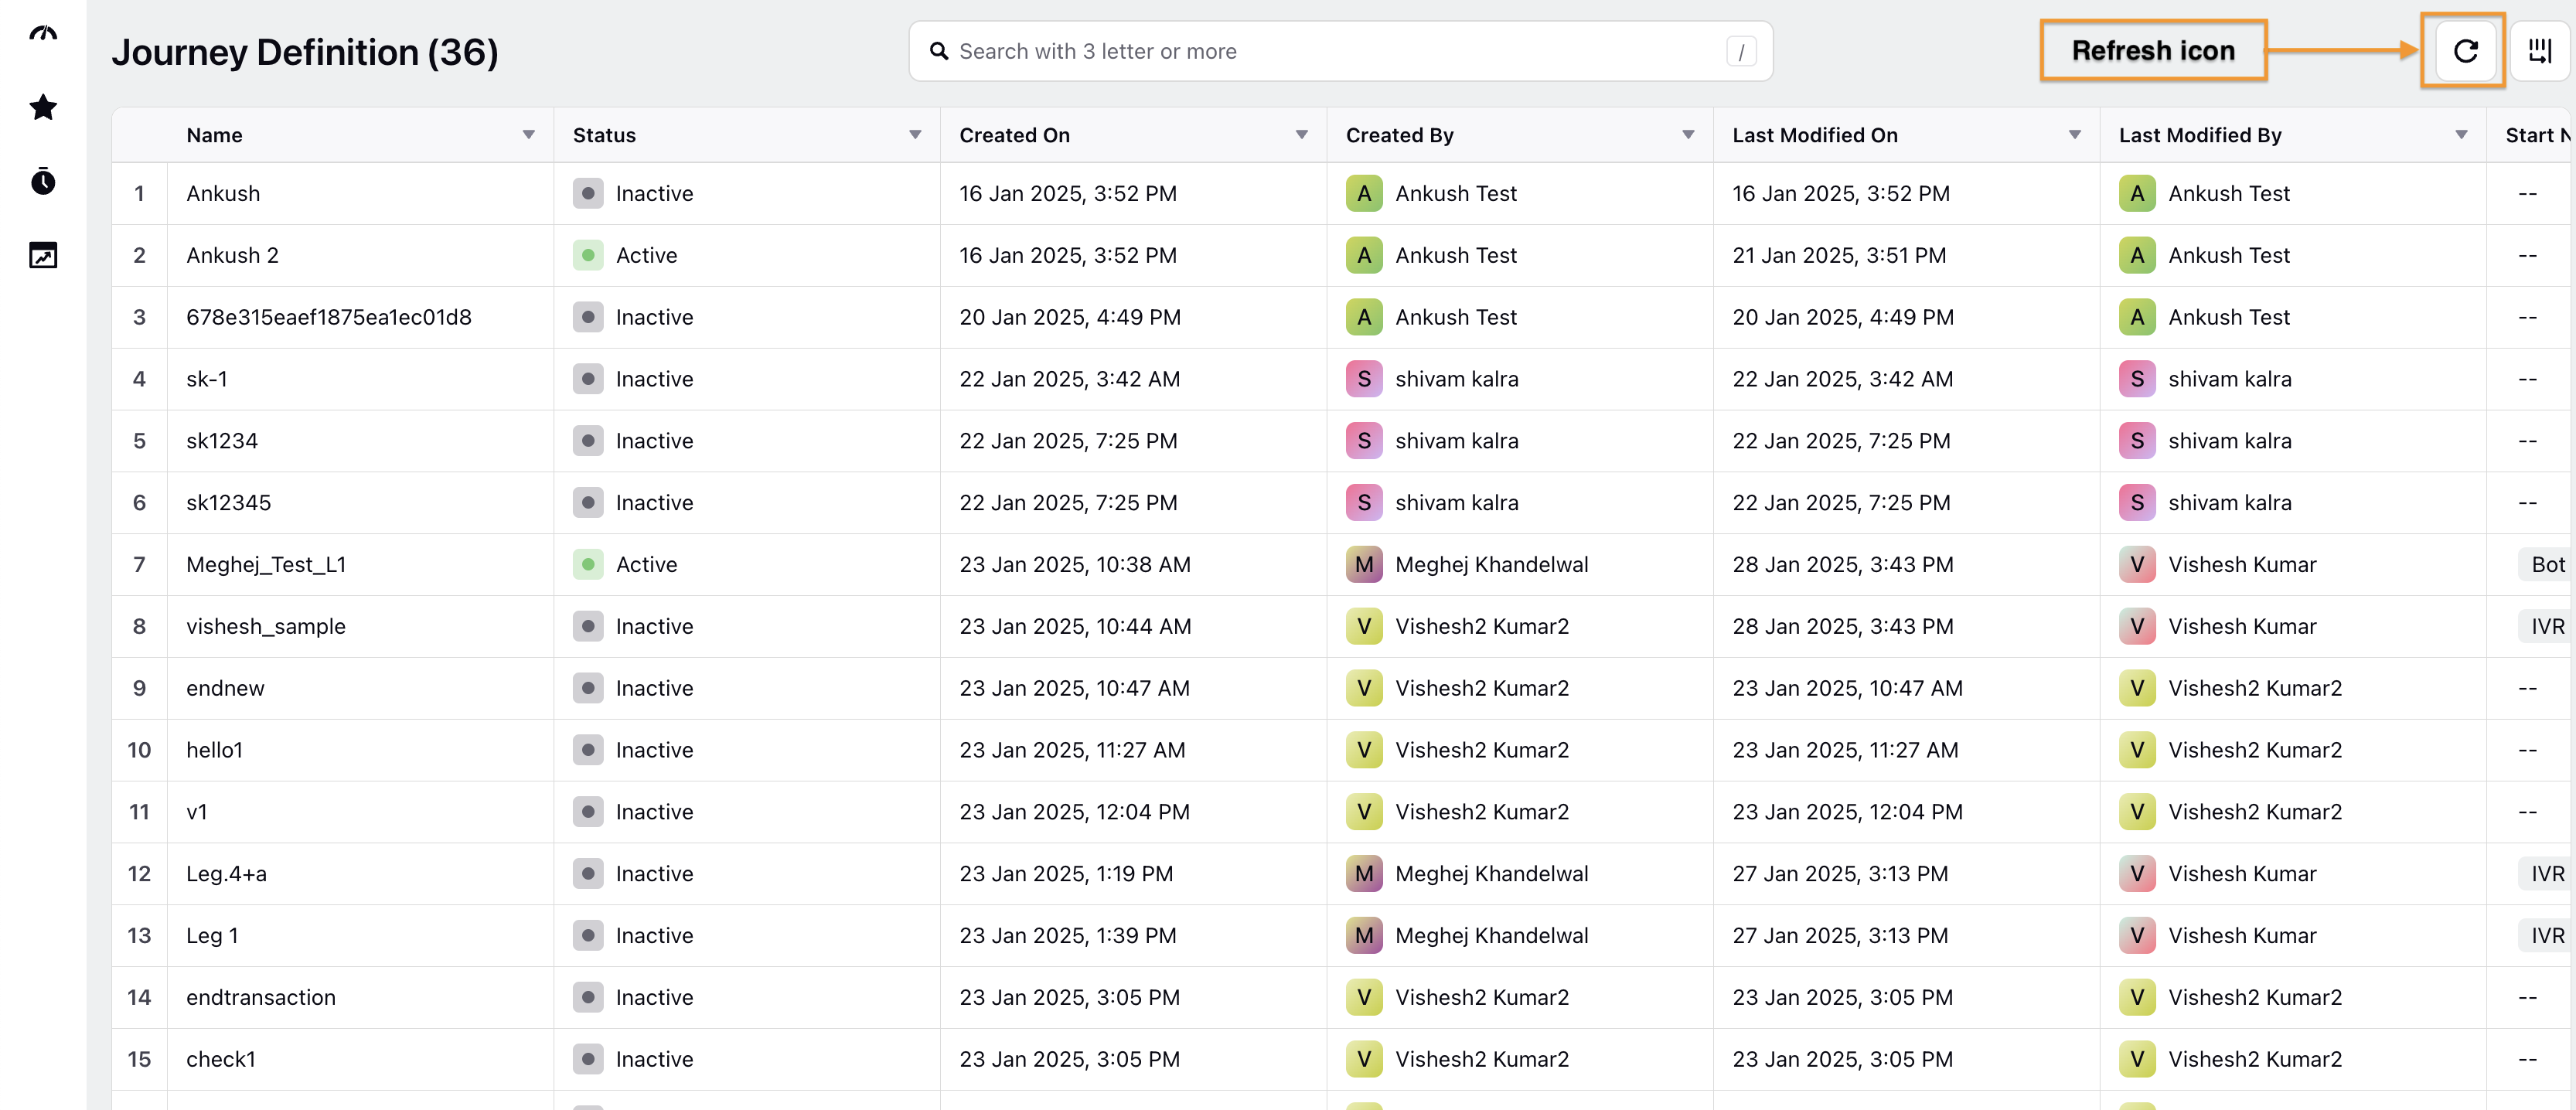
Click Journey Definition.

Here, you'll be able to view the Journeys. Let's take a look at the Record Manager and define each record header.
Column Name | Description |
Name | Add Name of the Journey |
Status | Define Active or Inactive Status. |
Created On | Date when Journey was created. |
Created By | Name of the person who created. |
Last Modified On | Date when was it last modified. |
Last Modified By | Name of the person who was the last to modify |
Start Node Workflows | Workflow selected at the start. |
Start Node Processes | Process followed at the start. |
Start Nodes | Conversation used at the start. |
End Node Workflows | Workflows used at the end. |
End Node Processes | Process followed at the start. |
End Nodes | Conversation used at the end. |
Click the Refresh Button at the top right to refresh the data.
Reporting Logic
Once the Journey Logic is defined, lets plot the date in dashboard in the form of widgets using the following Metrics and Dimensions:
The Data Source used would be Social Analytics
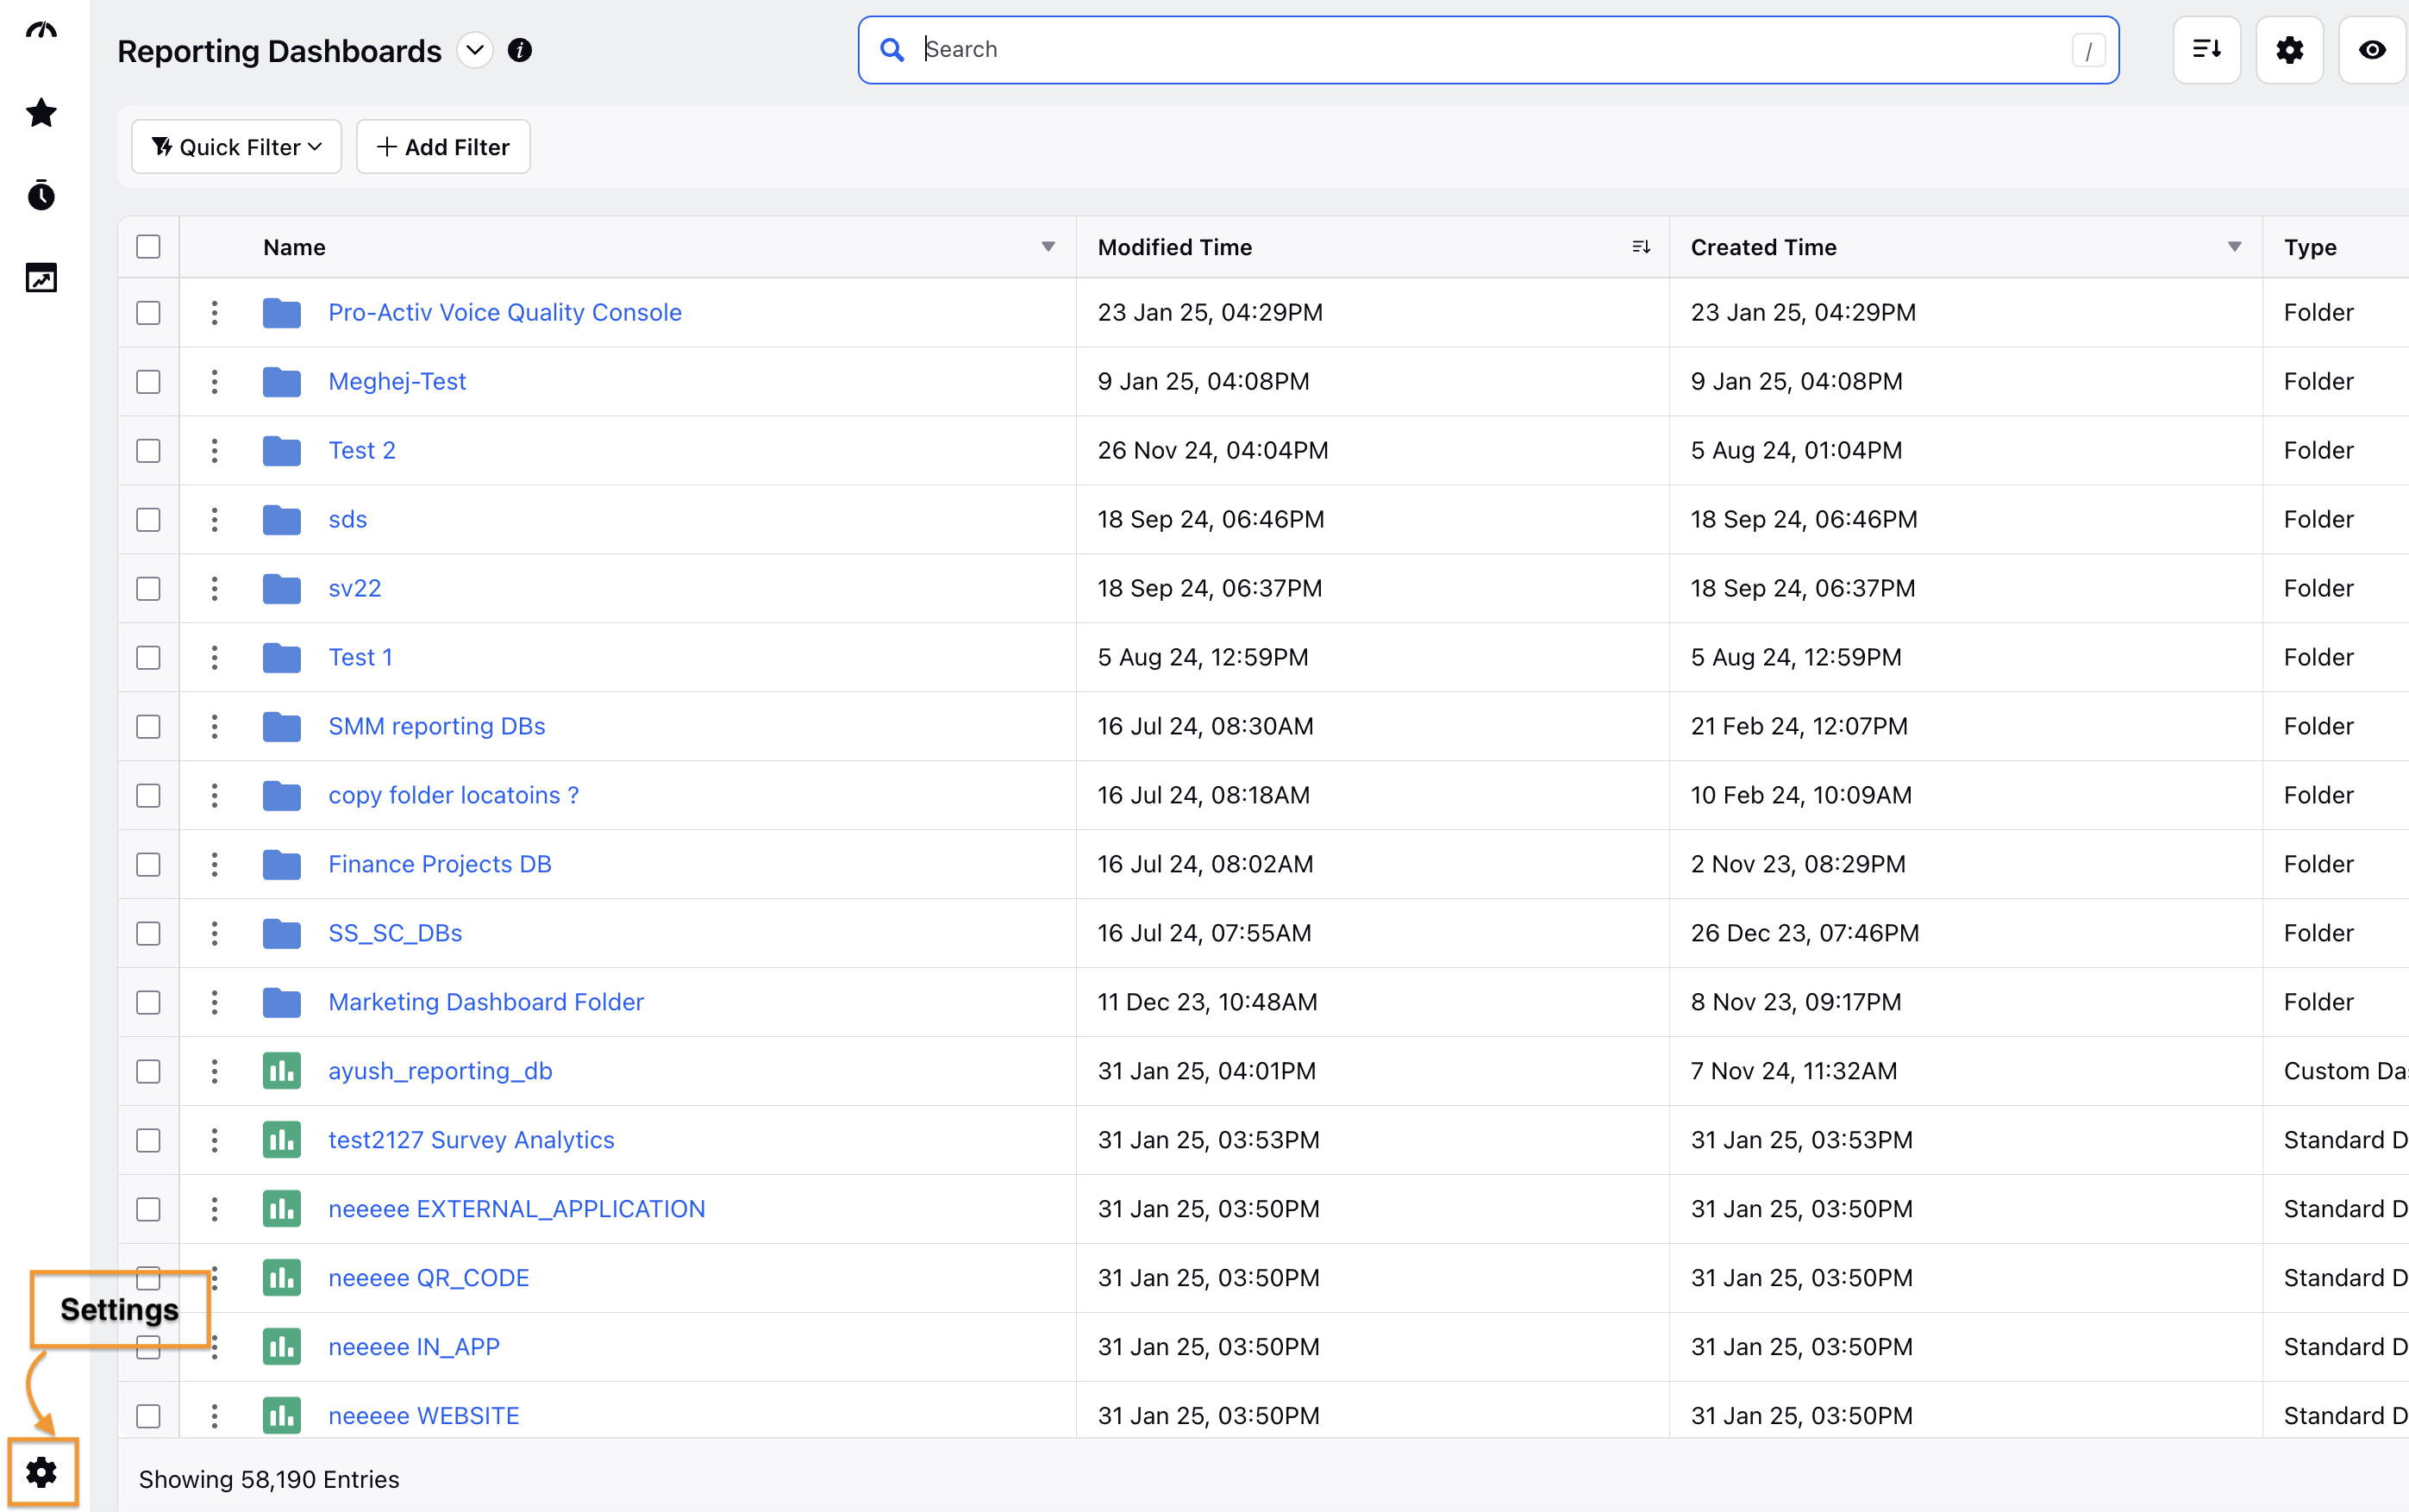
Go to Sprinklr Services > Care Reporting (under Analyze).
Create a Dashboard by filling in details:
Go to + Widgets to add a widget.
Select Data Source as Social Analytics.
Select the metrics and dimensions to plot the widget
Follow this article on Reporting Widgets for further steps.
Following is the list of Metrics and Dimensions: