Setting up Ad Accounts in Sprinklr
Updated
Sprinklr supports advertising across multiple channels, allowing you to publish and manage all your campaigns from one centralized platform. This unified approach streamlines campaign execution, reporting, and optimization across all major advertising channels. In this article, you’ll learn how to add ad accounts to Sprinklr.
Note: A workspace user, by platform design, cannot add accounts to Sprinklr today. You need to be either a Workspace Admin or a Global Admin and have permissions to be able to add accounts to Sprinklr. Please see capabilities and limitation of each user type here.
To Set Up Ad Accounts in Sprinklr
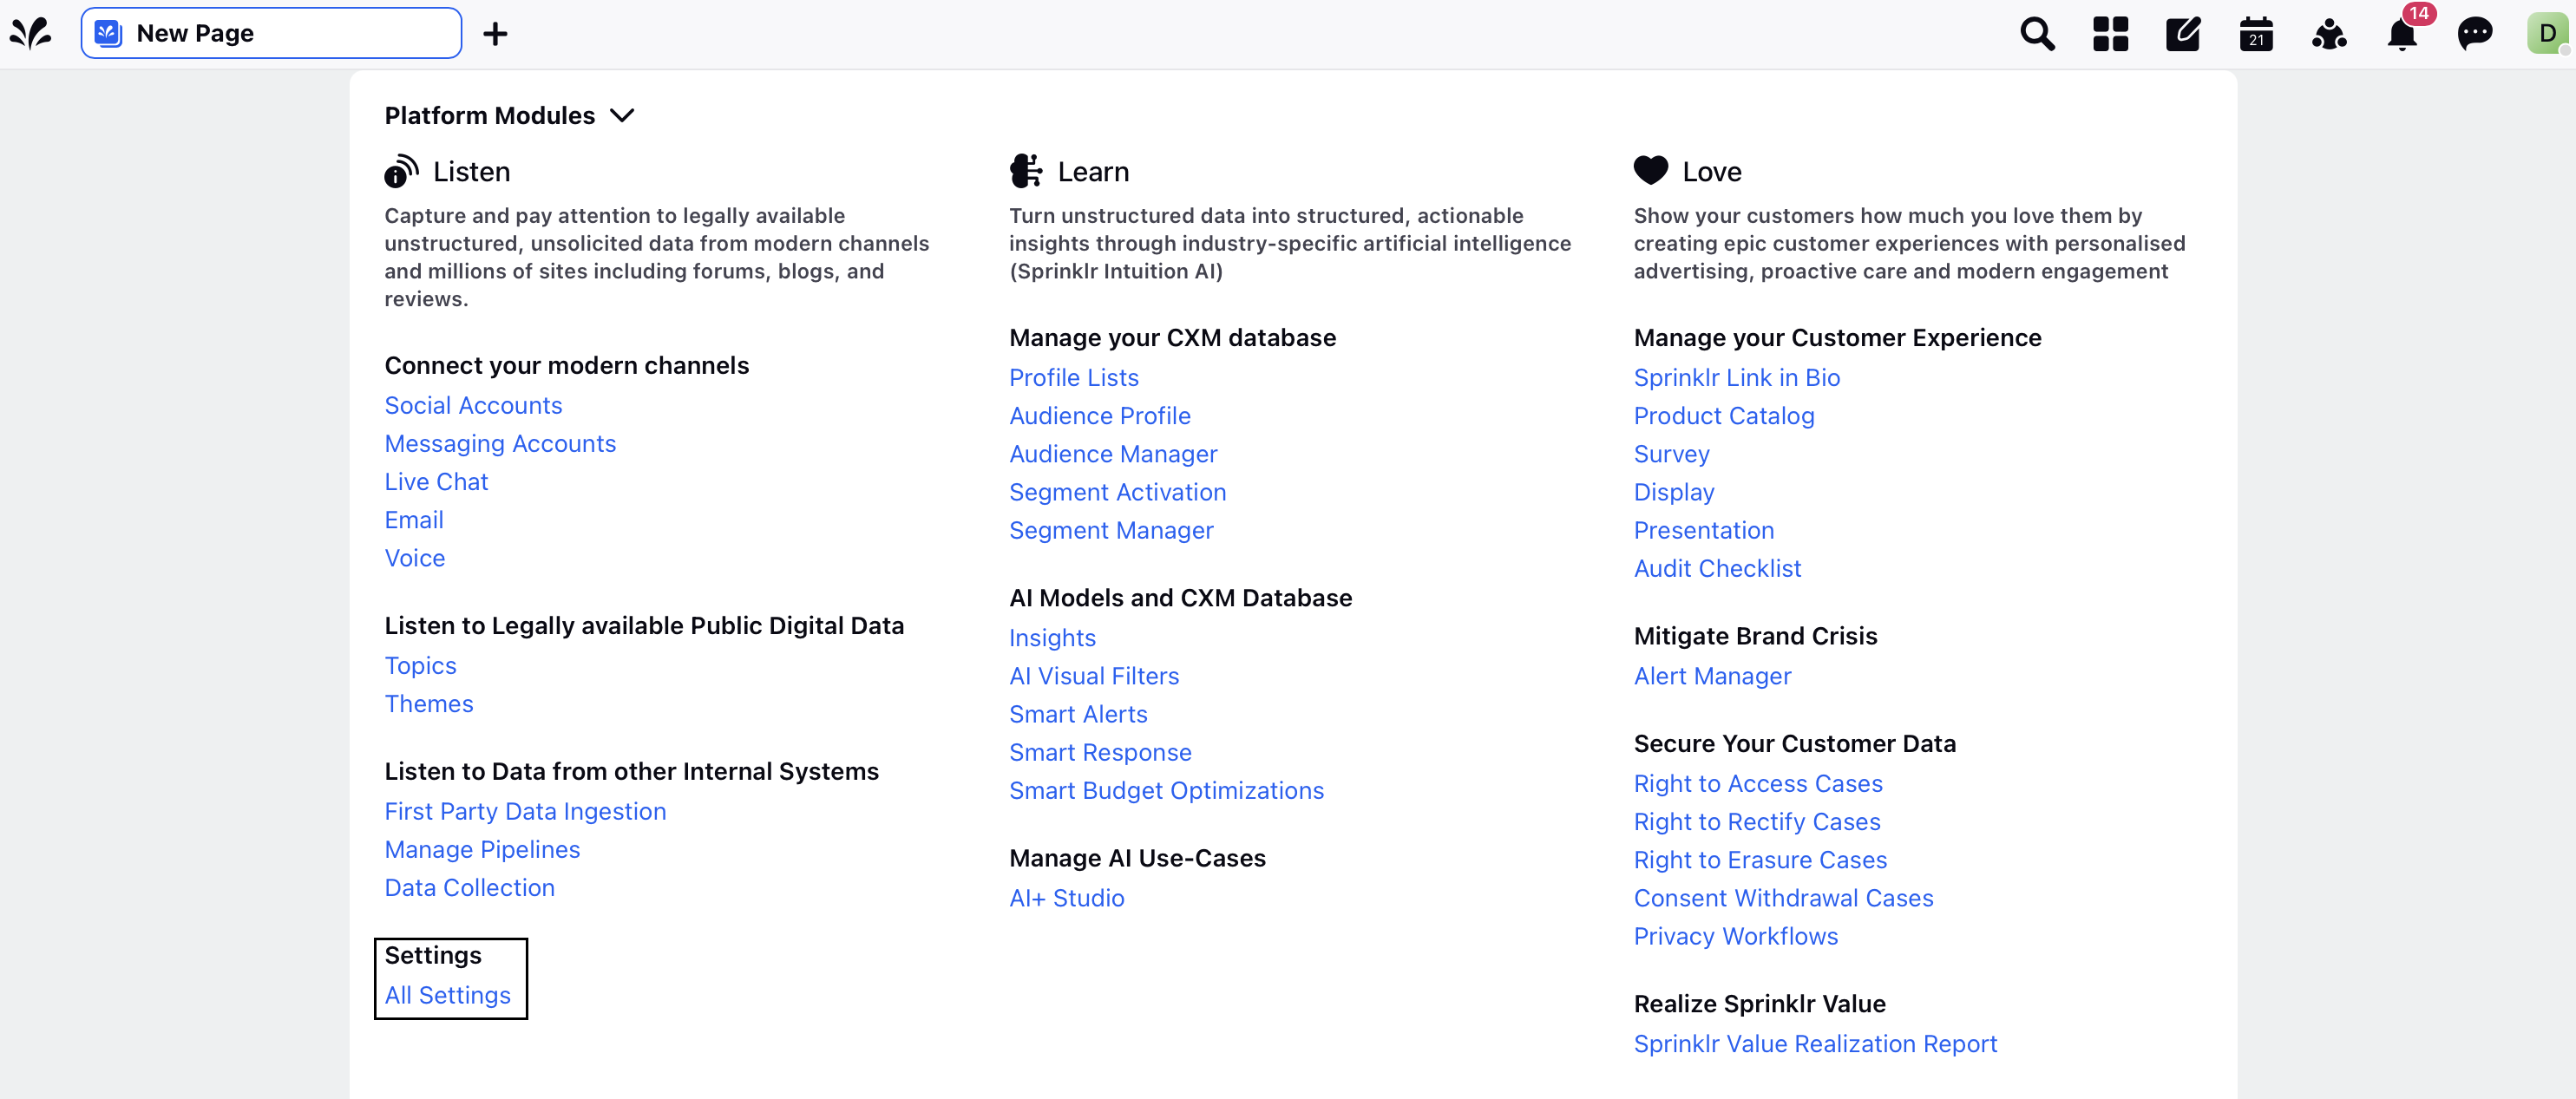
Open a new tab and scroll down to Platform Modules.
Click All Settings under the Settings section.

Select Accounts within Account Management.

On the Accounts screen, click + Add Account in the top-right corner.
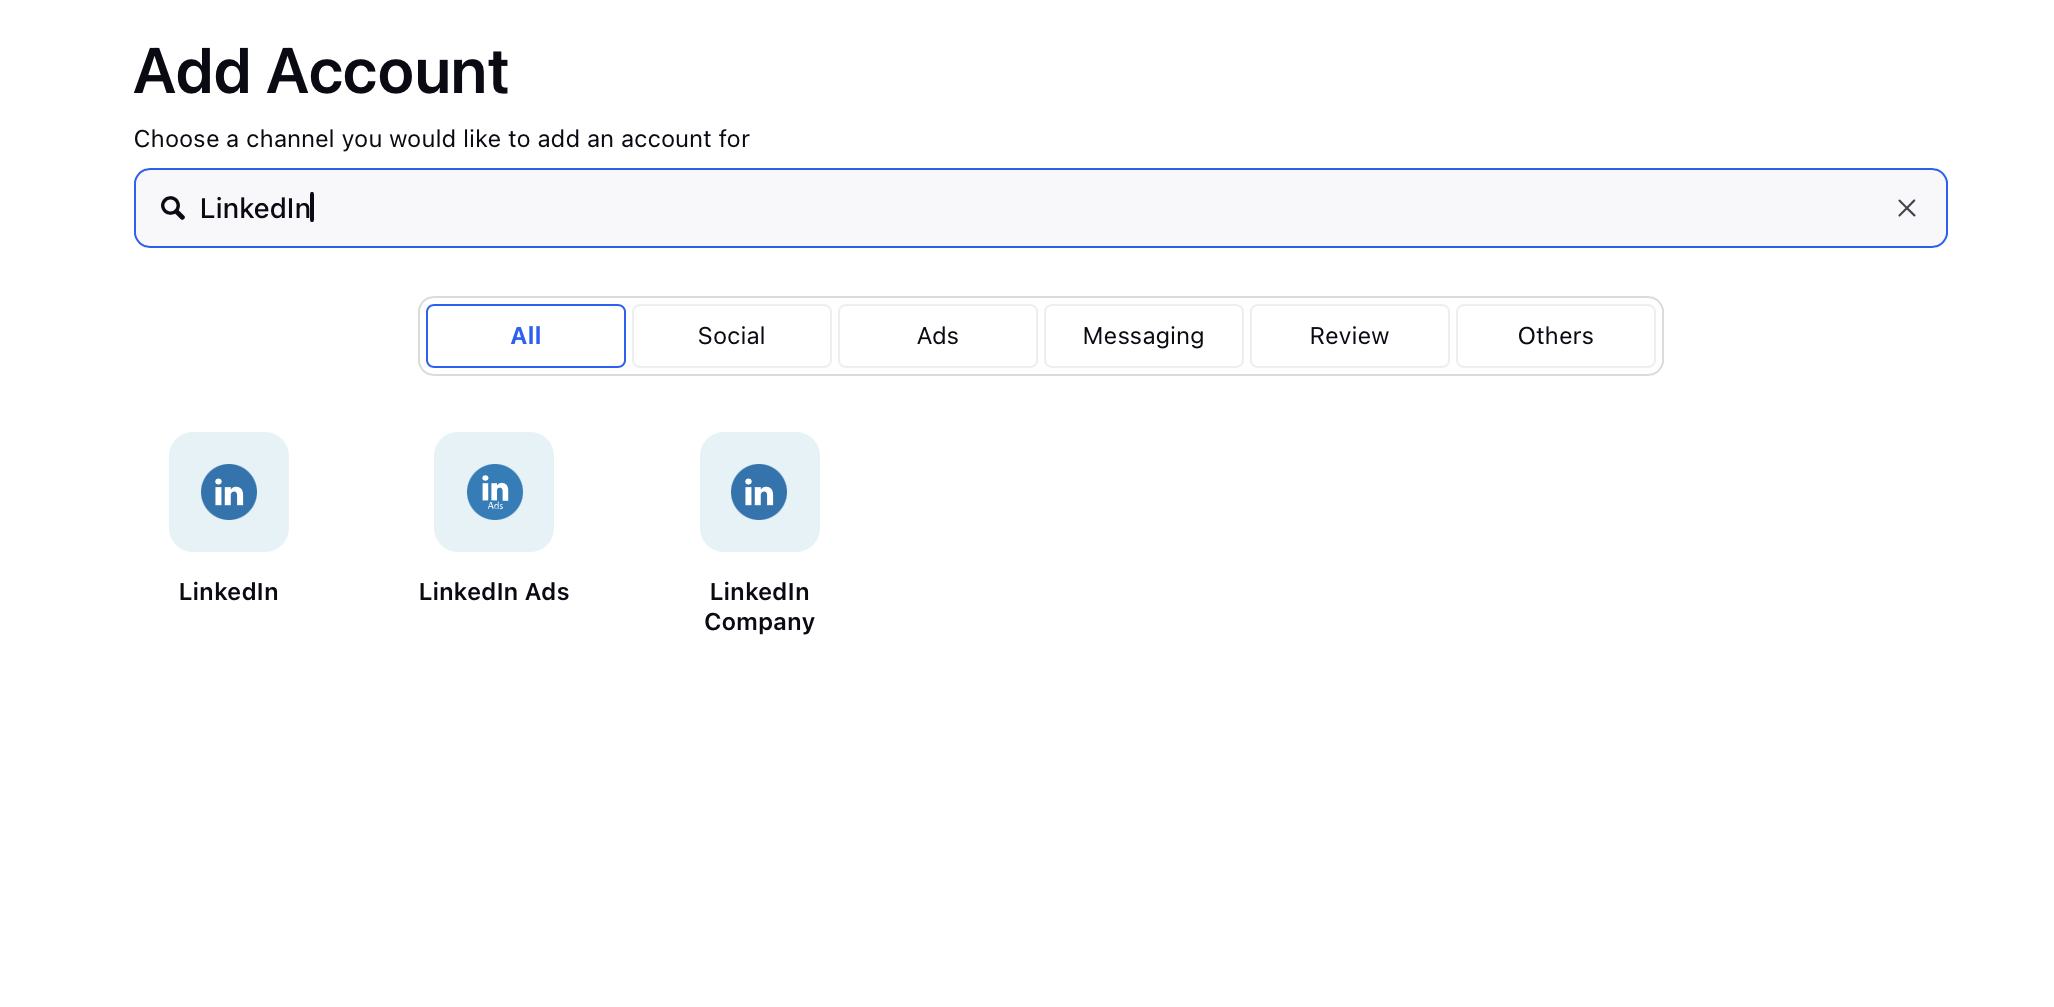
Search for and select the ad channel you want to add.

Alternatively, click the Ads tab to view all available ad channels and select the appropriate one.

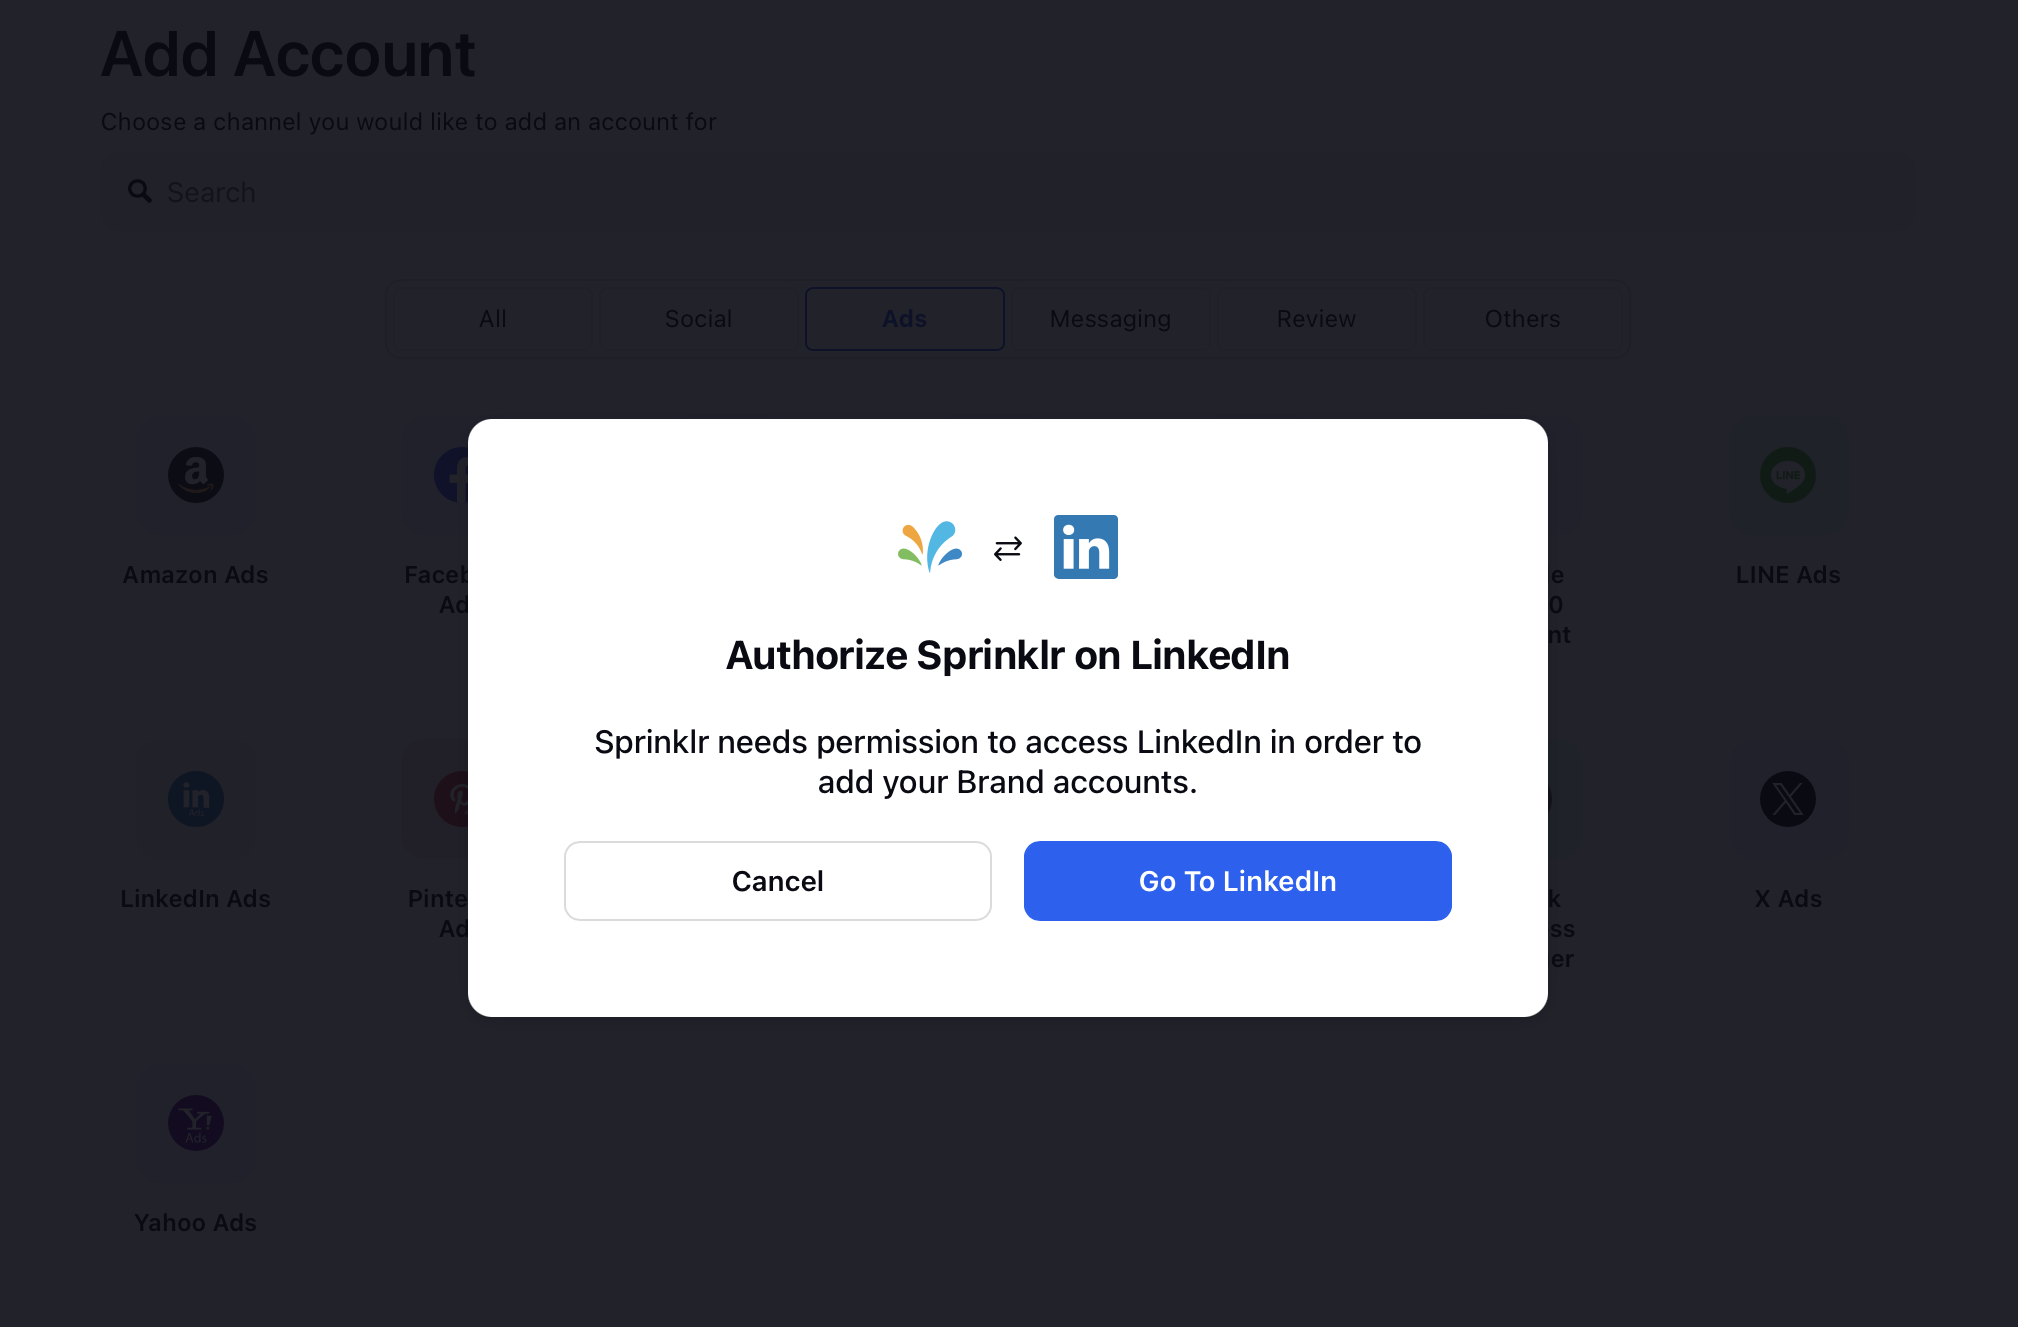
Once selected, you will be asked to authorize Sprinklr on the ads channel. Click on the Go to Channel option and enter your channel login credentials to select the required ad accounts.

For channel-specific instructions, refer to the following guides:
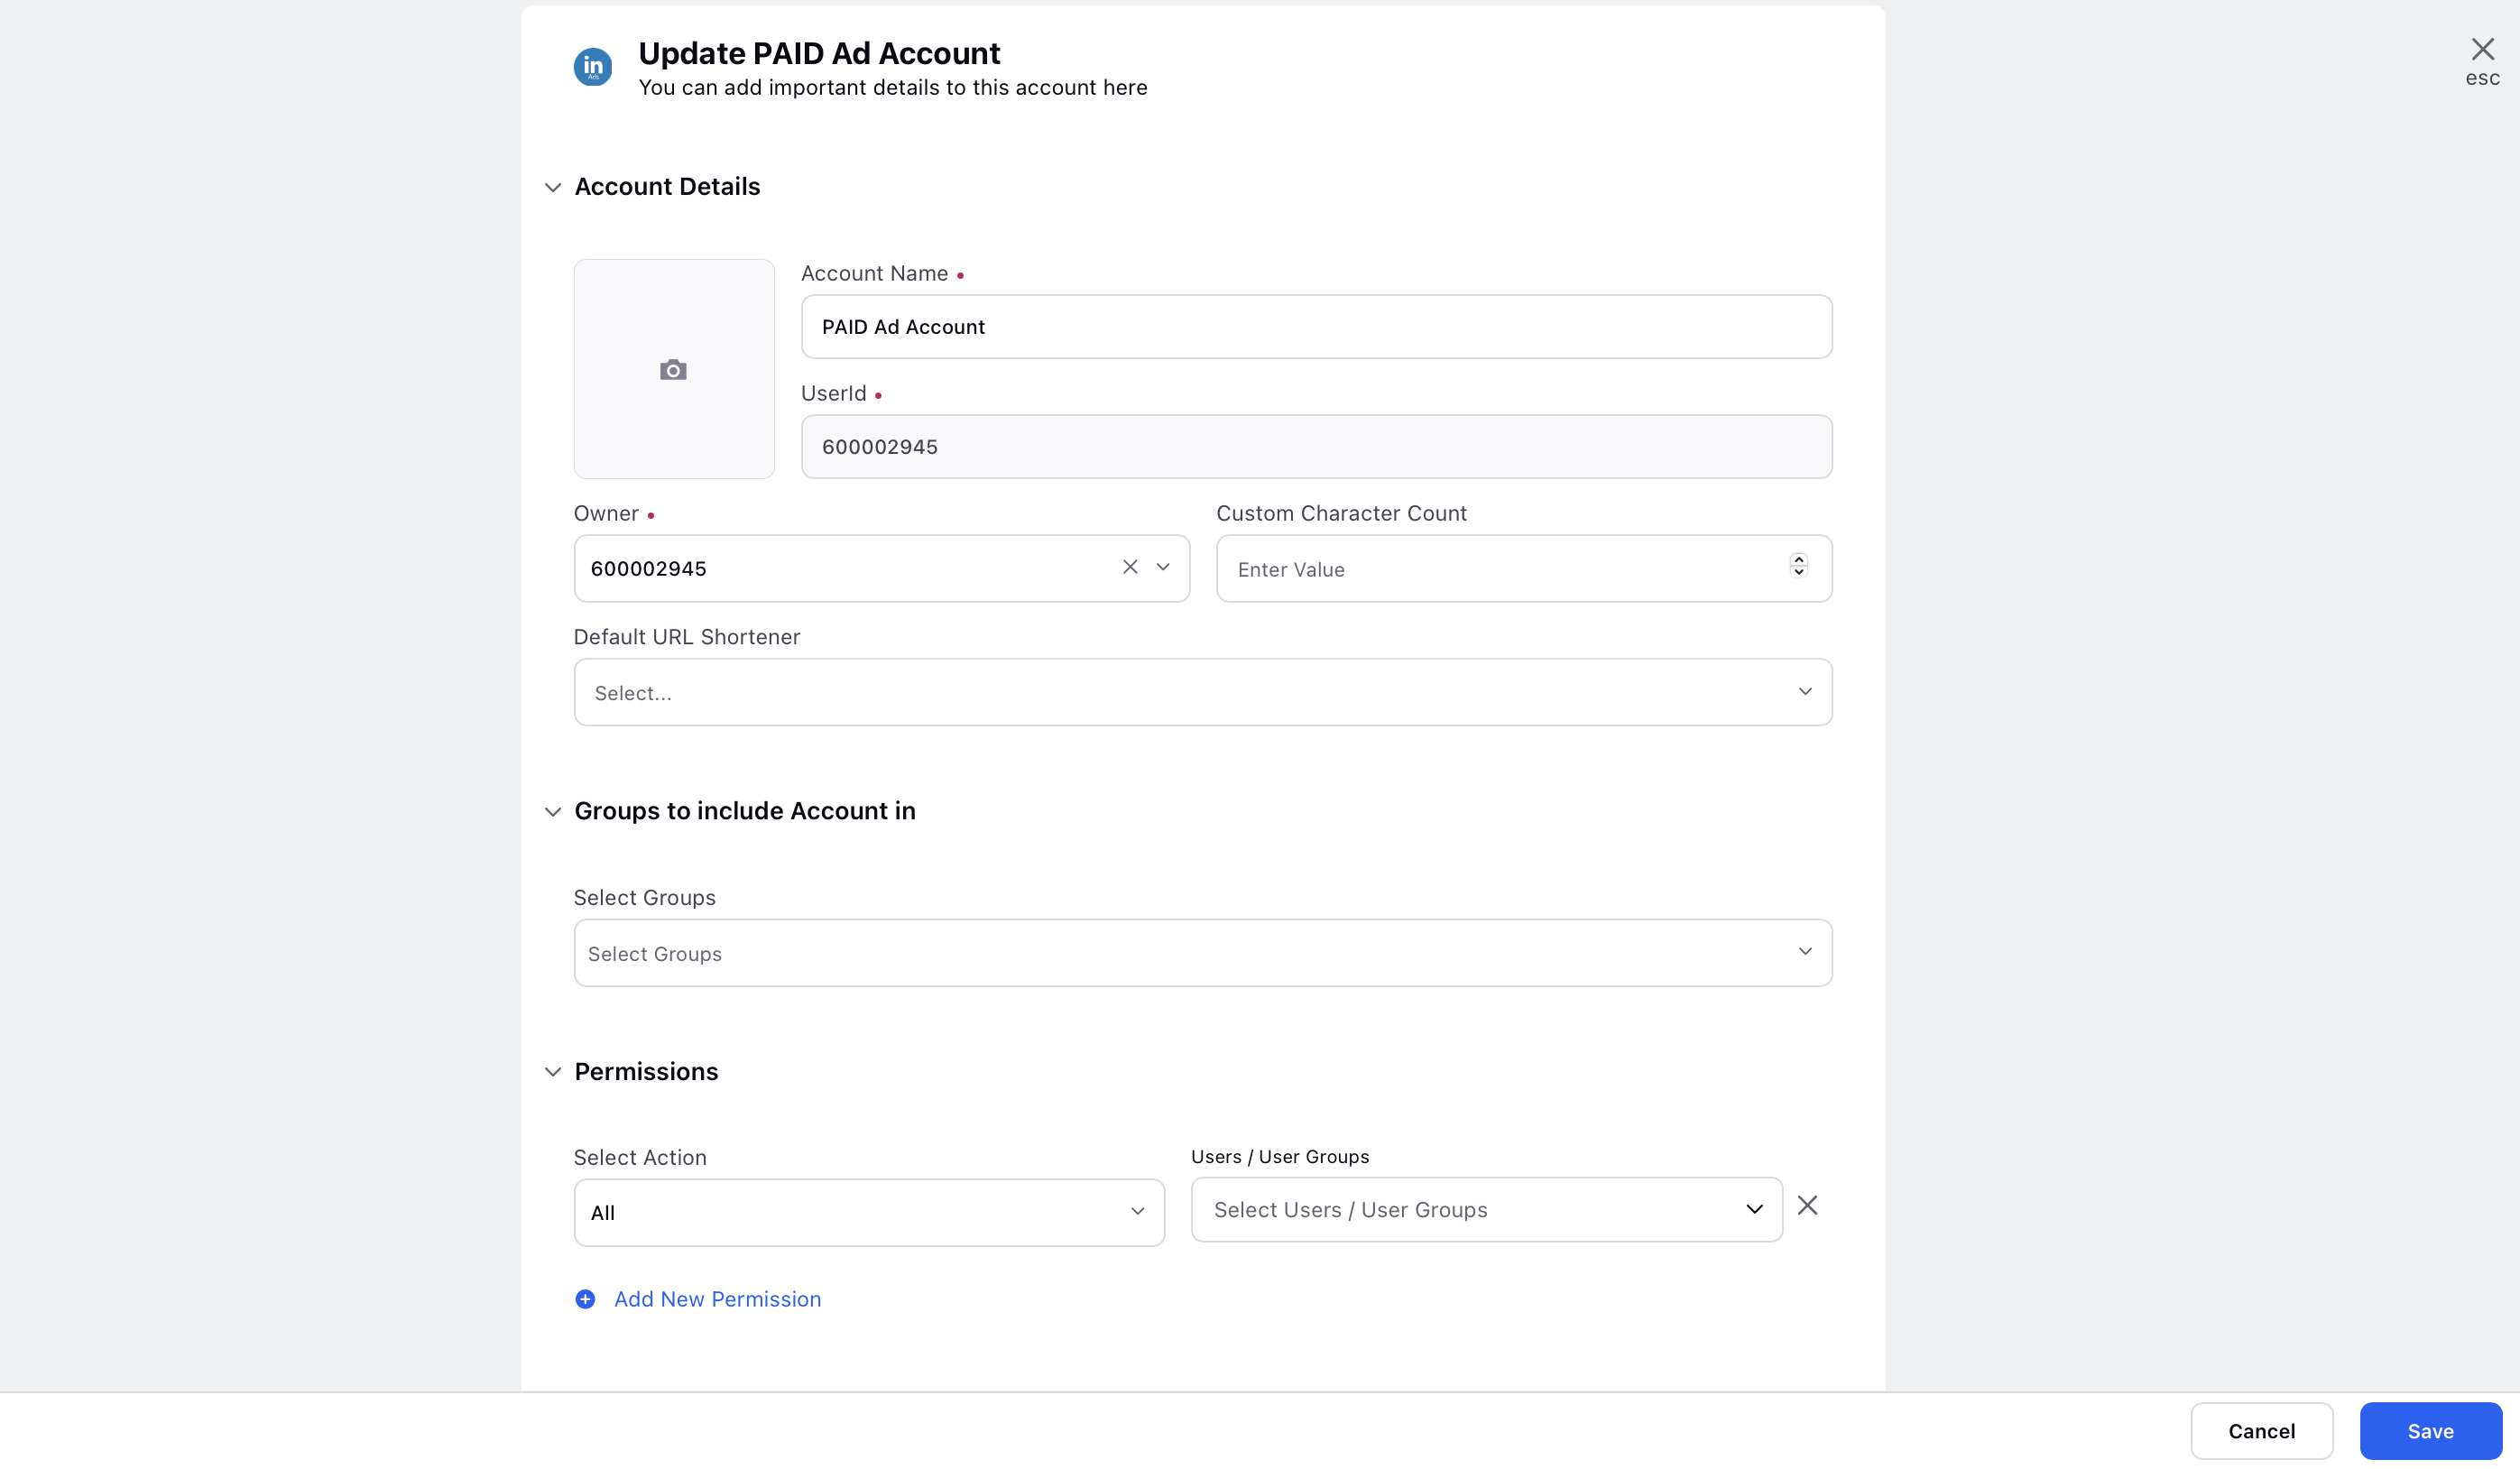
After adding the ad account, Sprinklr redirects you to the Update Account window, where you can customize account settings:

Account Details: Update the account name, user ID, custom character count, and assign account groups to the account.
Permissions: Grant channel-specific action permissions to selected users or user groups. Learn more in the Account Level Permissions guide.
Sprinklr Secure Access: Add users for Sprinklr Secure Access. Learn more in the Secure Access guide.
Share Across Workspaces: Choose the workspaces where the account should be visible, or share it globally across all workspaces.
Subscribers: Select users or user groups to receive account-related notifications.
Timezone: Set the country and time zone associated with the account, if needed.
Properties: Configure any required account properties.
Click Save in the bottom right corner to save your account details.