Bluesky as a Benchmarking Source
Updated
Bluesky is a social media platform, similar to X (formerly Twitter), where you share short-form content including text, images, and videos. With Bluesky now available as a Benchmarking source in Sprinklr, you can capture and analyze public conversations from the platform to uncover emerging trends, track brand mentions, and monitor sentiment. This integration enhances your benchmarking capabilities by providing a more diverse and decentralized view of consumer dialogue, helping you make more informed decisions across your brand, competitors, and industry landscape.
Sprinklr has access to the entire Bluesky Firehose, i.e. every text, image and video is captured in Sprinklr in real-time.
Note: DP needs to be enabled to use Bluesky as a Benchmarking source.
Bluesky Source Capabilities
Source: BlueSky
Source of data: Official API (Firehose)
Latency: Real-time data for the lifetime.
Historical Data: Available.
Backfill support: 24 months.
Engagement Stats Monitoring: In real-time for a lifetime
Fan Messages supported: Yes
Engagement Details Refresh Rate: Like Count, Reply Count, Repost Count, and Quote Count are updated.
Message Type: Bluesky Post, Bluesky Repost, Bluesky Reply, Bluesky Mention.
Impressions(Calculated Sprinklr Metric): Account Earned Impressions, Account Owned Impressions, Account Total Impressions.
How to add Bluesky as a brand
Click the New Tab icon. Under Platform Modules, click All Settings within Listen.
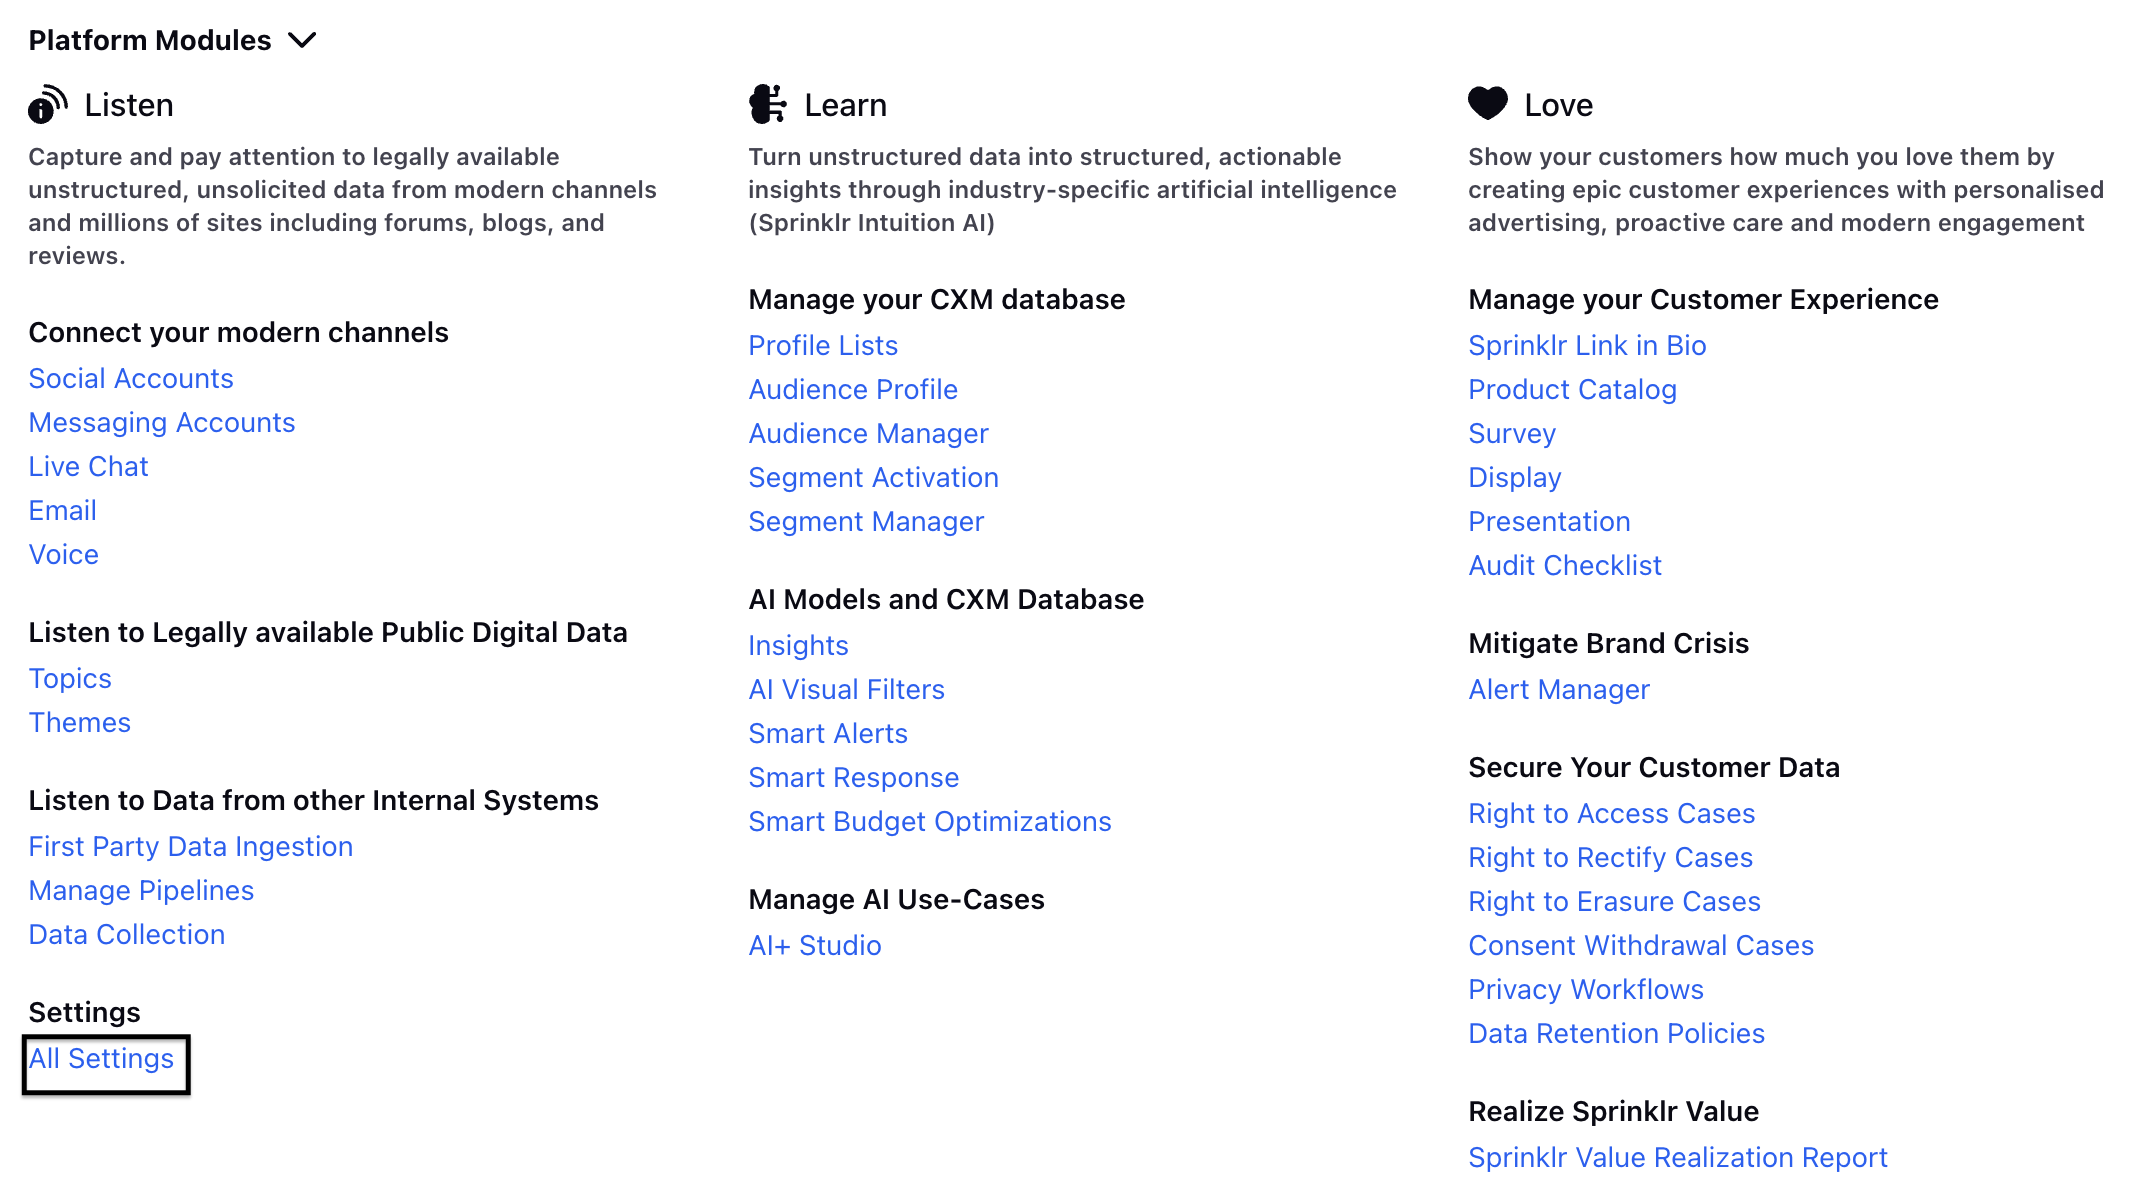
Alternatively, in the Search Bar look for All Settings.
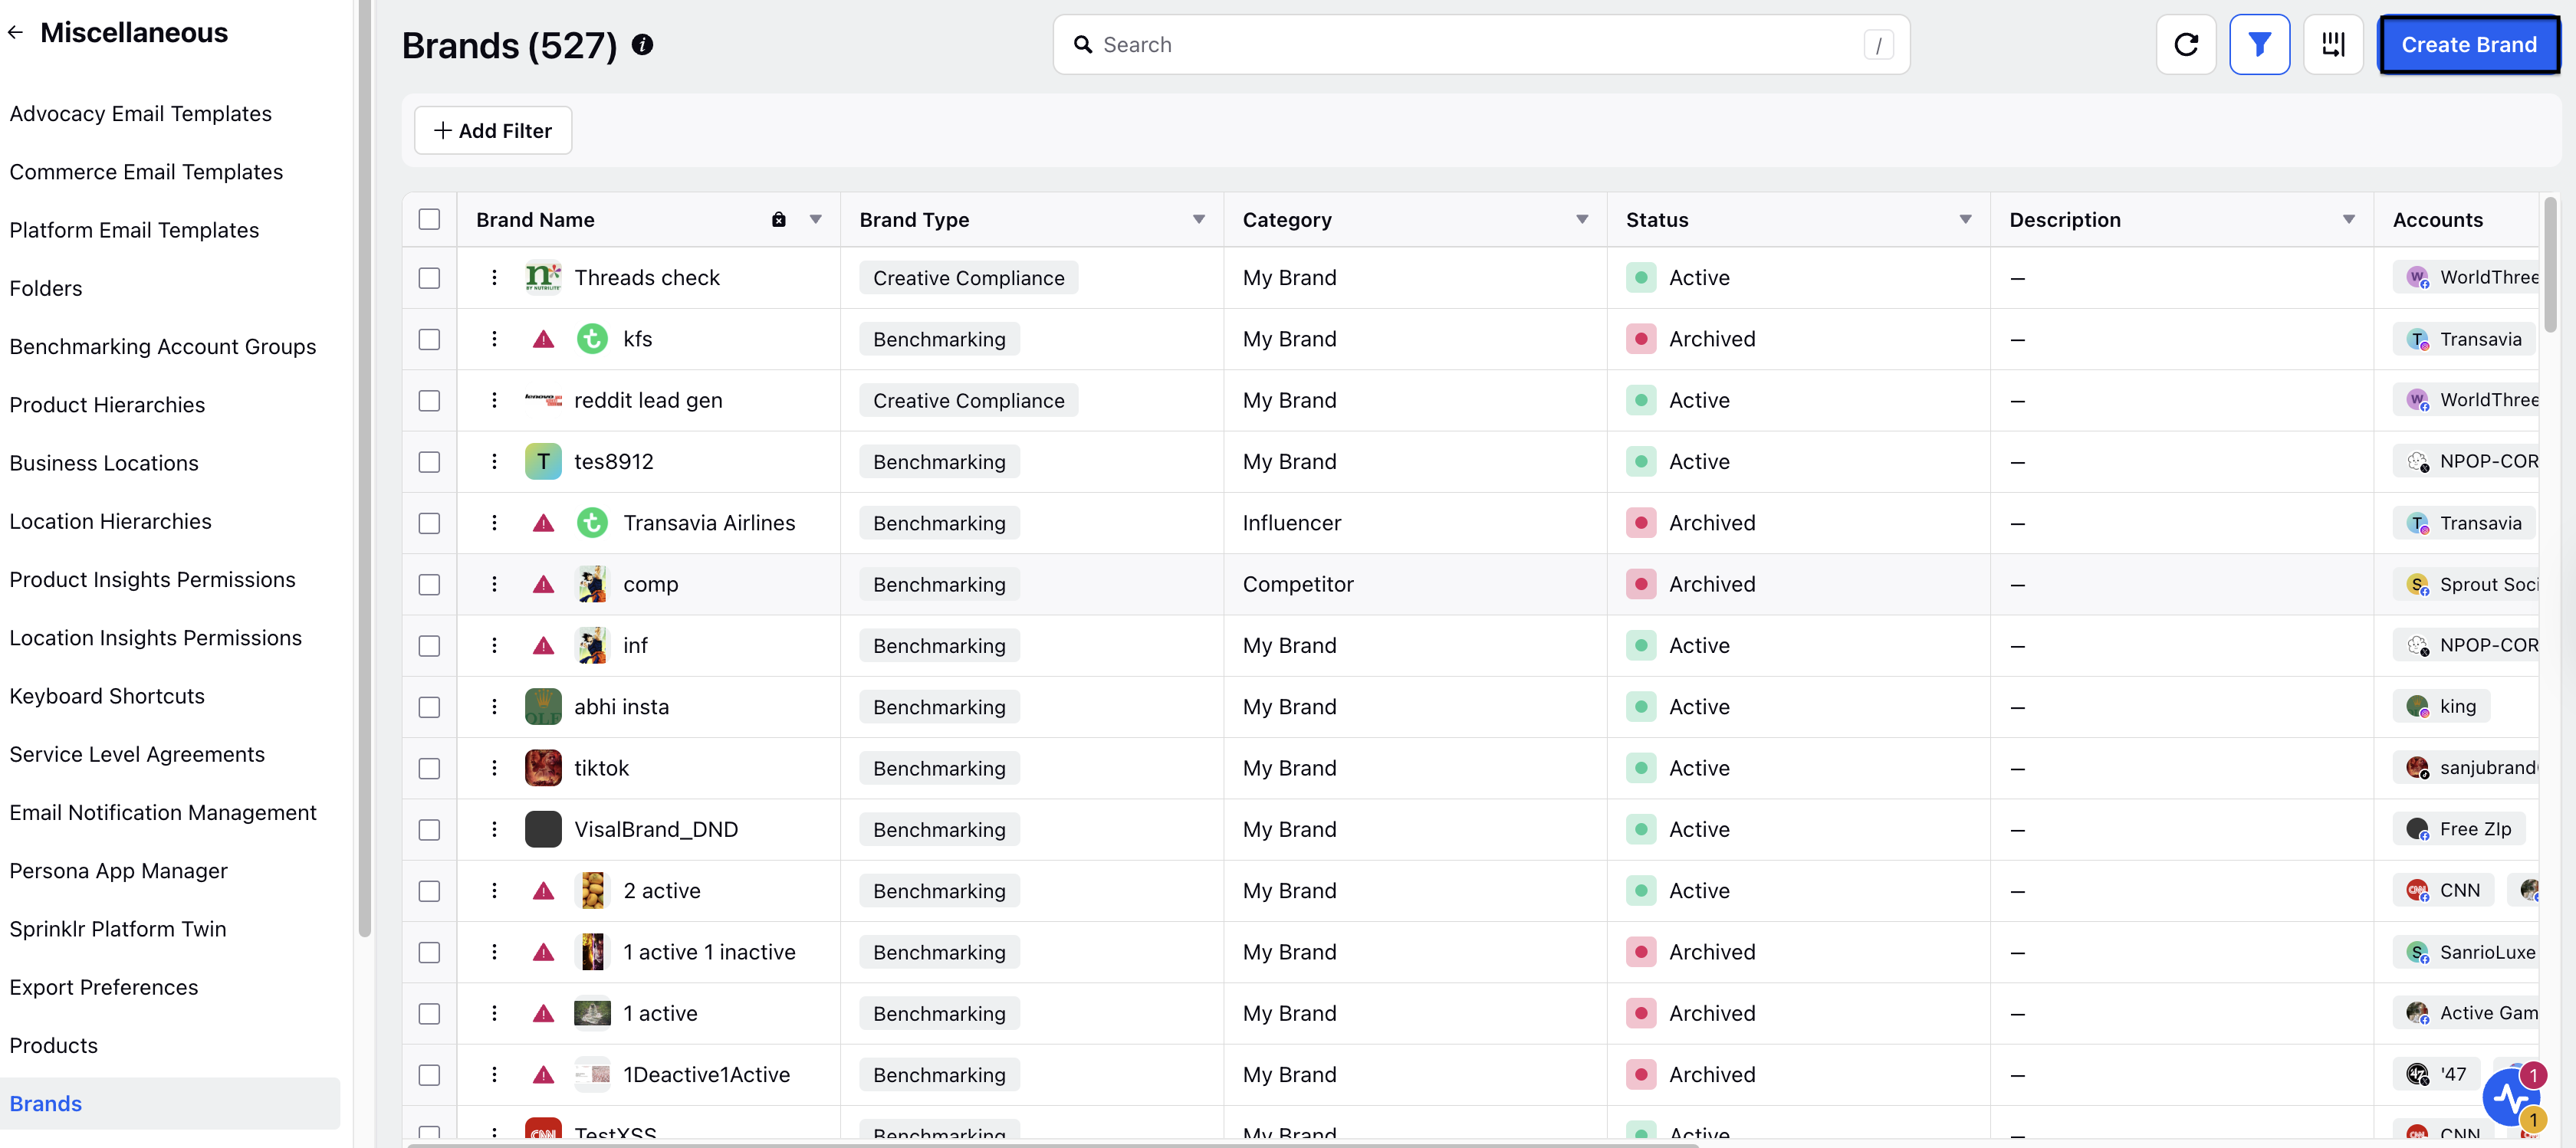
On the Platform Settings window, search and select Brands within Manage Customer.
Click Create Brand in the top right corner of the Brands window or access an already created brand.
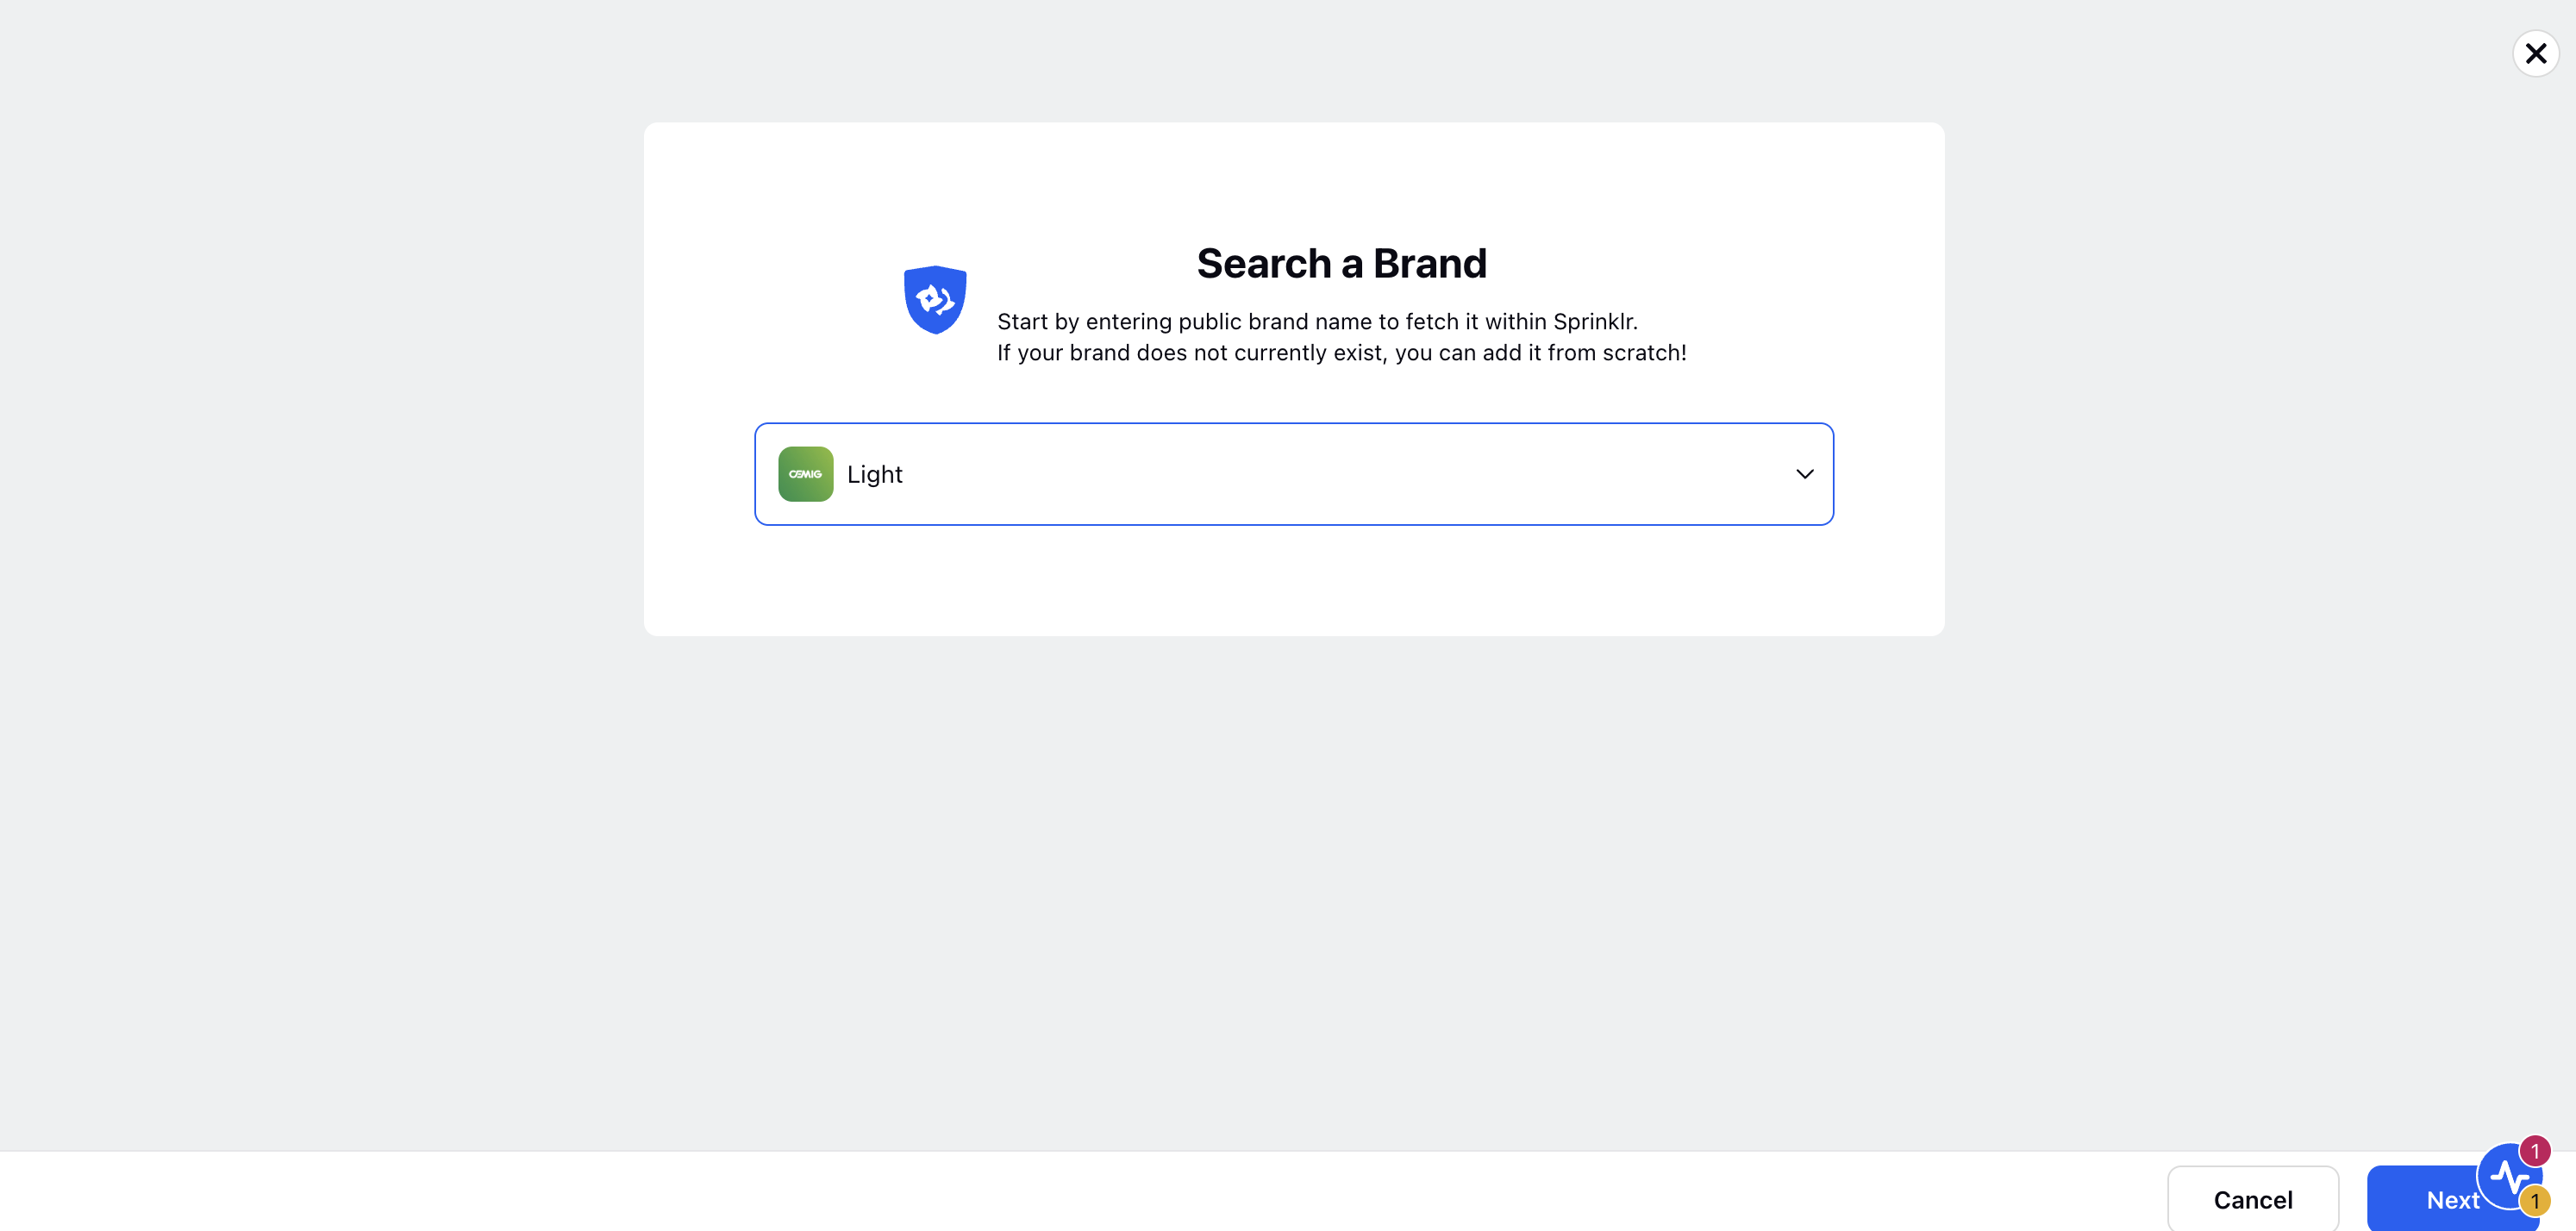
Select Brand Type and search Bluesky brand.
In the Brand Details page fill in the details of the brand and click Next.
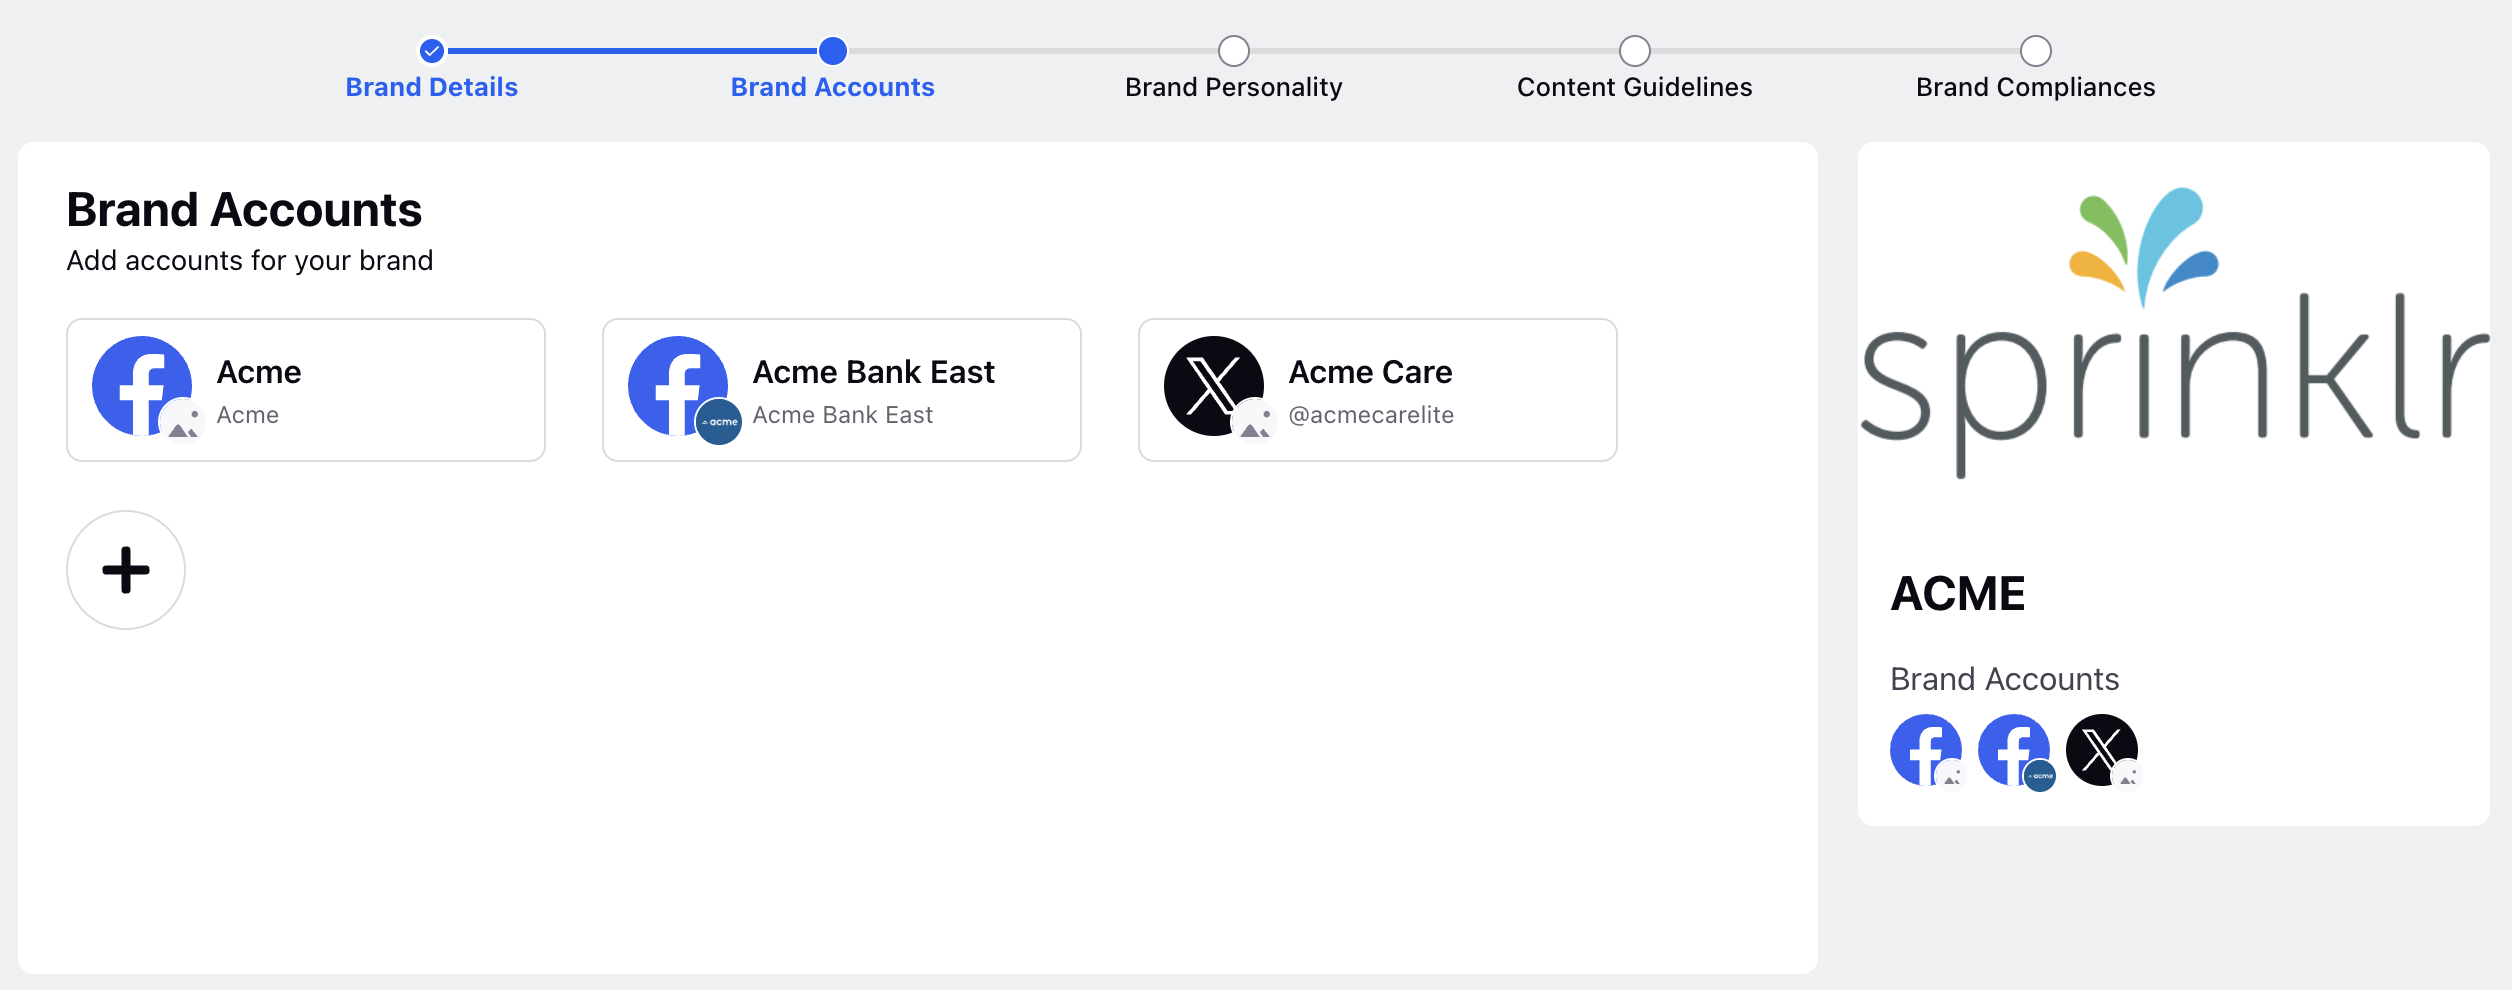
Go to Brand Account page and click Add Account option(+ sign).
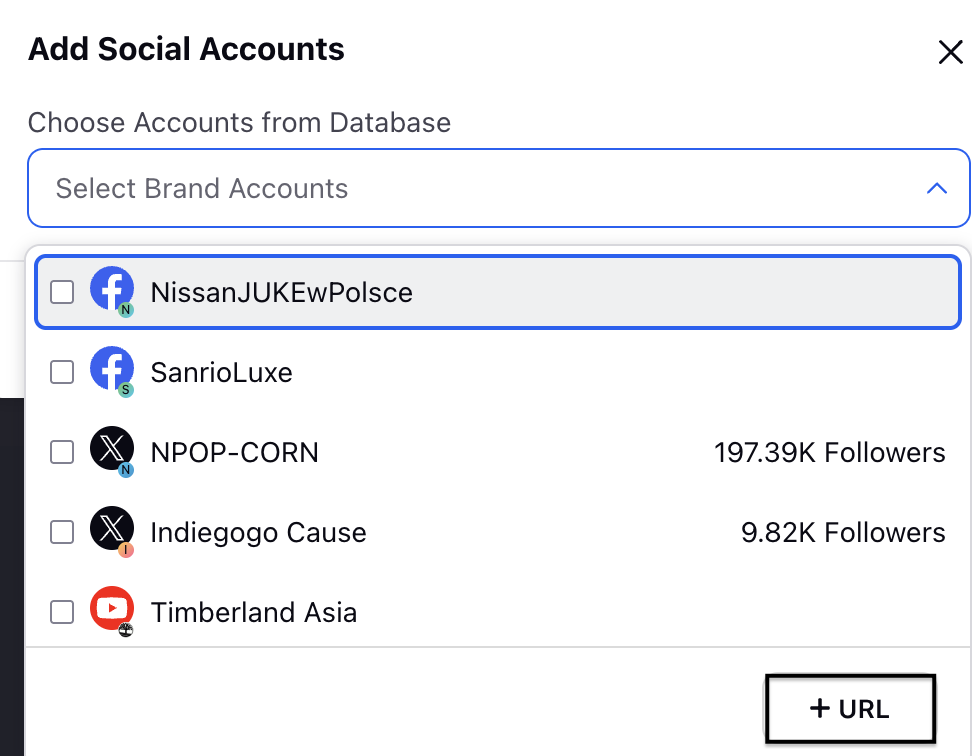
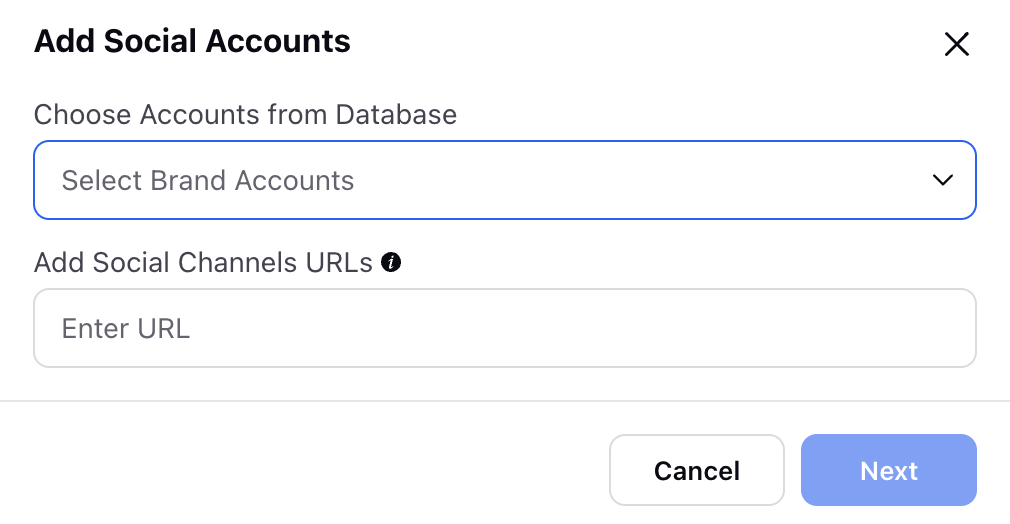
In the chose account from database option select the account by clicking + URL. If the account is already added here and its authenticated, just add the URL in the enter URL section and click Next.
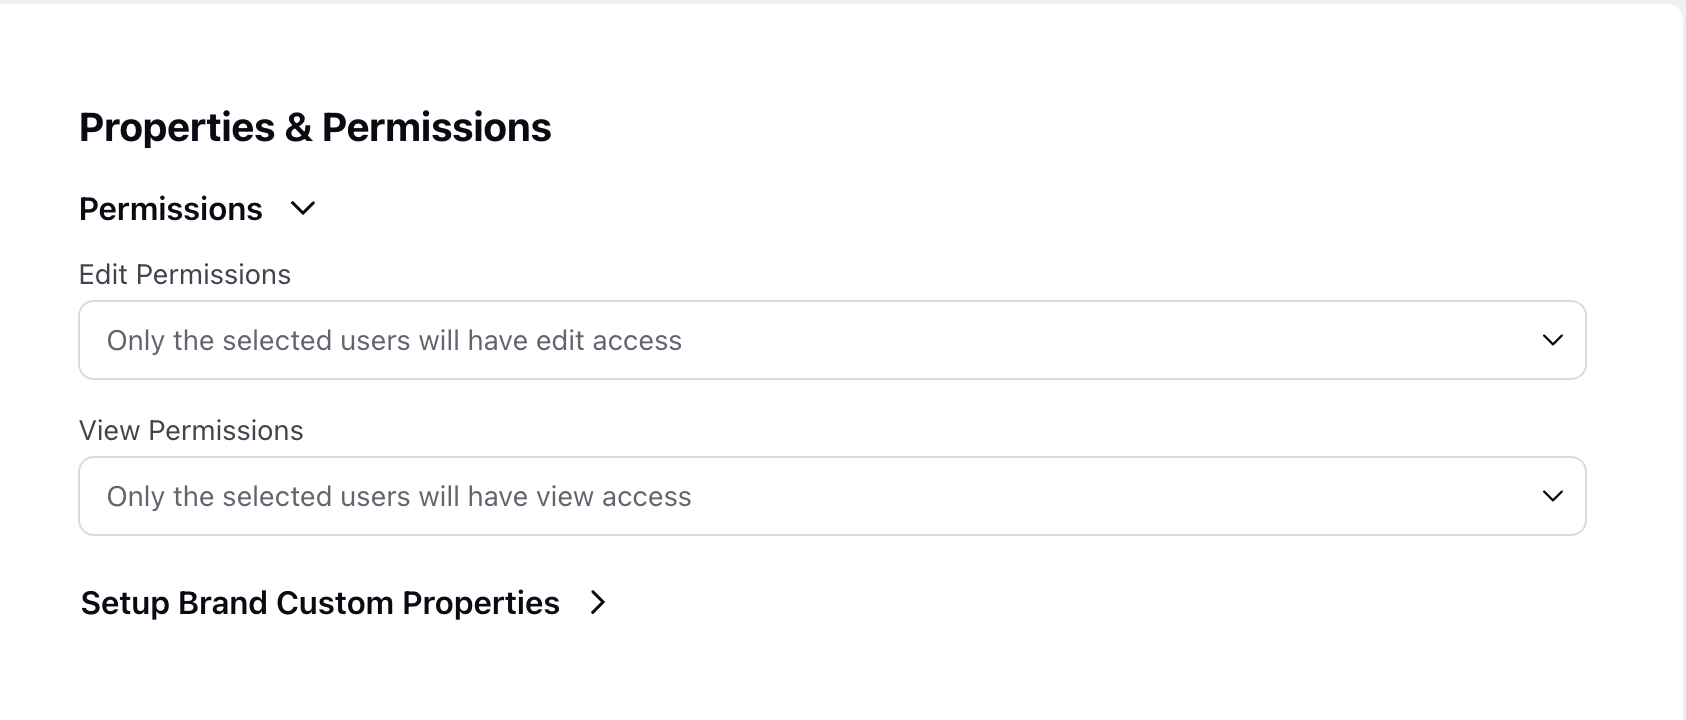
Go to the permissions section and provide Edit and View permissions to the users, user groups, and workspace, and select the relevant Custom Properties.
