Using Appointment Nodes in Dialogue Tree
Updated
Now that you have set up slots for agent availability and linked them to an Appointment booking template, you need a way to publish it to the end user and actually set up the appointment based on the selected date and time.
Following are the appointment booking-related nodes and steps used in Dialogue Tree
1. Book Appointment (mandatory)
2. Confirmed Appointment (mandatory)
3. Cancel Appointment (optional, depending on use case)
4. Confirm Appointment (optional, depending on use case)
Book Appointment
Add this node to send the appointment template that you have created in the Digital Asset Manager to your customers. Once the bot reaches this node, the appointment template will be sent in the chat and the appointment slot will be reserved for the customer, however, agent capacity will not be blocked yet.
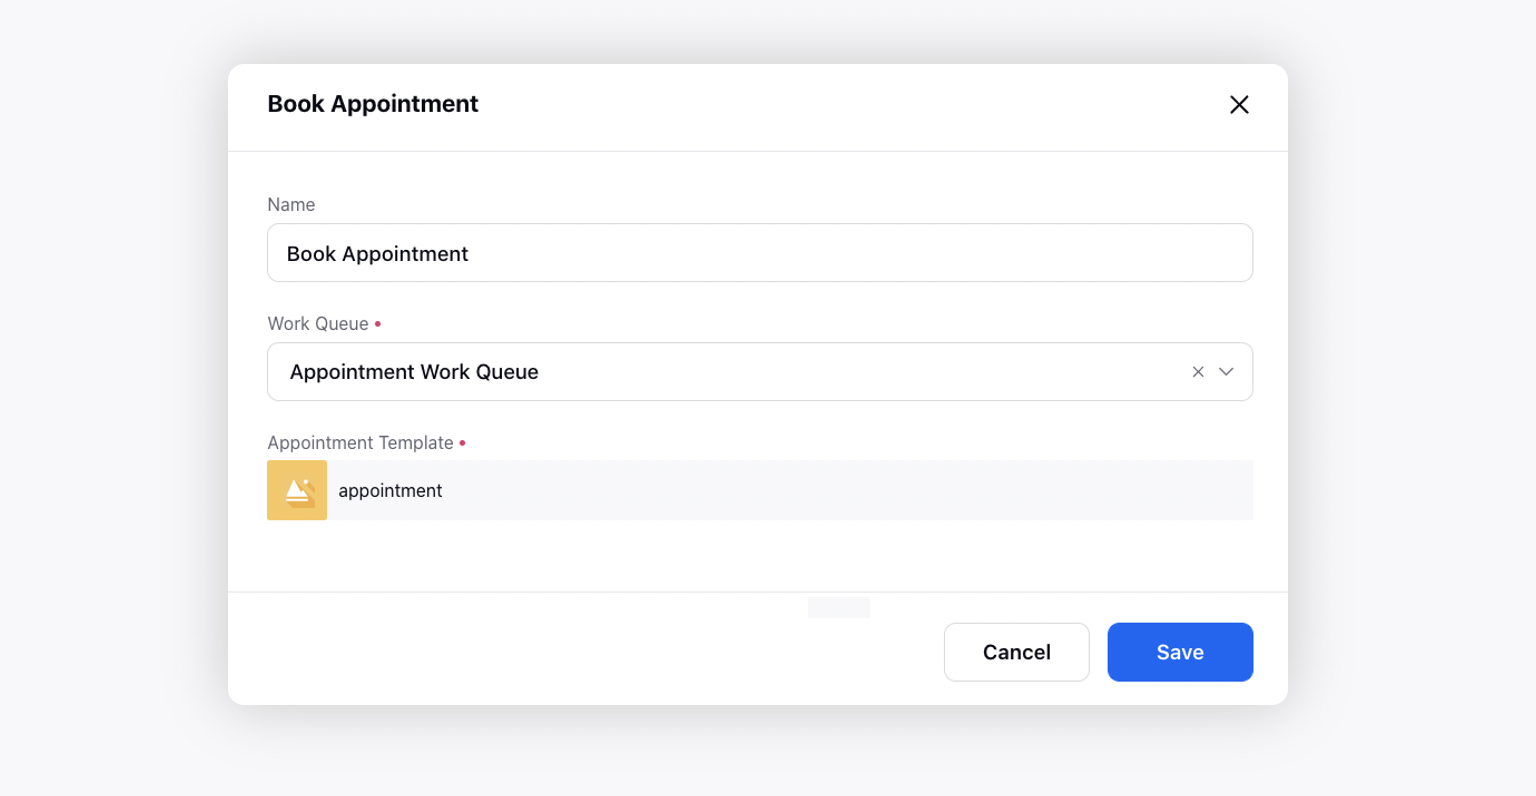
Work Queue: Select the case work queue created in the Assignment Engine.
Appointment Template: Select the Appointment template created in the Digital Asset Manager.
Confirmed Appointment
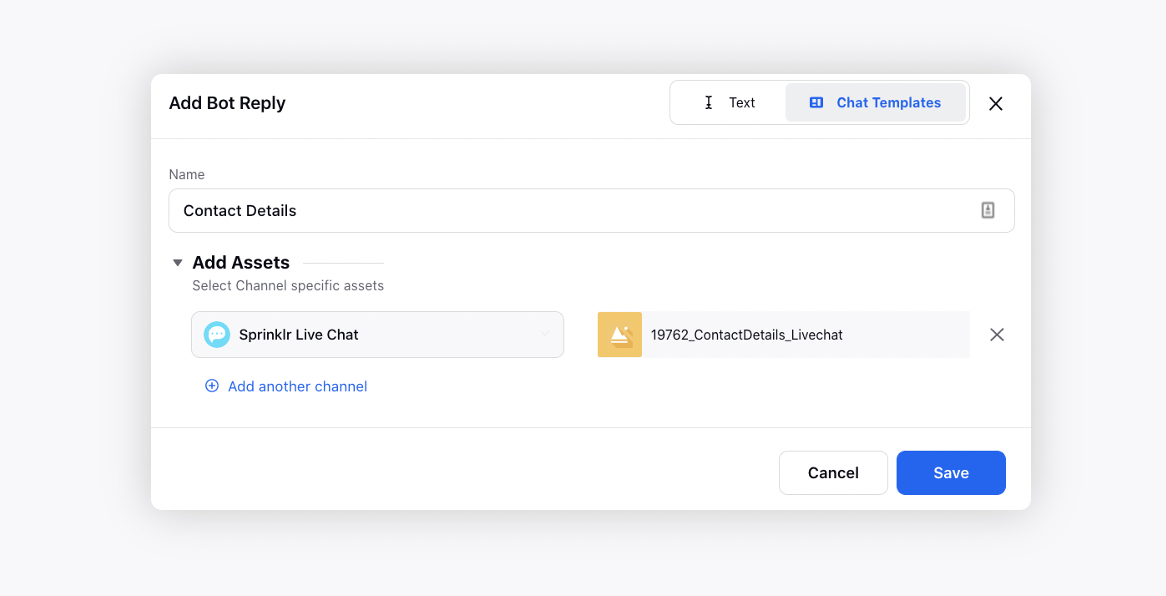
Before you begin: Create a contact details form to collect the contact information from the customer. Add a bot reply to send the contact details form.
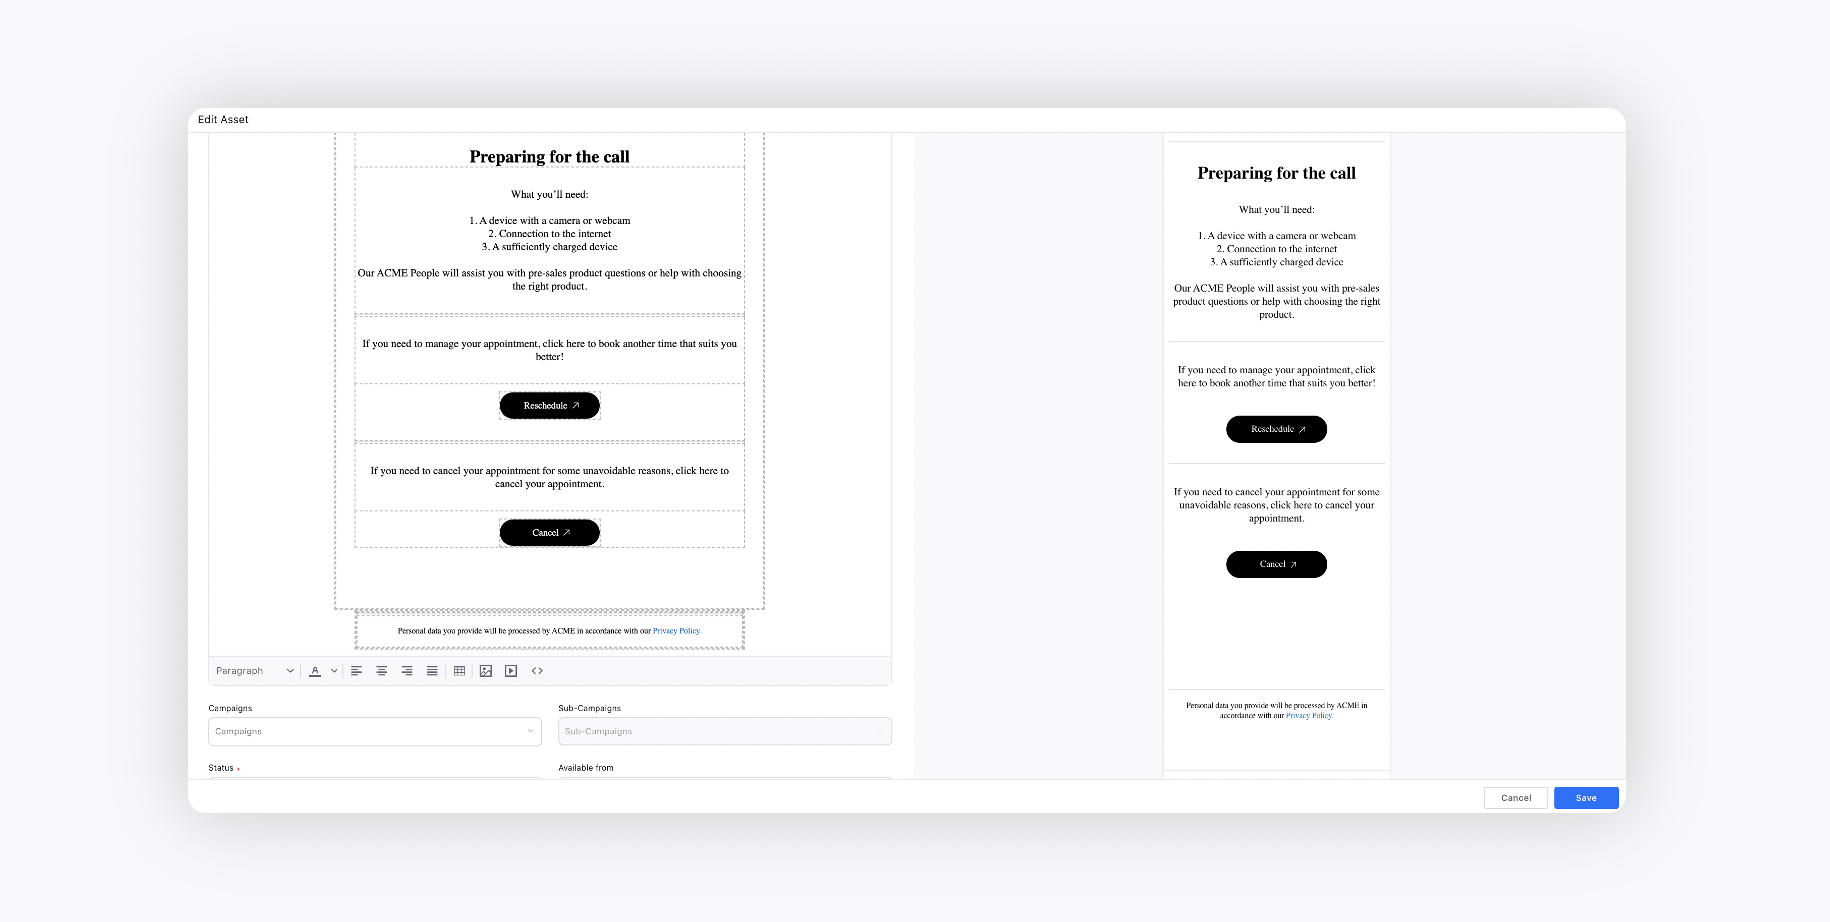
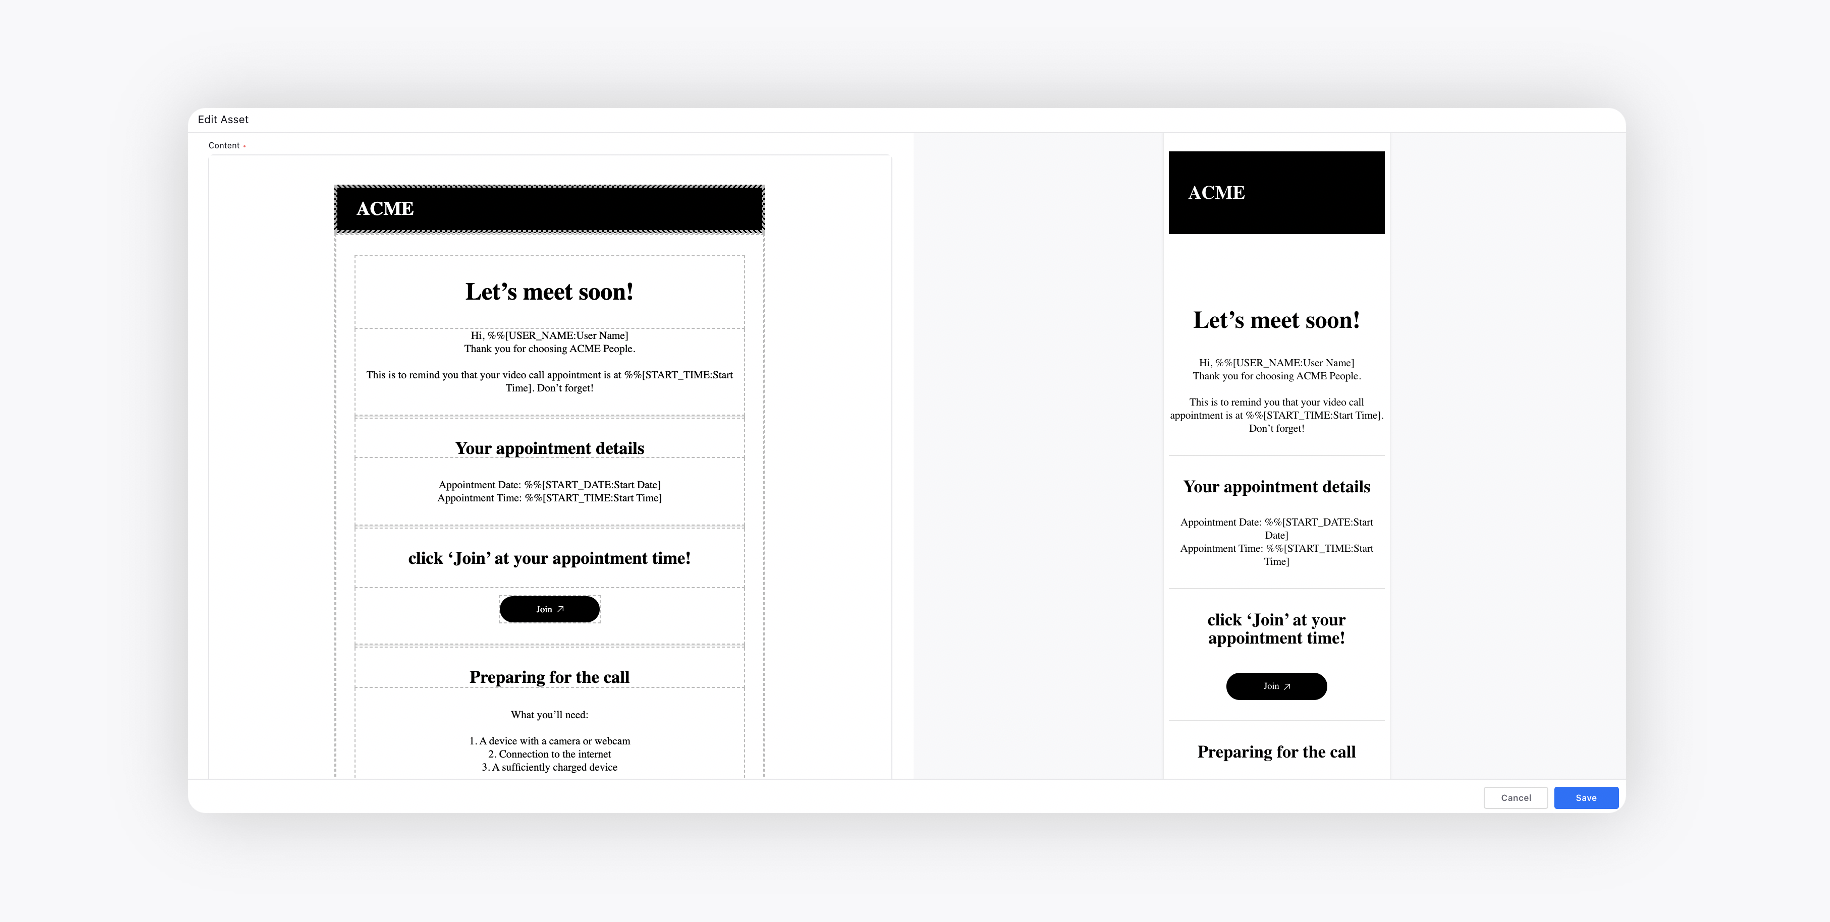
This node can be used to send the confirmed appointment details to the user. The users will have the option to Join, Reschedule, and Cancel the appointment.
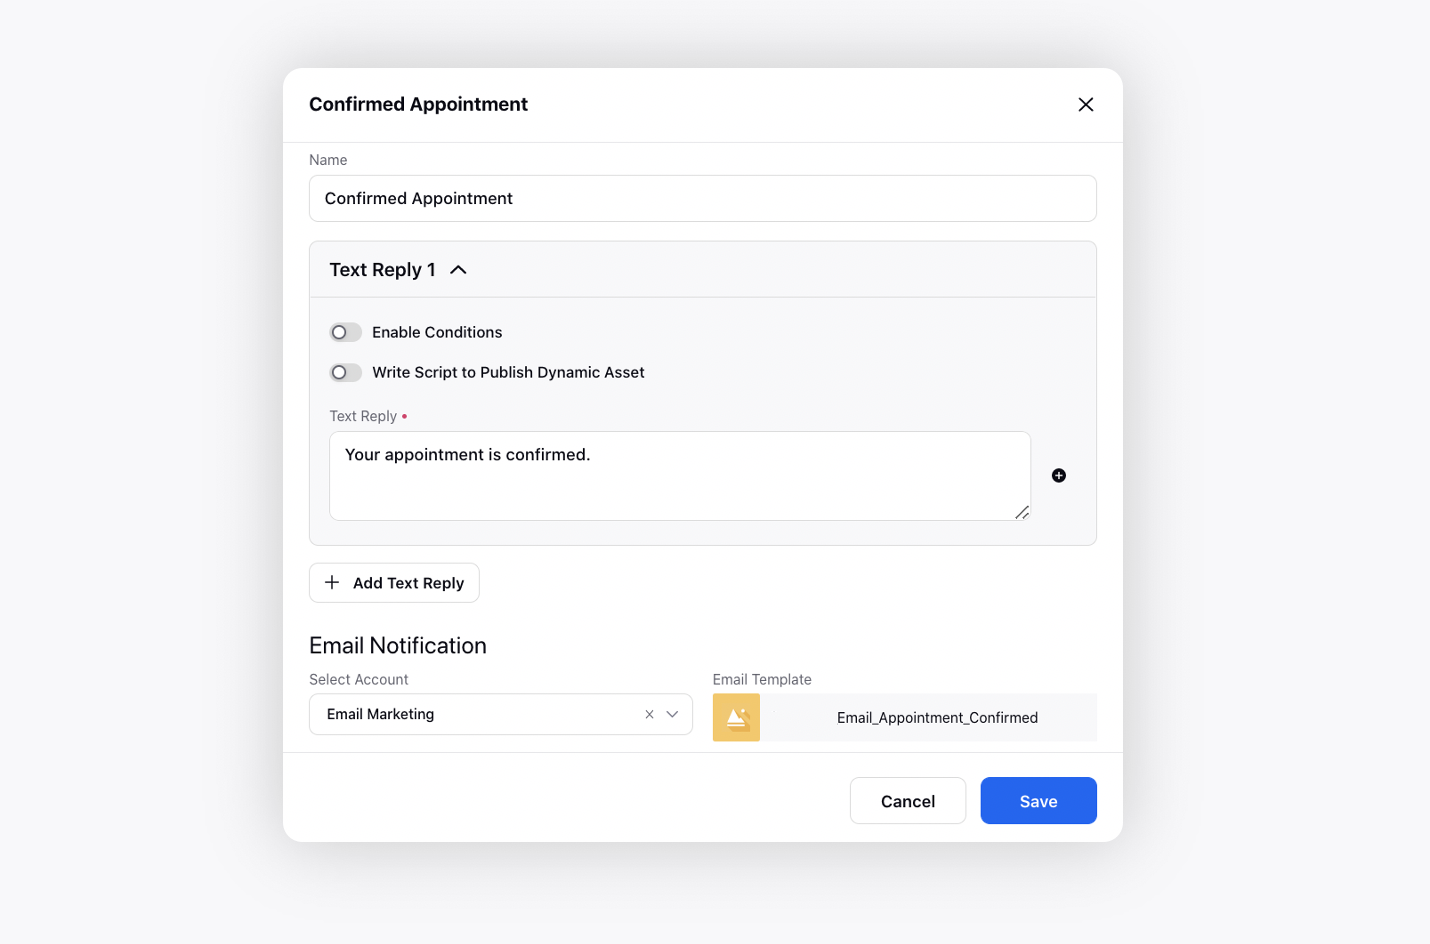
Bot Prompt: The response sent upon the confirmed appointment.
Email/SMS/WhatsApp Notification Account: Select the account to be used to send the email/SMS/WhatsApp message about the confirmed appointment details.
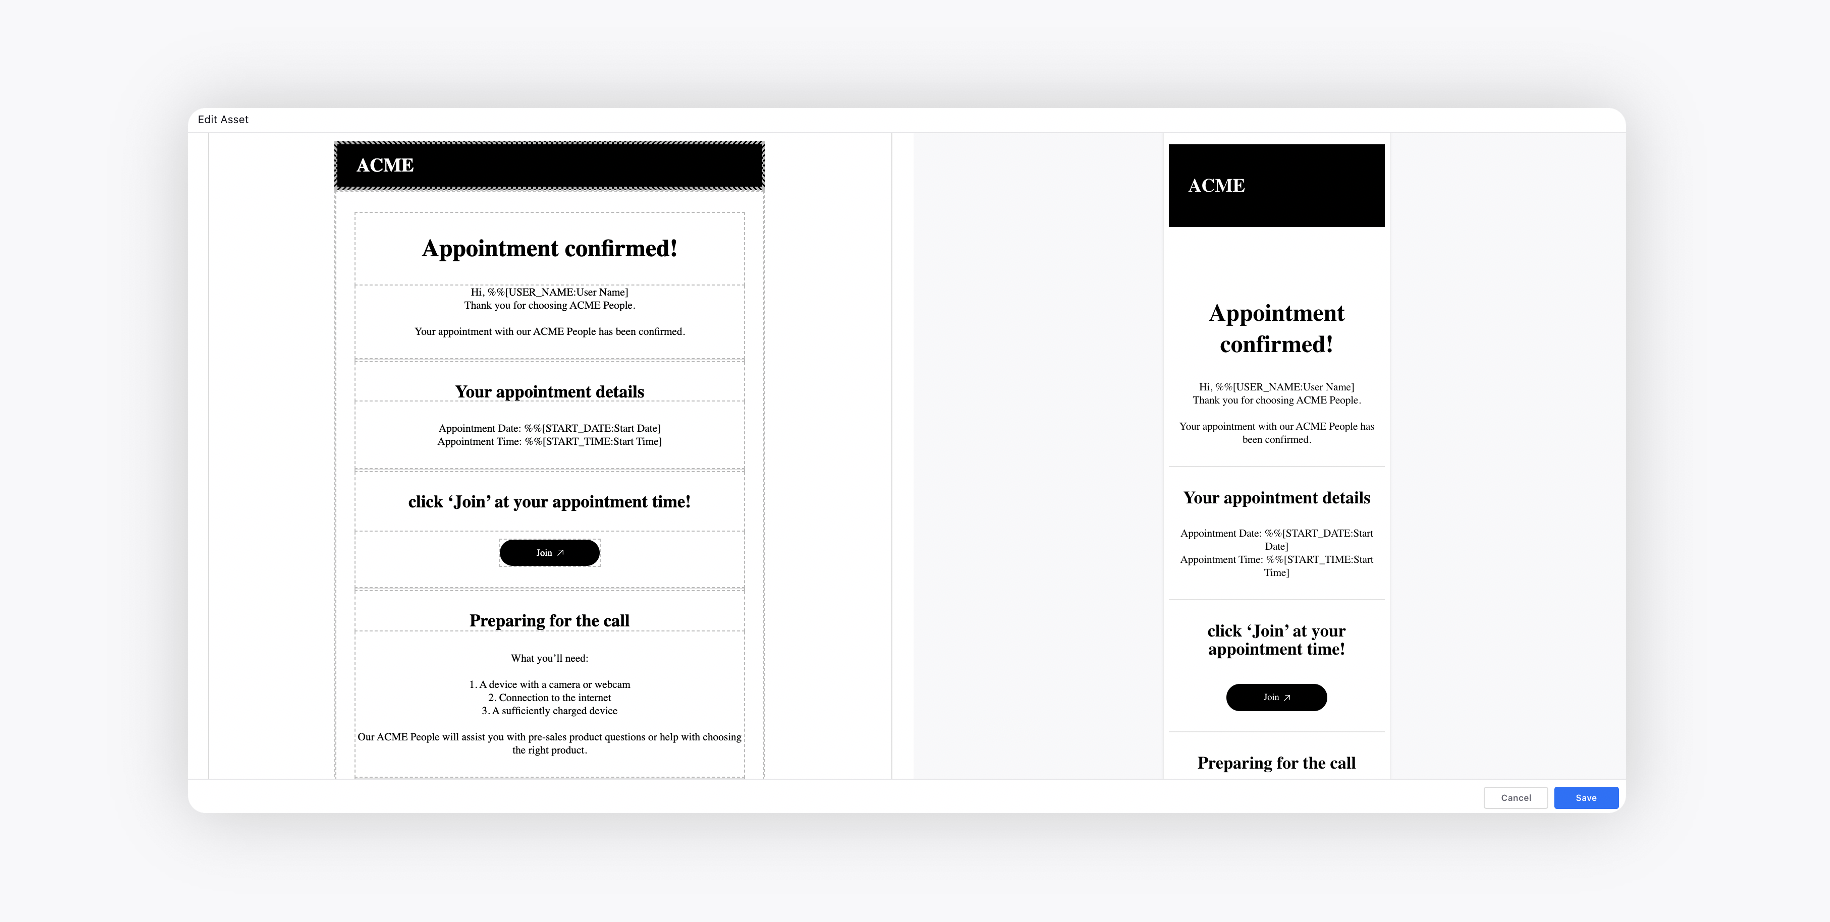
Email/SMS/WhatsApp Notification Template: Select the template to be sent via email/SMS/WhatsApp message. You can create an RTFD template in Digital Asset Manager.
Email/SMS/WhatsApp Notification Reminder Template: Select the template to be sent via email/SMS/WhatsApp message to remind the customer about the appointment. You can create an RTFD template in Digital Asset Manager.
Email Notification Summary Template: Select an ICS File that customers can download and import the meeting's details into their own calendars.
URL Shortener: Select the URL shortener to shorten the URL.
Sprinklr Live Chat Application: Select the Live Chat application to redirect the users to when they click Join/Reschedule etc.
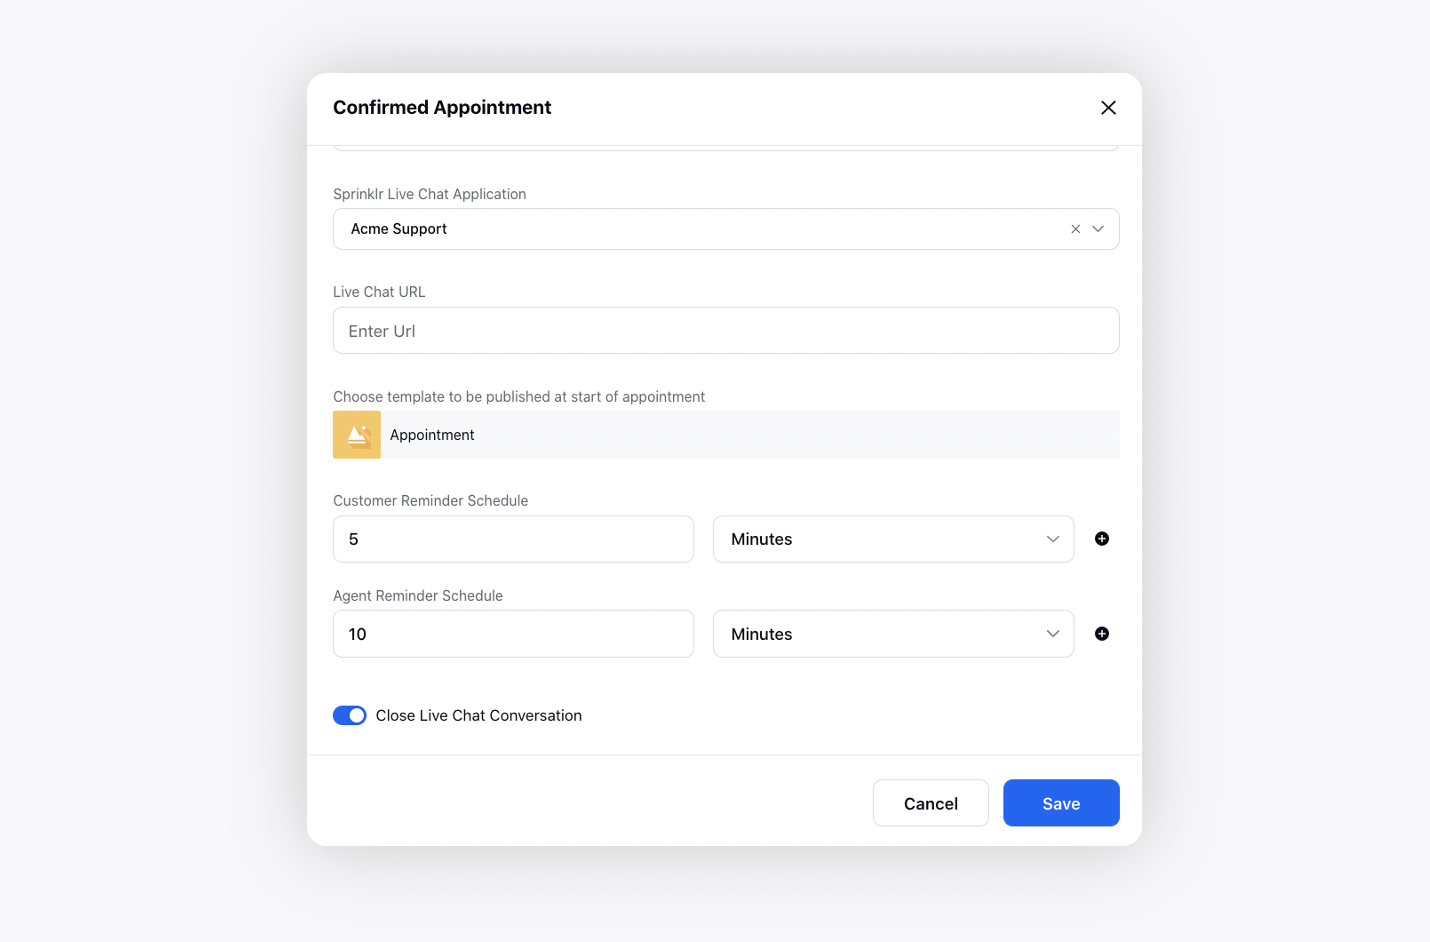
Live Chat URL: Select the URL, where the Live Chat is configured, to redirect the users.
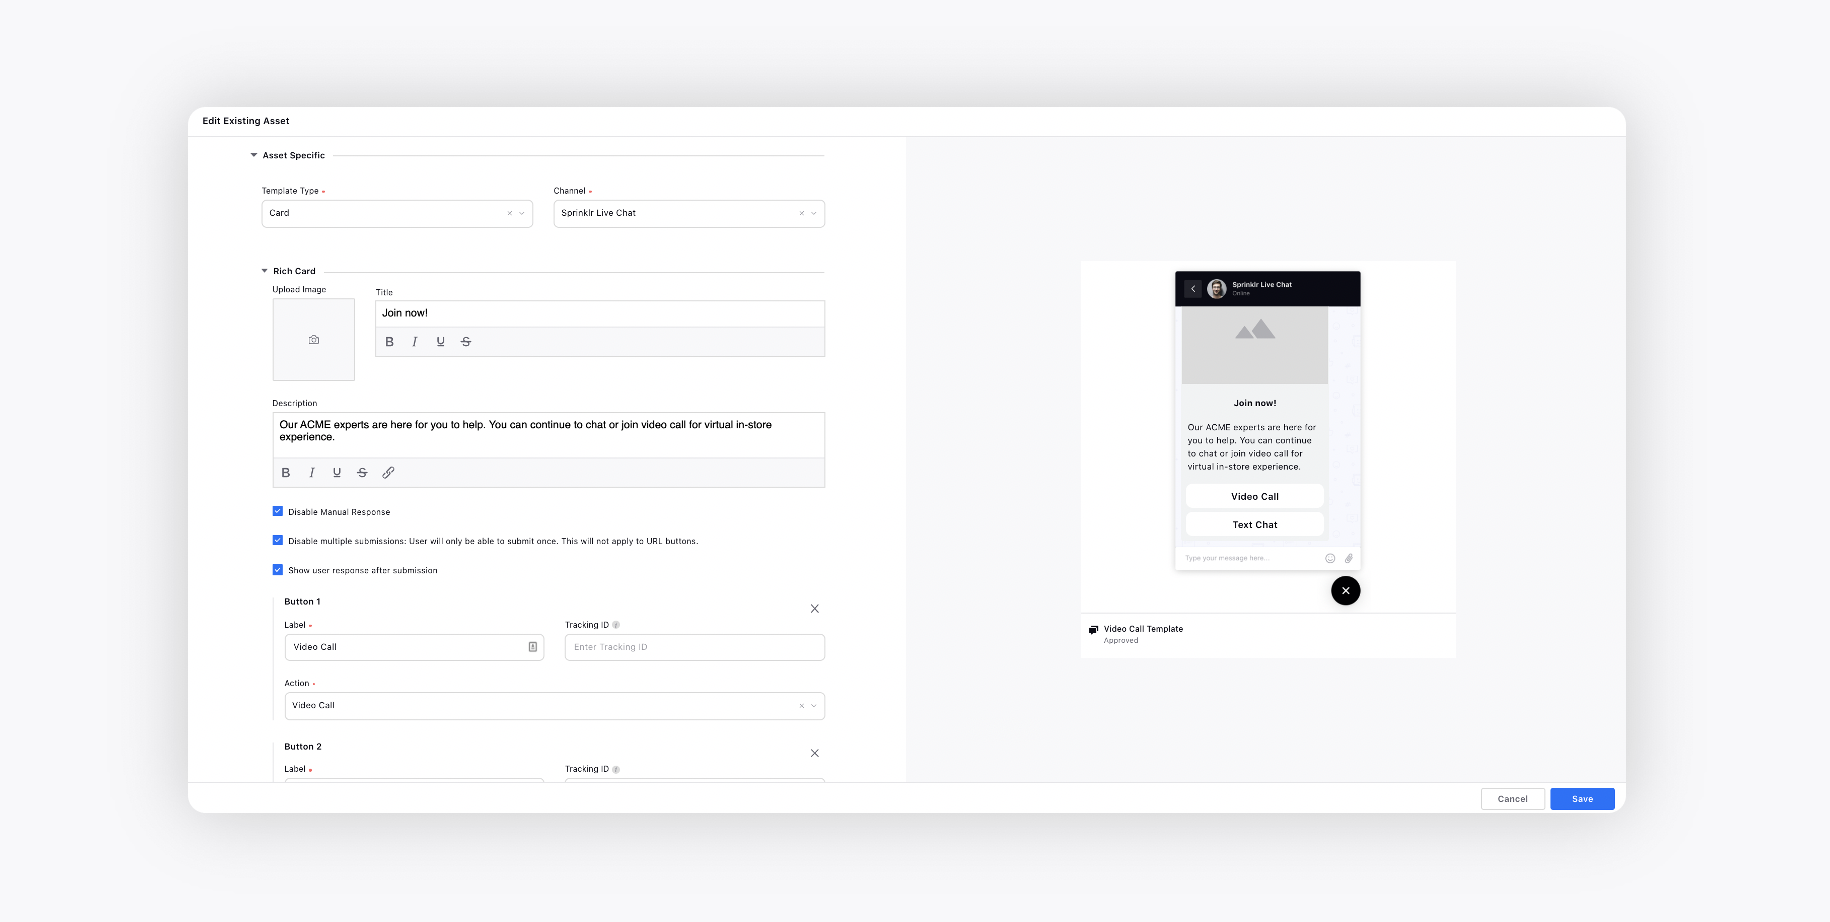
Choose template to be published at start of appointment: Select the template to be sent at the start of the appointment asking the users to join the appointment.
So, clicking the Join link on the template (confirmed appointment/reminder) will redirect the users to the Live Chat widget where this template will appear and the conversation will be reopened. You can create a card template in Digital Asset Manager.
Customer Reminder Schedule: Choose an amount of time, in hours, minutes, etc., for the reminder to be sent to the customer. The hour or hours you choose represents the amount of time before a scheduled appointment that you want to send a reminder, for example, 2 hours before a scheduled appointment. You can add multiple reminders.
Agent Reminder Schedule: Choose an amount of time, in hours, minutes, etc., for the reminder to be sent to the agent. The hour or hours you choose represents the amount of time before a scheduled appointment that you want to send a reminder, for example, 2 hours before a scheduled appointment. You can add multiple reminders.
Close Live Chat Conversation: Slide the toggle to the right to close the Live Chat conversation.
When the bot reaches the ‘Confirmed Appointment’ node, the task is assigned to the agent and agent capacity is blocked until completed/canceled/rescheduled/no-show.
Cancel Appointment
In case of cancellation or modification of any appointment, the initial appointment needs to be canceled using the ‘Cancel Appointment’ node and a new appointment has to be created using the ‘Book Appointment’ node.
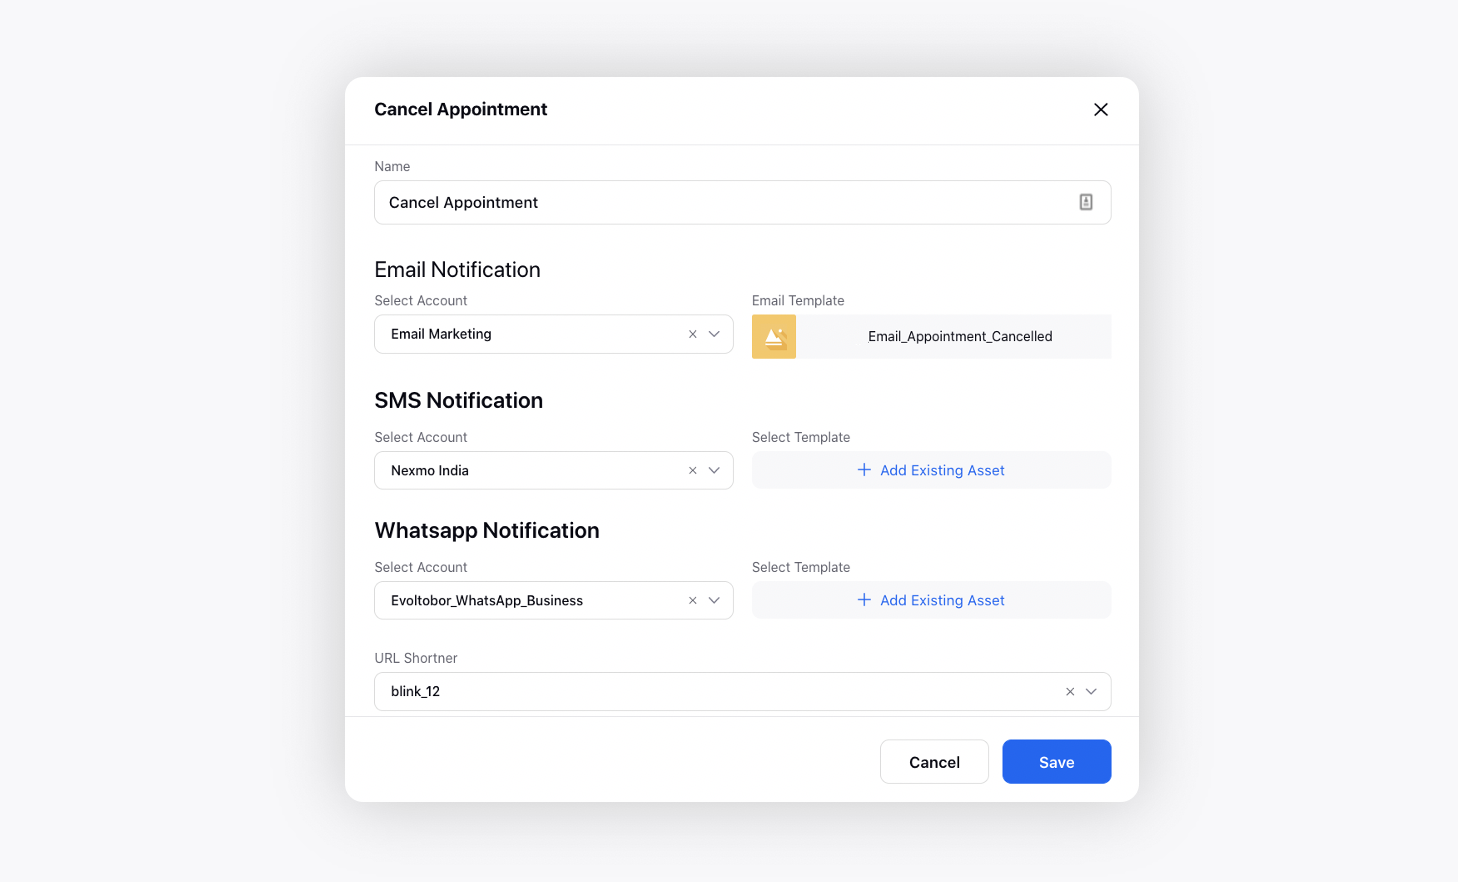
Email/SMS/WhatsApp Notification Account: Select the account to be used to send the email/SMS/WhatsApp message informing the customer about the cancellation.
Email/SMS/WhatsApp Notification Template: Select the template to be sent via email/SMS/WhatsApp message. You can create an RTFD template in Digital Asset Manager.

URL Shortener: Select the URL shortener to shorten the URL.
Close Live Chat Conversation: Slide the toggle to the right to close the Live Chat conversation.
This cancels the reserved appointments as well as confirmed appointments. In case of rescheduling also, the old appointment needs to be canceled first.
Confirm Appointment
Use Case
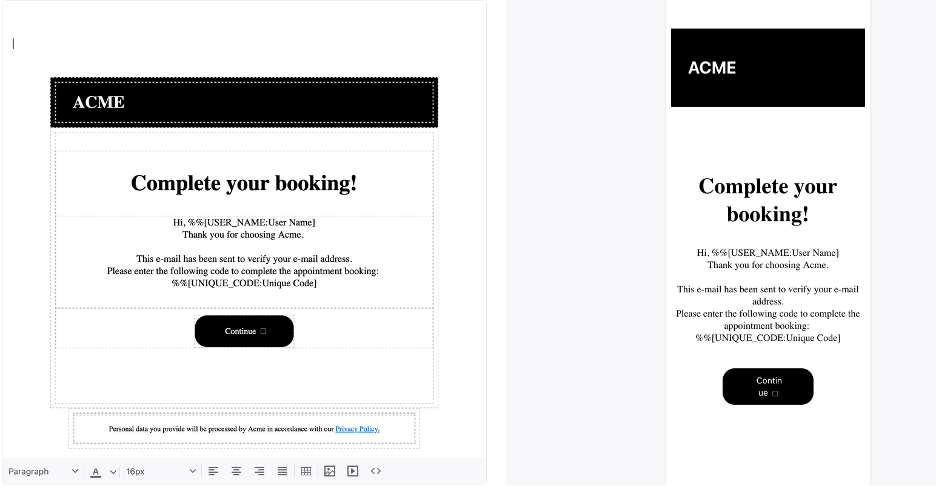
This step can be used for sending an Email, SMS or WhatsApp Message to the customer to confirm/authenticate contact details and the appointment which they have booked via the Book Appointment node. The appointment will be confirmed only if the user enters the correct OTP in Live Chat as received on their email/SMS or Whatsapp. You can skip this step in case you do not want to authenticate the booked appointment.
![]() Note: You still have to use the "Confirmed Appointment" Node to actually schedule the appointment
Note: You still have to use the "Confirmed Appointment" Node to actually schedule the appointment
Before you begin: Create a contact details form to collect the contact information from the customer. Add a bot reply to send the contact details form.

Create a 6-digit OTP code and save it in a variable using Update Properties node.
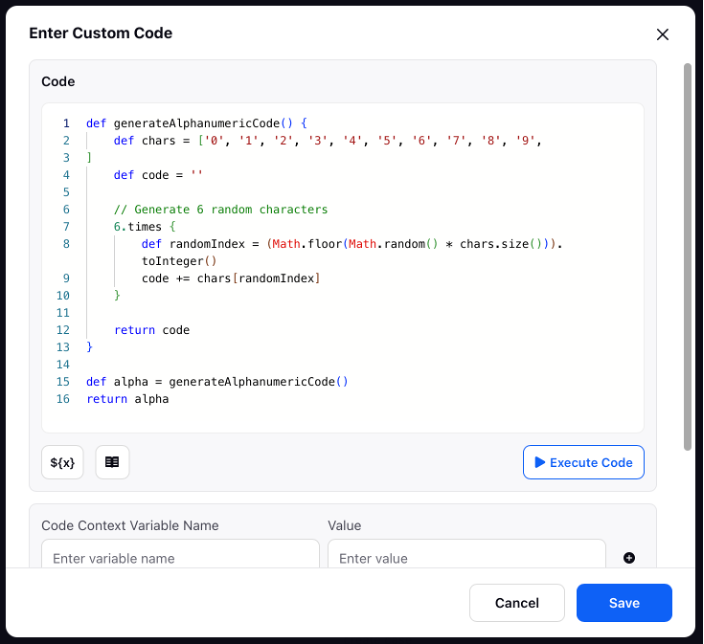
Then use the Send Message Node to send this OTP to the customer via their provided contact method (email or phone).
Add a Bot reply to display a message in the chat that provides the user with two clear options, enter OTP or change Contact Details. This step helps ensure the user has full control before proceeding, reducing the likelihood of accidental confirmation of the wrong email/ phone number.
Once the user enters the OTP, validate it and send the appointment confirmation.