Connections Manager: Unified Third-Party Authentication Management
Updated
Connections Manager is a unified repository for managing all authentication credentials for third-party systems such as Salesforce, Zendesk, and more. It provides a centralized and streamlined experience for creating, viewing, and managing third-party connections (authentication credentials) in Sprinklr.
You can either create a custom connection or choose from a list of supported third-party platforms to add a connection. Once created, a connection can be reused across modules, eliminating the need for repeated authentication setup and ensuring consistency across integrations.
![]() Note: If you previously used External Auth Credentials and have switched to Connections Manager, all existing connections created through External Auth Credentials will be automatically migrated and managed exclusively within Connections Manager.
Note: If you previously used External Auth Credentials and have switched to Connections Manager, all existing connections created through External Auth Credentials will be automatically migrated and managed exclusively within Connections Manager.
Key Features
Connections Manager offers the following key features:
Centralized Connection Management: A streamlined flow for managing all authentication credentials, allowing you to create custom connections or select from pre-listed third-party systems.
Unified User Experience: Consistent interface for creating and editing connections, simplifying credential management across your organization.
Filtering and Troubleshooting: Upfront filters and troubleshooting tools provide full visibility into connection configurations and issues.
Reusable Setup Across Modules: Credentials can be reused across multiple Sprinklr modules without requiring re-authentication, reducing redundancy and setup time.
Extensive Connector Support: Out-of-the-box integration with 50+ third-party platforms, offering broad compatibility and ease of use.
Key Benefits
Connections Manager offers the following key benefits:
Reduced Duplication: Saves time and ensures consistency across teams, accelerating onboarding and integration processes.
Improved Governance: Centralized connection management aligns with enterprise security standards.
Faster Troubleshooting: Enhanced error visibility speeds up issue detection and resolution.
Prerequisites
Before you begin, ensure the following prerequisites are met:
Your organization is using the Sprinklr Enterprise edition.
You have the External Authentication Credentials permission assigned to your user account.
You have External API permission assigned to your user account.
If you are an administrator and want to allow users to access the Connections Manager, create a role with the External Authentication Credentials permissions and assign it to the appropriate users or user groups

Access Connections Manager
The steps to access Connections Manager differ depending on whether you are using the Old All Settings page or the New All Settings page.
Creating a Connection
To create a new connection, follow these steps:
1. In the Connections Manager, click Create Connection in the top-right corner.

2. In the Select Connection Type window, you have the following options:
Search for and select a card for a supported third-party platform (for example, Salesforce, Zendesk).

Alternatively, select Custom Credentials to create a connection for a third-party platform that is not listed.

3. After selecting the desired connection type, click Next.
4. In the Connection Details window, fill in the required fields.
Field | Description |
Connection Name | A unique name to identify the connection. |
Authentication Type | Select the appropriate authentication method. The relevant fields will appear dynamically based on your selected authentication type. Fill in all required details. For more information, refer to the Supported Authentication Types table. |
MTLS Certificate(Optional) | Authenticate securely using your client certificate through mutual TLS (mTLS) to establish a trusted connection with your system. |
5. Once all required details are filled in, click Save.
The connection will be created and listed in the Connections Manager.
Connection-Level Options
To perform actions on a connection:
In the Connections Manager table, click the three-dots icon next to the connection.

Choose from the following options:
Edit: Update the connection details, including the name, authentication type, or certificates.
Delete: Remove the connection if it is no longer needed. You will see a confirmation prompt, click Delete again to confirm.

Dashboard-Level Options
After creating connections, you can manage them using several dashboard-level options in the Connections Manager interface:
Filtering Options
These are the filtering options available:
Connection Type: The name of the connected third-party platform or “Custom” if a custom connection.
Authentication Type: The authentication method selected, such as Basic Auth or OAuth.
Platform Type: The category of the third-party platform, for example, Marketing or Support.
Created By: The user who created the connection.
Use these filters to quickly locate specific connections based on criteria relevant to your workflow.

Dashboard View Customization
These options help you customize your Connections Manager dashboard for easier navigation and better visibility into your connection details:

Show/Hide Filters: Toggle visibility of the filter panel.
Manage Columns: Customize which columns appear in the table to match your needs.
Refresh: Reload the dashboard to reflect the latest connection changes or updates.
Supported Authentication Types
Field | Descriptions | ||||||||||||
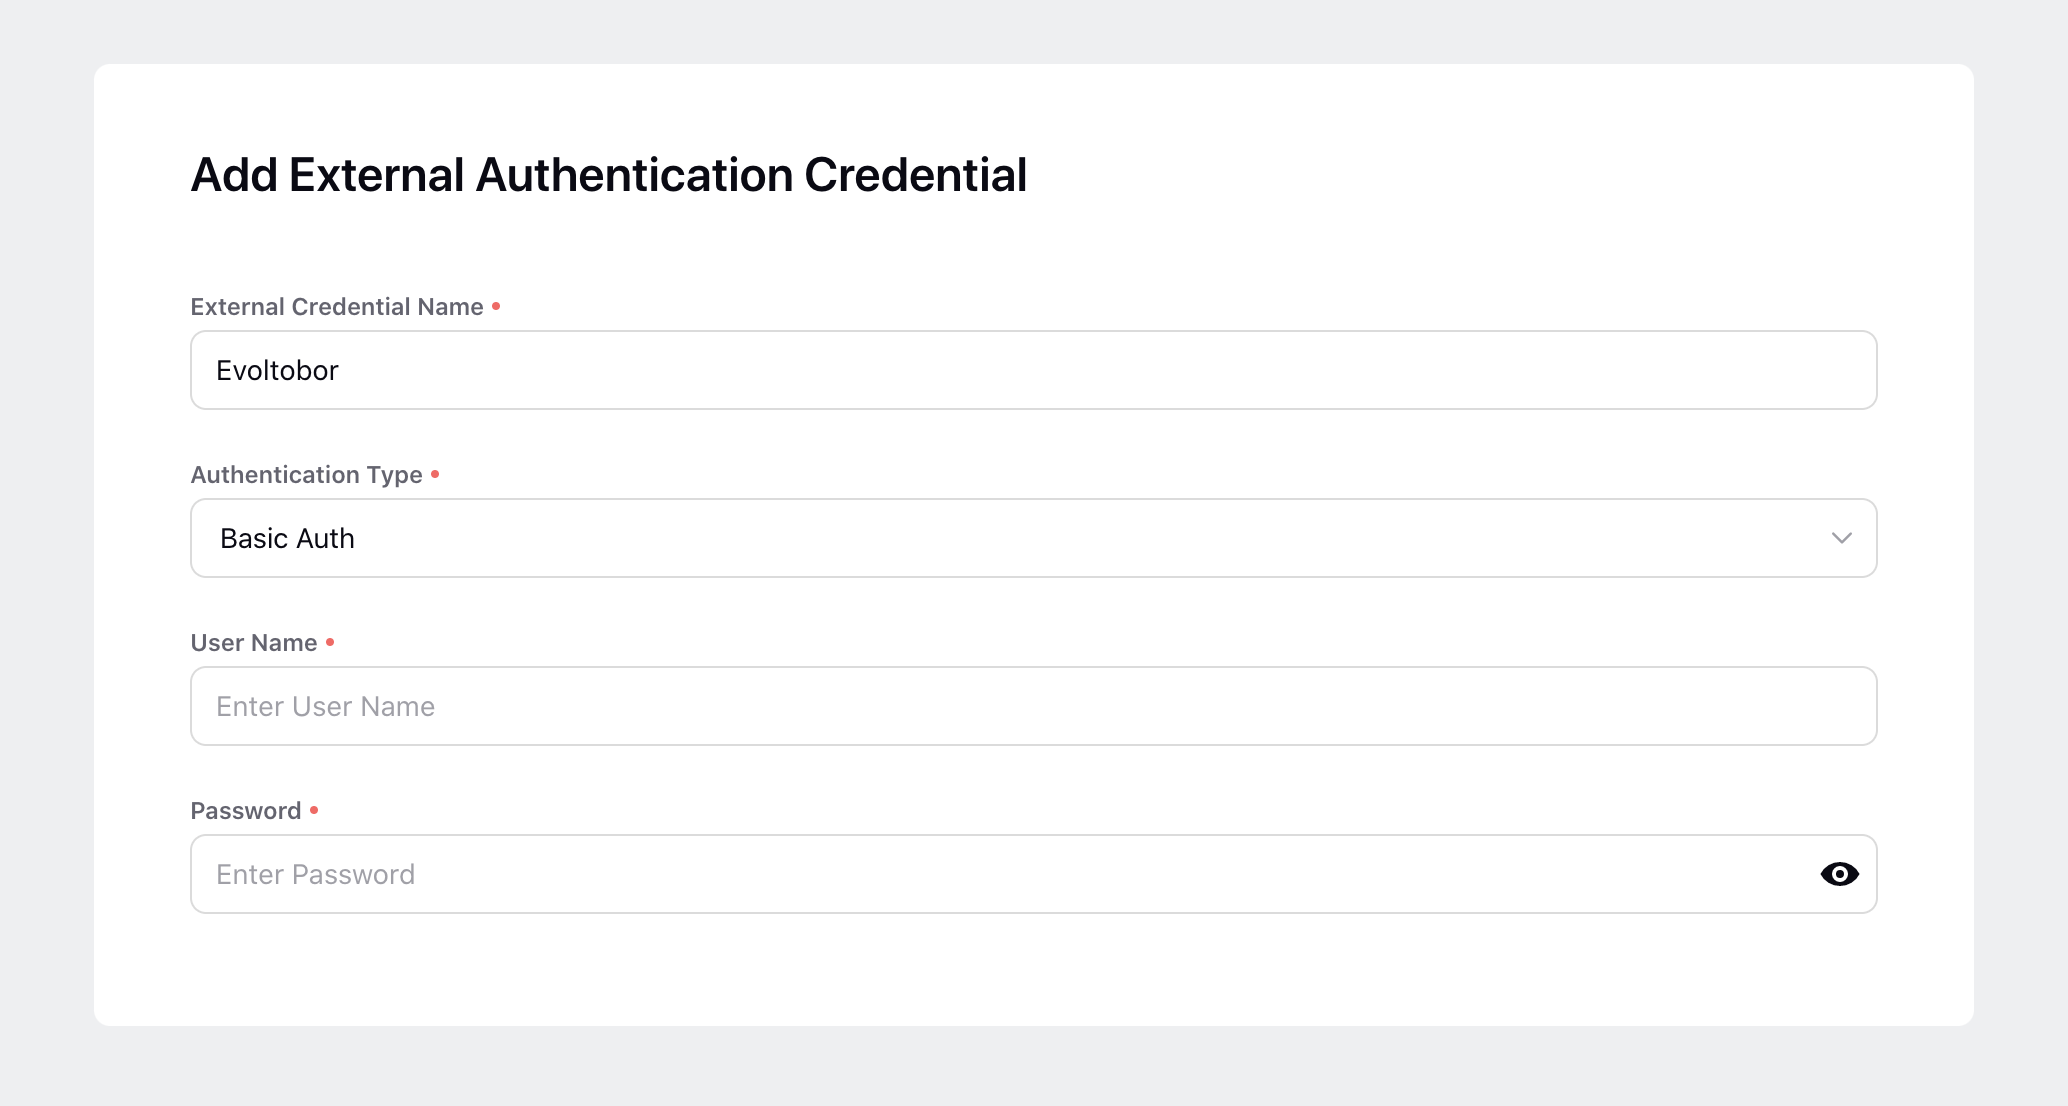
Basic Auth | |||||||||||||
| |||||||||||||
User Name | Enter the username for the authentication. | ||||||||||||
Password | Enter the password for the authentication. | ||||||||||||
OAuth2.0 ROPC | |||||||||||||
| |||||||||||||
| |||||||||||||
Client Credentials Auth | |||||||||||||
| |||||||||||||
Token Url | Enter the endpoint URL for token generation | ||||||||||||
Custom Token Header | Enter custom headers (if available). This will override the standard authorization headers | ||||||||||||
Client Id | Enter the Client ID required for token generation | ||||||||||||
Client Secret | Enter the client secret required for token generation | ||||||||||||
Scope | Enter the scope of the authorization process (if available) | ||||||||||||
Request Via Proxy | Toggle for enabling requesting the API through proxy | ||||||||||||
OAuth 1.0
JWT Auth | |||||||||||||
| |||||||||||||
JWT Claims | Enter the JWT claims and the corresponding values. Please note that you can add multiple claims by clicking on the (+) button | ||||||||||||
JWT Headers | Enter the JWT headers and the corresponding values. Please note that you can add multiple headers by clicking on the (+) button | ||||||||||||
Signature Algorithm | Enter the signature algorithm for JWT token generation | ||||||||||||
JWT Secret | Enter the secret for JWT token generation | ||||||||||||
Request Adapter | Enter the request adapter for JWT token generation | ||||||||||||
Response Adapter | Enter the response adapter for JWT token generation | ||||||||||||
Custom Claim Adapter | Enter the custom claim adapter for JWT token generation | ||||||||||||
Request via Proxy | Toggle for enabling requesting the API through proxy | ||||||||||||
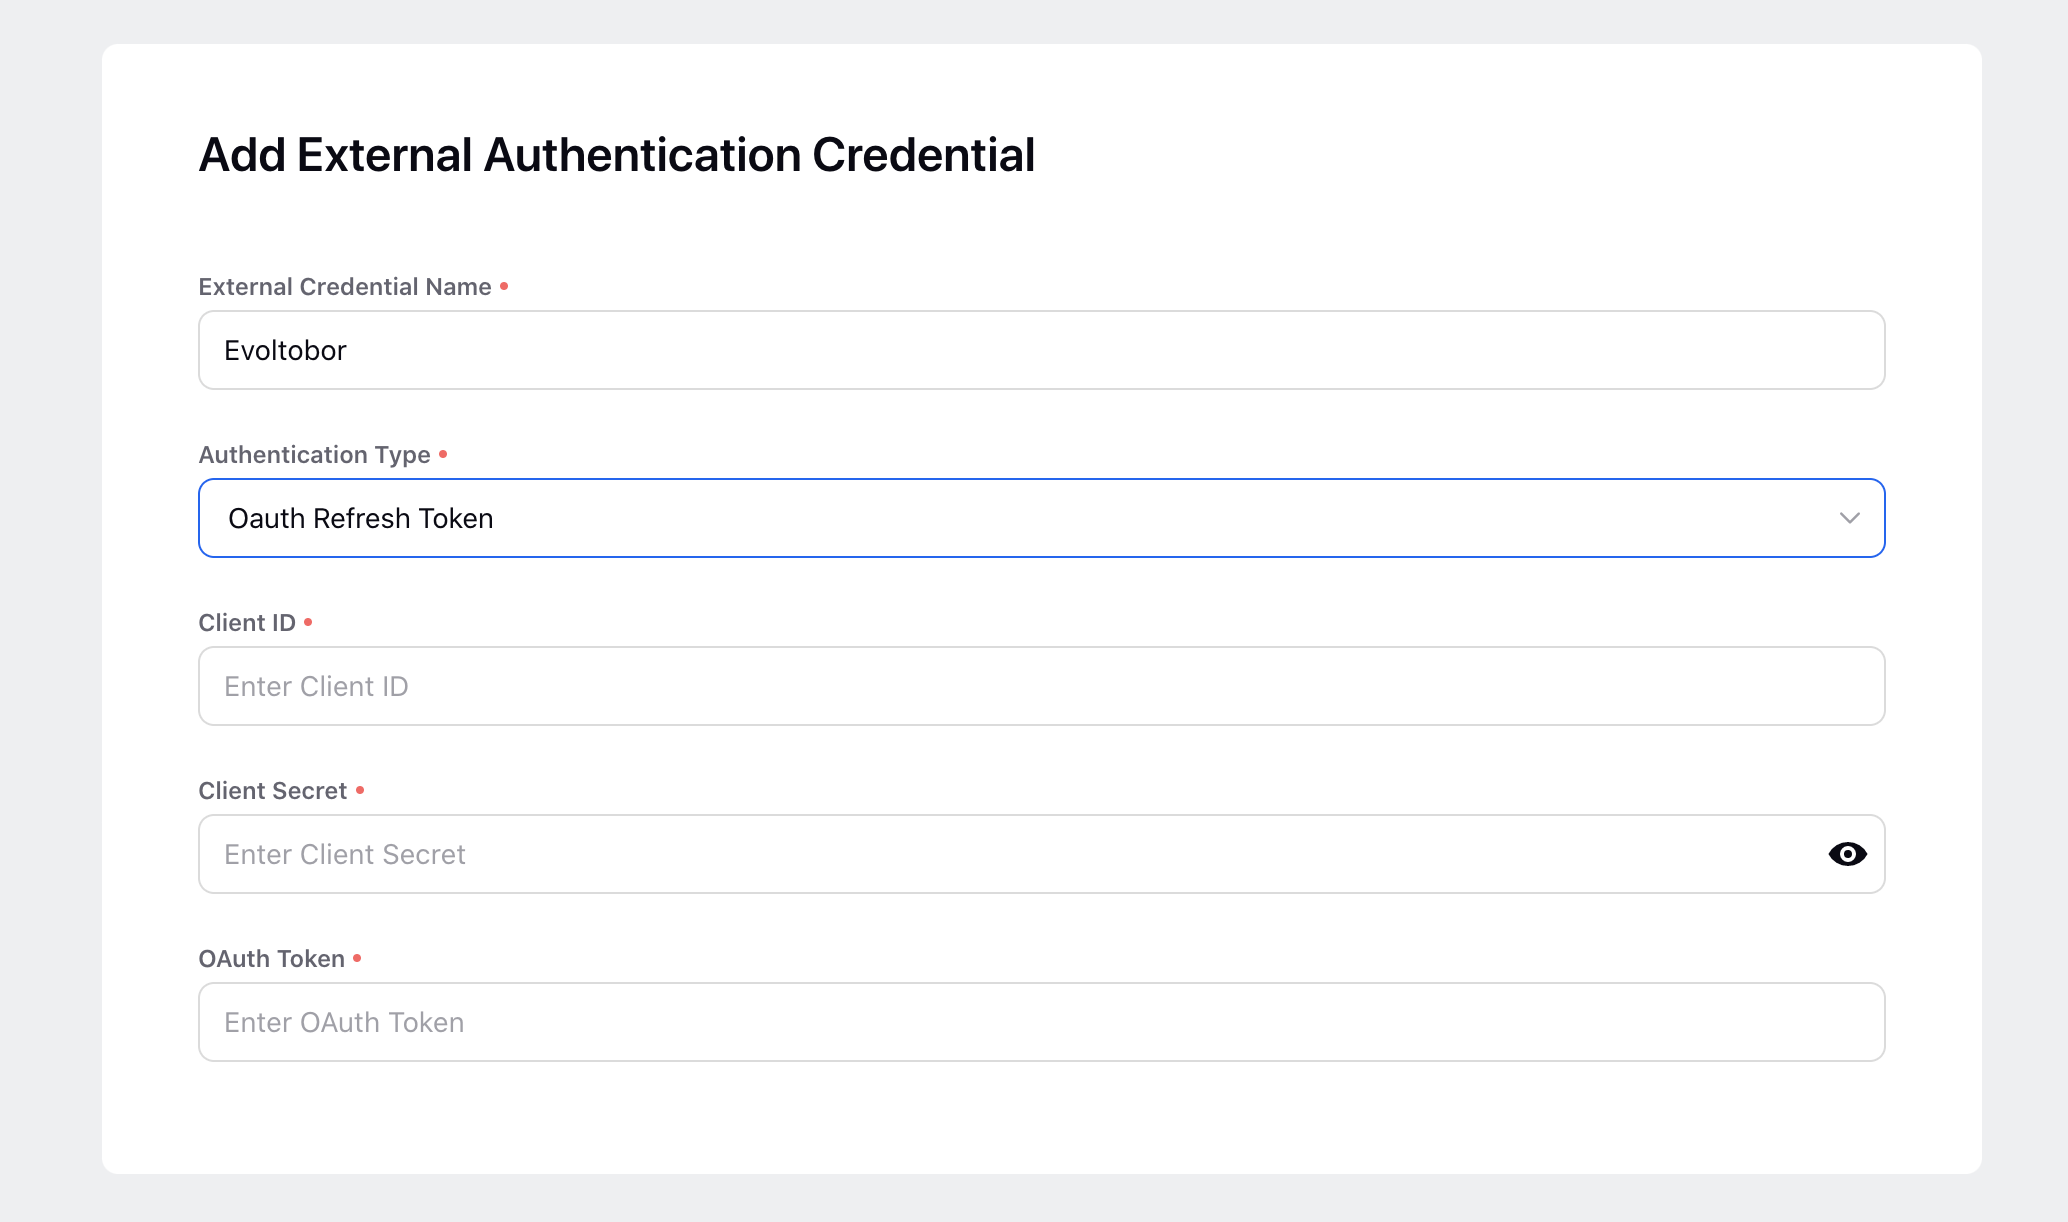
OAuth Refresh Token | |||||||||||||
| |||||||||||||
Client ID | Enter the Client ID for the authentication. | ||||||||||||
Client Secret | Enter the Client Secret Key for the authentication. | ||||||||||||
OAuth Token | Enter the OAuth Token for the authentication. | ||||||||||||
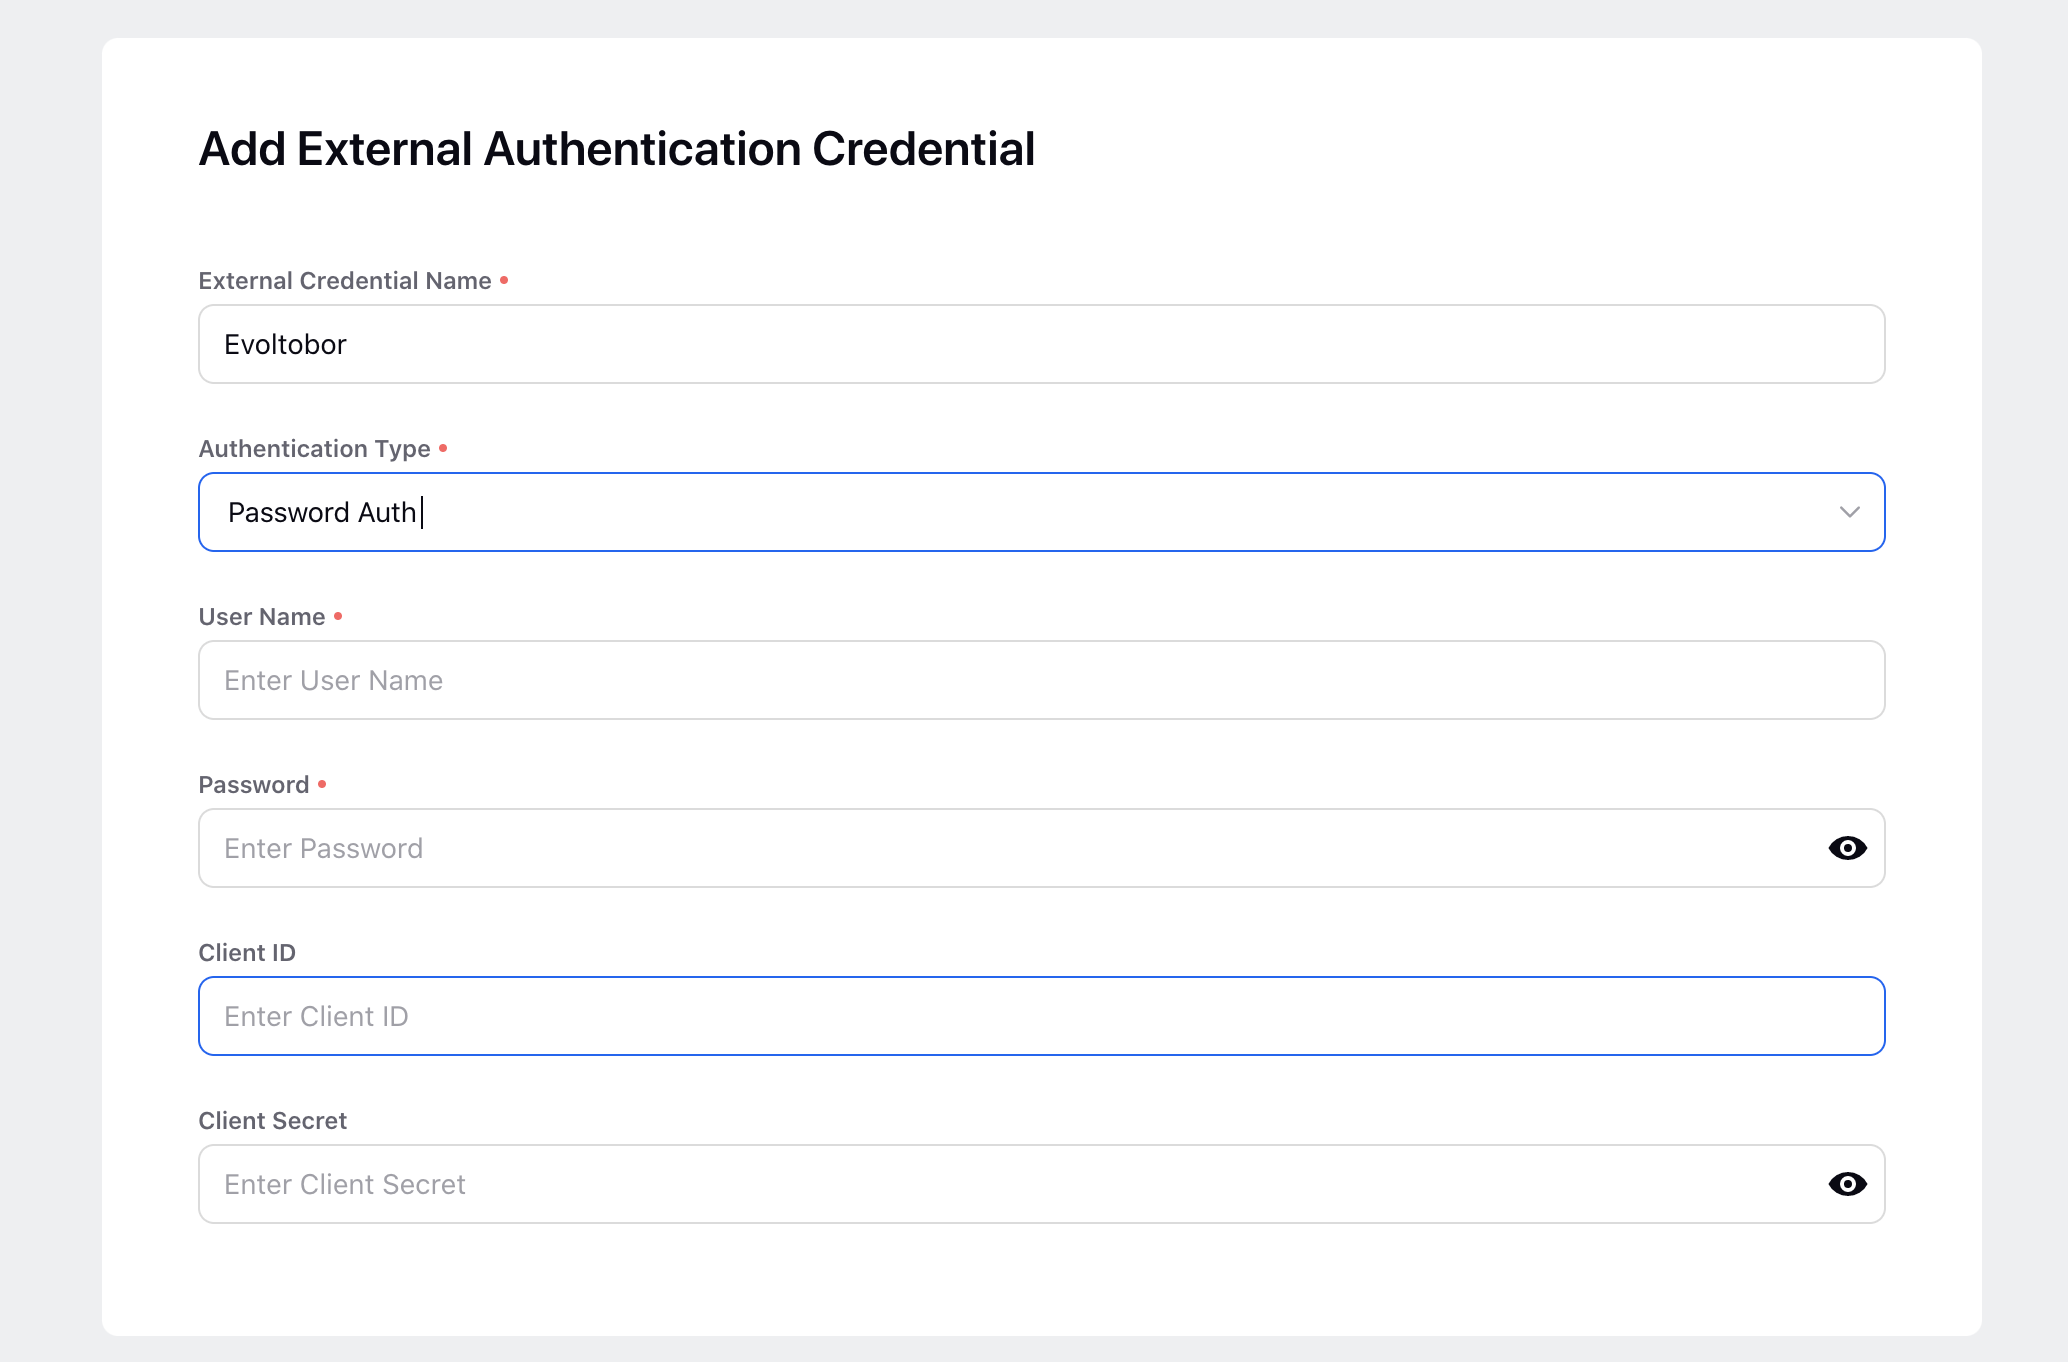
Password Auth | |||||||||||||
| |||||||||||||
User Name | Enter the username for the authentication. | ||||||||||||
Password | Enter the password for the authentication. | ||||||||||||
Client ID | Enter the Client ID for the authentication. | ||||||||||||
Client Secret | Enter the Client Secret Key for the authentication | ||||||||||||
Custom Auth | |||||||||||||
| |||||||||||||
Token URL | Enter the endpoint URL for token generation | ||||||||||||
Content Type | Enter the valid content-type for token generation | ||||||||||||
Custom Token Header | Enter the custom headers required for token generation. This will override the standard authorization header | ||||||||||||
Custom Headers | Enter the custom headers required for token generation | ||||||||||||
Custom Parameters | Enter the custom parameters required for token generation. Please note that you can add multiple parameters by clicking on the (+) button | ||||||||||||
HTTP Method | Enter the HTTP method required to generate the token | ||||||||||||
Request Adapter | Enter the request adapter for token generation | ||||||||||||
Response Adapter | Enter the response adapter for token generation | ||||||||||||
Request Via Proxy | Toggle for enabling requesting the API through proxy | ||||||||||||
API Key | |||||||||||||
| |||||||||||||
mTLS Auth | |||||||||||||
| |||||||||||||
MTLS Certificate | Upload your mTLS certificate to enable mutual TLS authentication. A file upload window will appear—either drag and drop the certificate file or browse to select it from your local device.
| ||||||||||||
Server-to-Server (S2S) Authentication | |||||||||||||
S2S authentication in Sprinklr relies on a signed JSON Web Token (JWT) for authorization, rather than a client secret. The JWT is generated using Sprinklr’s private key and Client ID. During authorization, Sprinklr sends the Client ID and JWT token to the client system. The client, which holds the corresponding public key, verifies the JWT signature and payload to confirm authenticity before issuing an access token.
| |||||||||||||


.png)