Publishing using Contentful
Updated
Overview
If you have a Contentful account integrated with Sprinklr, you can publish Messages through Contentful using the Sprinklr platform. Contentful allows you to create custom Content Types which can be used as templates when creating content. Any templates attached to your Contentful account can be used to create Messages on Sprinklr.
Publish a Message through Contentful
1. Click the Publishing Options button on the top right of your window. From the dropdown, select Create Message. This opens the Advanced Publisher.
.png)
2. In the Advanced Publisher under the Overview tab set Contentful as the Account Type.
3. Next, select the Contentful account you want to use under Account.
4. Under Template you will find the Content Types attached to your Contentful account. Select the Content Type you want to use.
5. Fill in the fields under Required Properties including Message Name, Campaign, and Source Language. Also, fill in any Additional Properties as required.

6. Under the Content tab, you will find all fields associated with your chosen Contentful Content Type. Add in the content as necessary.
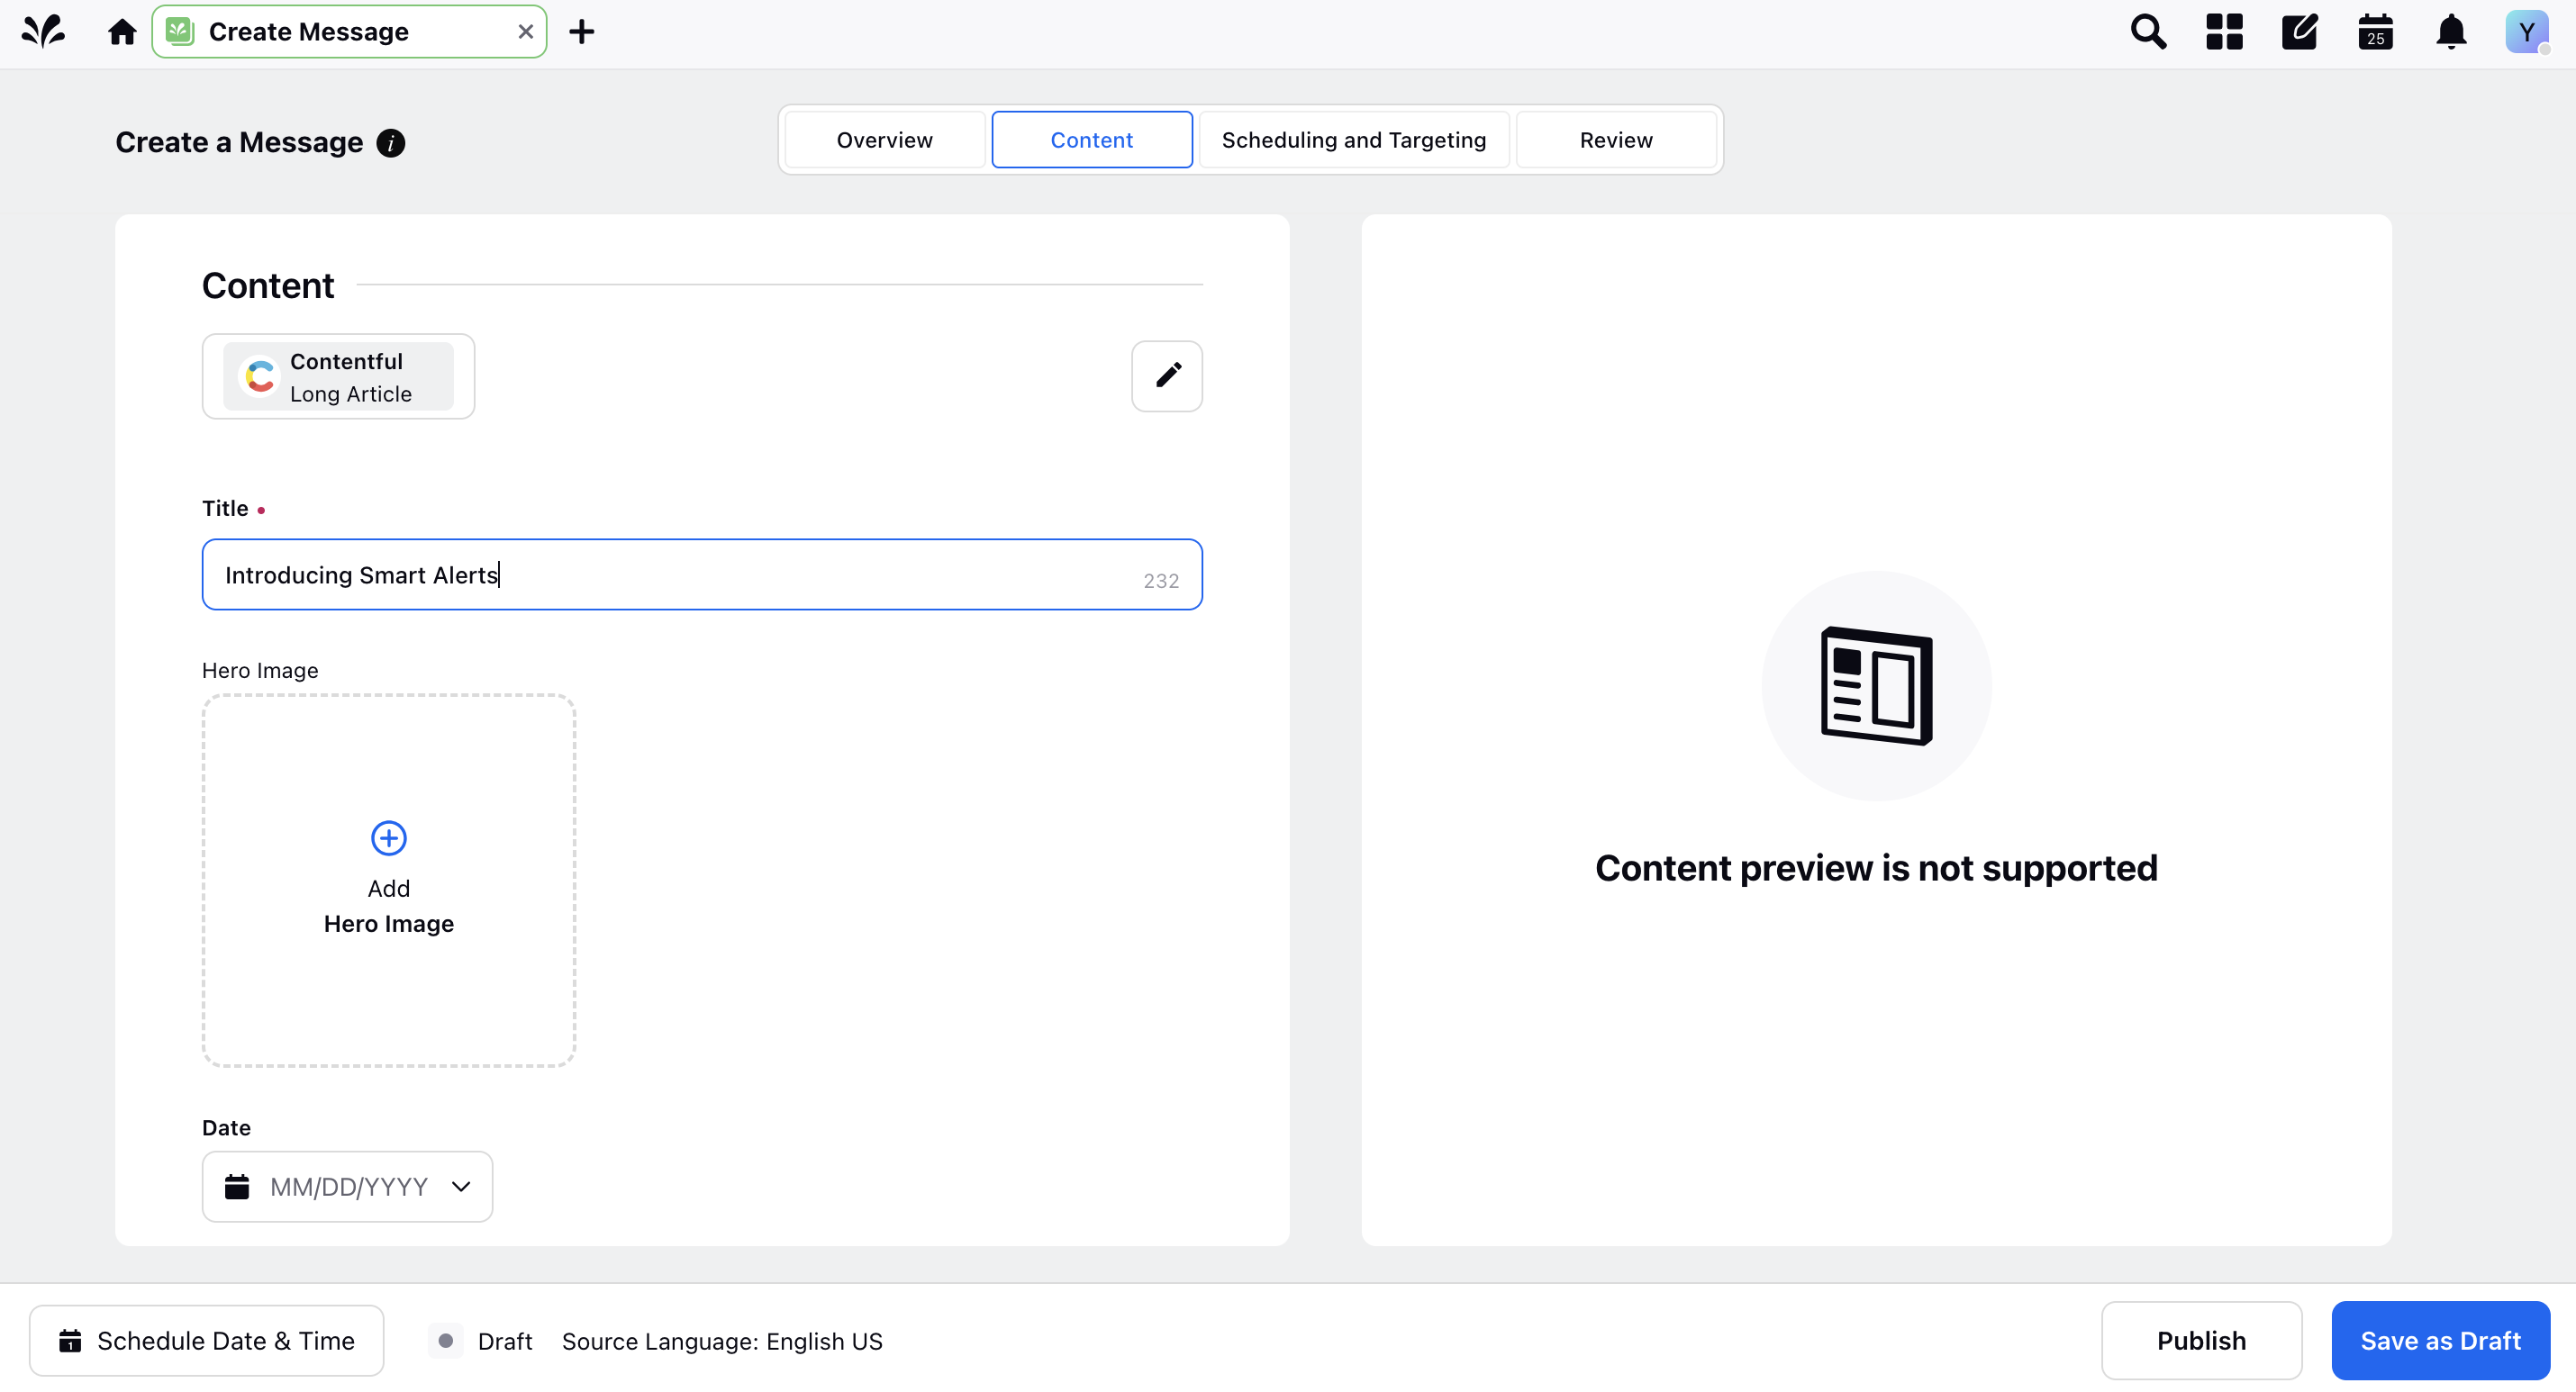
7. When adding media assets like images and video to your Contentful Message, you can also access the Contentful asset repository using the media uploader.

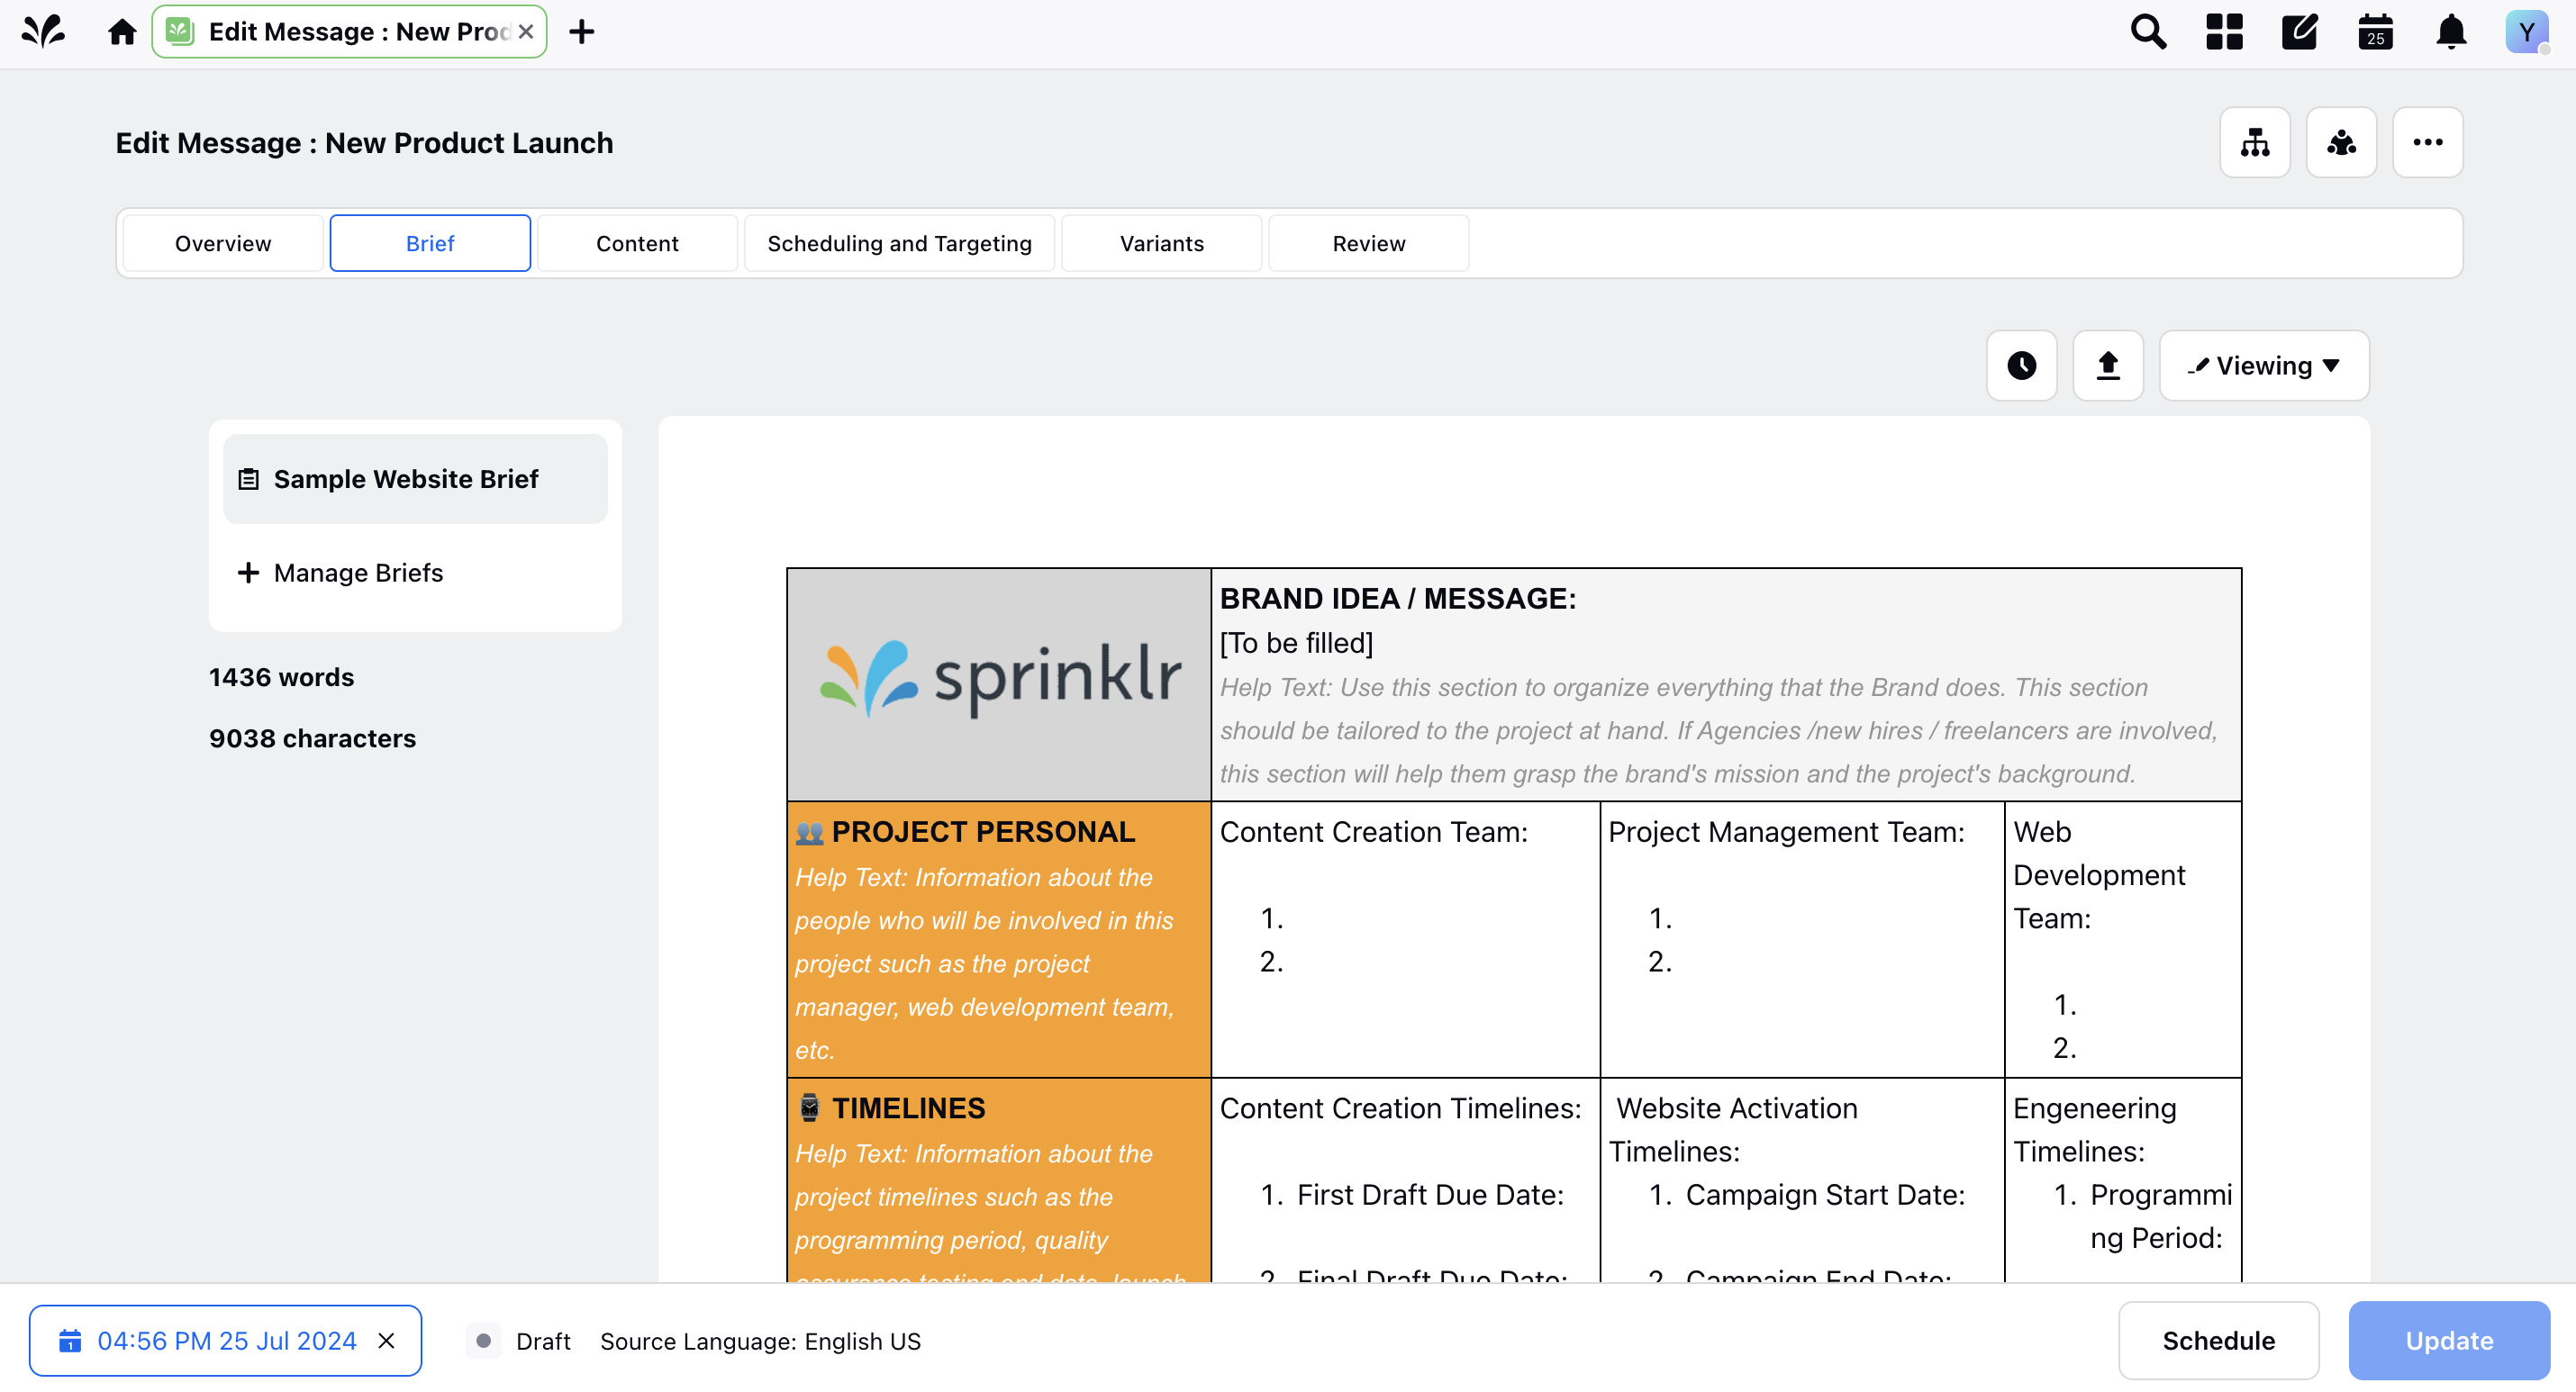
8. Once you have added the content you need, click Save as Draft to save your Message. This also opens up some new tabs including Brief and Variants.
9. Under Briefs, you can add a Content Brief to your message. This helps with collaboration and lets you share important details and context like Message objectives, target audience, required tone etc. with your team.
10. Under Variants, you can create variants of your Message.
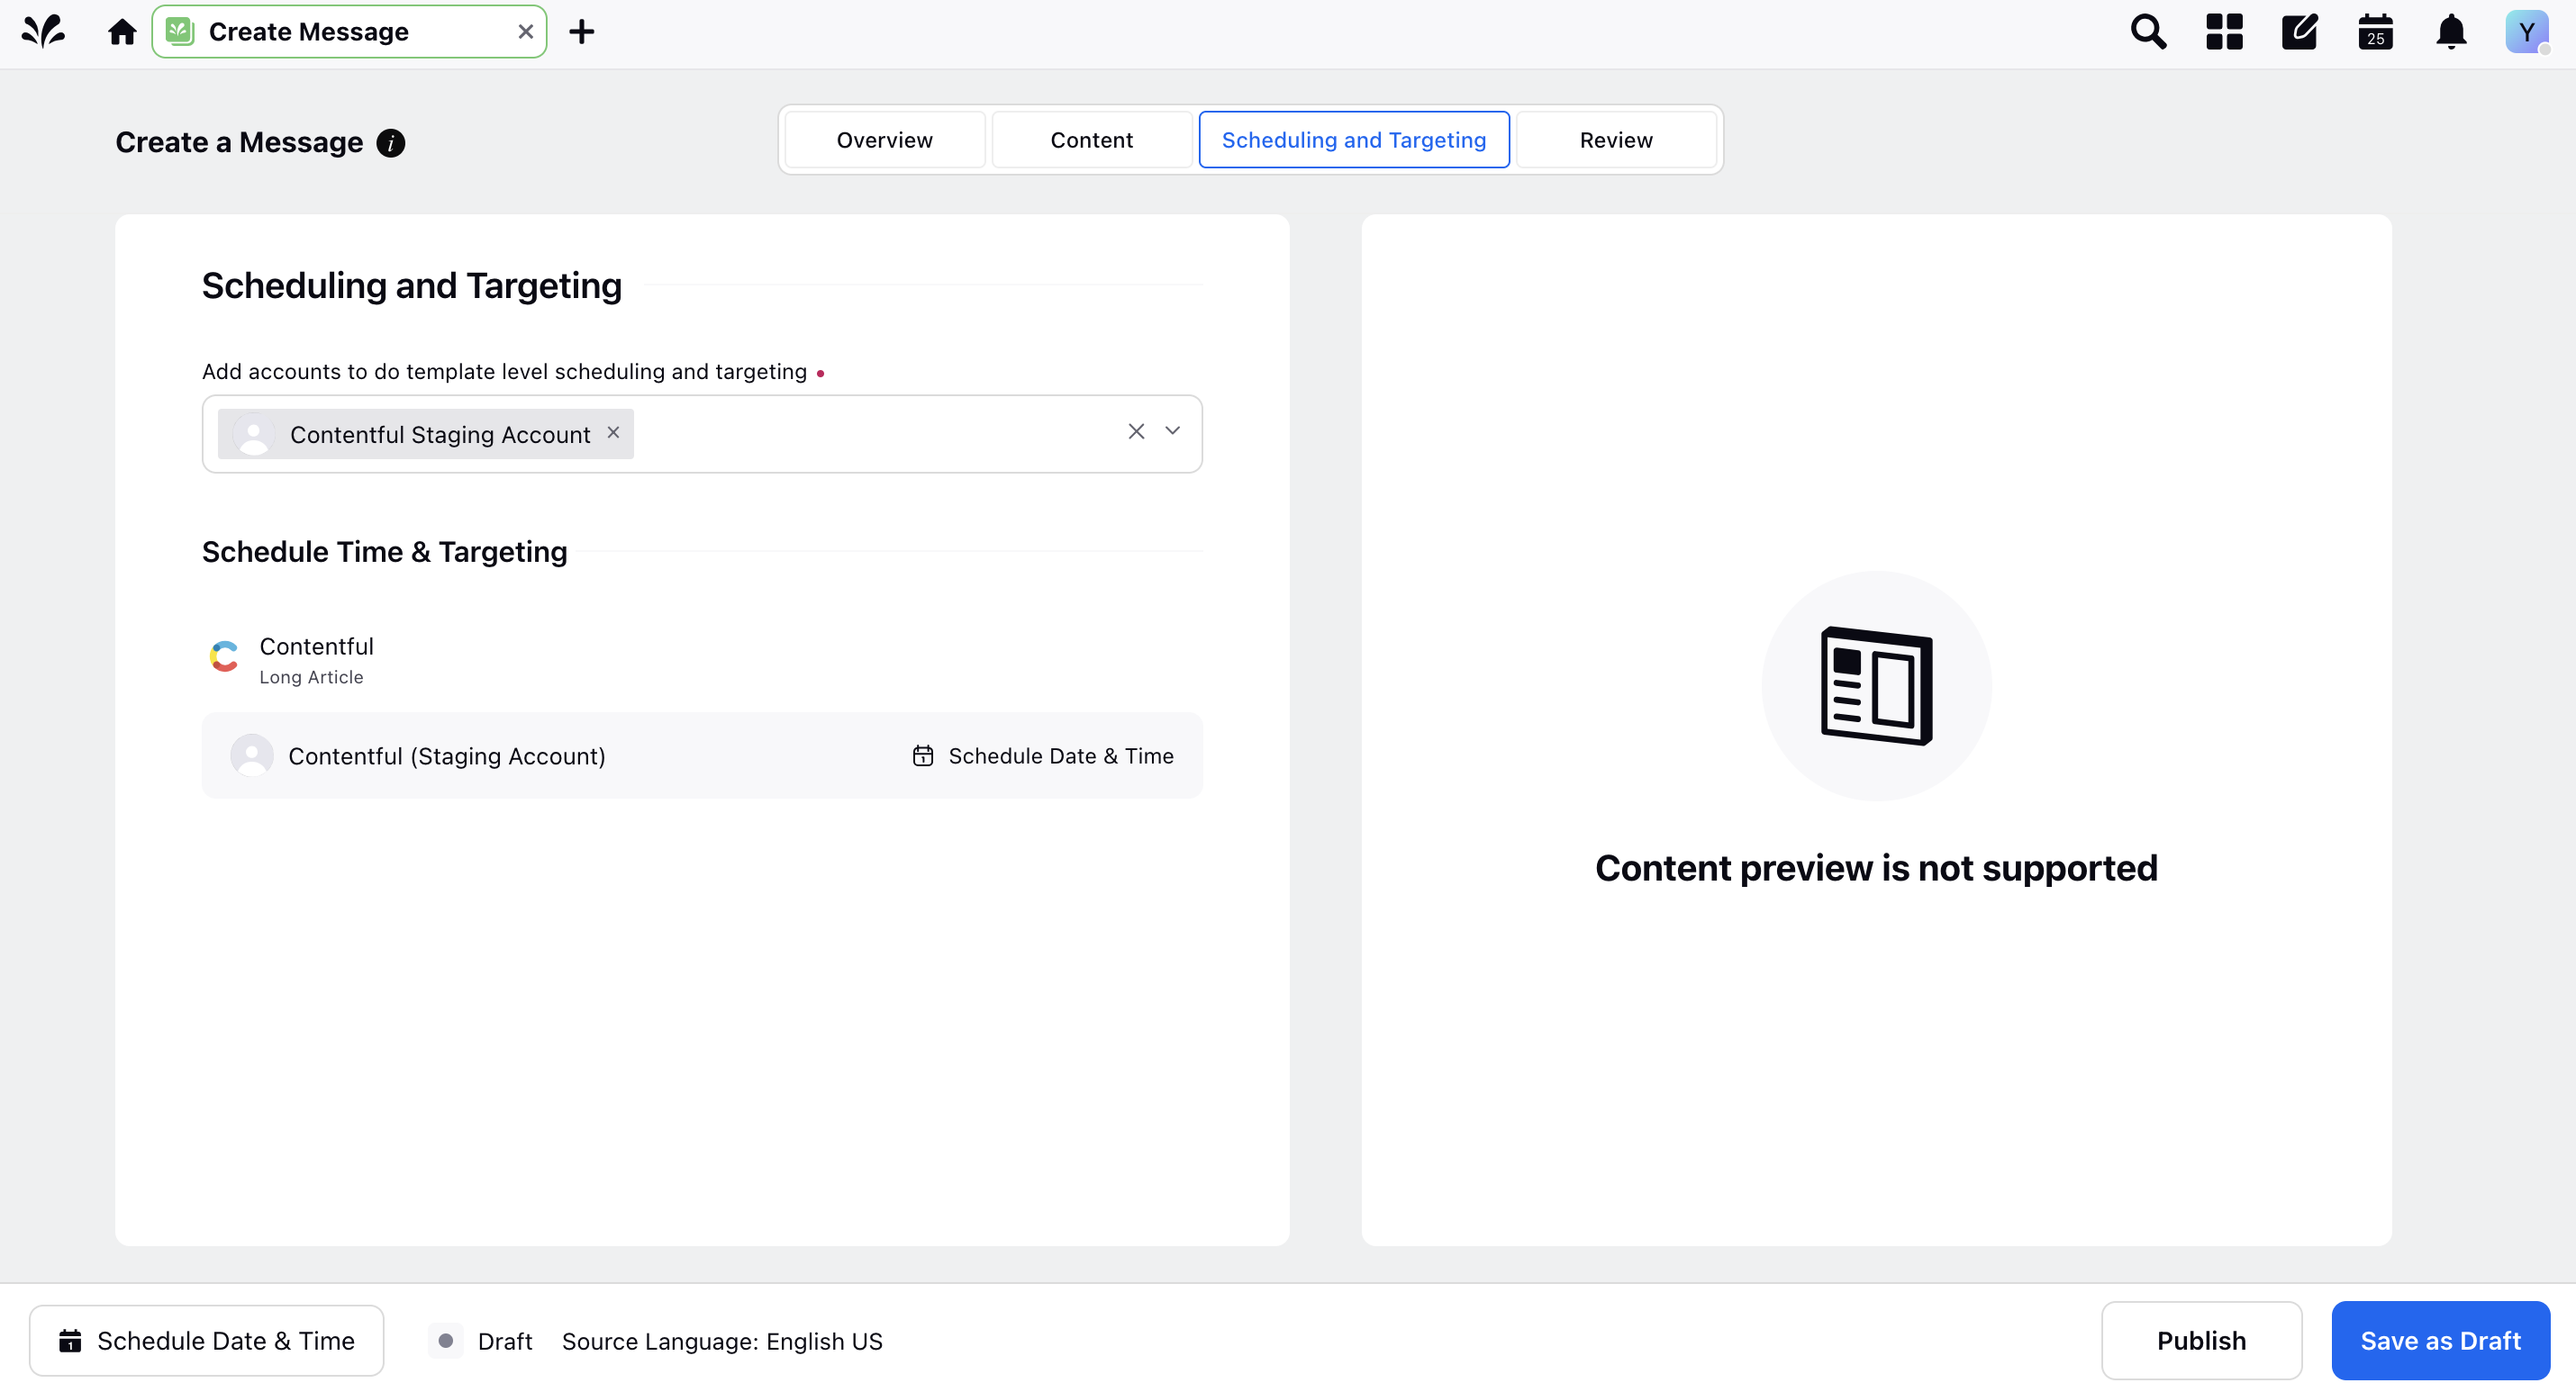
11. The Scheduling and Targeting tab lets you schedule your Message for publication and define a target audience.
12. The Review tab allows you to review your Message before publication.
13. At the top right corner of your window you have the Initiate Workflow and Collaboration buttons. These allow you to initiate a Content Workflow on your Message and open the Message Third Pane respectively. You can learn more about these in our articles on Content Workflows and the Message Third Pane .
14. Once you're done, click Schedule to schedule your Message for publication or click Update to save changes to your Message Draft.