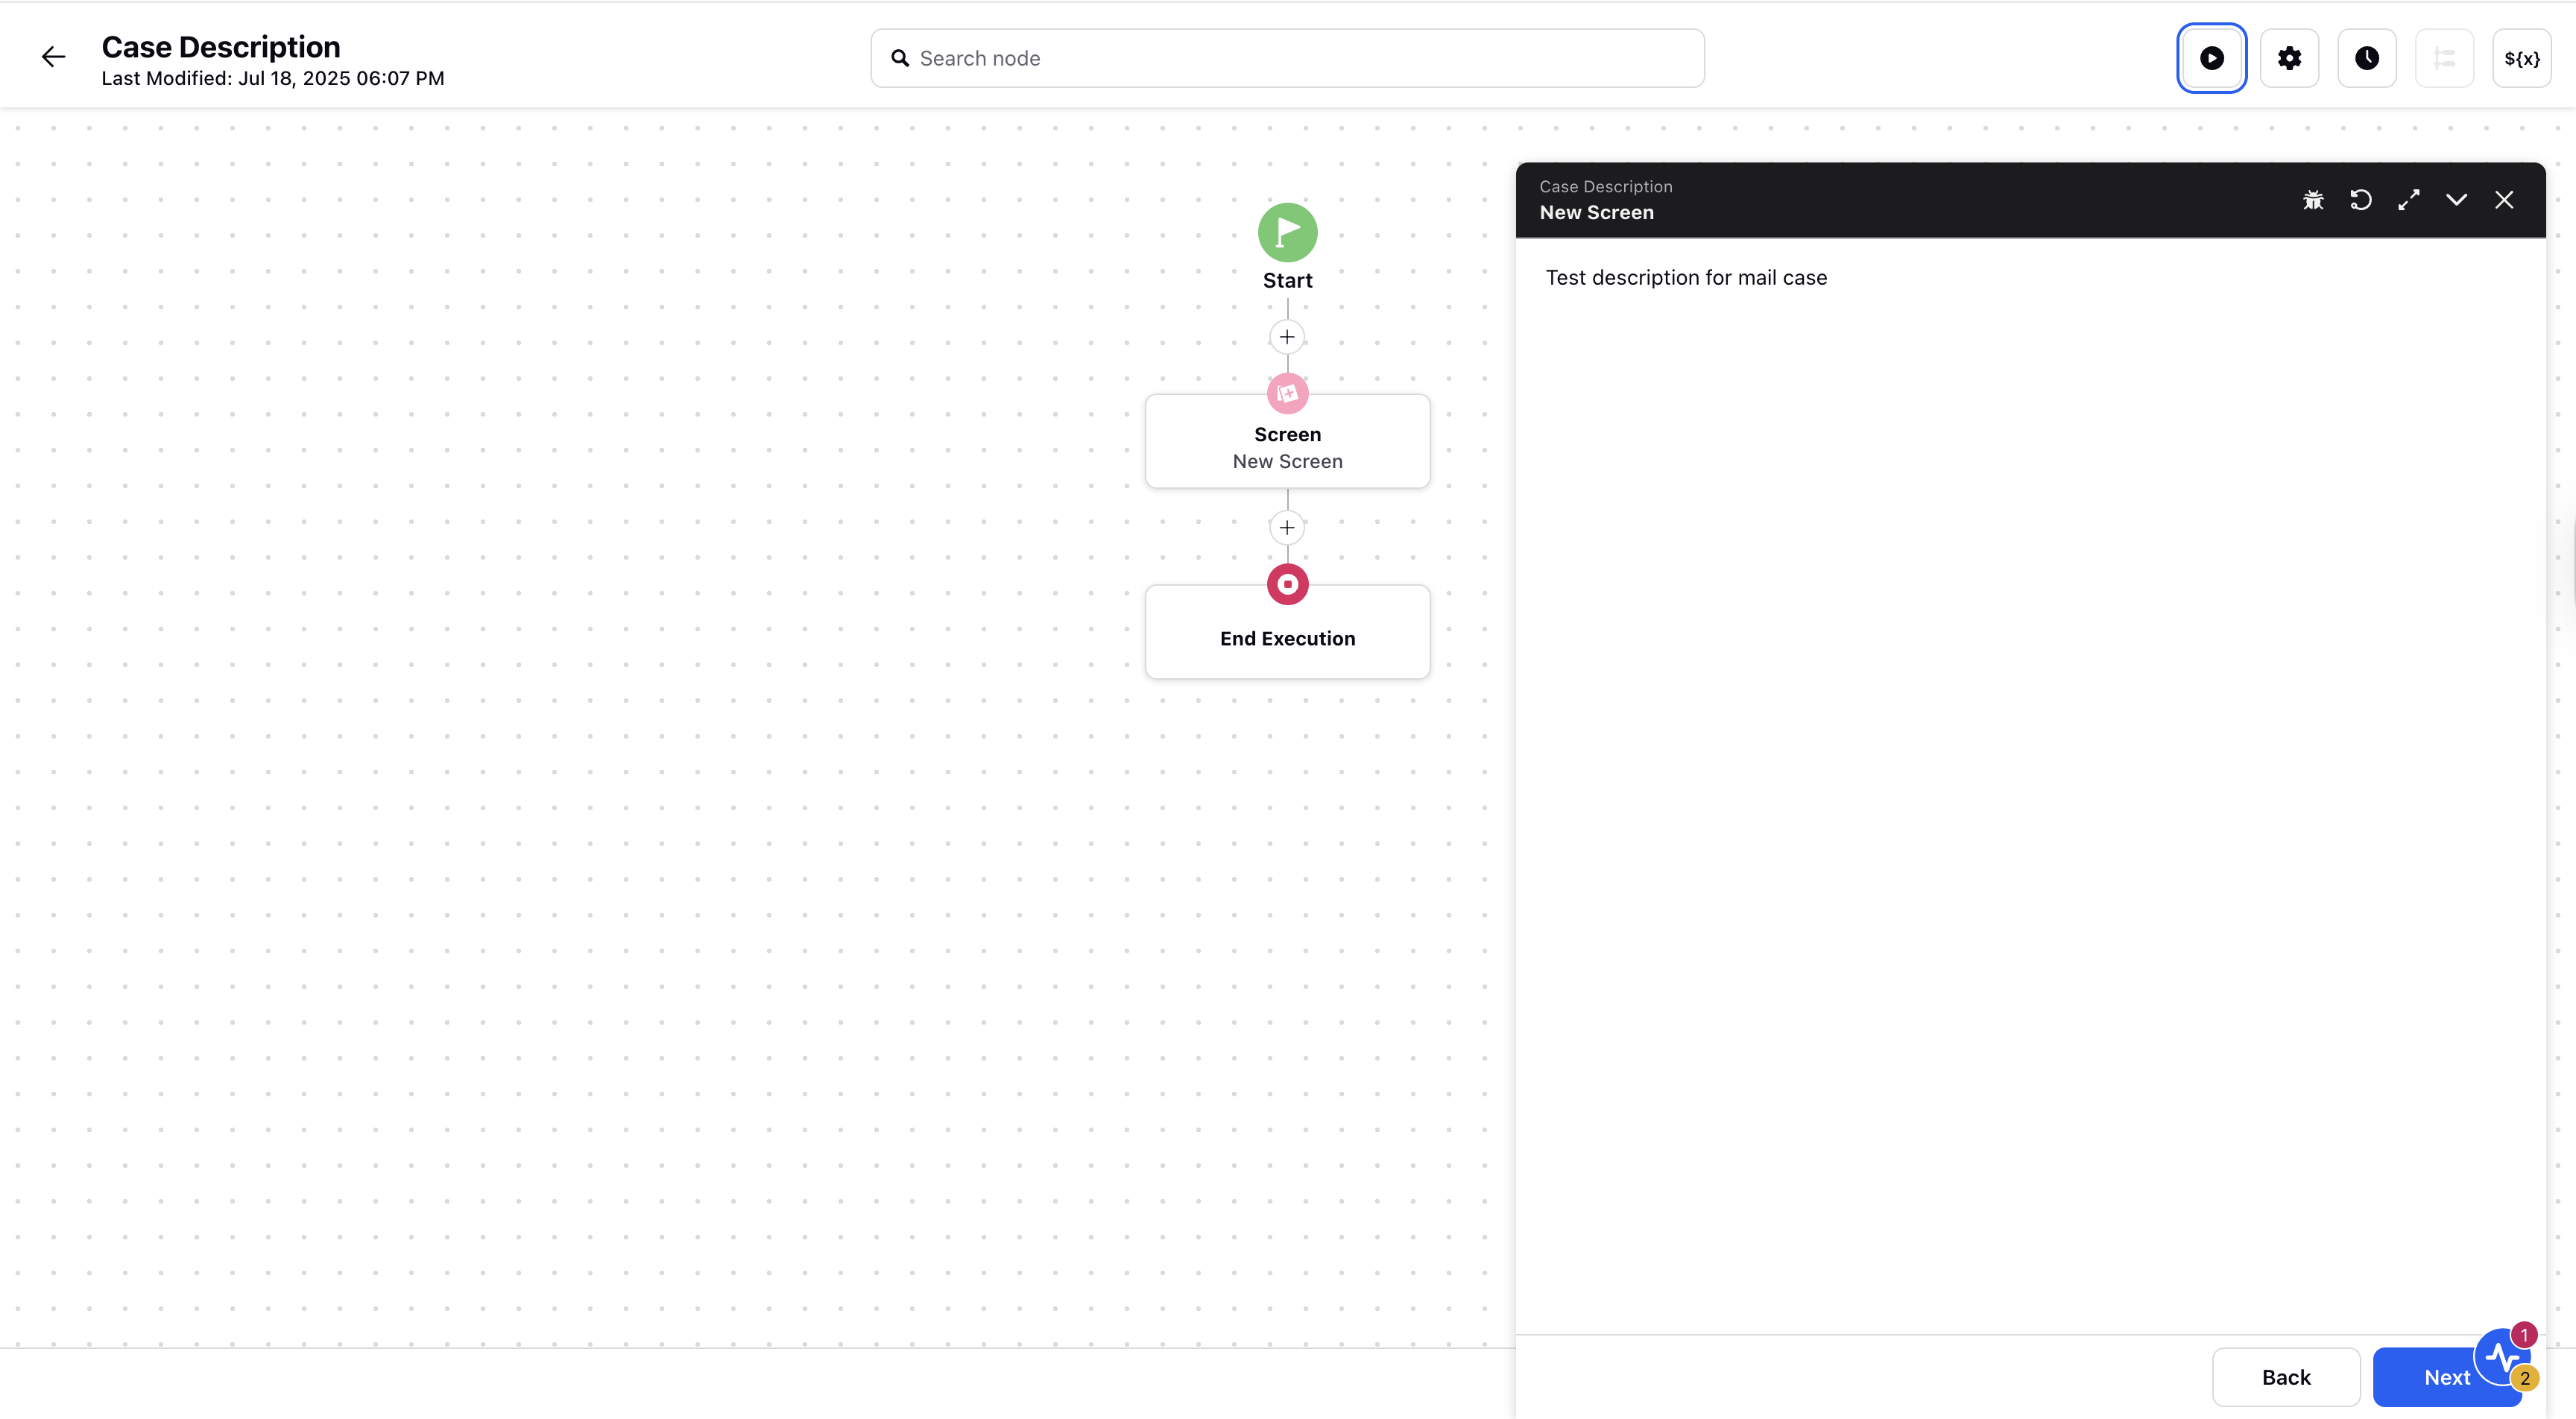
Case Description Using Guided Workflows
Updated
This article outlines the steps to display a case description it within Guided Workflows for better agent visibility.
Steps to Add Case Description Within Guided Workflows
Click the New Tab icon. Under the Sprinklr Service tab, select Guided Workflows within Resolve.
You can either create a new Guided Workflow or edit an existing one.
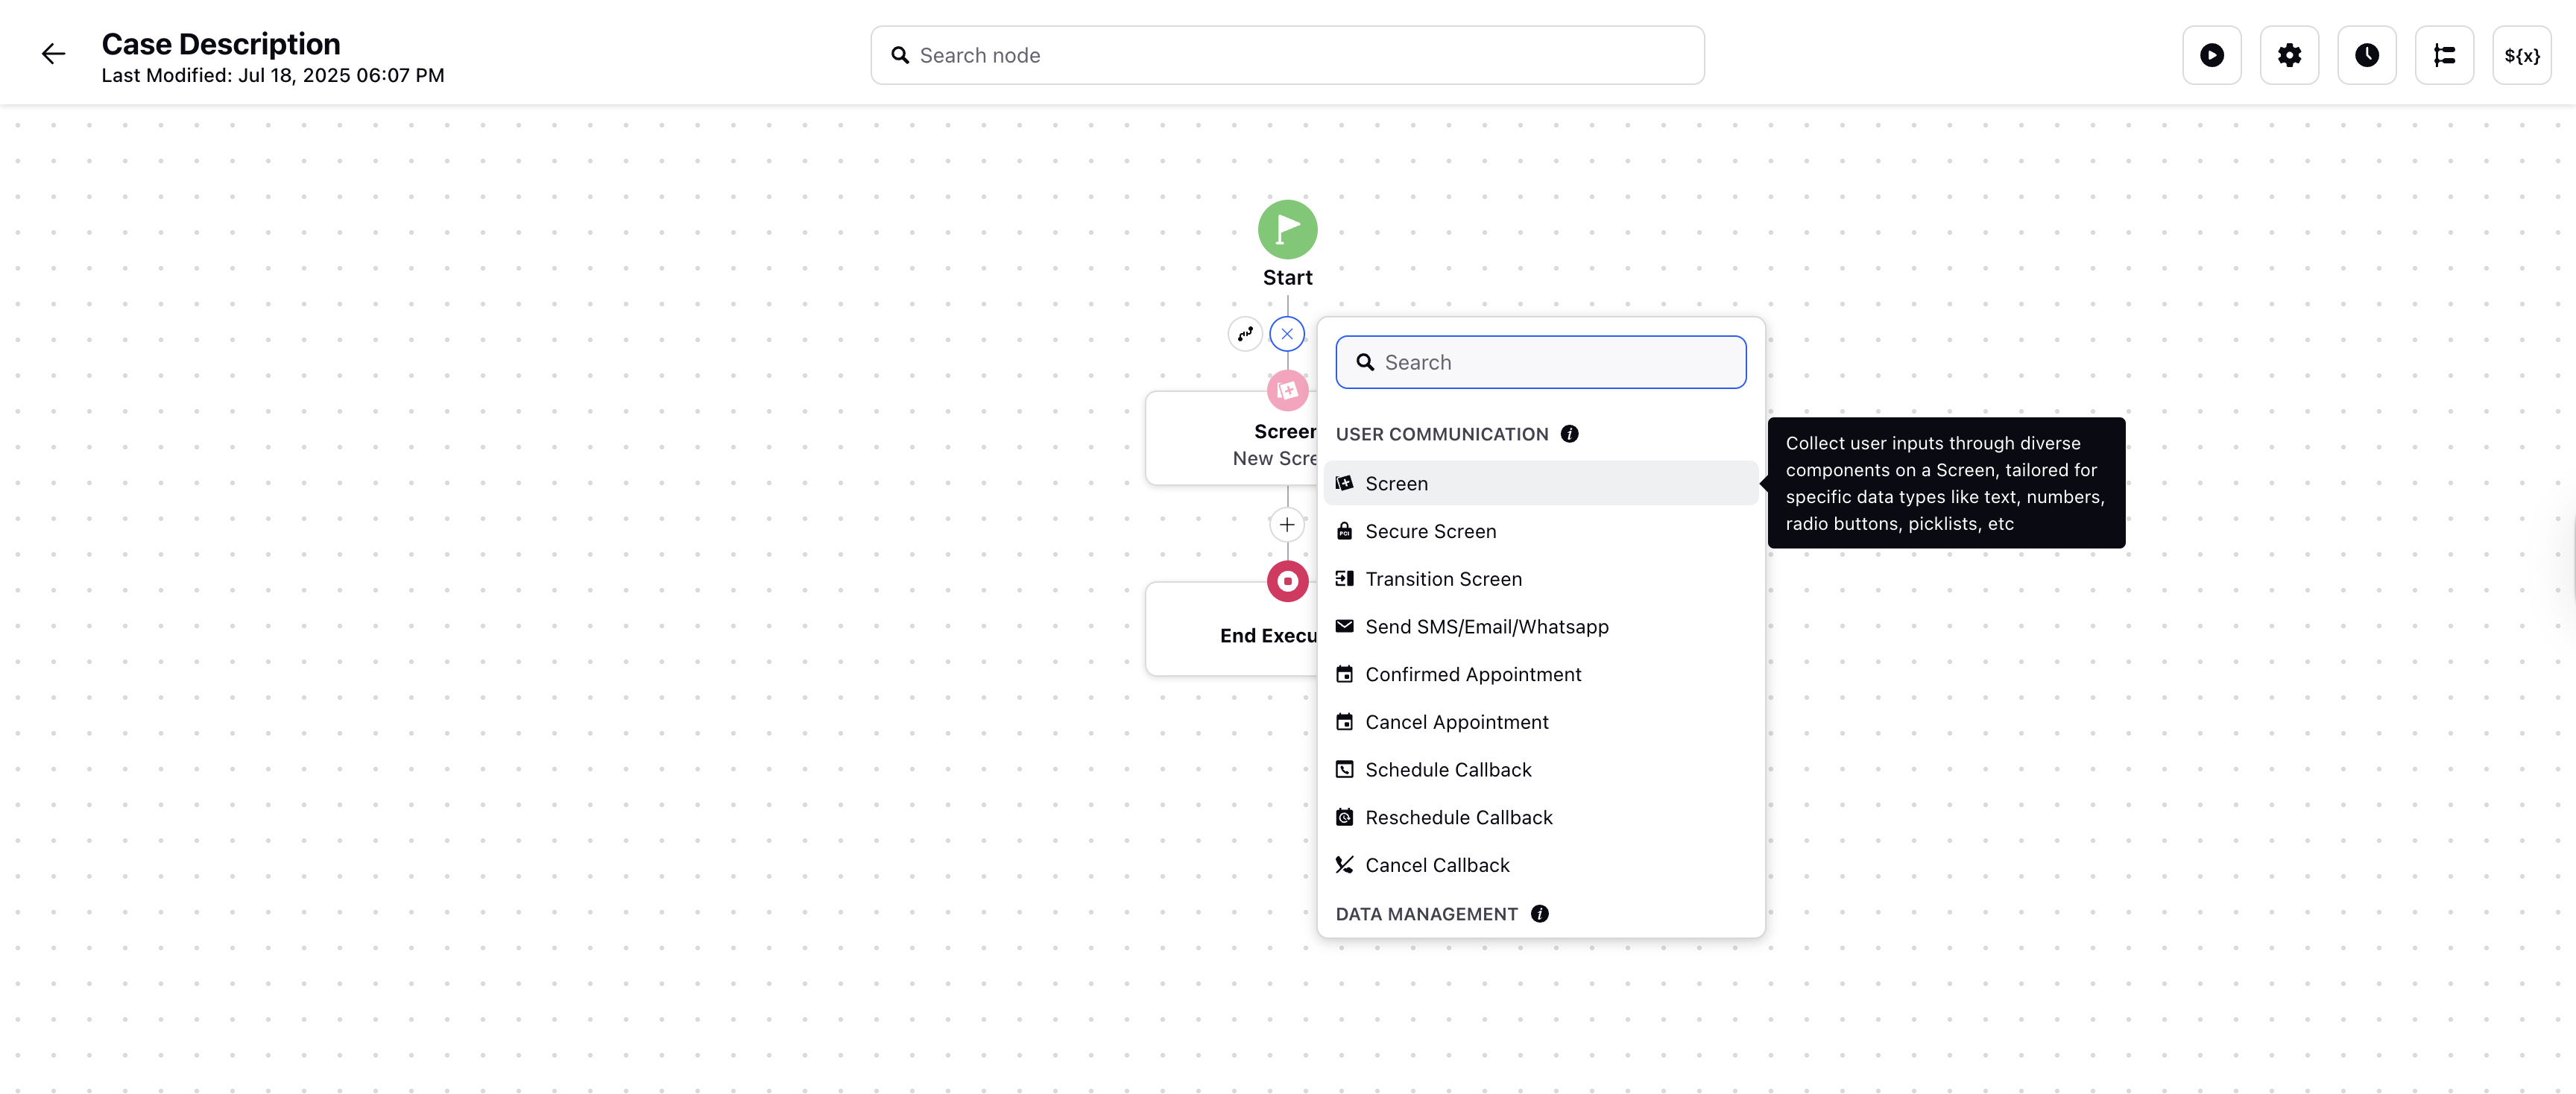
On the Guided Workflows Canvas, click the + icon and go to Screen within User Communication.
Now, add a Description Text component.
Within the Text field, go to Choose Resource and select Descrioption (Case) from the dropdown.
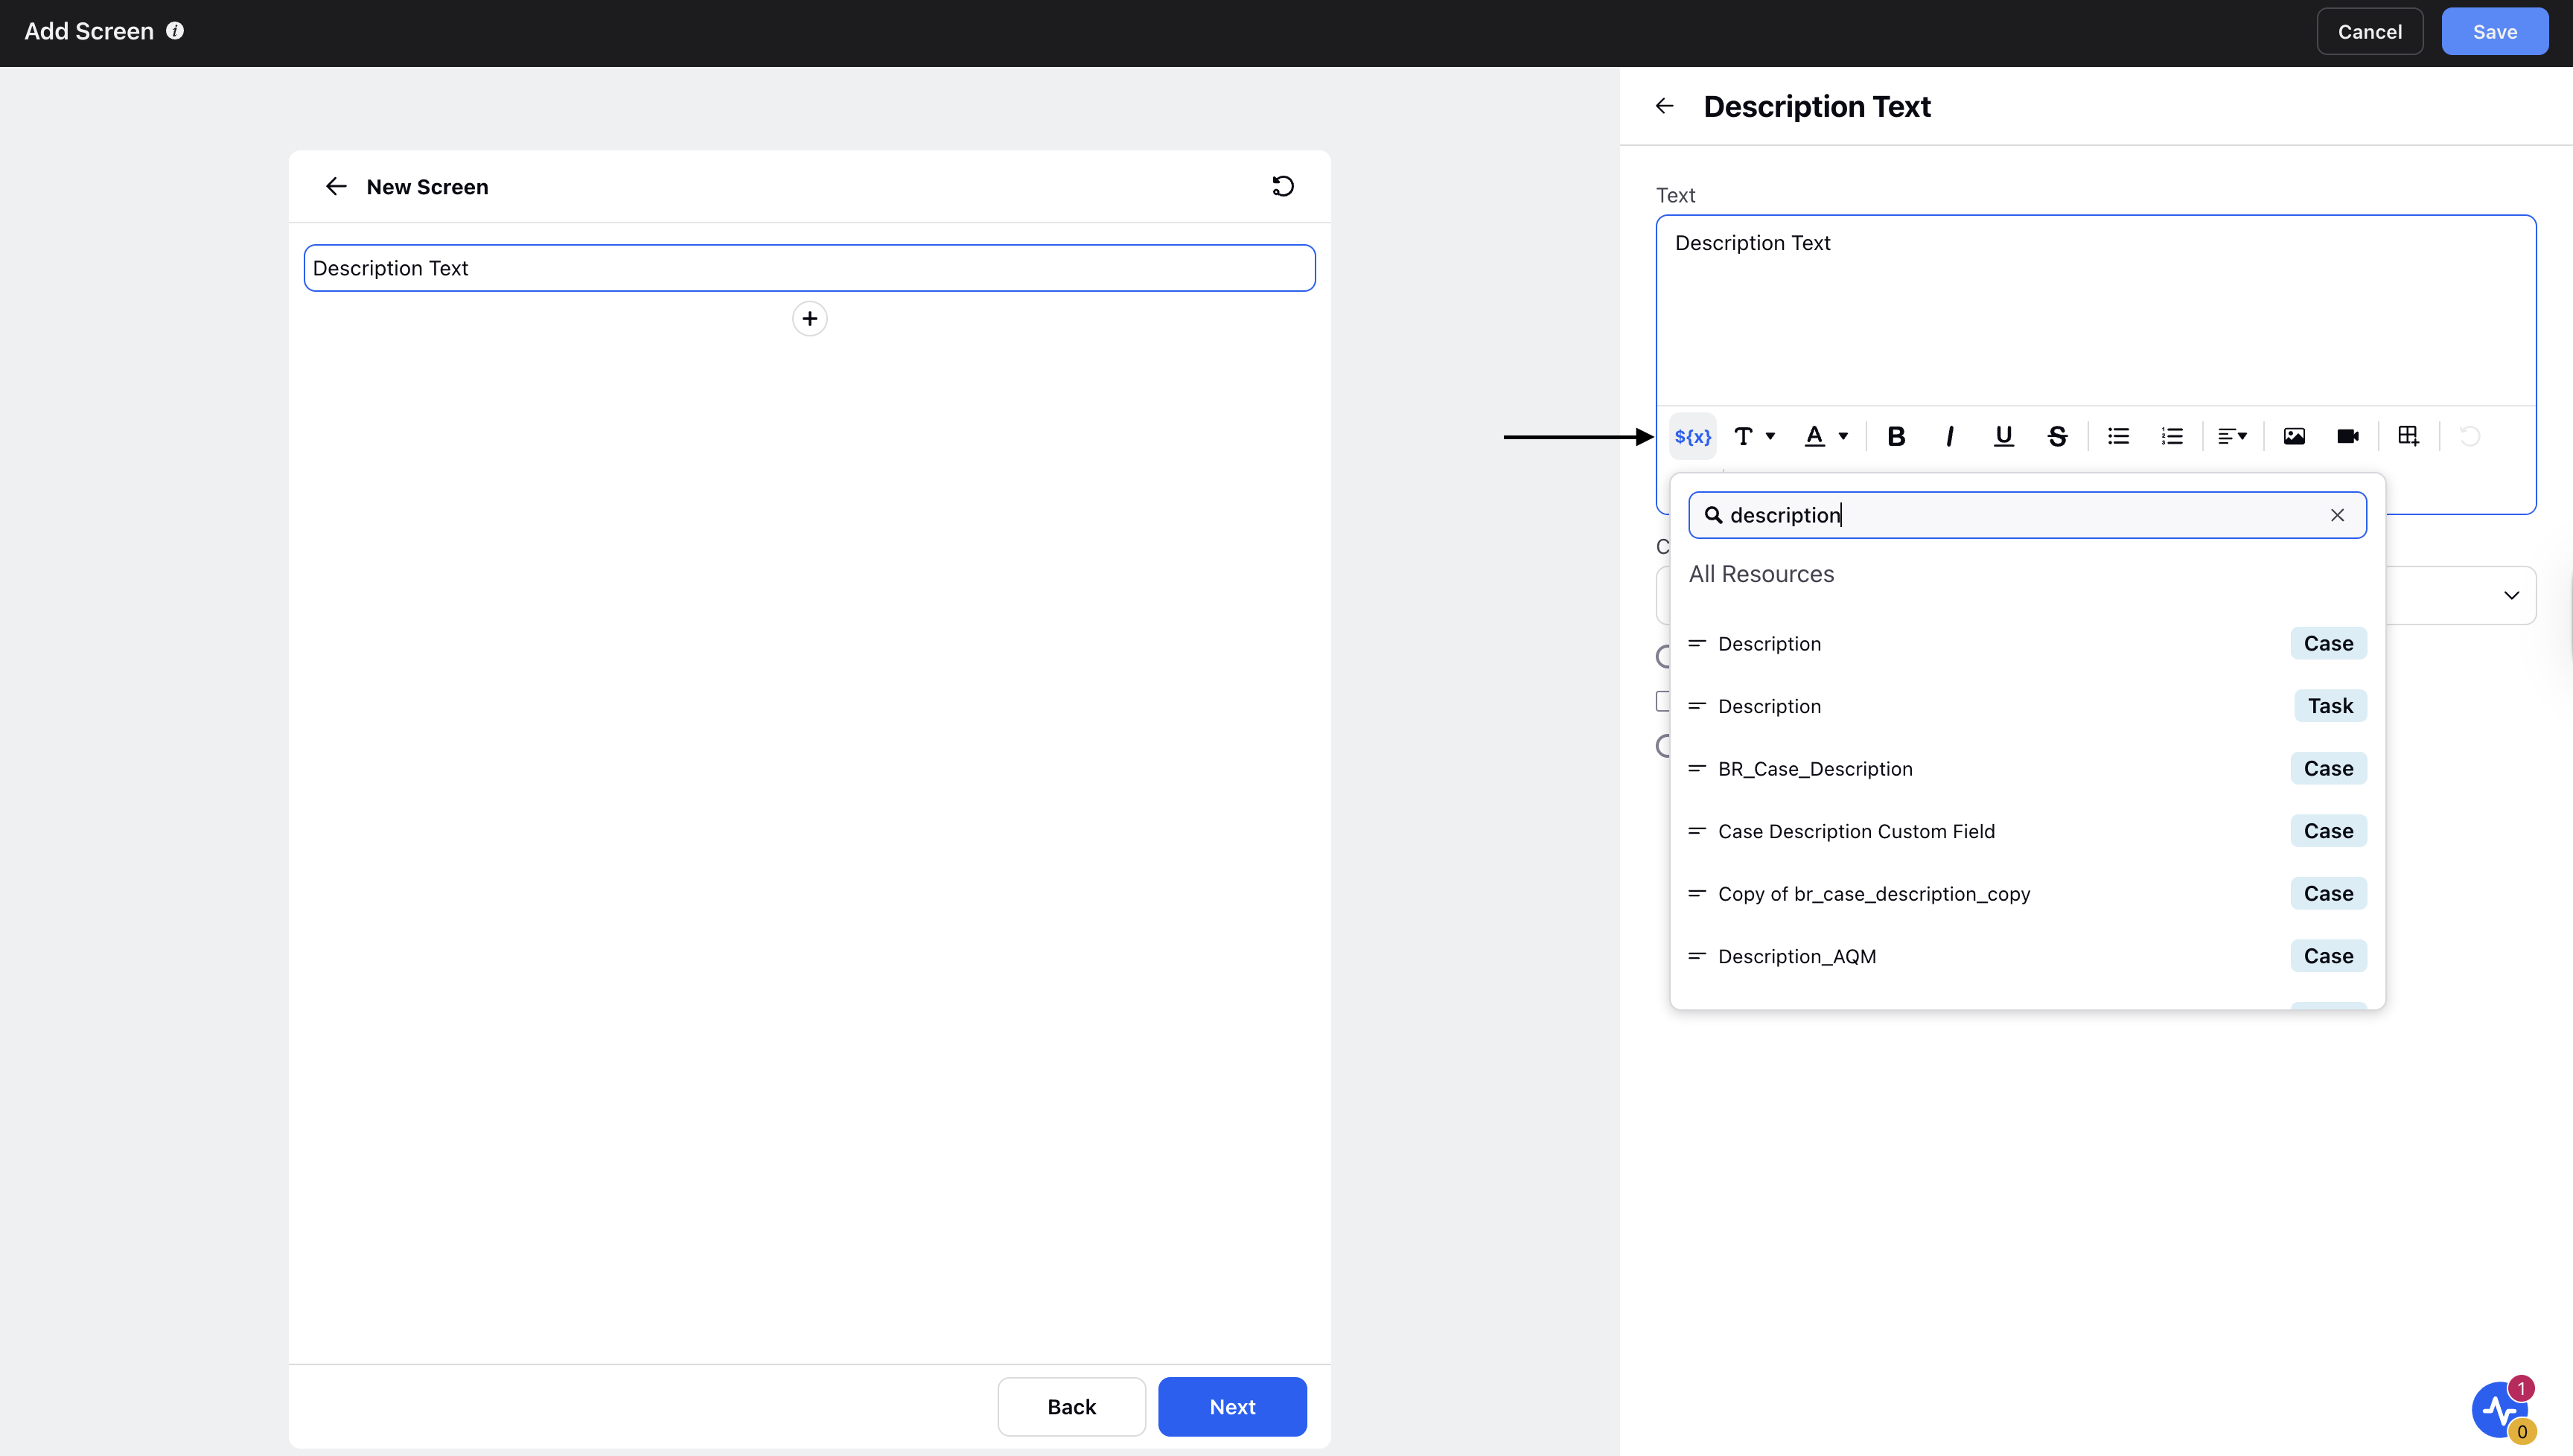
Then, click Save in the top right corner.
On the Guided Workflow Canvas, add the End Execution Node.
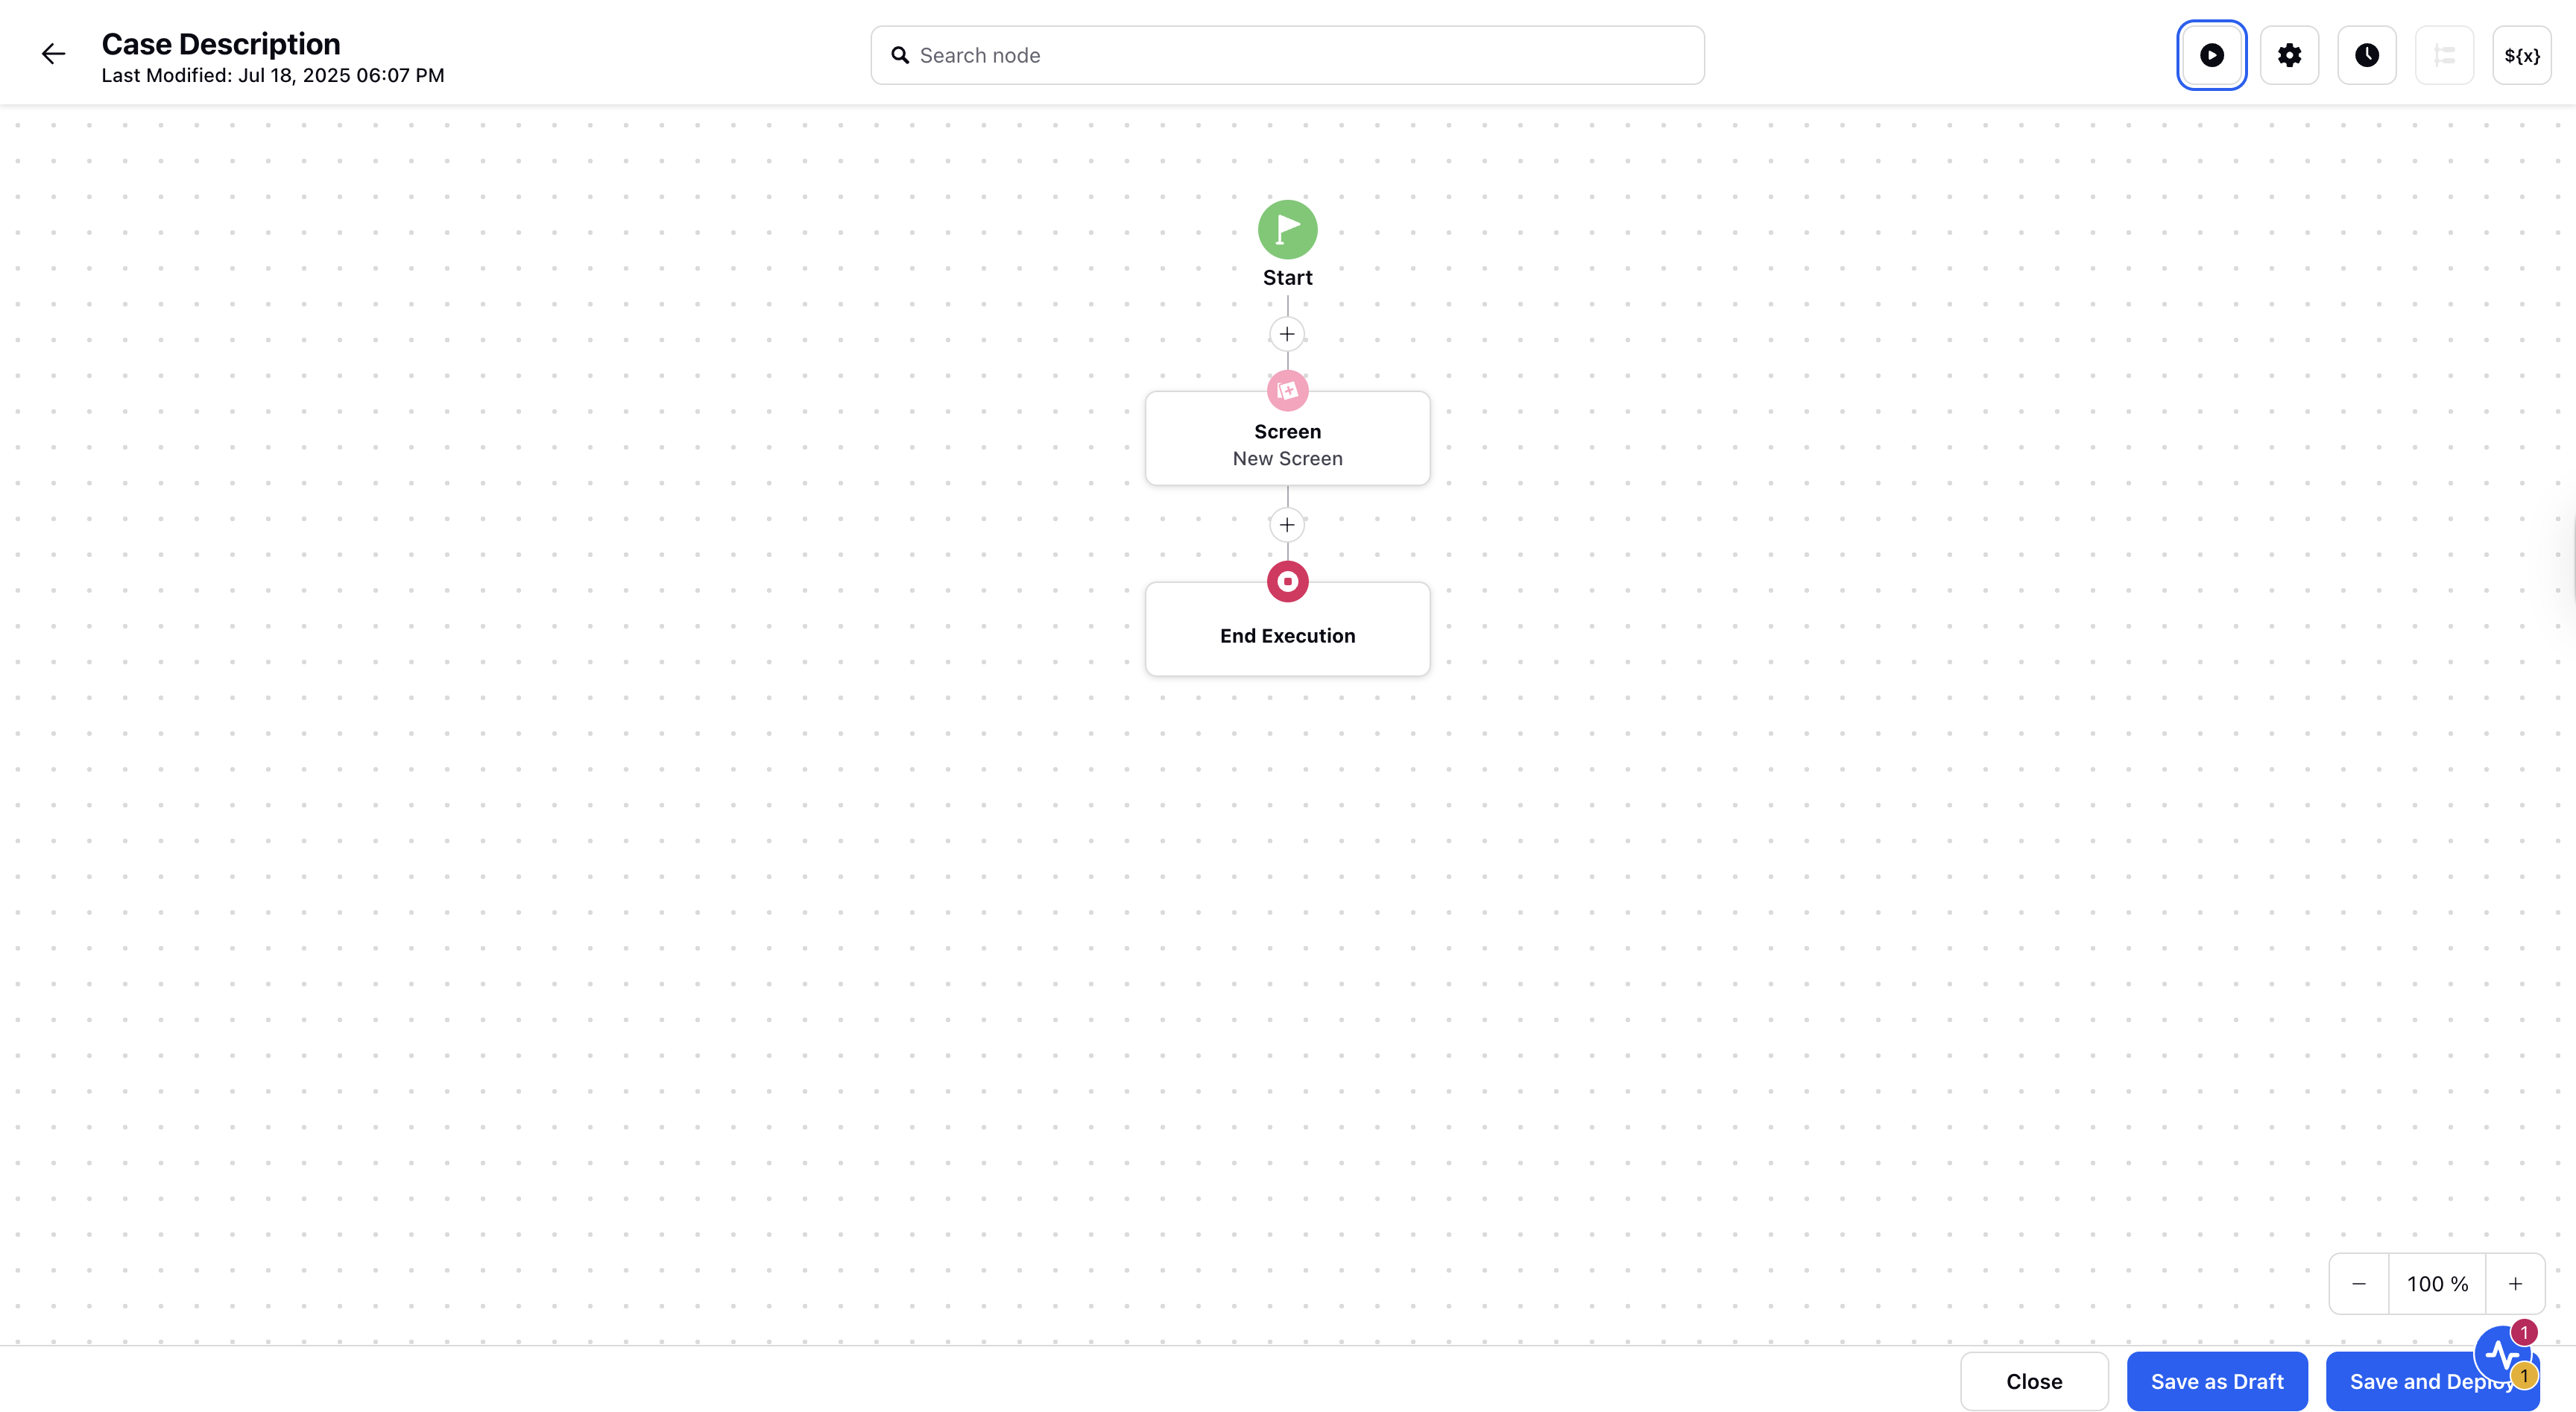
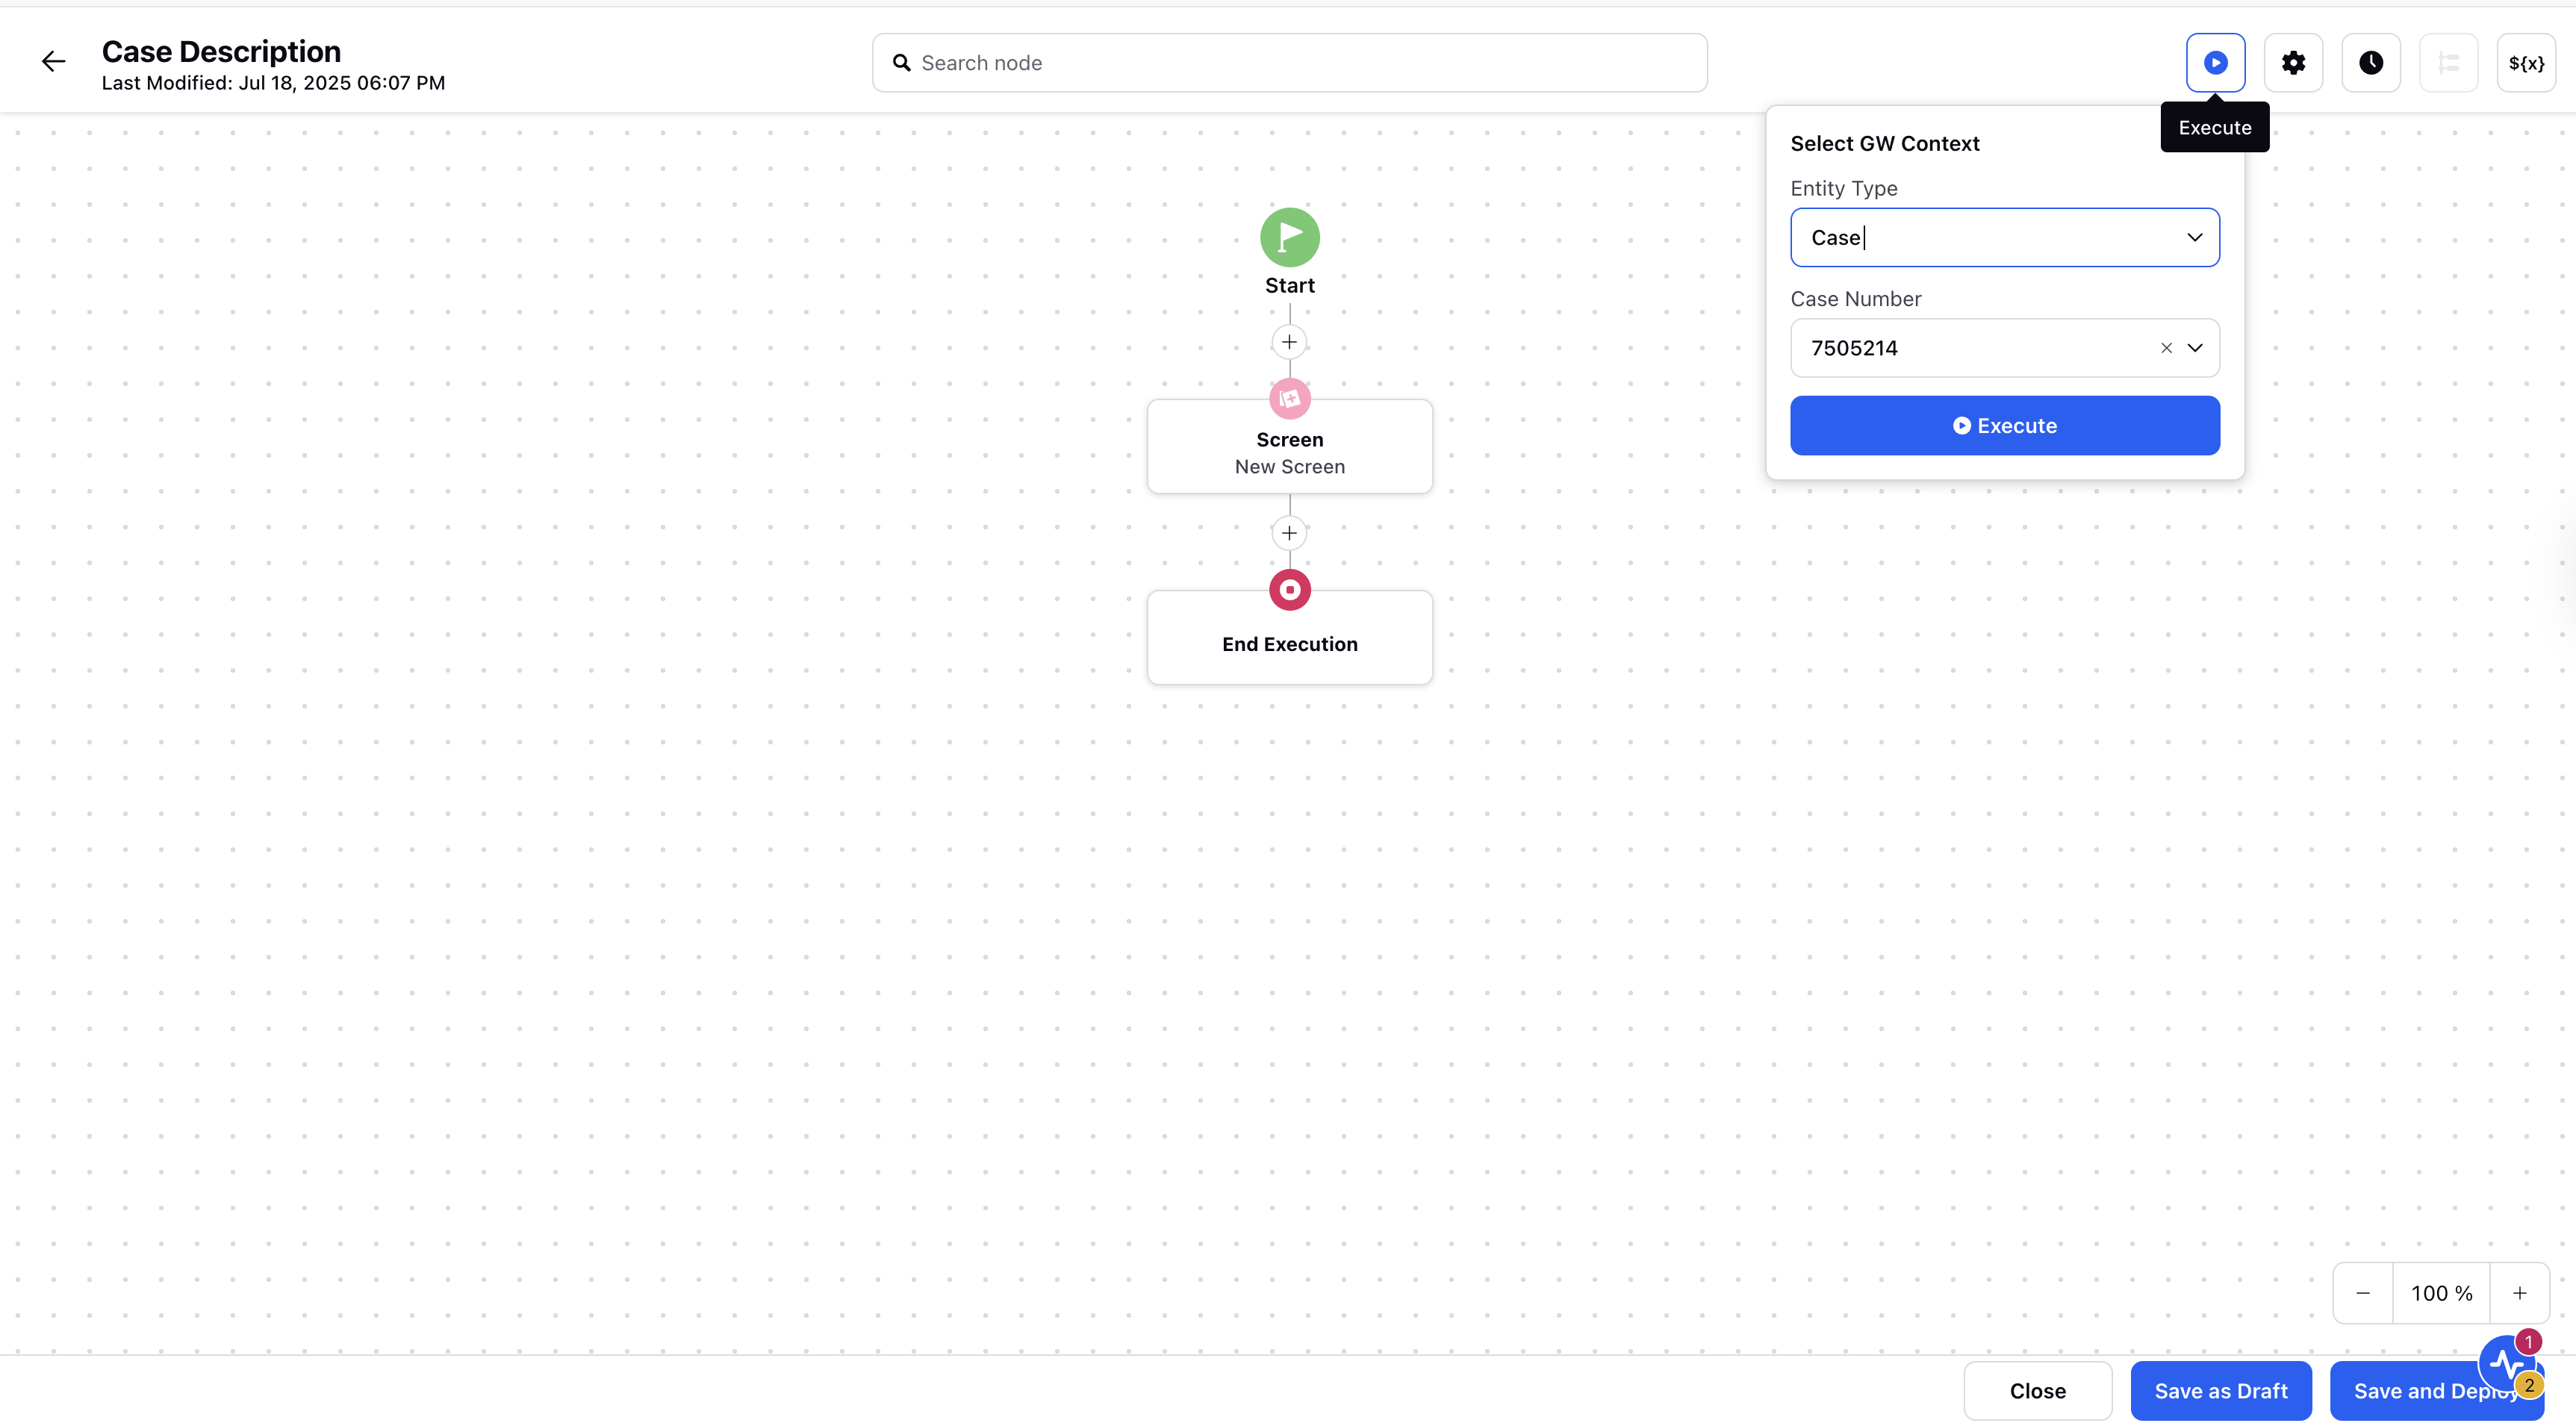
Click the Execute icon from the top panel. In the Select GW Content dialog box, select Entity Type as Case and choose the appropriate Case Number. Now, click Execute.
You can check that the description is visible in the Guided Workflow.
