Switching Capability to be Replicable to the Distributed Platform
Updated
Admin now has permission to switch to DST with the help of email and a note justifying the reason for switching. This capability upholds compliance standards while also aiding admins in the process of debugging and resolving cases.
![]() Note: This capability needs specific setup. Get in touch with your Success Manager to get this capability enabled in your environment.
Note: This capability needs specific setup. Get in touch with your Success Manager to get this capability enabled in your environment.
Steps to Switch from Space to Distributed Environment
Click the New Tab icon
. Click the profile icon in the top right corner.
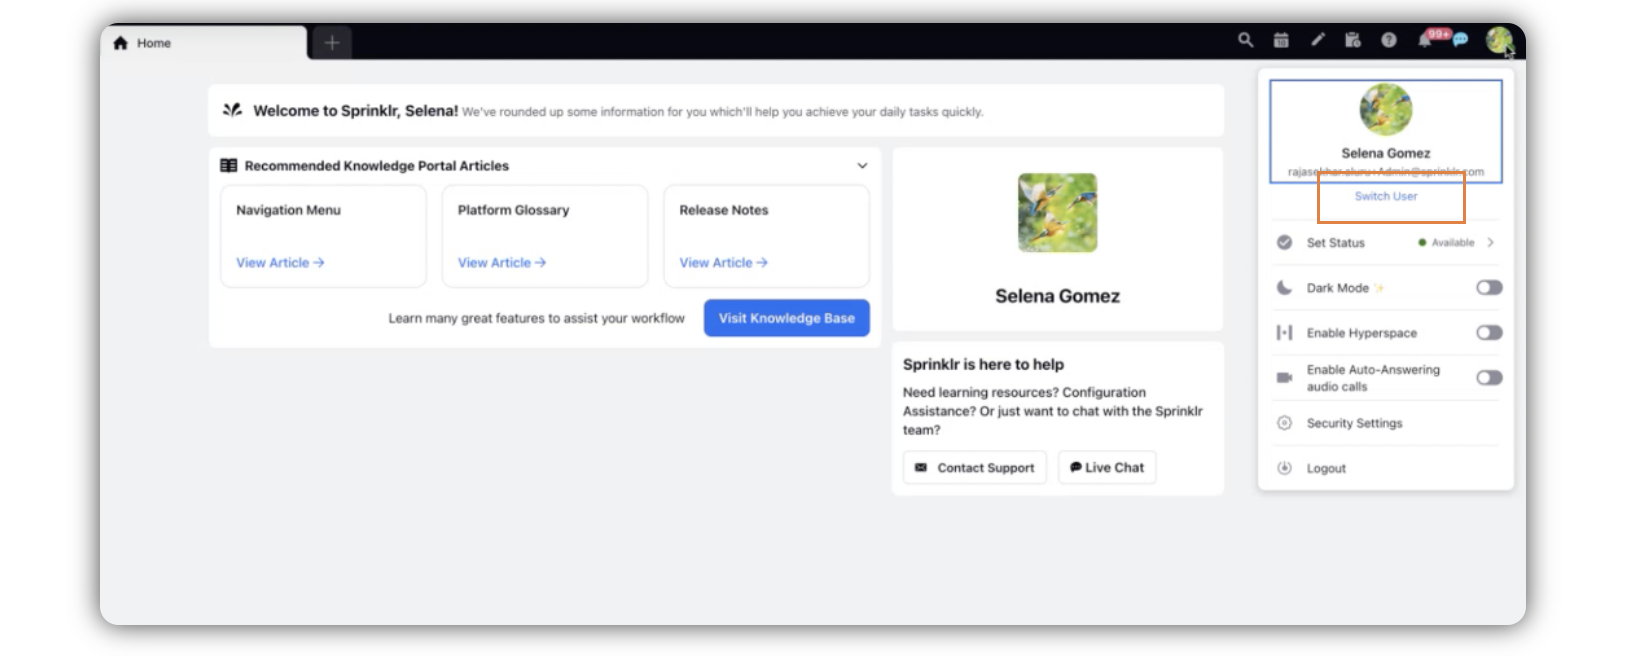
Click Switch User.
Enter Email address that you use for Distributed environment in the Email ID field.
Enter the reason for switch in the Reason field.
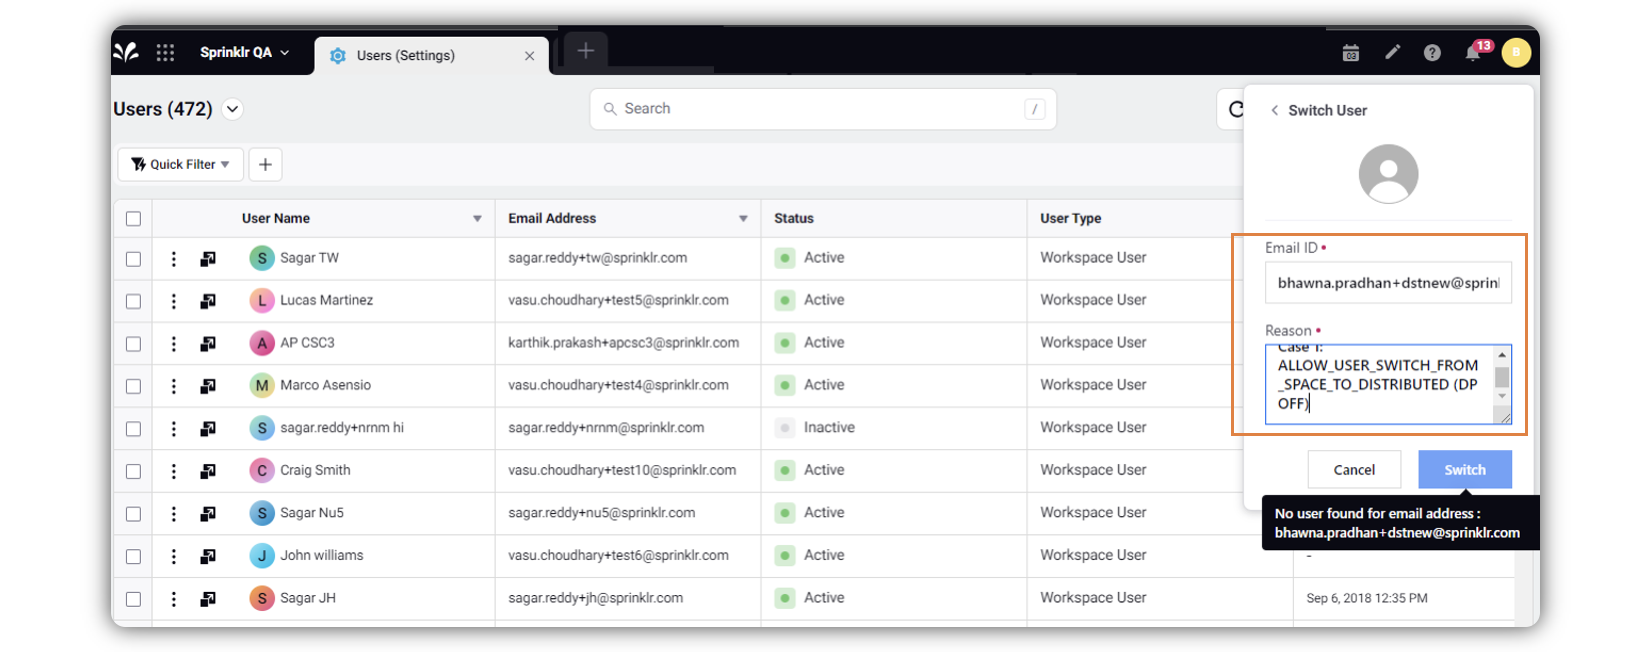
Click Switch. You will then be redirected to the Distributed platform.