Historical Data Ingestion for WFM
Updated
This page provides detailed steps for creating a Custom Entity, configuring its fields, and setting up Data Connectors for data ingestion. These are required to create Forecast Scenarios using the Copy type.
The following diagram shows the workflow of historical data ingestion in WFM.

Create Custom Entity
Navigate to Entity Studio to open the Entity Manager Record Manager.
Click the Create Custom Entity button at the top right of the Entity Manager Record Manager.
Fill in the required fields on the Create Custom Entity page. Fields marked with a red dot are mandatory. Below are the descriptions of the fields on this page:
Entity Name: Enter the name of the Custom Entity. (Required)
Plural Name: Re-enter the name of the Custom Entity. (Required)
API Reference ID: Enter the Custom Entity name without spaces. (Required)
Description: Enter a brief description of the Custom Entity.
Store Data Externally: This toggle is disabled by default.
Click the Create button at the bottom right of the page.
This will create the Custom Entity using the details you entered. However, it will be disabled by default, and you’ll need to enable it manually. Follow these steps to enable the Custom Entity:
Navigate to Entity Studio to open the Entity Manager Record Manager.

Select Custom at the top right to show all Custom Entities.
Enable the toggle under the Status column corresponding to the Custom Entity.
Configure Custom Entity
After creating the Custom Entity, you need to set up the fields required for data ingestion. Follow these steps to configure the Custom Entity:
Navigate to Entity Studio to open the Entity Manager Record Manager.
Select Custom at the top right to show all Custom Entities.
Hover over the required Custom Entity in the Name column, then click the View button.
This will open the page to configure the Custom Entity. Under the Fields and Relationship tab, you will have to create the following fields.
AHT Value
Volume Value
Work Type Name
Timestamp
Concatenated Work Type and Timestamp
Work Queue.

On the Fields and Relationship Record Manager, click the Create Field button at the top right to create and configure the fields. The steps below explain how to configure each field.
Note: It is recommended to keep all other settings at their default values, except for the fields listed below.
AHT Value
Field | Value |
Field Type | Number |
Name | "AHT Value" |
API Reference ID | "AHT_Value" |
Mandatory Field | Disabled |
Volume Value
Field | Value |
Field Type | Number |
Name | "Volume Value" |
API Reference ID | "Volume_Value" |
Mandatory Field | Disabled |
Work Type Name
Field | Value |
Field Type | Text |
Name | "Work Type Name" |
API Reference ID | "Work Type_Name" |
Mandatory Field | Enabled |
Timestamp
Field | Value |
Field Type | Datetime |
Name | "Timestamp" |
API Reference ID | "Timestamp" |
Placeholder | "dd/MM/yyyy HH:mm" |
Date Format | European |
Time Format | 24 Hour |
Mandatory Field | Disabled |
Concatenated Work Type and Timestamp
Field | Value |
Field Type | Text |
Name | "Concatenated Work Type and Timestamp" |
API Reference ID | "Concatenated_Work Type_Timestamp" |
Placeholder | "Enter Concatenated Work Type and Timestamp" |
Mandatory Field | Disabled |
Work Queue
Field | Value |
Field Type | Text |
Name | "Work Queue" |
API Reference ID | "Work_Queue" |
Placeholder | "Enter Work Queue" |
Default Value | "67a095be52a9c26959e67f16" |
Mandatory Field | Disabled |
Create Data Connector
Once you have created the Custom Entity and configured the required fields, you will need to create a Data Connector to populate data in those fields. This is done from the the Unified Data Connector (UDC) module.
Follow these steps to create a Data Connector to import external ACD data:

Navigate to Unified Data Connector on the Launchpad. This will open the Data Connectors record manager.

Click the Install Connector button at the top right of the page. Ensure that Import is selected on the Left Pane.
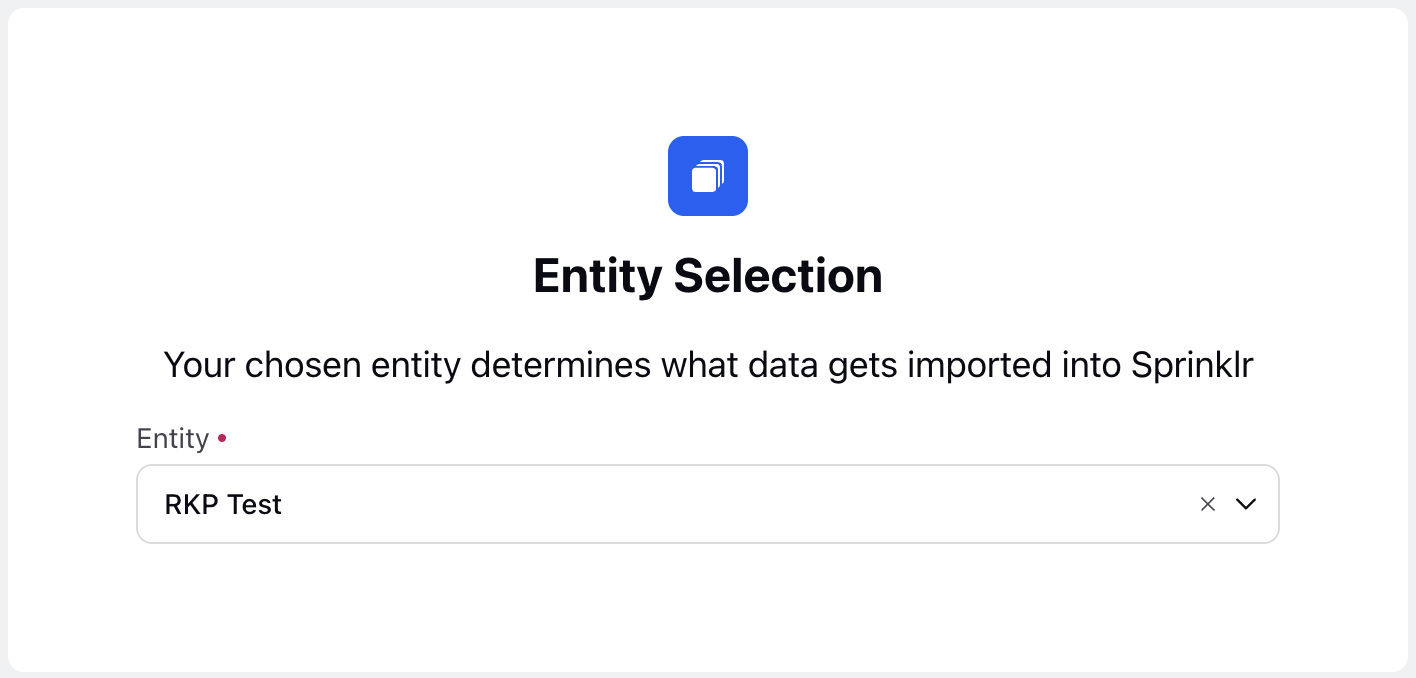
Select the created Custom Entity in the Entity field on the Entity Selection page.
Click Next to open the Entity Specific Settings page.
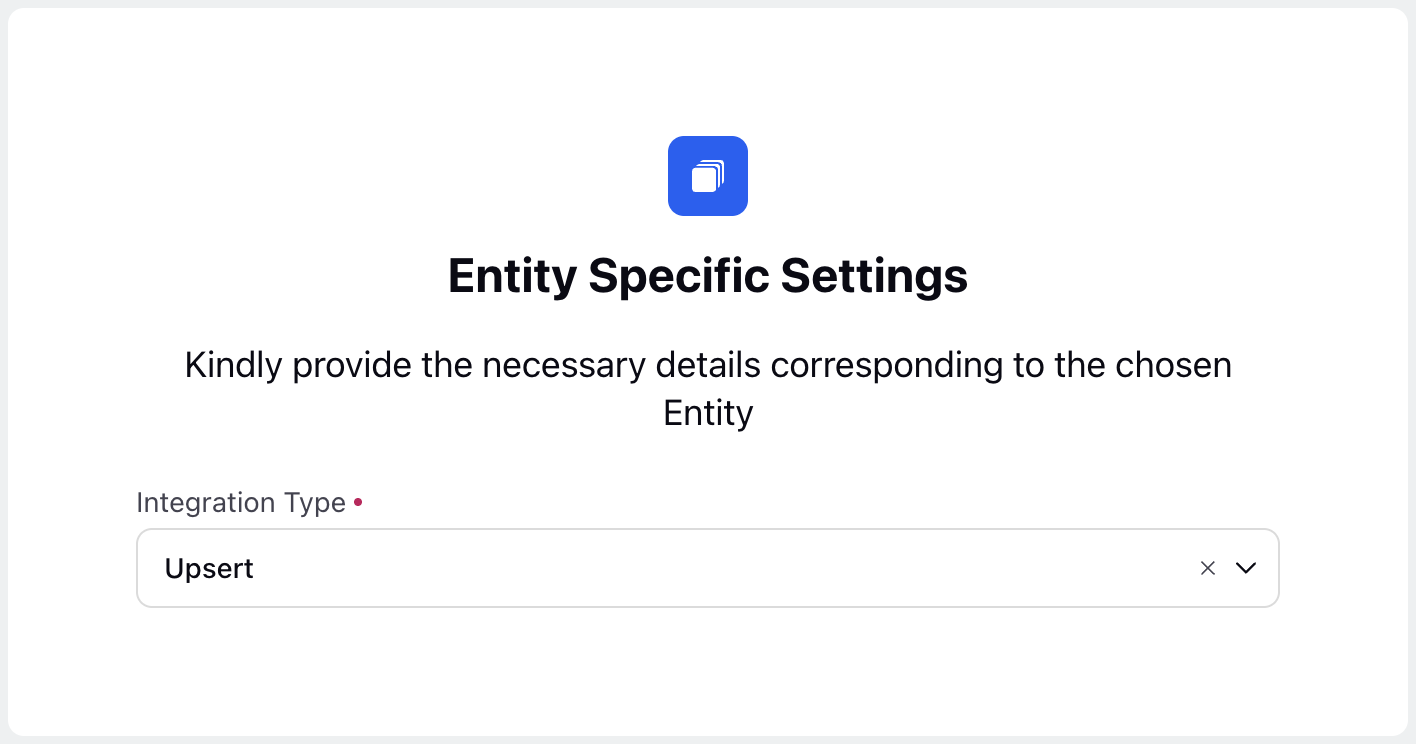
Choose Upsert in the Integration Type field on the Entity Specific Settings page.
Click Next to open the Source Selection page.
Fill in the required fields on the Source Selection page. Fields marked with a red dot are mandatory. Below are the descriptions of the fields on this page:
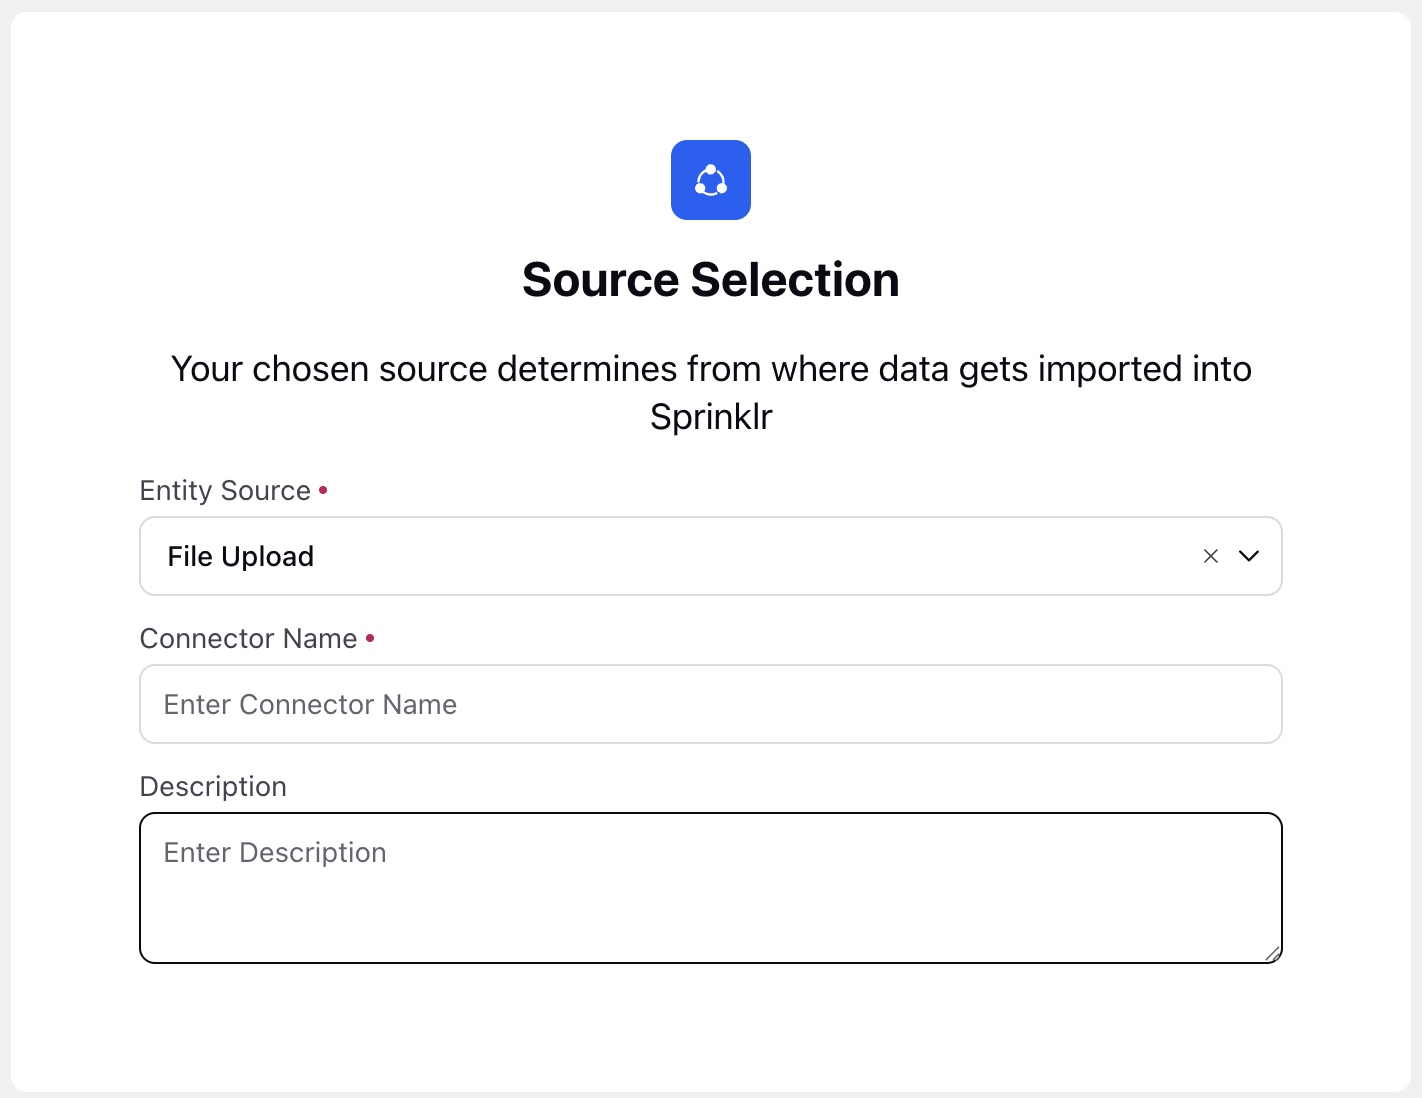
Entity Source: Select File Upload. (Required)
Connector Name: Enter the name of the Connector. (Required)
Description: Enter a brief description of the Connector.
Click Next to open the Source Specific Settings page.
Fill in the required fields on the Source Specific Settings page. Fields marked with a red dot are mandatory. Below are the descriptions of the fields on this page:
Upload Sample File: Upload your historical ACD data file. (Required)
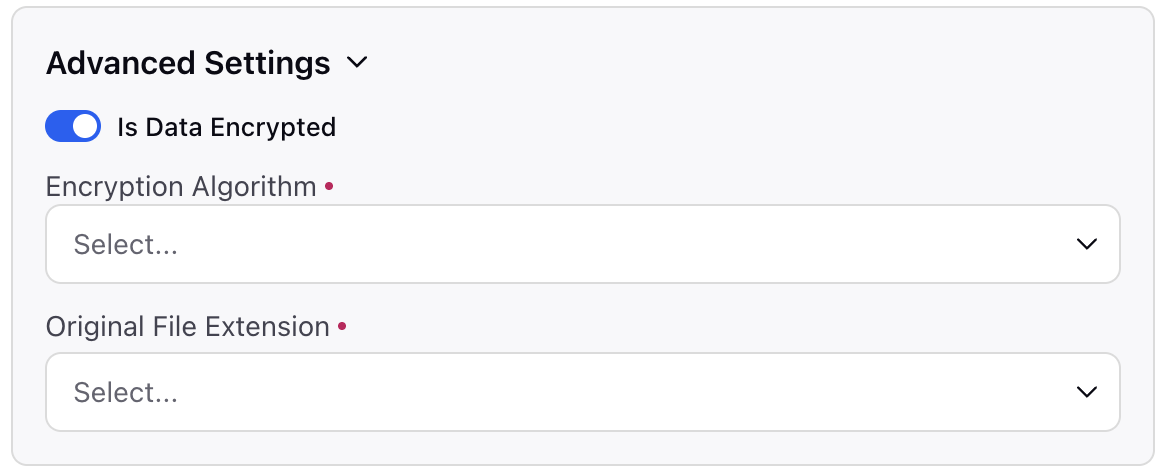
Advanced Settings
Is Data Encrypted: Enable this toggle if data in the uploaded file in encrypted.
Encryption Algorithm: Choose the algorithm used for file encryption. Supported options are RSA and PGP. (Required)
Original File Extension: Choose the extension of the uploaded file. Supported options are XLSX, CSV, and XLS. (Required)
Click Next to open the Mapping Configuration page. This page allows you to map the source data headers to destination fields in Sprinklr.
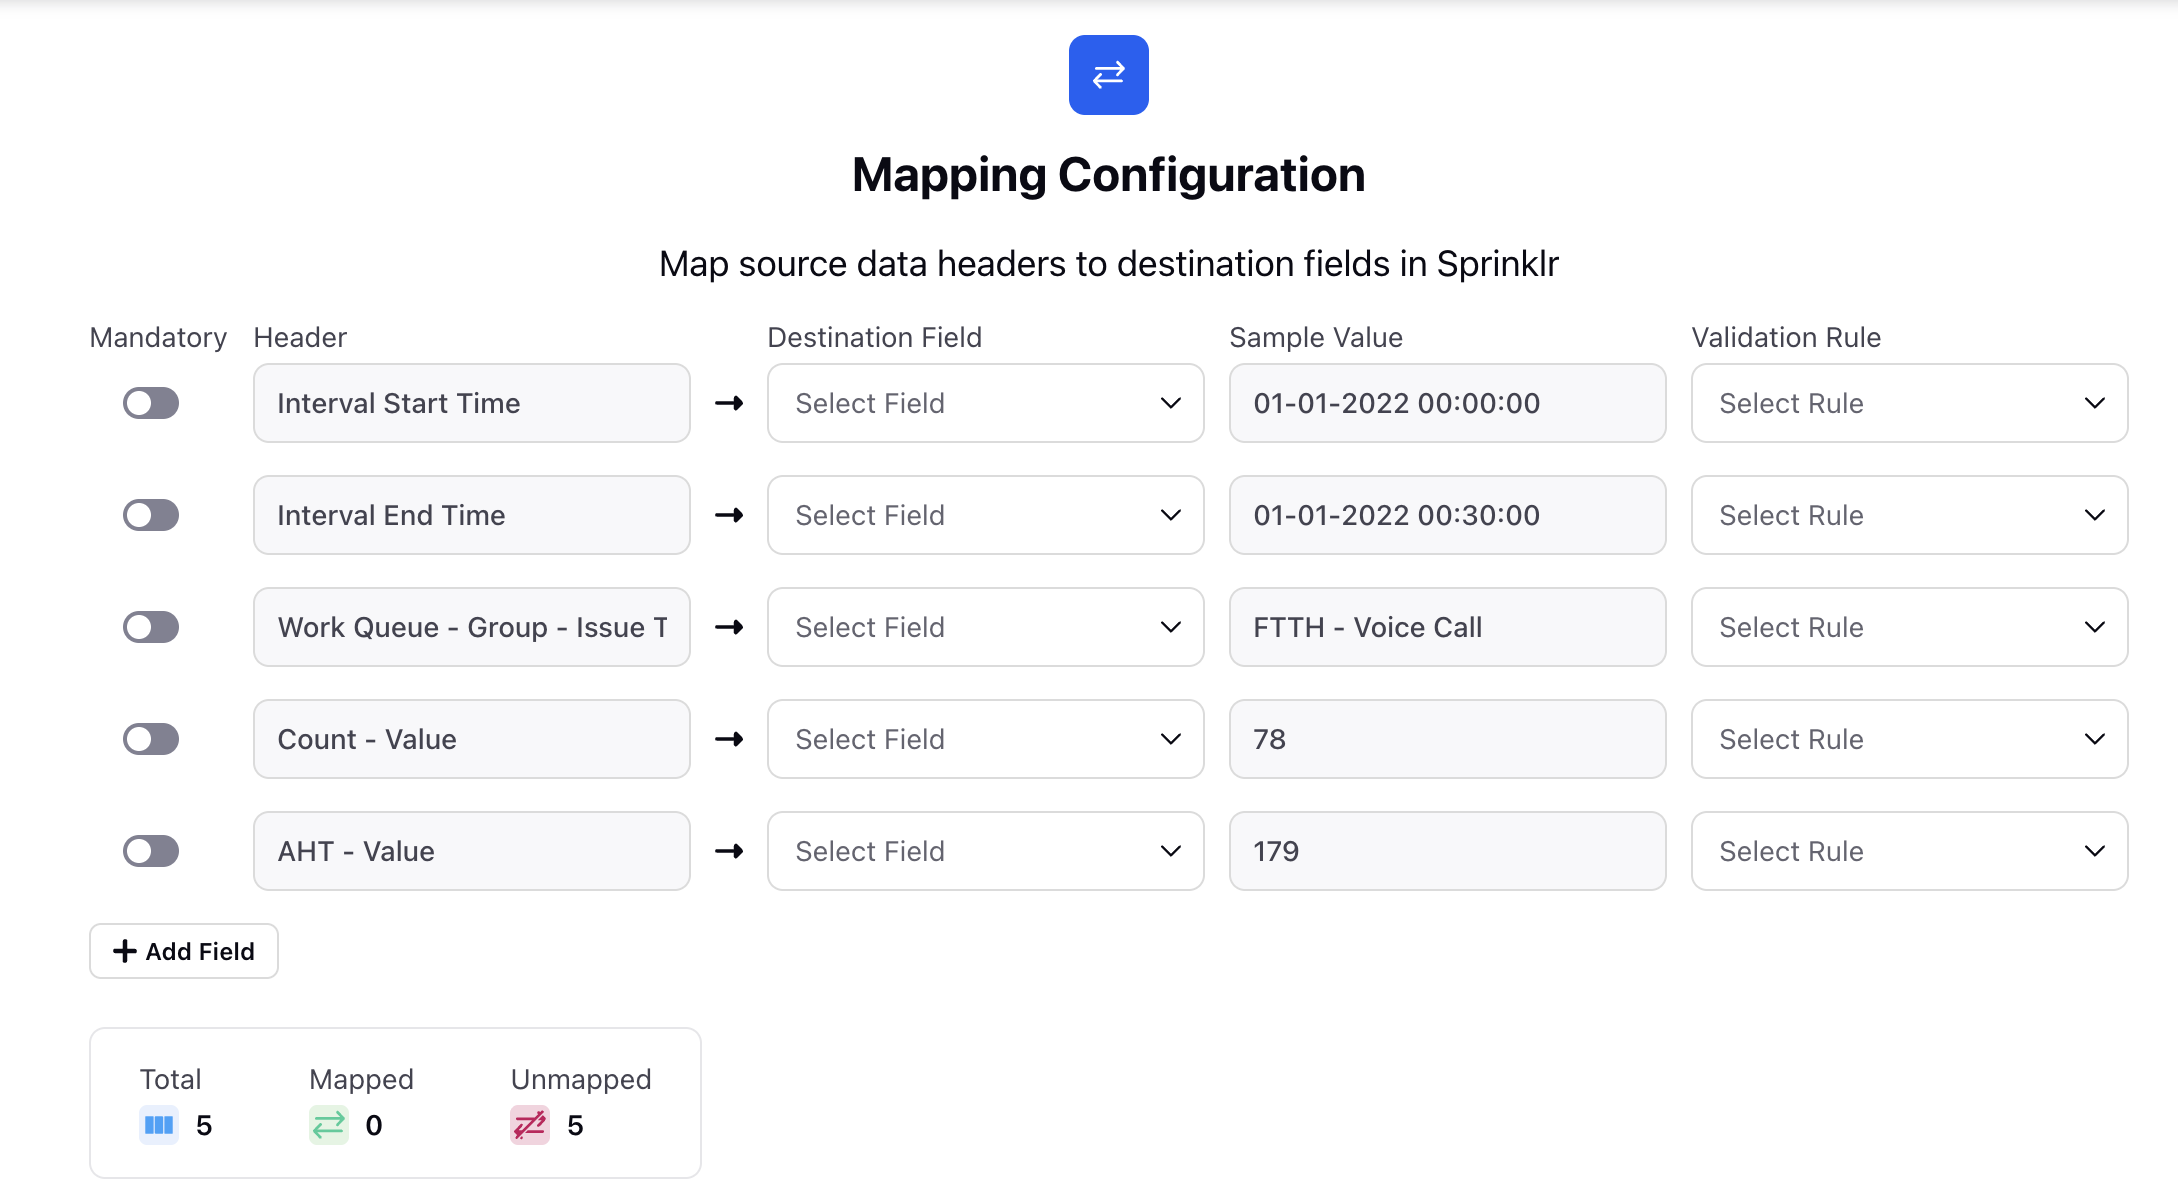
For each header mapping, the following options are available:
Header: This column shows the headers available in the file uploaded.
Destination Field: Map the headers to the corresponding fields configured in the Custom Entity.
Sample Value: This field is disabled and not relevant for this configuration.
Validation Rule: Choose the validation type, if any, if the value of the source Header is expected to be in a specific format, such as email IDs, mobile numbers, or custom patterns using Regex.
Mandatory: Enable this toggle to enforce mandatory Header mapping during ingestion.
Click Next after mapping the fields from your file to the custom entity fields.
Fill in the required fields on the Additional Settings page. Fields marked with a red dot are mandatory. Below are the descriptions of the fields on this page:
User / User Groups: Specify the Sprinklr Users/User Groups who can view the data. The Notifications section below will be accessible only when Users/User Groups are selected.
Notifications
Notification Type: Choose how the notification should be sent the the Users/User Groups.
Users to Notify: Choose the Users/User Groups who will receive the notifications.
Click the Save button to save and create the Connector configuration.
Manually Run Data Connector
This will create the Data Connector. Once created, you’ll need to run it to start ingesting data. Follow these steps to manually trigger a run of the Data Connector:
Navigate to the Data Connectors Record Manager.
Click the vertical ellipsis (⋮) icon corresponding to the relevant Data Connector. This will show a list of options.
Select Run to open the Runtime Connector Details page.
Upload the file that contains the actual data to be ingested into the Sprinklr system.
Click Run at the bottom right of the page.
This will trigger the manual run upon which you will receive a notification confirming the same.