Create Guided Workflows using Template Library
Updated
Introduction
The Template Library in Guided Workflows is a powerful feature that simplifies and speeds up the workflow creation process. It offers a curated collection of pre-built, industry-specific templates that can be customized to suit your business needs. Whether you're new to Guided Workflows or looking to streamline your setup, the Template Library helps you get started quickly and consistently.
Benefits of the Template Library
Using templates offers several advantages that can significantly improve your workflow development experience by ensuring :
Faster Setup - Templates eliminate the need to build workflows from scratch, allowing you to launch solutions more quickly.
Consistency Across Teams - Standardized templates ensure that all workflows follow a uniform structure and logic, promoting best practices across your organization.
Easy Customization - Each template is fully editable, so you can adapt it to meet your specific requirements without starting over.
Reduced Repetition - By reusing proven templates, you avoid the need to manually recreate similar workflows for different use cases.
Create a Guided Workflow Using a Template
On the Launchpad, go to the Sprinklr Service tab and select Guided Workflows under the Resolve section.
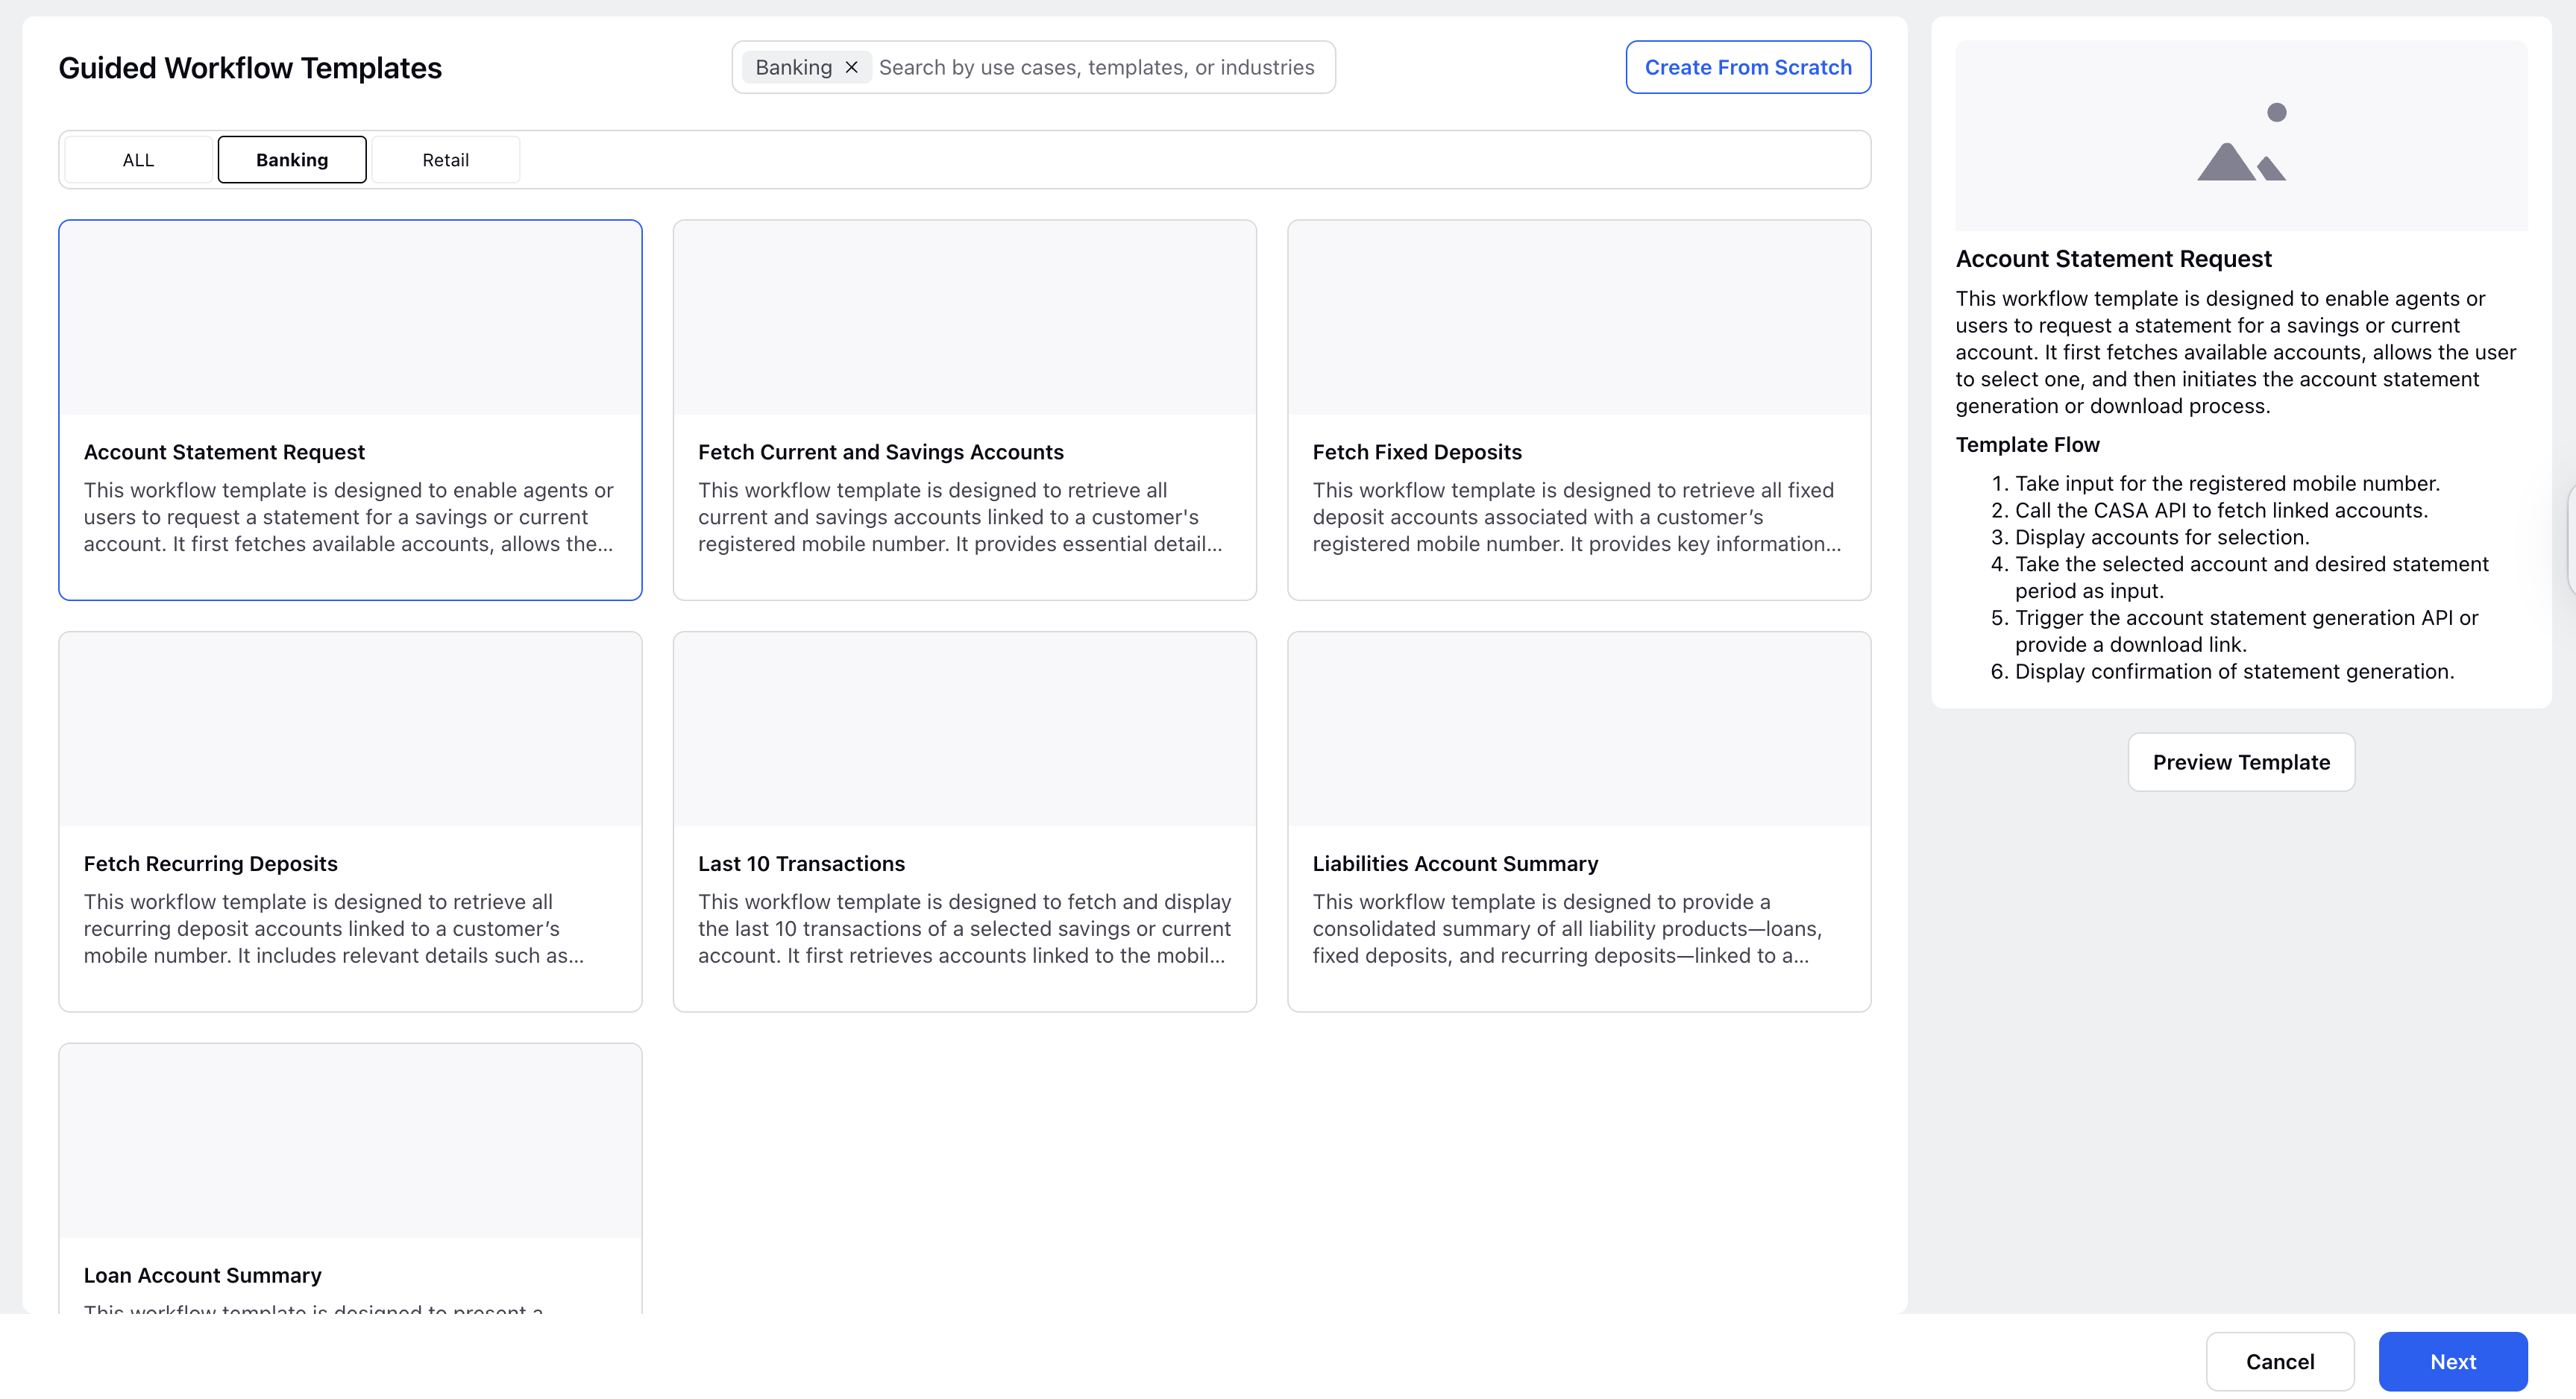
In the Guided Workflow Manager, click the Add From Library from the toolbar. This will open the Guided Workflow Templates window, where you can browse available templates.

Browse through the available templates. You can see different workflow templates added across different verticals. Click on a template to view its details and structure.
Note: Currently, templates for two verticals are supported - Banking and Retail.

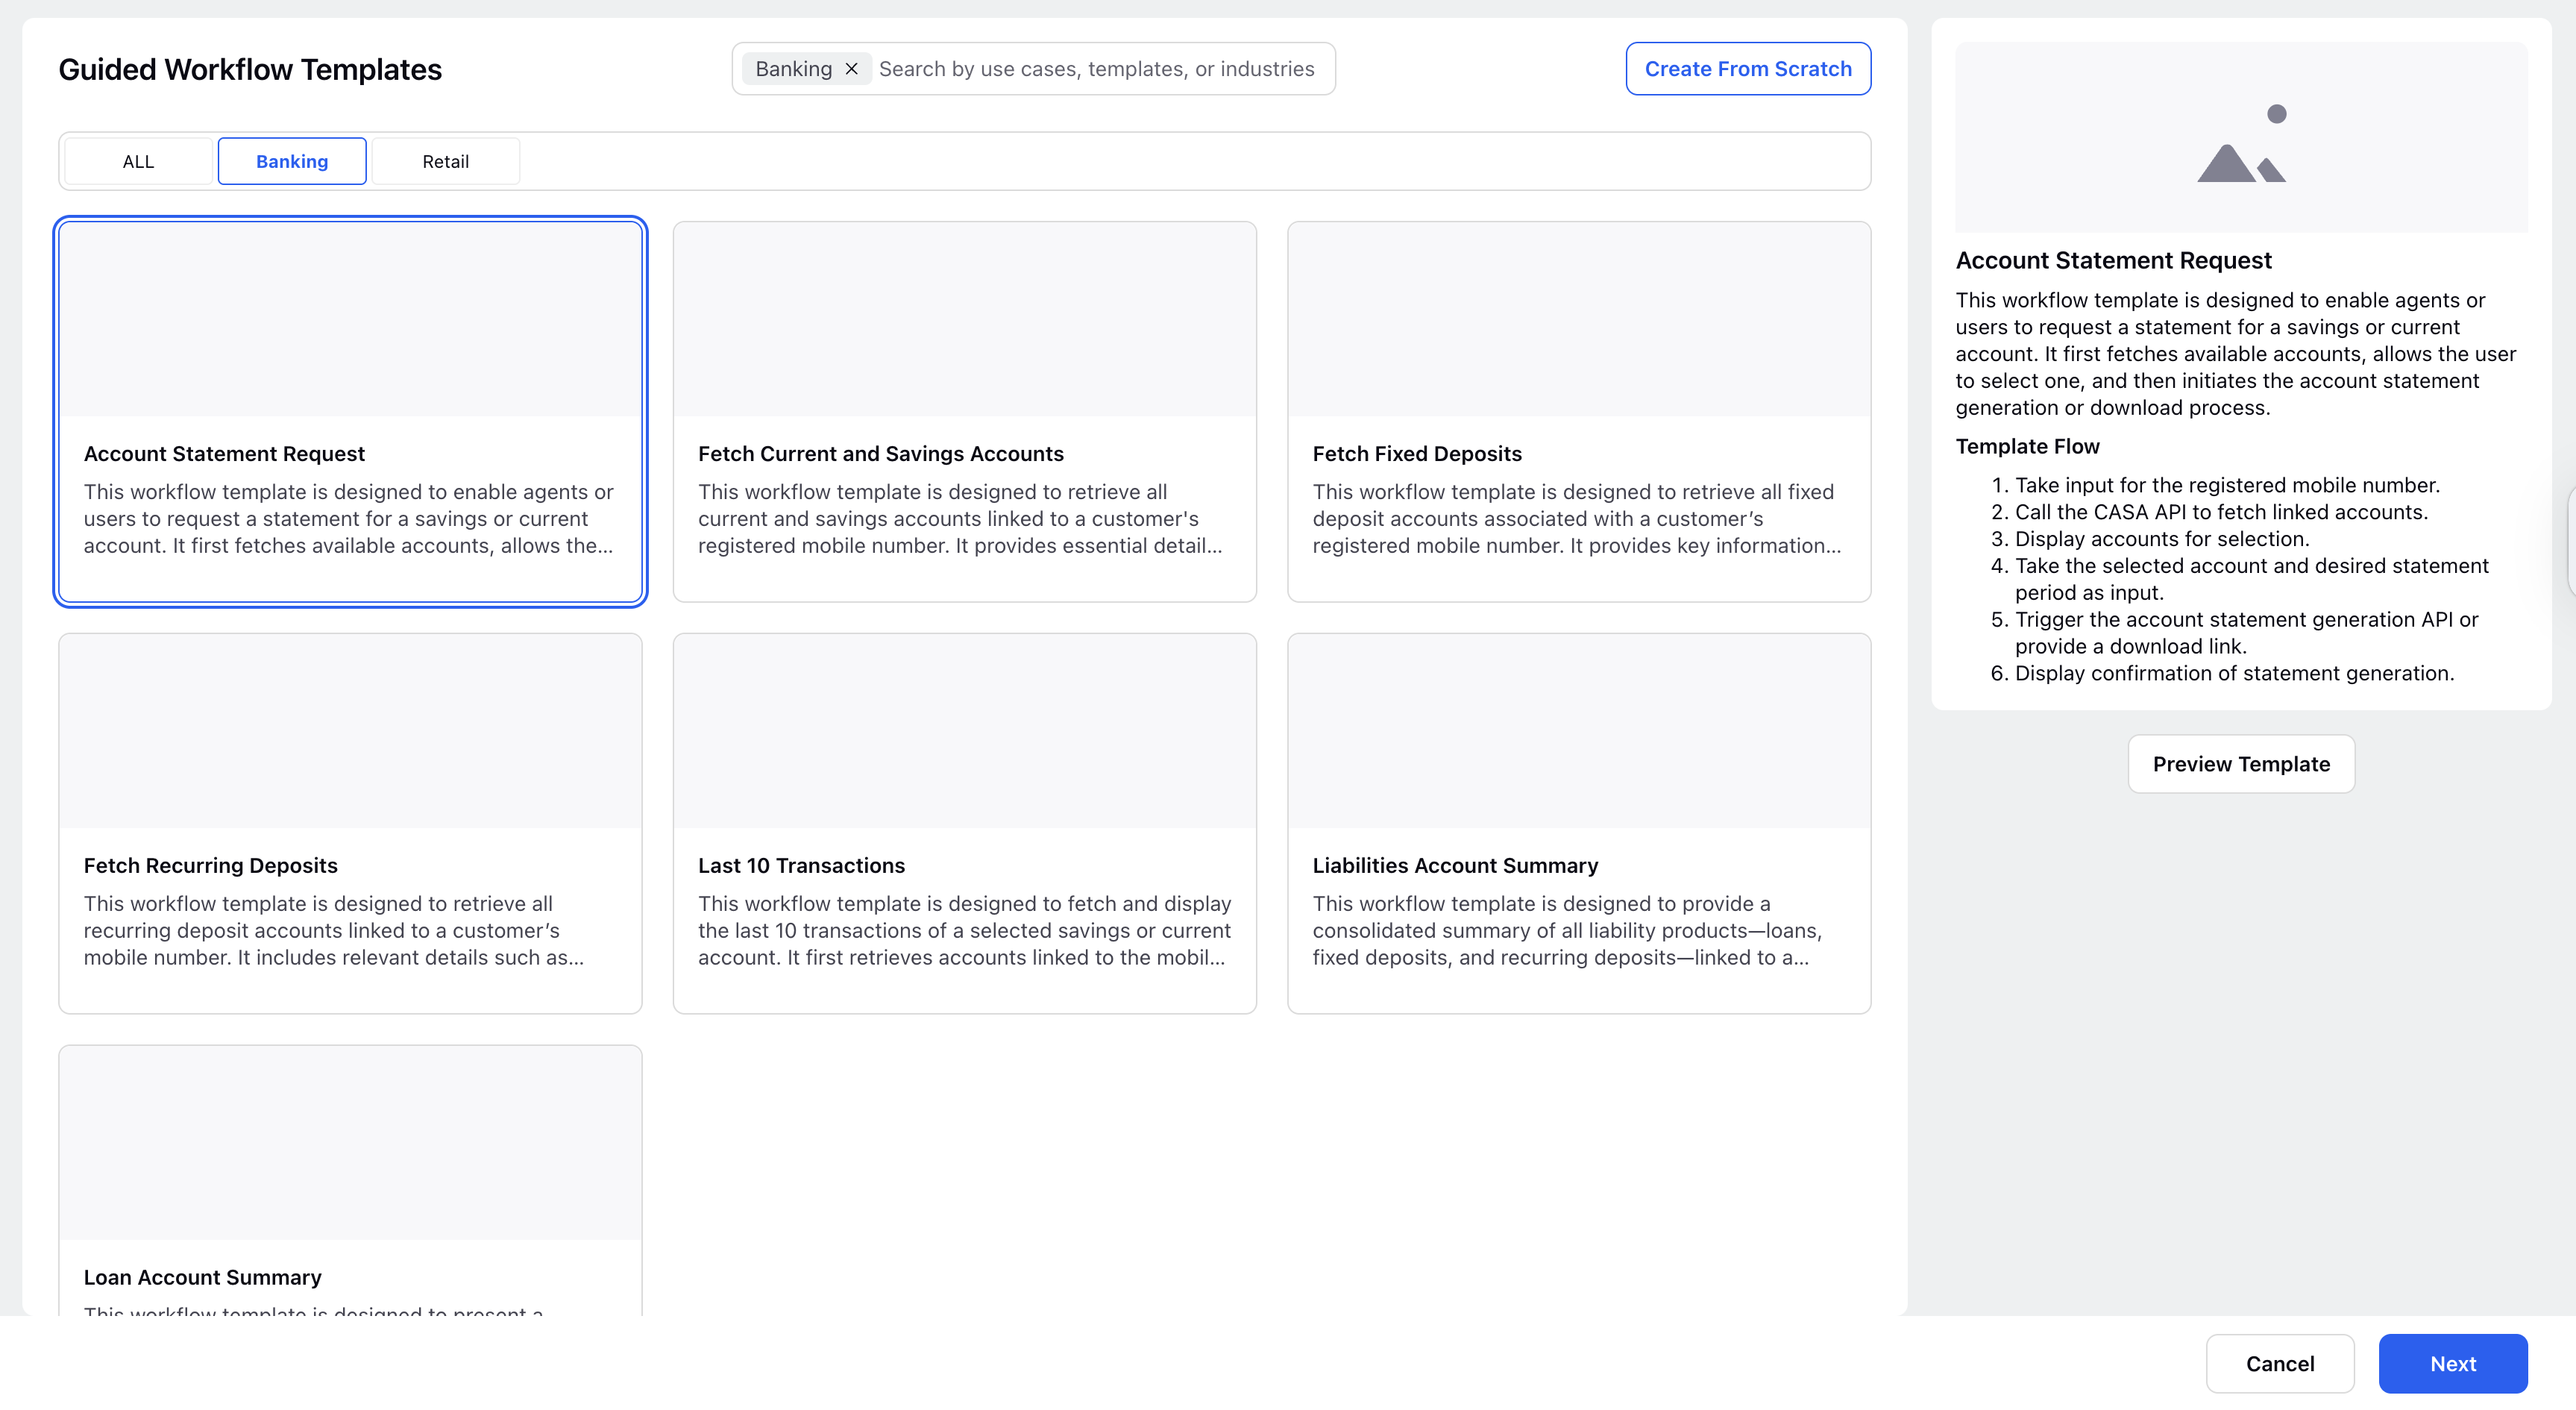
Click on the template that you want to use, and the information about the same will open in the right panel.

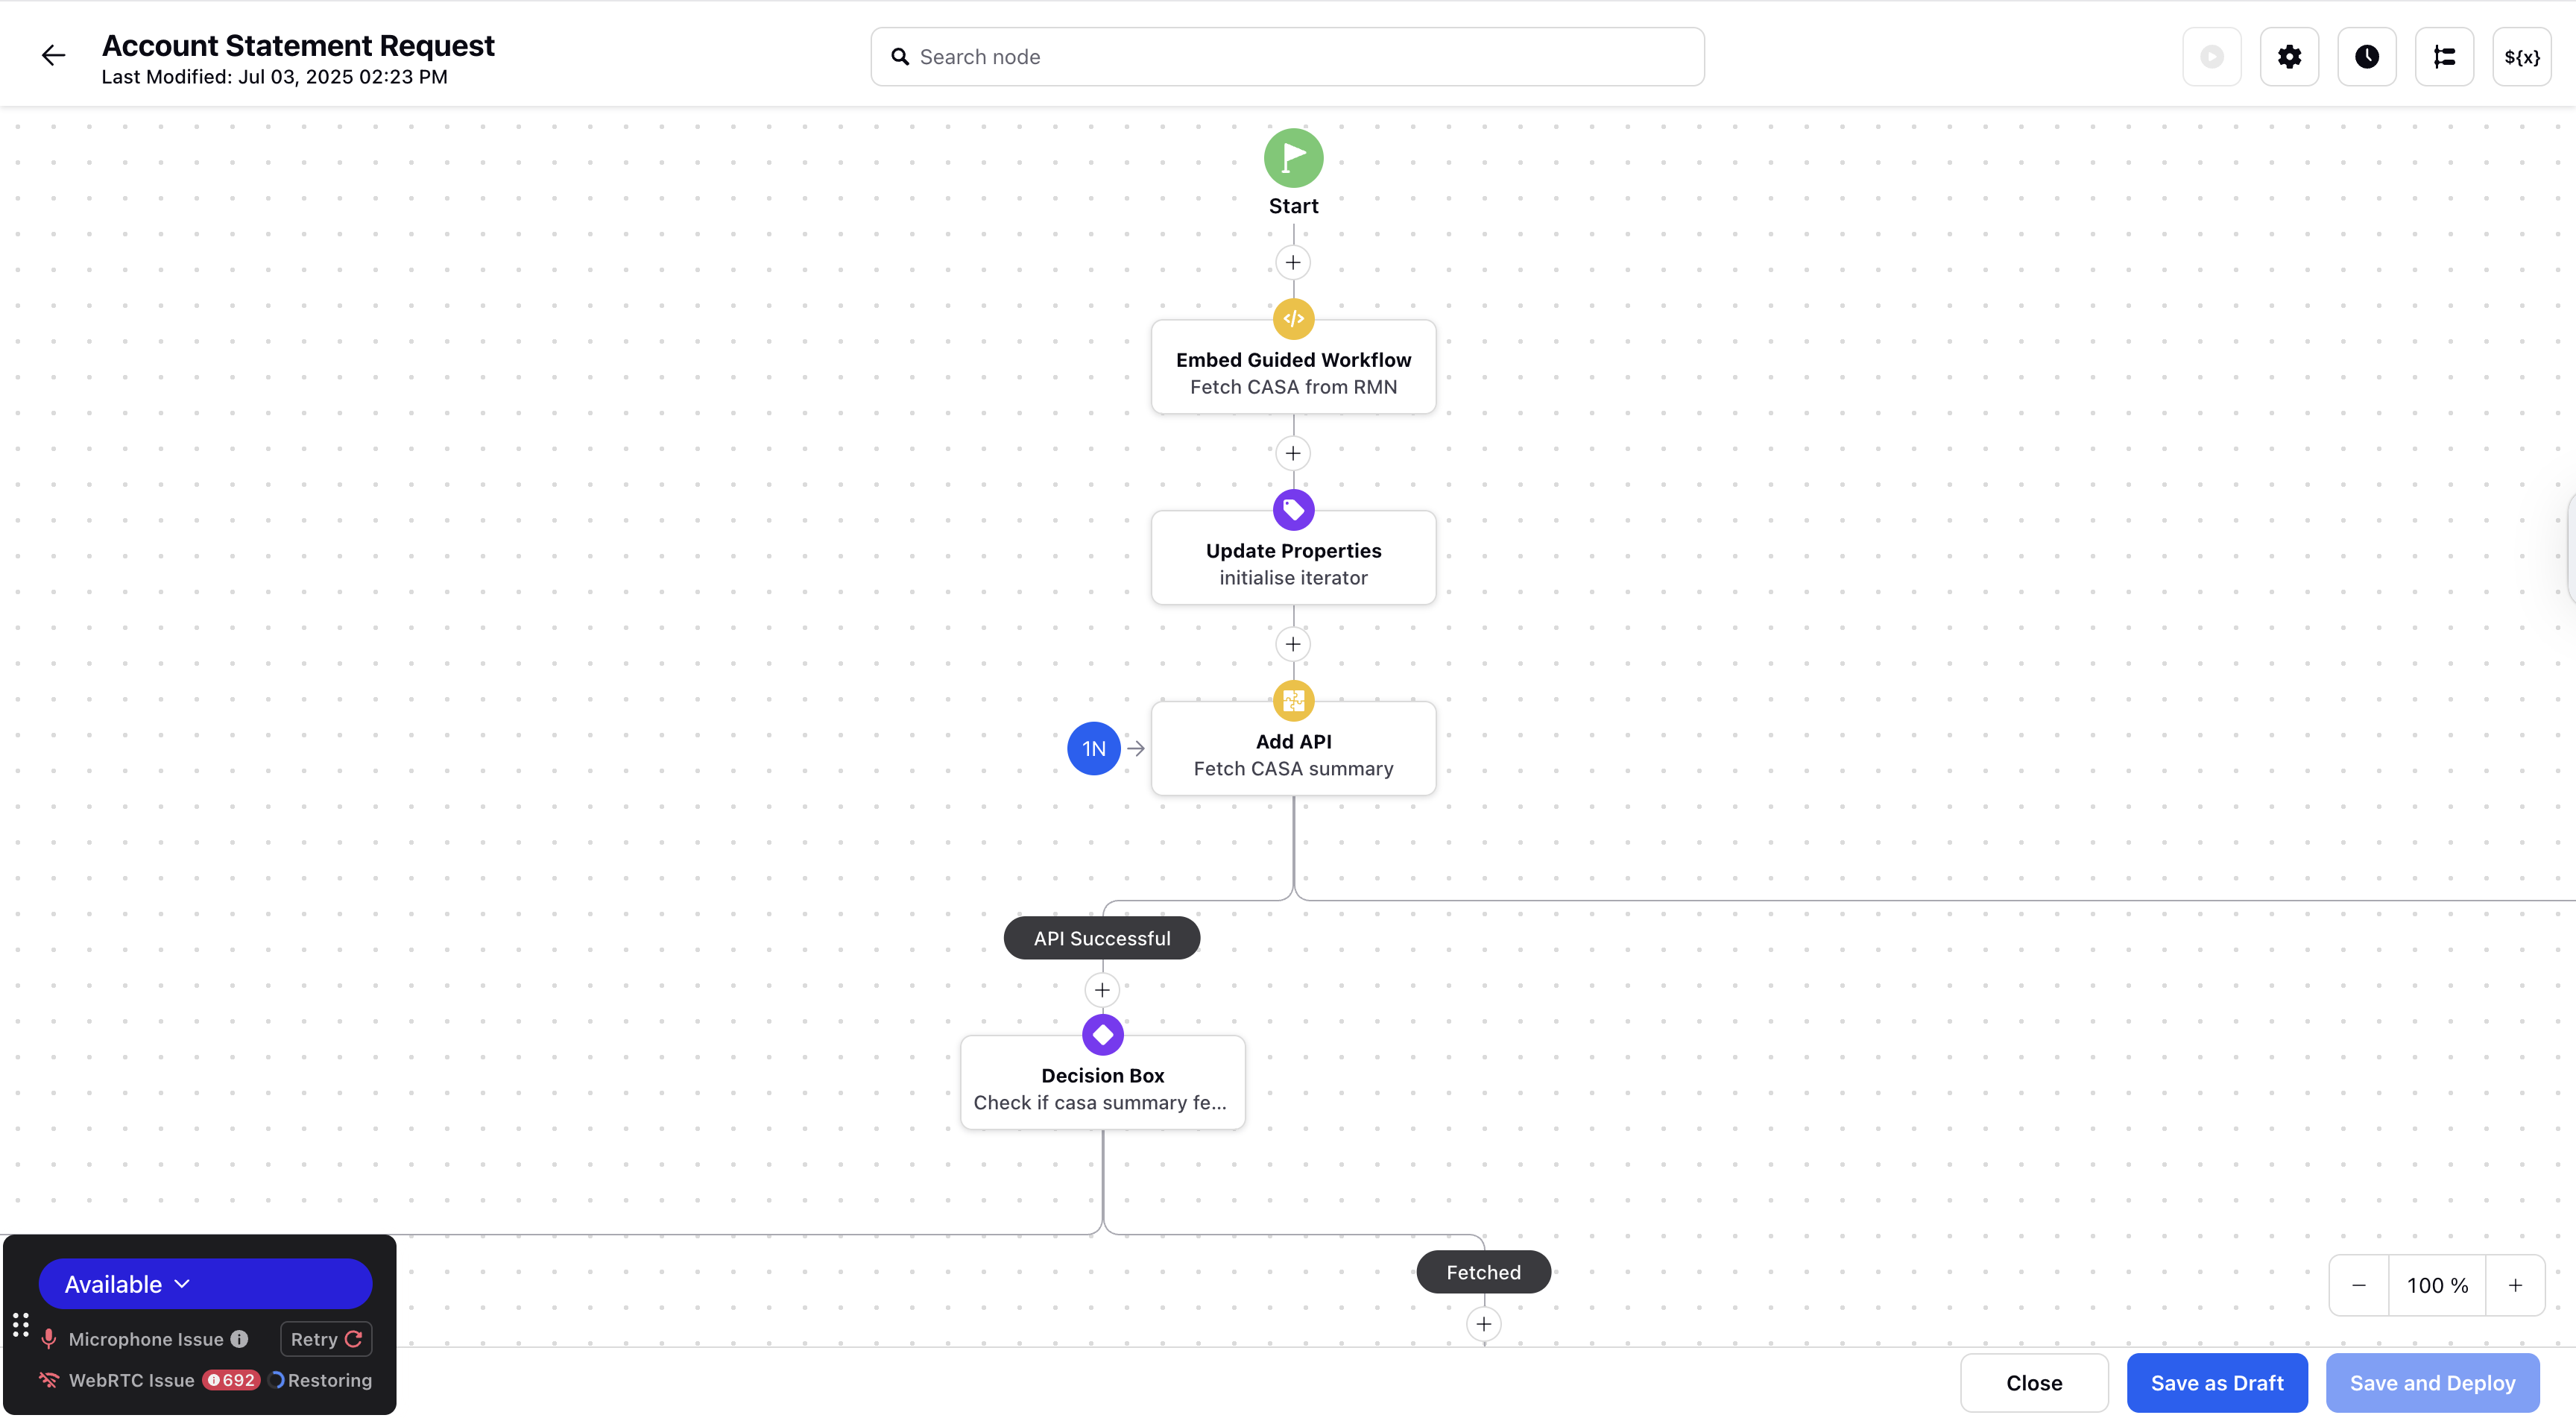
To explore the structure of a template before using it, click Preview Template on the right-hand panel. The Guided Workflow Canvas of the template opens up, and you can see the actual template in the View mode. You can add, edit, delete, or play around with different nodes and components in this version, but you can not save any changes. To create this template as a Guided Workflow, click Create Template in the bottom right corner.

If you're satisfied with the template, click Create Template in the bottom-right corner of the preview window. Alternatively, if you want to skip the preview, click Next in the bottom-right corner of the Templates window.
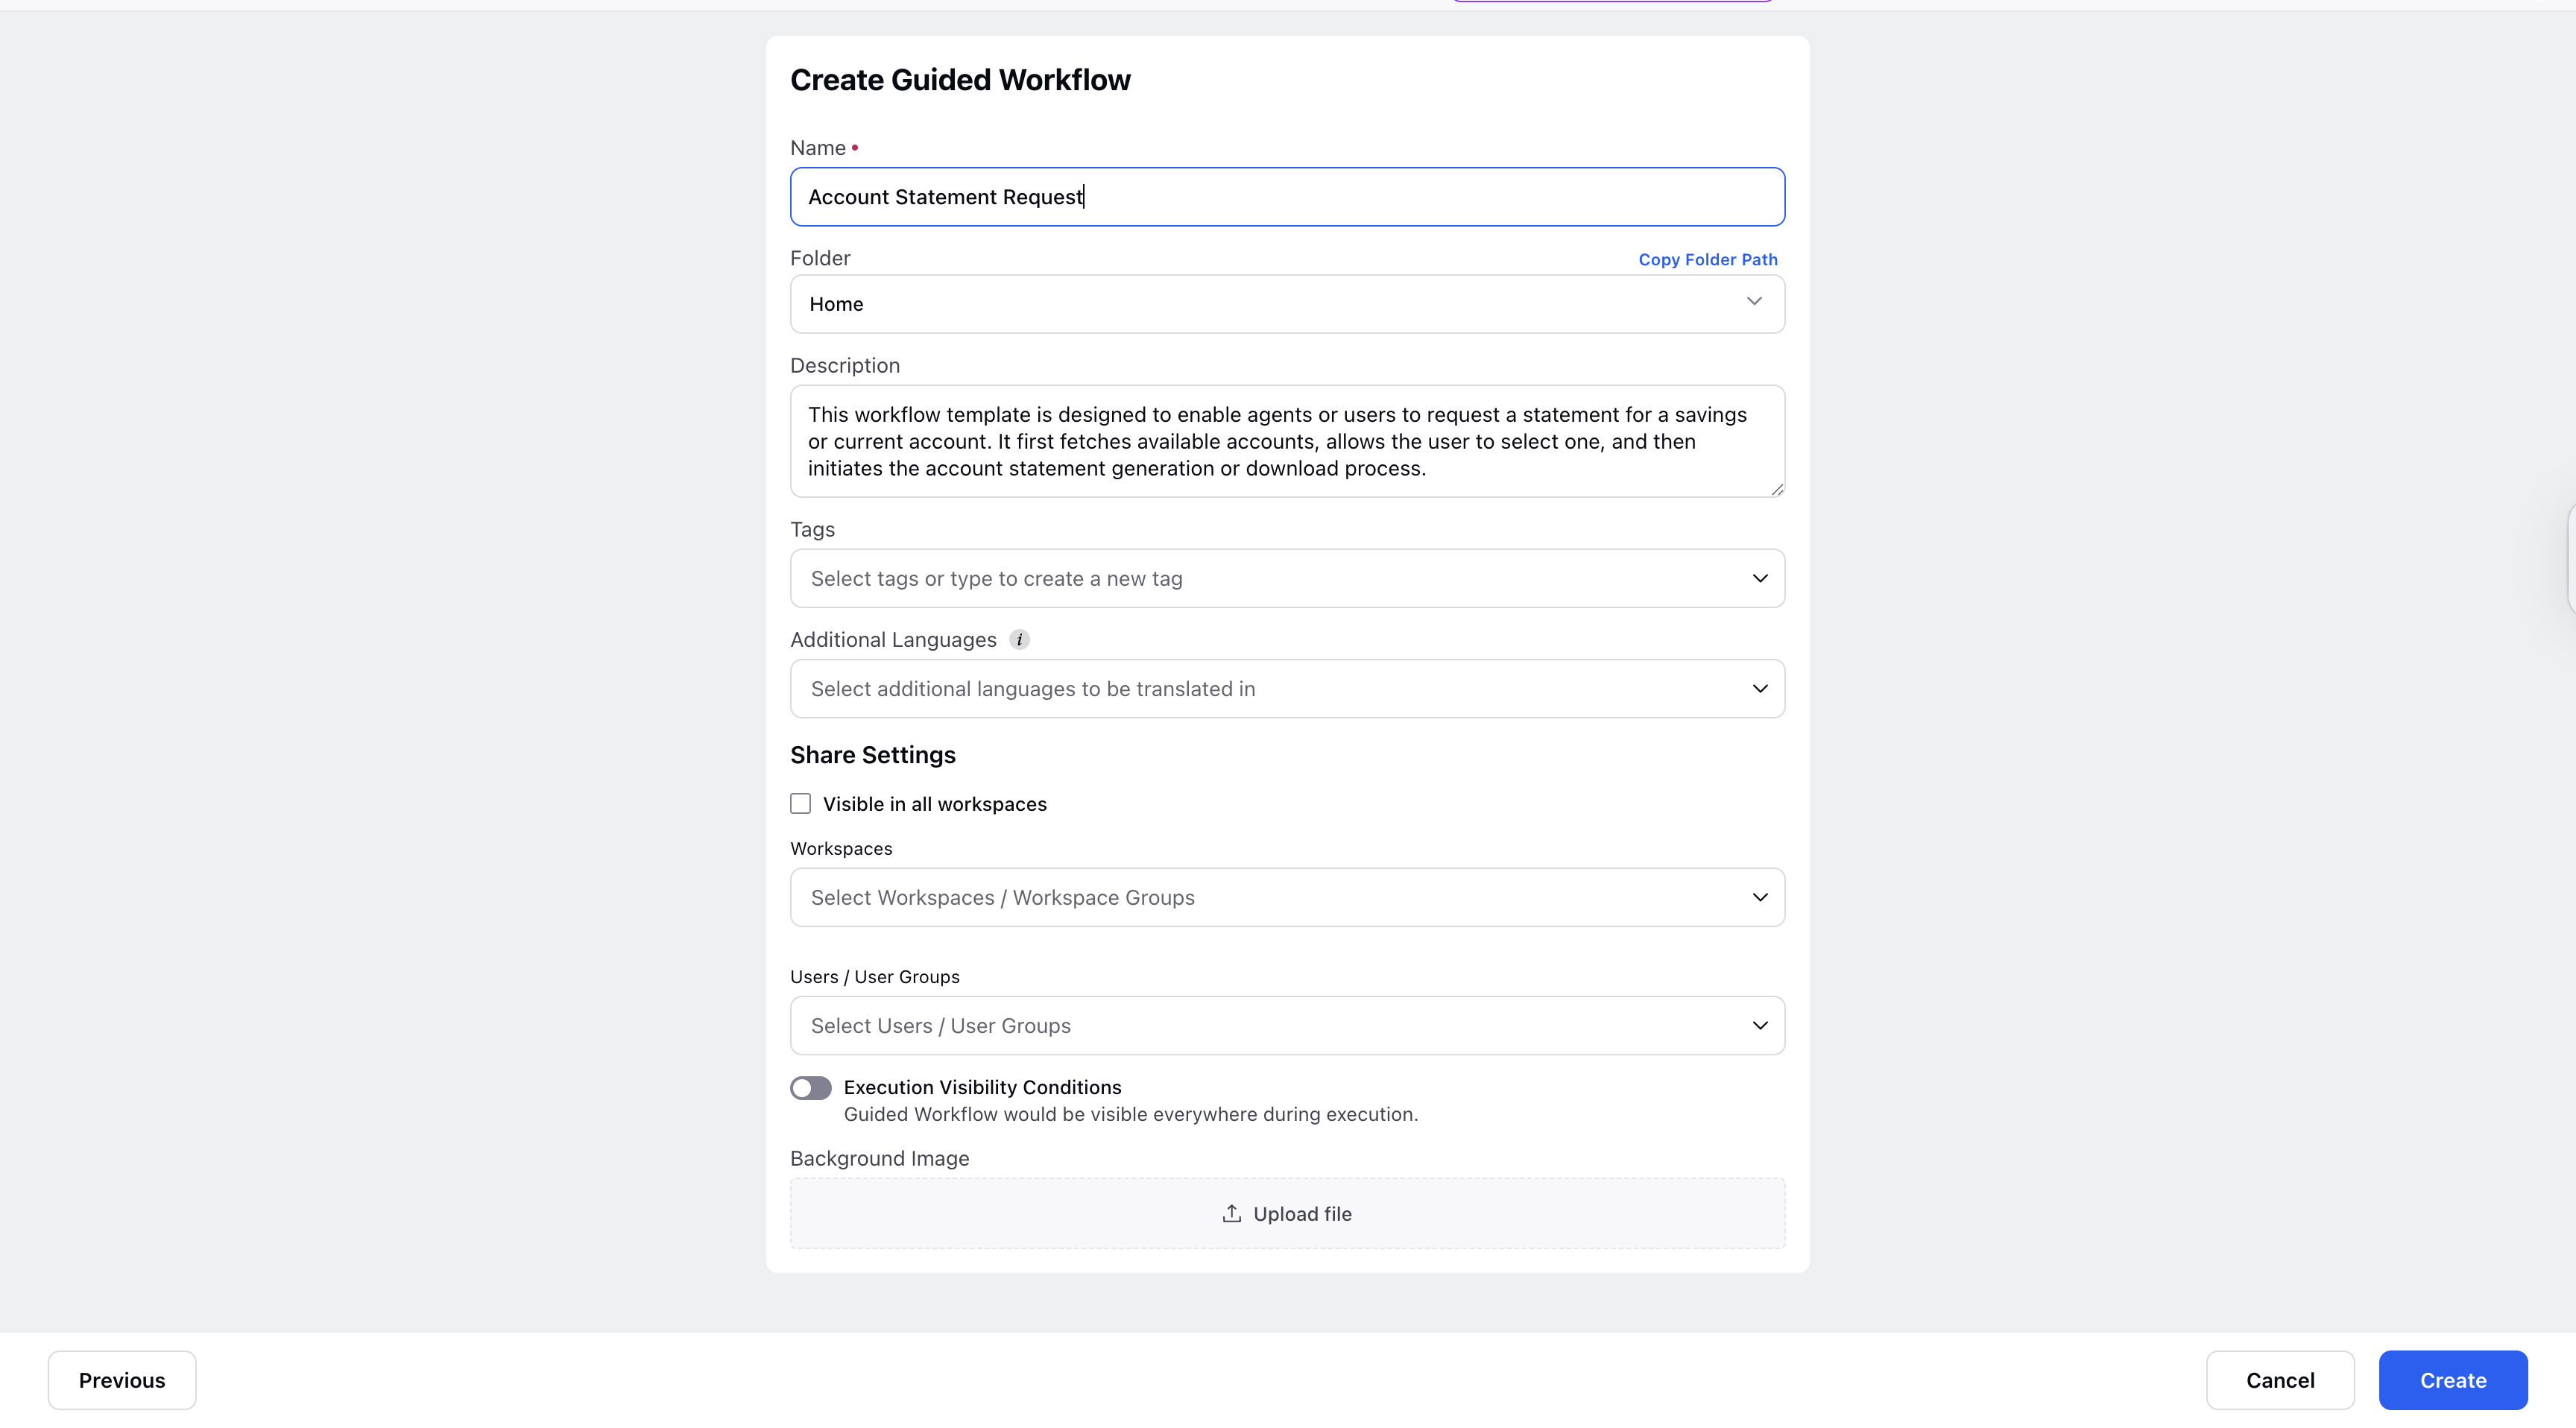
The Create Guided Workflow window will appear. The Name and Description fields will be automatically filled based on the selected template, but you can edit them. Configure any additional fields as needed. For more information, refer to
