Configure Assign Agent Node in IVR
Updated
The Assign Agent Node in the IVR builder is used to route calls to a live agent or create a task for agent handling. It provides flexibility to define agent preferences, queue settings, and call behavior during assignment.
Prerequisites
Before configuring the IVR node, ensure the following requirements are met:
Sprinklr Voice must be enabled in your environment.
Your user role must have the following Voice IVR permissions.

Steps to Add an Assign Agent in IVR
Follow the steps below to add an Assign Agent node to your IVR workflow.
Open or create a new IVR.
On the IVR builder screen, click the '+' icon on the path where you want to assign the call to an agent. Select 'Assign Agent' under the Transfer Actions section.

Configure the following fields on the Assign Agent node configuration screen:
| |
Field | Description |
Name | Enter a descriptive name for the node (e.g., Assign Agent for Setup). |
Enable Route from Voice Bot | Toggle ON if you want to route calls from a voice bot to an agent. |
Assignment Type | The Assignment Type field in the Assign Agent node allows users to specify how a case or call should be routed. There are two available options: Queue and User. Selecting Queue routes the case to a designated work queue, enabling queue-based assignment logic such as skill matching and fallback strategies. Selecting User routes the case directly to a specific agent, supporting preferred agent assignment and the ability to configure wait durations before fallback. This flexibility ensures efficient handling of cases and supports both operational and relationship-driven routing needs.
|
Work Queue | Choose the queue where the call should be routed. Dynamic input is supported. |
Wait Time IVR | Configure the Wait Time IVR which will be played for the customer while customer waits in the queue. |
Wait Time IVR Music Duration | Set the music duration before Queue starts. Default is 5 seconds. Dynamic input is supported. |
Timeout Duration | Define how long the system should wait before triggering fallback logic if no agent is available. Dynamic input is supported. |
| |
Preferred Agent | Select a specific agent or use dynamic input (e.g., ${x}) for dynamic assignment. |
Try and Assign Only to Preferred Agent | Toggle ON to restrict assignment to the selected agent only. |
Assign as Task | Toggle ON to create a task instead of direct call routing. |
Disable Recordings | Enable this options if recordings should not be captured for compliance or privacy reasons. |
Disable Transcripts | Enable this options if transcripts should not be captured for compliance or privacy reasons. |
Entity Type | Defines the type of entity associated with the interaction. Available options:
|
Entity Id | Specifies the unique identifier for the selected entity type.
This ensures the interaction is correctly mapped to the right record. |
Select Highlighted Fields | Determines which fields from the entity record should be displayed to the agent during the interaction.
|
Wait Music | You have the flexibility to configure distinct wait music for various work queues, tailoring the experience based on demographics and other criteria. Add the MP3 audio file from Digital Asset Manager which will be played for the customers when they wait in the queue or are put on hold by the agent. |


Click the 'Save' button to save your node configuration.
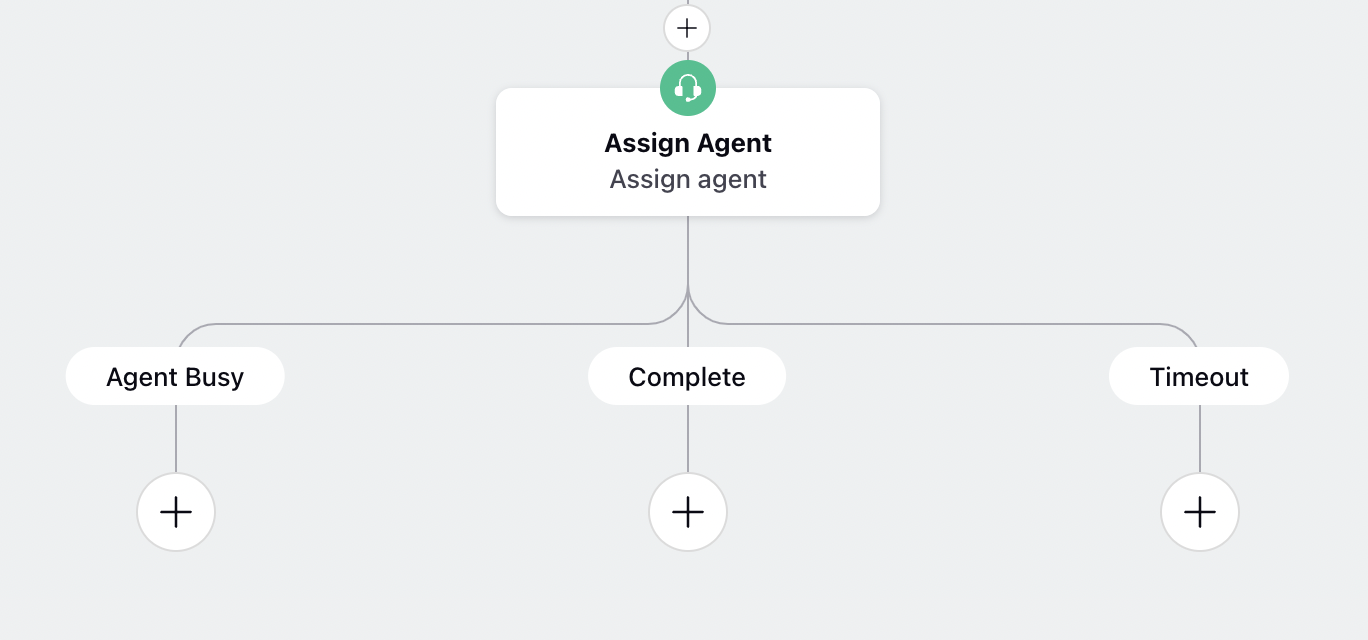
Paths Created After Configuring the Assign Agent Node
When you configure the Assign Agent node, three new paths are automatically created:
1. Agent Busy
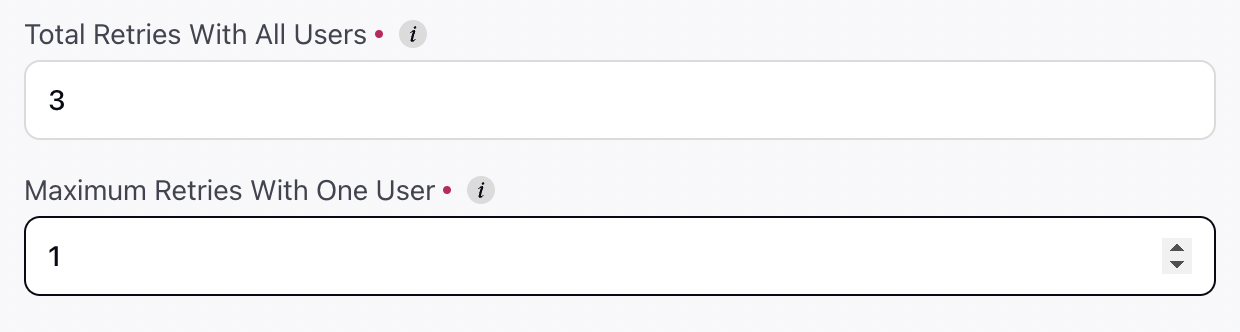
This path is triggered when the total number of assignment retries (defined in the queue) is exhausted.
Retries occur when an agent either declines the call or does not pick up.
Configuration: The retry threshold can be set in the queue under General Settings.
Purpose: This ensures calls do not keep circulating among multiple agents, which can lead to high wait times.
Recommended Action: Use this path to customize the logic, such as offering a callback option or deflecting the call to another channel.
2. Completed
This path is executed after a successful interaction between the user and the agent, immediately after the call ends.
Recommended Action: Use this path for post-call activities, such as sending a survey or applying call tagging.
3. Timeout
This path is triggered when no agent picks up the call within the timeout period defined in the queue.
Recommended Action: Use this path to announce the estimated wait time, offer a callback, or provide alternative options.
Dynamic Skill Update During Queue Routing
The system supports skill updation for calls routed to a queue through the Assign Agent node.
How It Works:
When a call is in the queue and the IVR continues running (for example, through Wait Time IVR or a Timeout path), the user can dynamically update skills.
The updated skill values are applied to the ongoing voice task without manual intervention.
The call remains in the same queue, but routing logic immediately reflects the new skill configuration.
This enhancement ensures:
Real-time adaptability to changing conditions (e.g., customer input or updated requirements).
Improved routing accuracy and reduced wait times.
A better overall customer experience.
Audio Fallback Logic in Assign Agent Node
When a call is routed to a queue via the Assign Agent node, the system determines which audio to play during wait and hold periods. We’ve enhanced the fallback sequence to provide more customization and control, ensuring that the most relevant audio is played even if certain configurations are missing.
Fallback Sequence During Wait Duration
When the call is waiting (for example, during a 5-second wait period), the system checks audio configurations in the following order:
Wait Time IVR Settings
If audio is configured here, it plays first.Assign Agent Node Audio
If Wait Time IVR audio is not configured, the system uses audio defined in the Assign Agent node.Voice App Music
If Assign Agent audio is not configured, the system uses music configured at the Voice App level.IVR Advanced Settings Audio
If Voice App music is not configured, the system uses audio from IVR Advanced Settings.Voice Provider Default Audio
If none of the above are configured, the system falls back to the provider’s default audio.
Fallback Sequence for Hold Music
When the Hold Action node is used:
If hold music is configured in the Hold Action node, it plays for the specified duration.
If not configured, the same fallback sequence applies:
Wait Time IVR → Assign Agent Node → Voice App → IVR Advanced Settings → Voice Provider Default Audio.
After Wait Time IVR Ends
Once the Wait Time IVR completes:
The system checks for music in Wait Time IVR Settings.
If none is configured, it follows the fallback sequence:
Assign Agent Node → Voice App → IVR Advanced Settings → Voice Provider Default Audio.
The Assign Agent Node ensures smooth handover from IVR to live agents or tasks, while allowing customization for compliance, privacy, and user experience.