Tiered Approvals for Workforce Management Requests
Updated
Tiered Approvals provide a structured and flexible way to manage Workforce Management (WFM) requests such as Time Off, Shift Change, and Time Off/Overtime Slots. They can consist of approvals by single or multiple users. With this approach, requests are routed through multiple levels of approval based on predefined rules or organizational hierarchy. Each level in the approval chain can review, approve, or reject requests, helping managers make informed decisions while maintaining operational efficiency.
While Tiered Approval is a platform-level feature available in Sprinklr, this article focuses specifically on how it applies to Workforce Management (WFM) use cases.
Prerequisites for creating Tiered Approvals:
View and Create permissions under the Tiered Approval section of the Setup module.
Follow these steps to create a Tiered Approval:

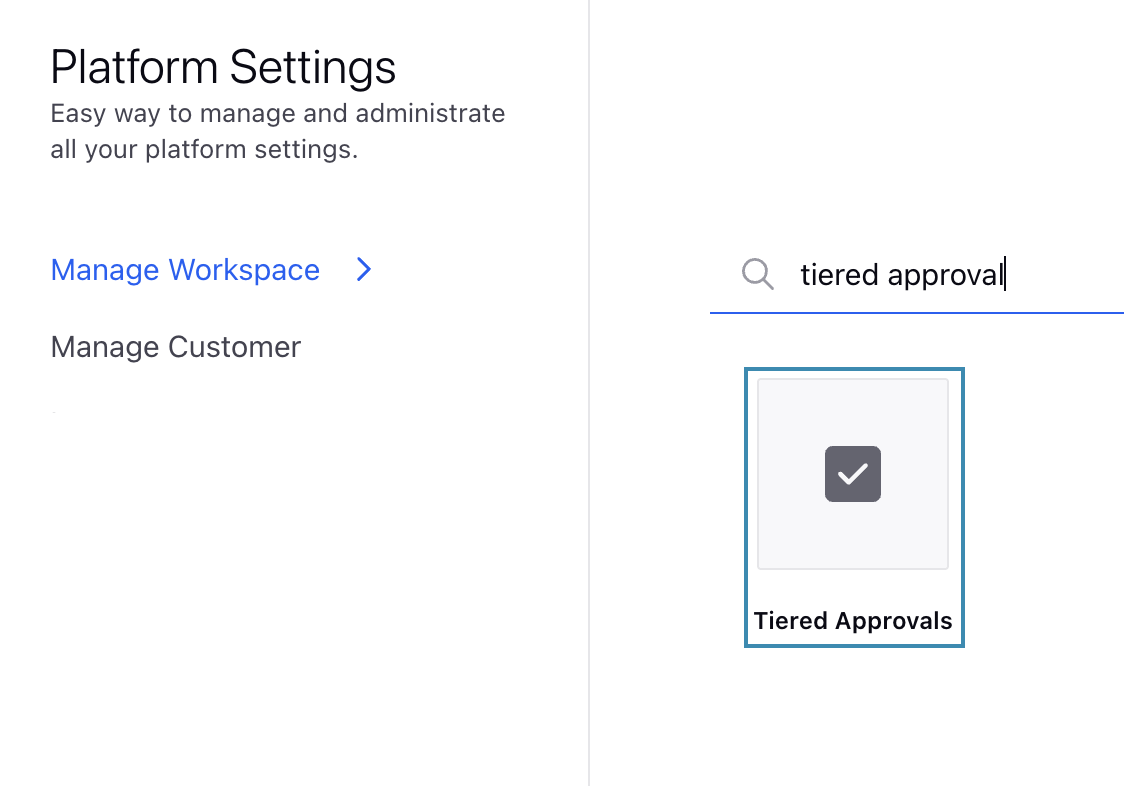
Go to Tiered Approvals under the Collaborate column on the Launchpad. Alternatively, go to All Settings under the Listen column on Launchpad, then go to Tiered Approvals under the Manage Workspace section. This will open the Tiered Approvals Record Manager.

Click the Create Tiered Approval button at the top right of the Record Manager to open the Create Tiered Approval page.
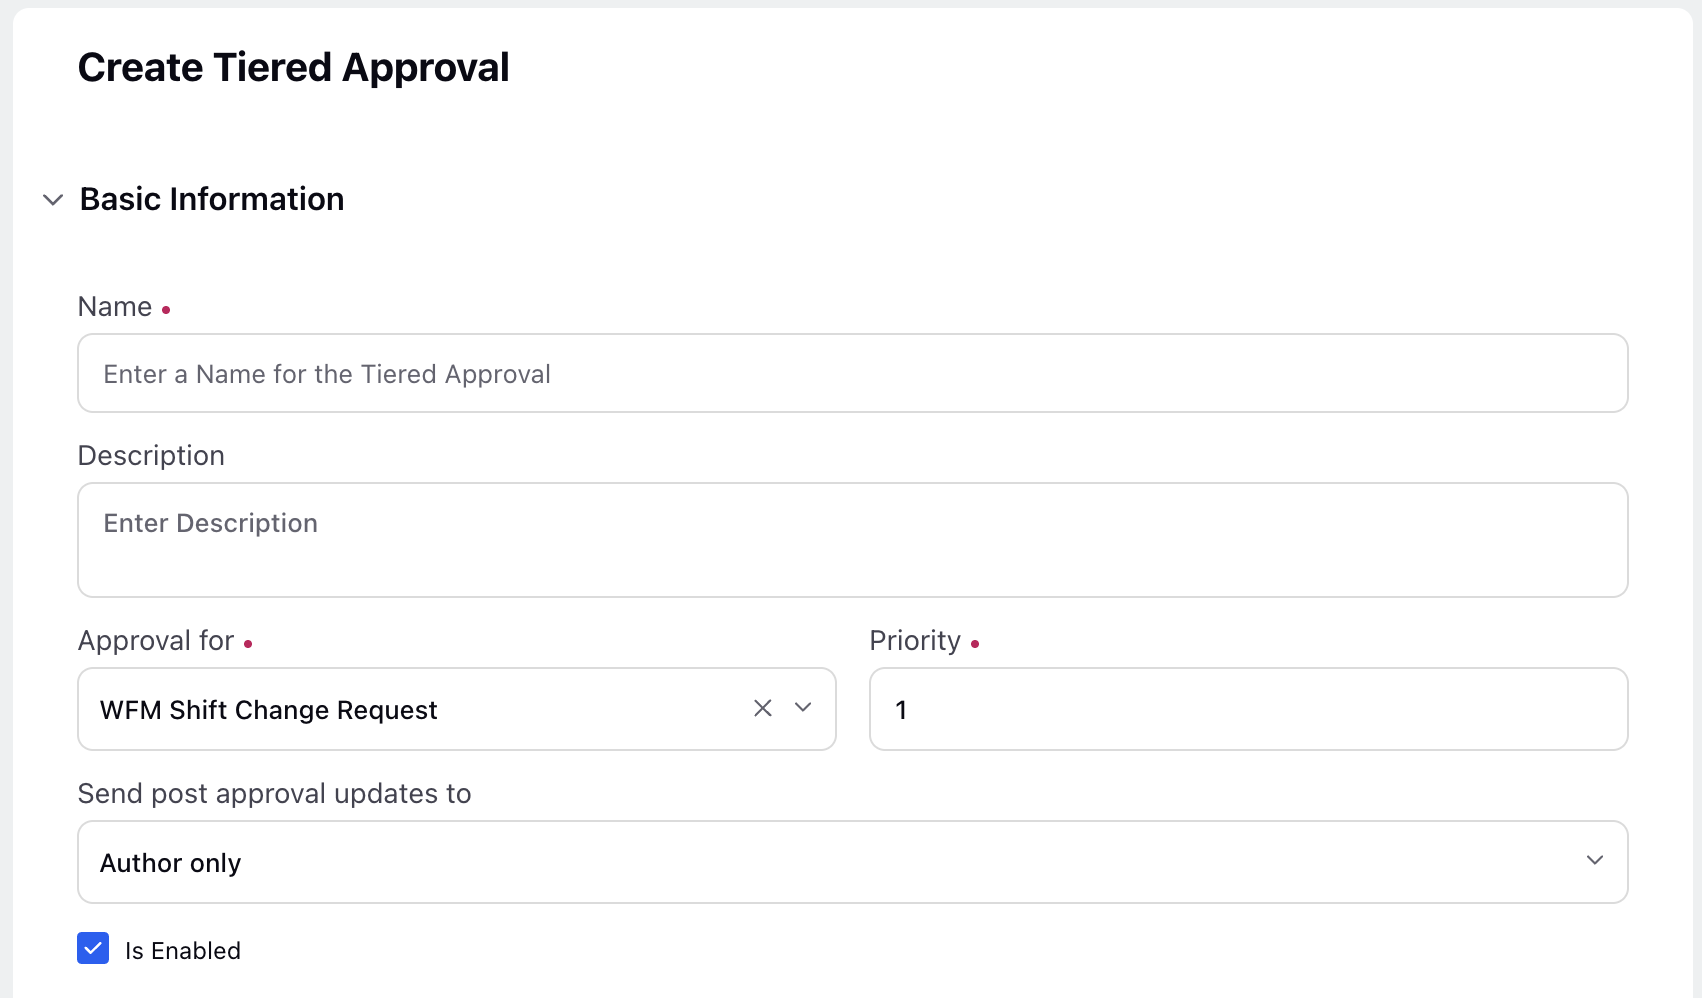
Fill in the required fields on the Create Tiered Approval page. Fields marked with a red dot are mandatory. Below are the descriptions of the fields on this page:
Basic Information

Name: Enter the name of the Tiered Approval. (Required)
Description: Provide a brief description of the Tiered Approval for easy identification.
Approval for: Select WFM Leave Request, WFM Slot Request, or WFM Shift Change Request based on the type of request for which you are creating the Tiered Approval. (Required)
WFM Leave Request: Select WFM Leave Request to make this Tiered Approval available while creating Time Off Policies.
WFM Slot Request: Select WFM Slot Request to make this Tiered Approval available for selection while configuring Time Off or Overtime Slots.
WFM Shift Change Request: Select WFM Shift Change Request to make the Tiered Approval available for selection while configuring Shift Change Policies.
Note: It’s important to choose the correct option because your selection determines where this Tiered Approval will be available during policy or entity configuration.
Priority: Set the priority of the Tiered Approval. The lower the value, the higher the priority. 1 is high, 100 is low. (Required)
Send post approval updates to: Choose who should receive notifications when a request is reviewed in the Tiered Approval process. Following are the available options:
Author Only: Only the request creator (agent) receives notifications. Selected by default.
Author and Approvers: Both the request creator (agent) and approvers will receive notifications.
Is Enabled: Select this checkbox to activate the Tiered Approval.
Note: The Tiered Approval will not be available for selection during policy or entity configuration if this checkbox is not selected.
Set Entry Criteria: This section can be left blank.
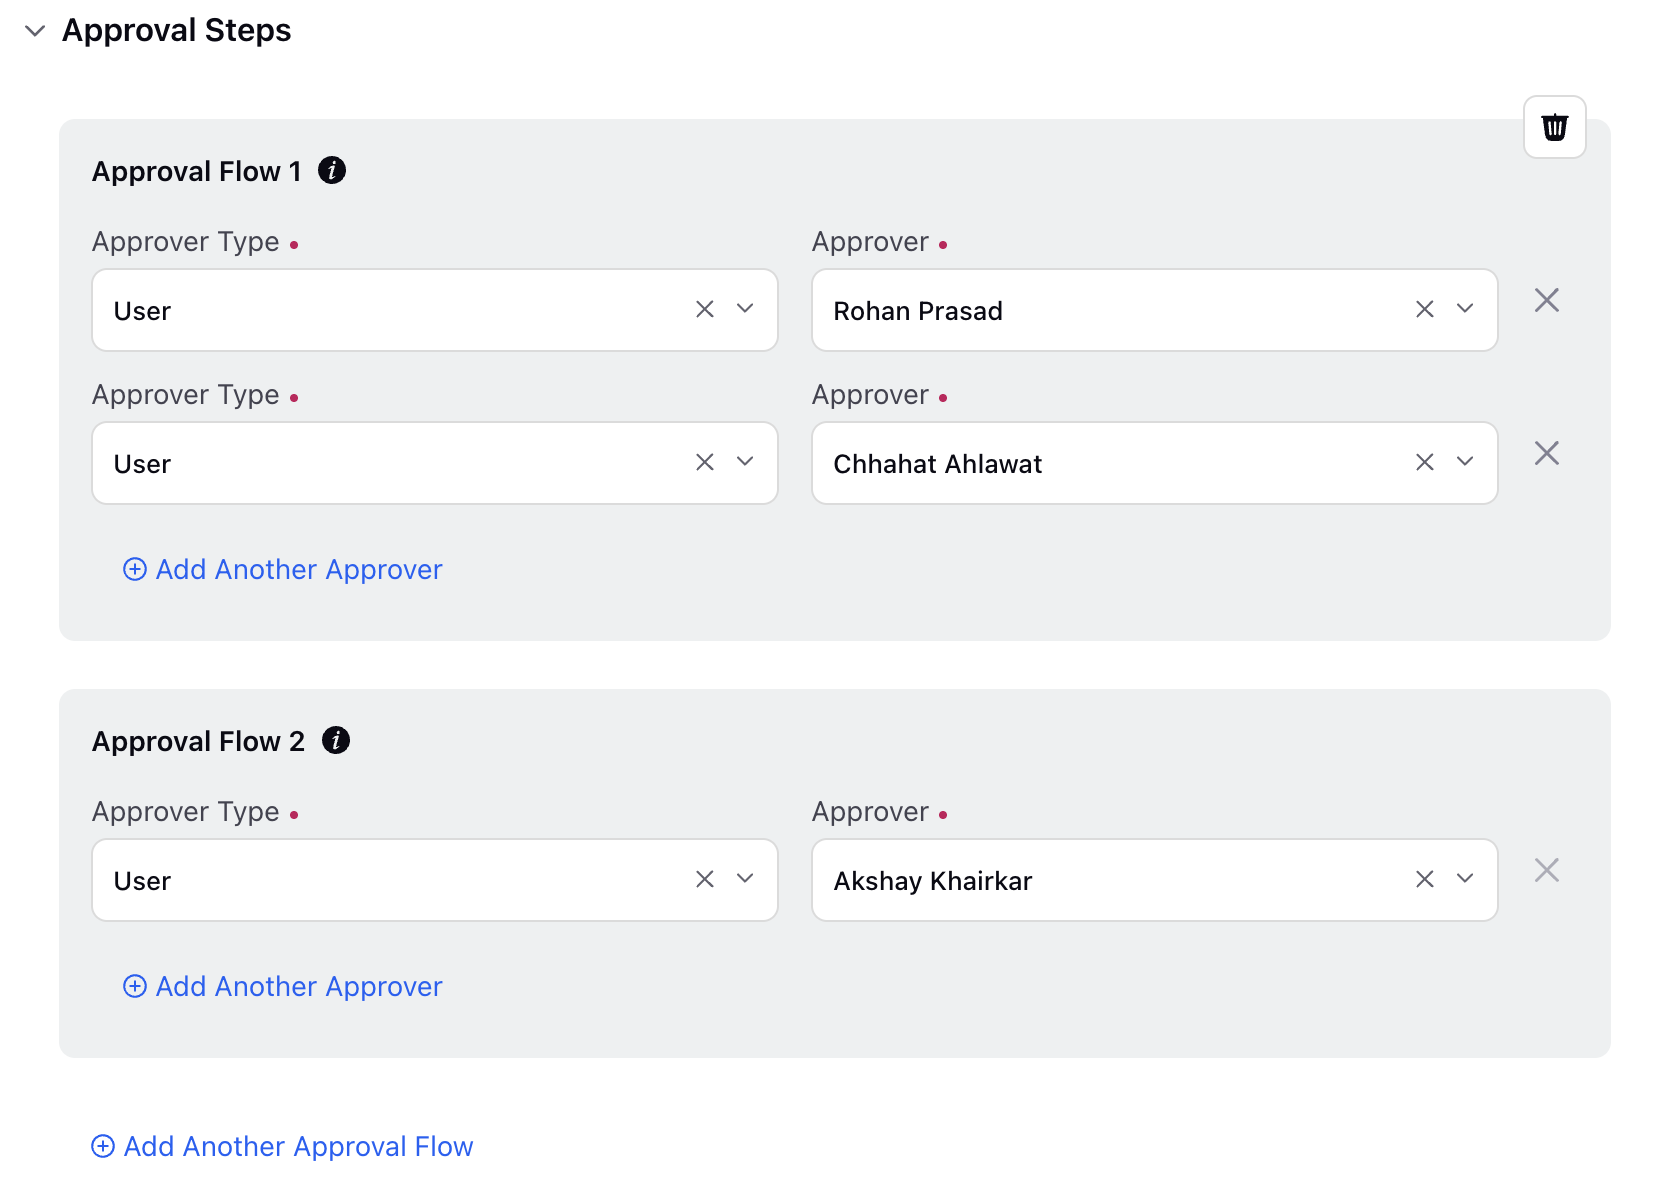
Approval Steps

Approval Type: Select User. (Required)
Approver: Select the user who will act as the approver from the drop-down list. (Required)
Click the Add Another Approver button to add more approvers in the approval steps.
Click the Add Another Approval Workflow button to add another sequential approval workflow that will come into effect once all the approvers from the previous workflow have approved the request.

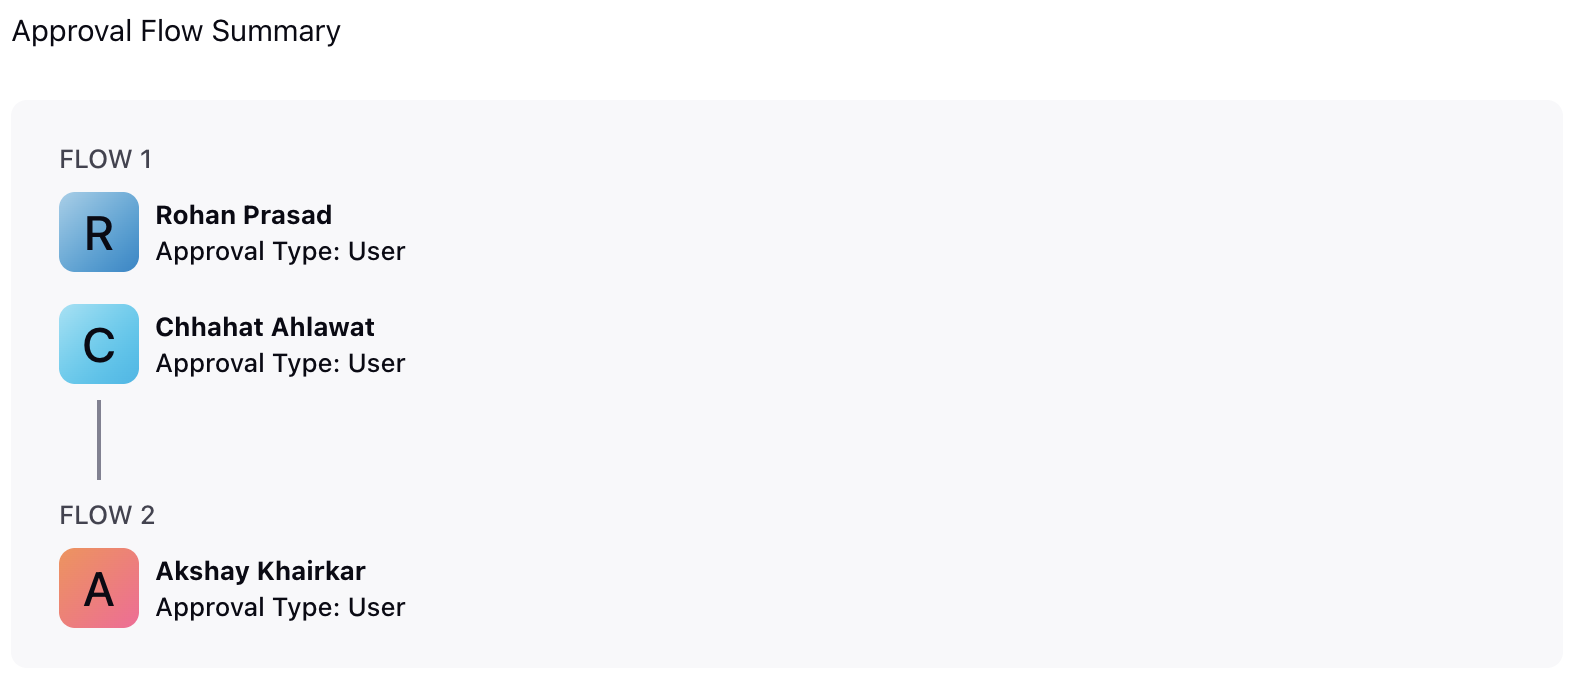
Approval Flow Summary: This section shows a preview of the Tiered Approval, including the selected approvers and approval workflows.
Click the Save button at the bottom right of the page to create the Tiered Approval with the configured details.
This completes the process of configuring Tiered Approvals for Workforce Management-specific requests.