Add components in a Request Form
Updated
Request Forms allow you to create configurable form templates for messages and campaigns using rich text & media, dropdowns, comments, attachments, etc. to raise requests. You can create request forms within Intake Requests for messages and campaigns using free-form text, picklist, date, attachment, and multi-picklist fields.
While creating forms you can add and delete questions as per your requirement.
To Add Components in Request Forms
Open your request form.
Click the Addition icon under the Form Title box to Select Question Type from the Choose Component section.
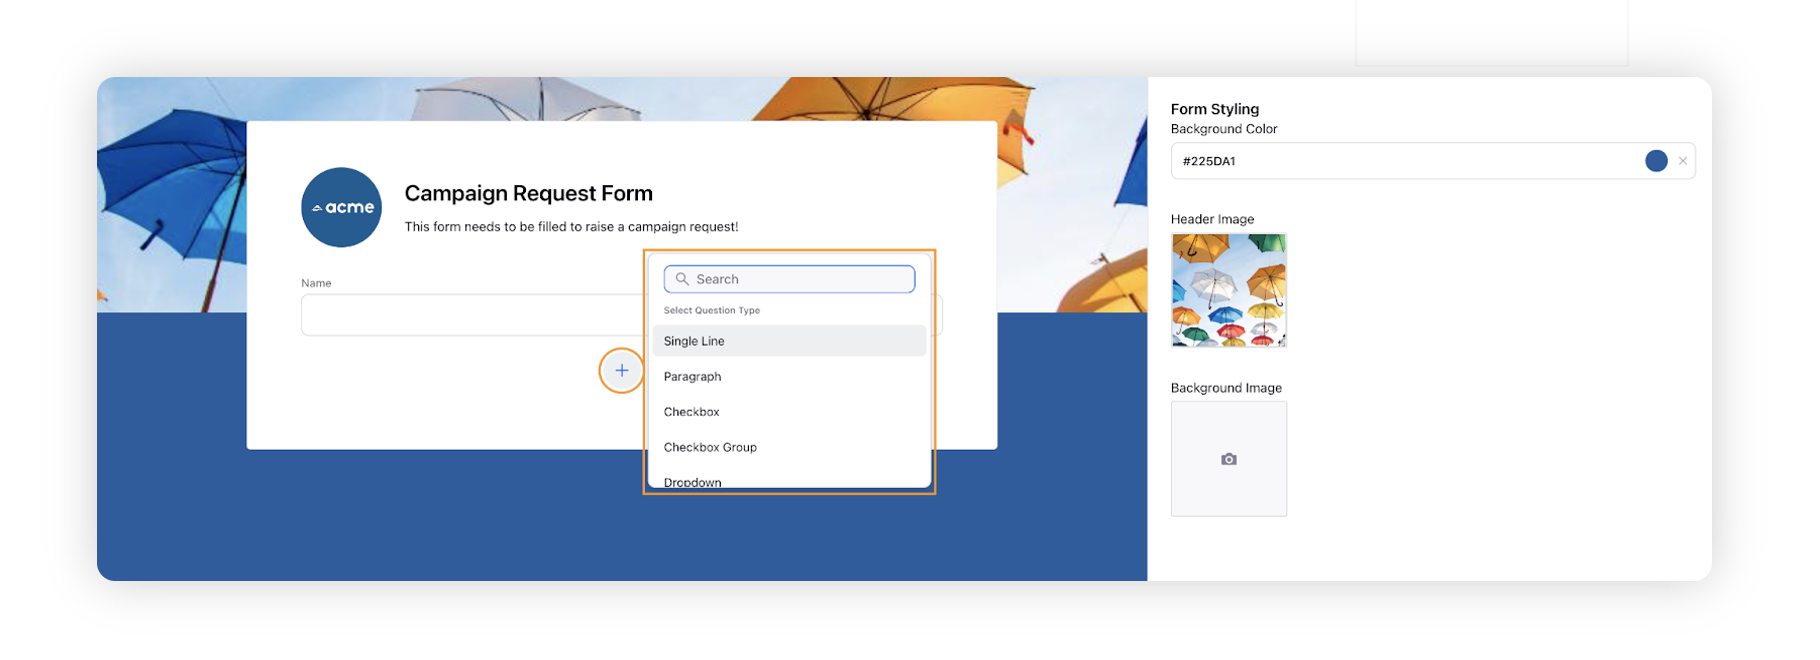
Once you have selected the desired question type, you can start adding questions in the Details pane on the right.

In the left pane, hover over a question to Choose Component, Clone, and Delete a question. Clicking on a question will open it in the Details pane where you can edit it as per your requirements.

To Reorder a component, hover over it and click on
 to select and drag the component to the required postion in the form.
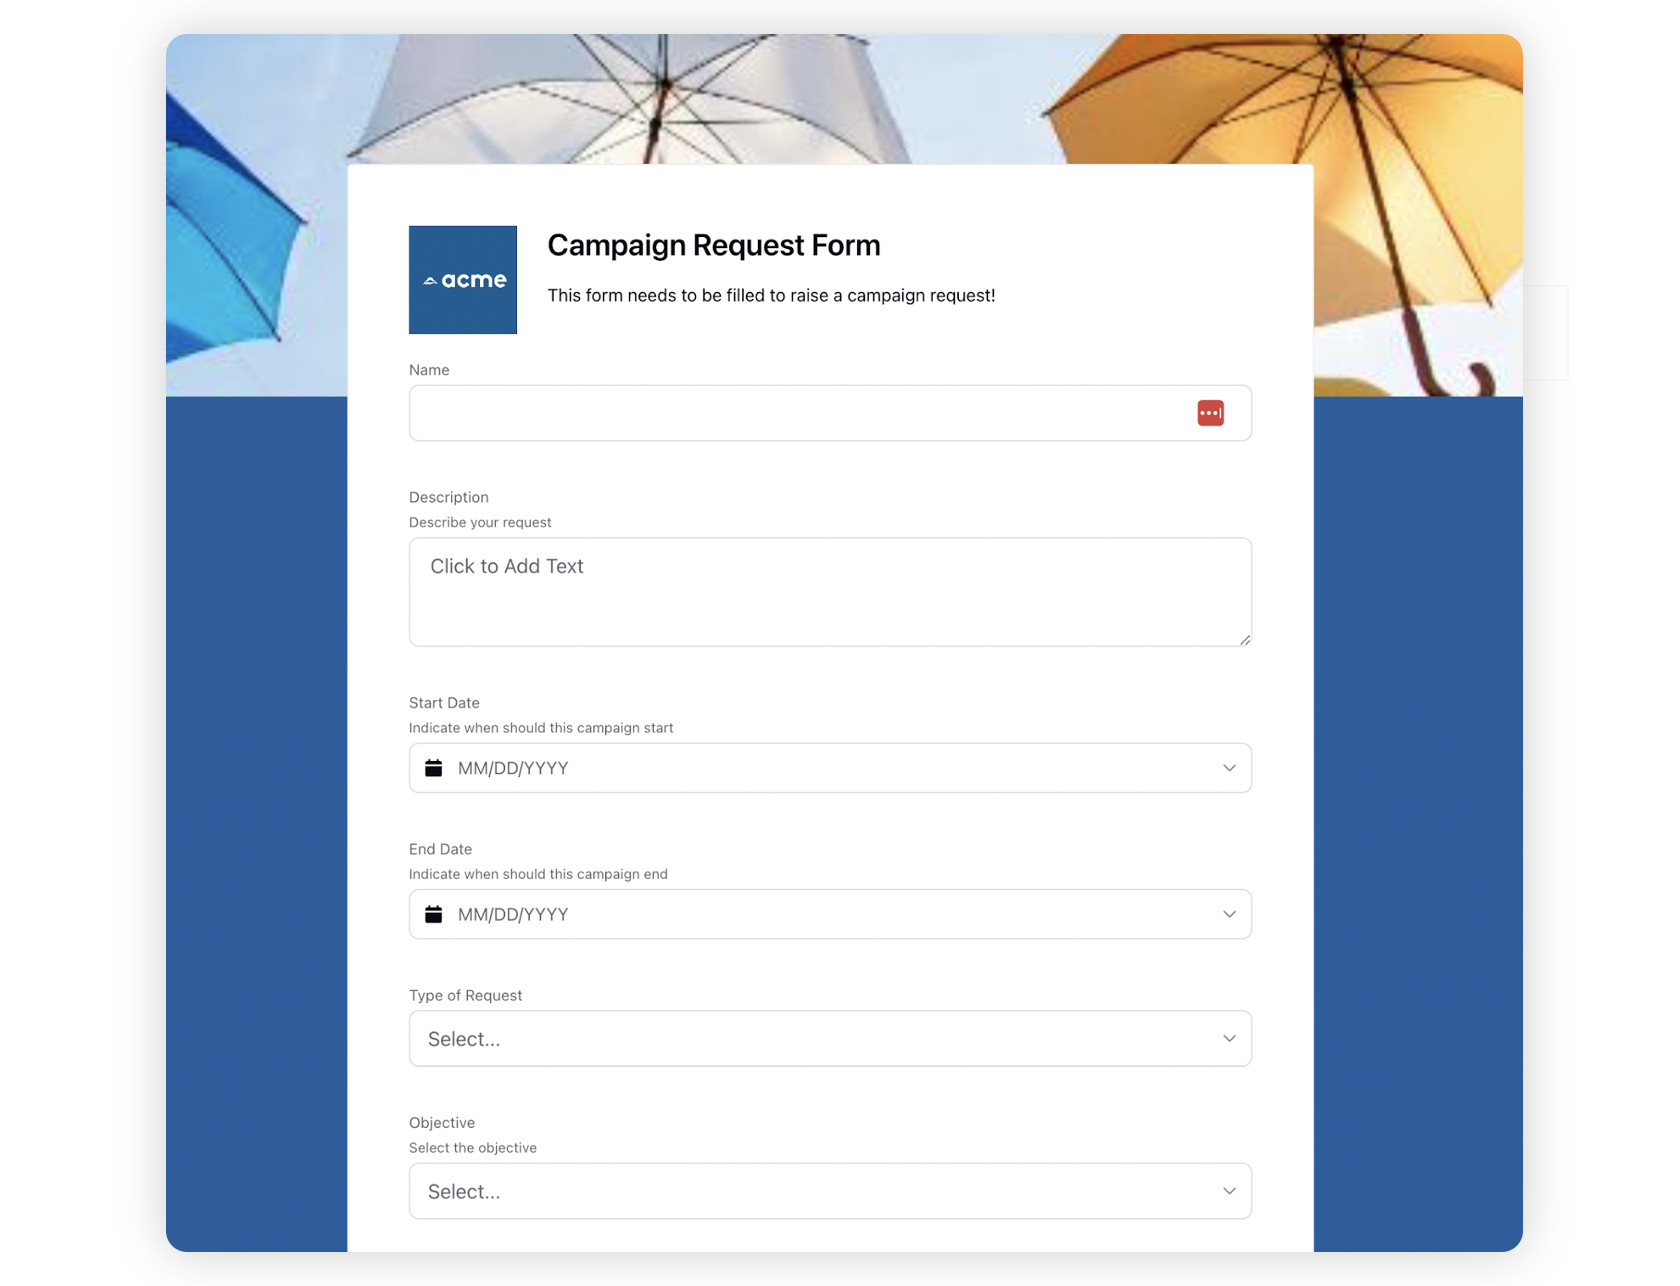
Click Preview in the top right corner of the window before saving your request form. The form will open in a new tab where you can check and preview your form.
Click Save in the bottom right corner once you have created your form.
The components:
Single Line
Paragraph
Checkbox
Checkbox Group
Dropdown
Radio Group
Multi Select
Number
Email
Phone
Date
Attachment
Custom Field: When selecting custom fields as a component, you can also create controlling custom fields to control visibility and access of other custom fields in the request form. Based on the value selected in a controlling field, you can restrict the visibility of values in dependent fields.
Example: When creating a campaign request, you can set ‘Region’ as a controlling field and ‘Country’ as the dependent field. If a user selects EMEA as the region, the Country field will display only countries within the EMEA region.
For the above example, a controlling field can be created following the steps below -
Select Custom Field as the component.
In the Details pane on the right, select Region as the custom field from the dropdown.
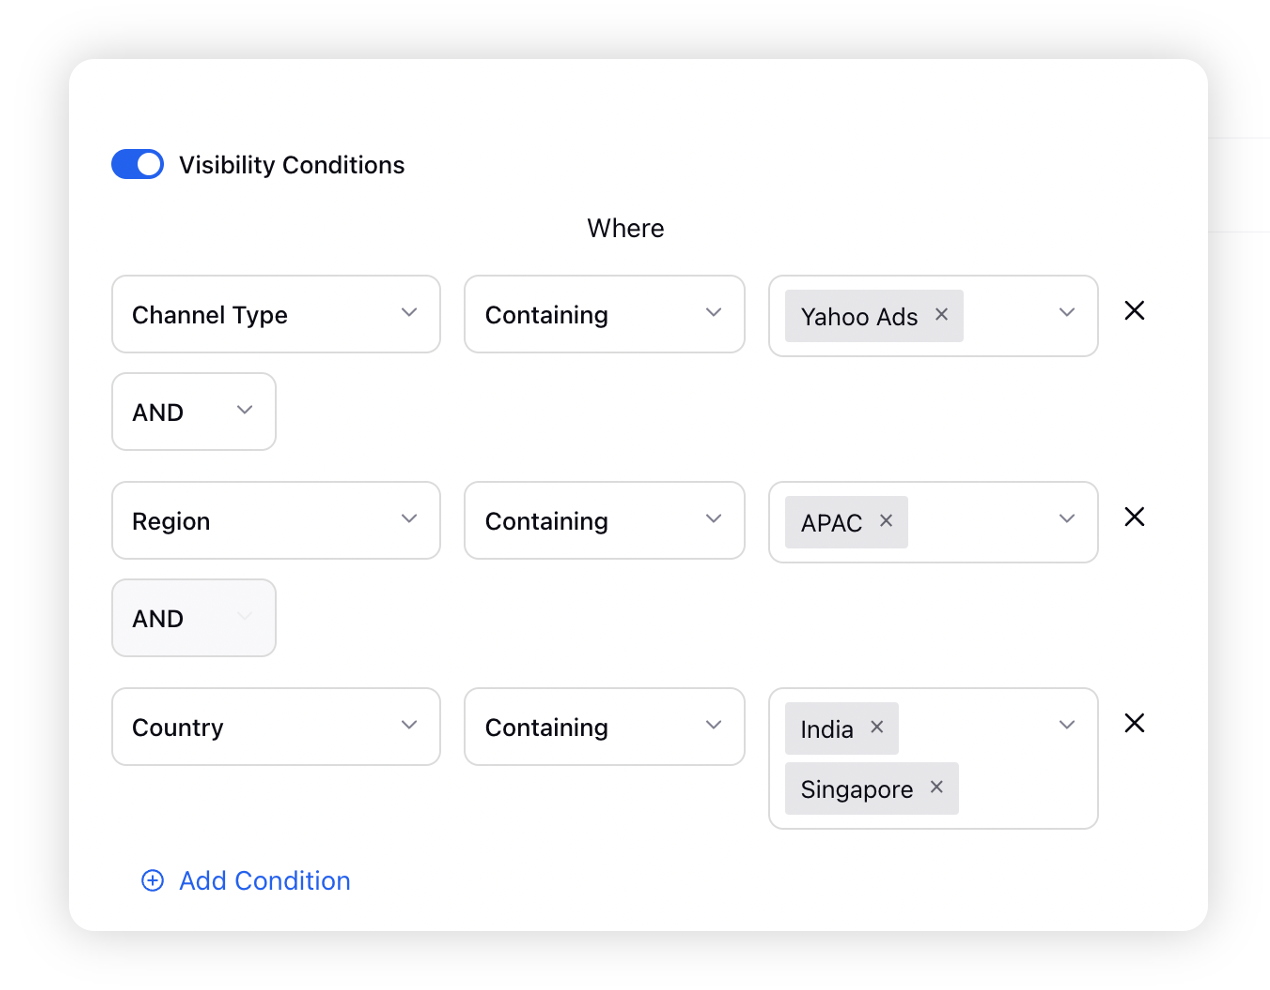
Next, add another custom field as the component and in the Details pane, switch on the Visibility Conditions toggle.
In the Where field, select Region Containing EMEA to control the visibility of the Country field.

Details Pane — Field Description
Term | Description |
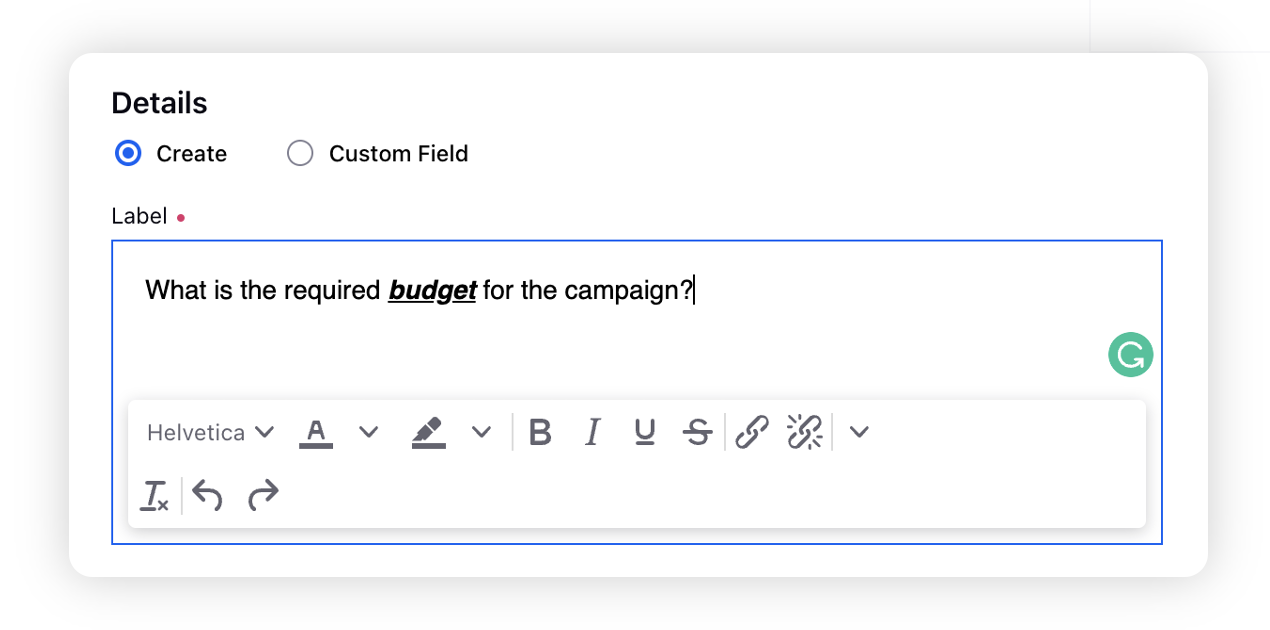
Label | Type your question in this field. You can Bold, Italic, Underline, and |
Visibility Conditions | Set Visibility Conditions from the options available in the dropdown menu. It will enable you to set the visibility of one field based on the value of another field. You can set multiple conditions by the Add Condition option. Multiple visibility conditions on a question will be separated by an AND. Click the Close icon next to a condition to remove it. |
Help Text | Provide Help Text for your customer to provide additional information regarding the question which will be visible below the Label. |
Mark Field as Mandatory | Select the Mark Field as Mandatory checkbox to mark a question mandatory. The requester will not be able to submit the form without filling in the mandatory data. |