Create a Discord Bot Account
Updated
To add your Discord Server account in Sprinklr, you must have a Discord App and a Discord Bot linked to your server. In this article, you will learn how to create a Discord Bot on a particular Discord Server.
To Create a Bot Account
To create a Discord bot, follow these steps:
1. Log in to the Discord Application Website.
2. Navigate to the application page.
3. Click the New Application button
4. Give the application a name and click Create.
5. Create a Bot User by navigating to the Bot tab and clicking Add Bot. Next, click Yes, do it! to continue.
6. Make sure that Public Bot is ticked if you want others to invite your bot.
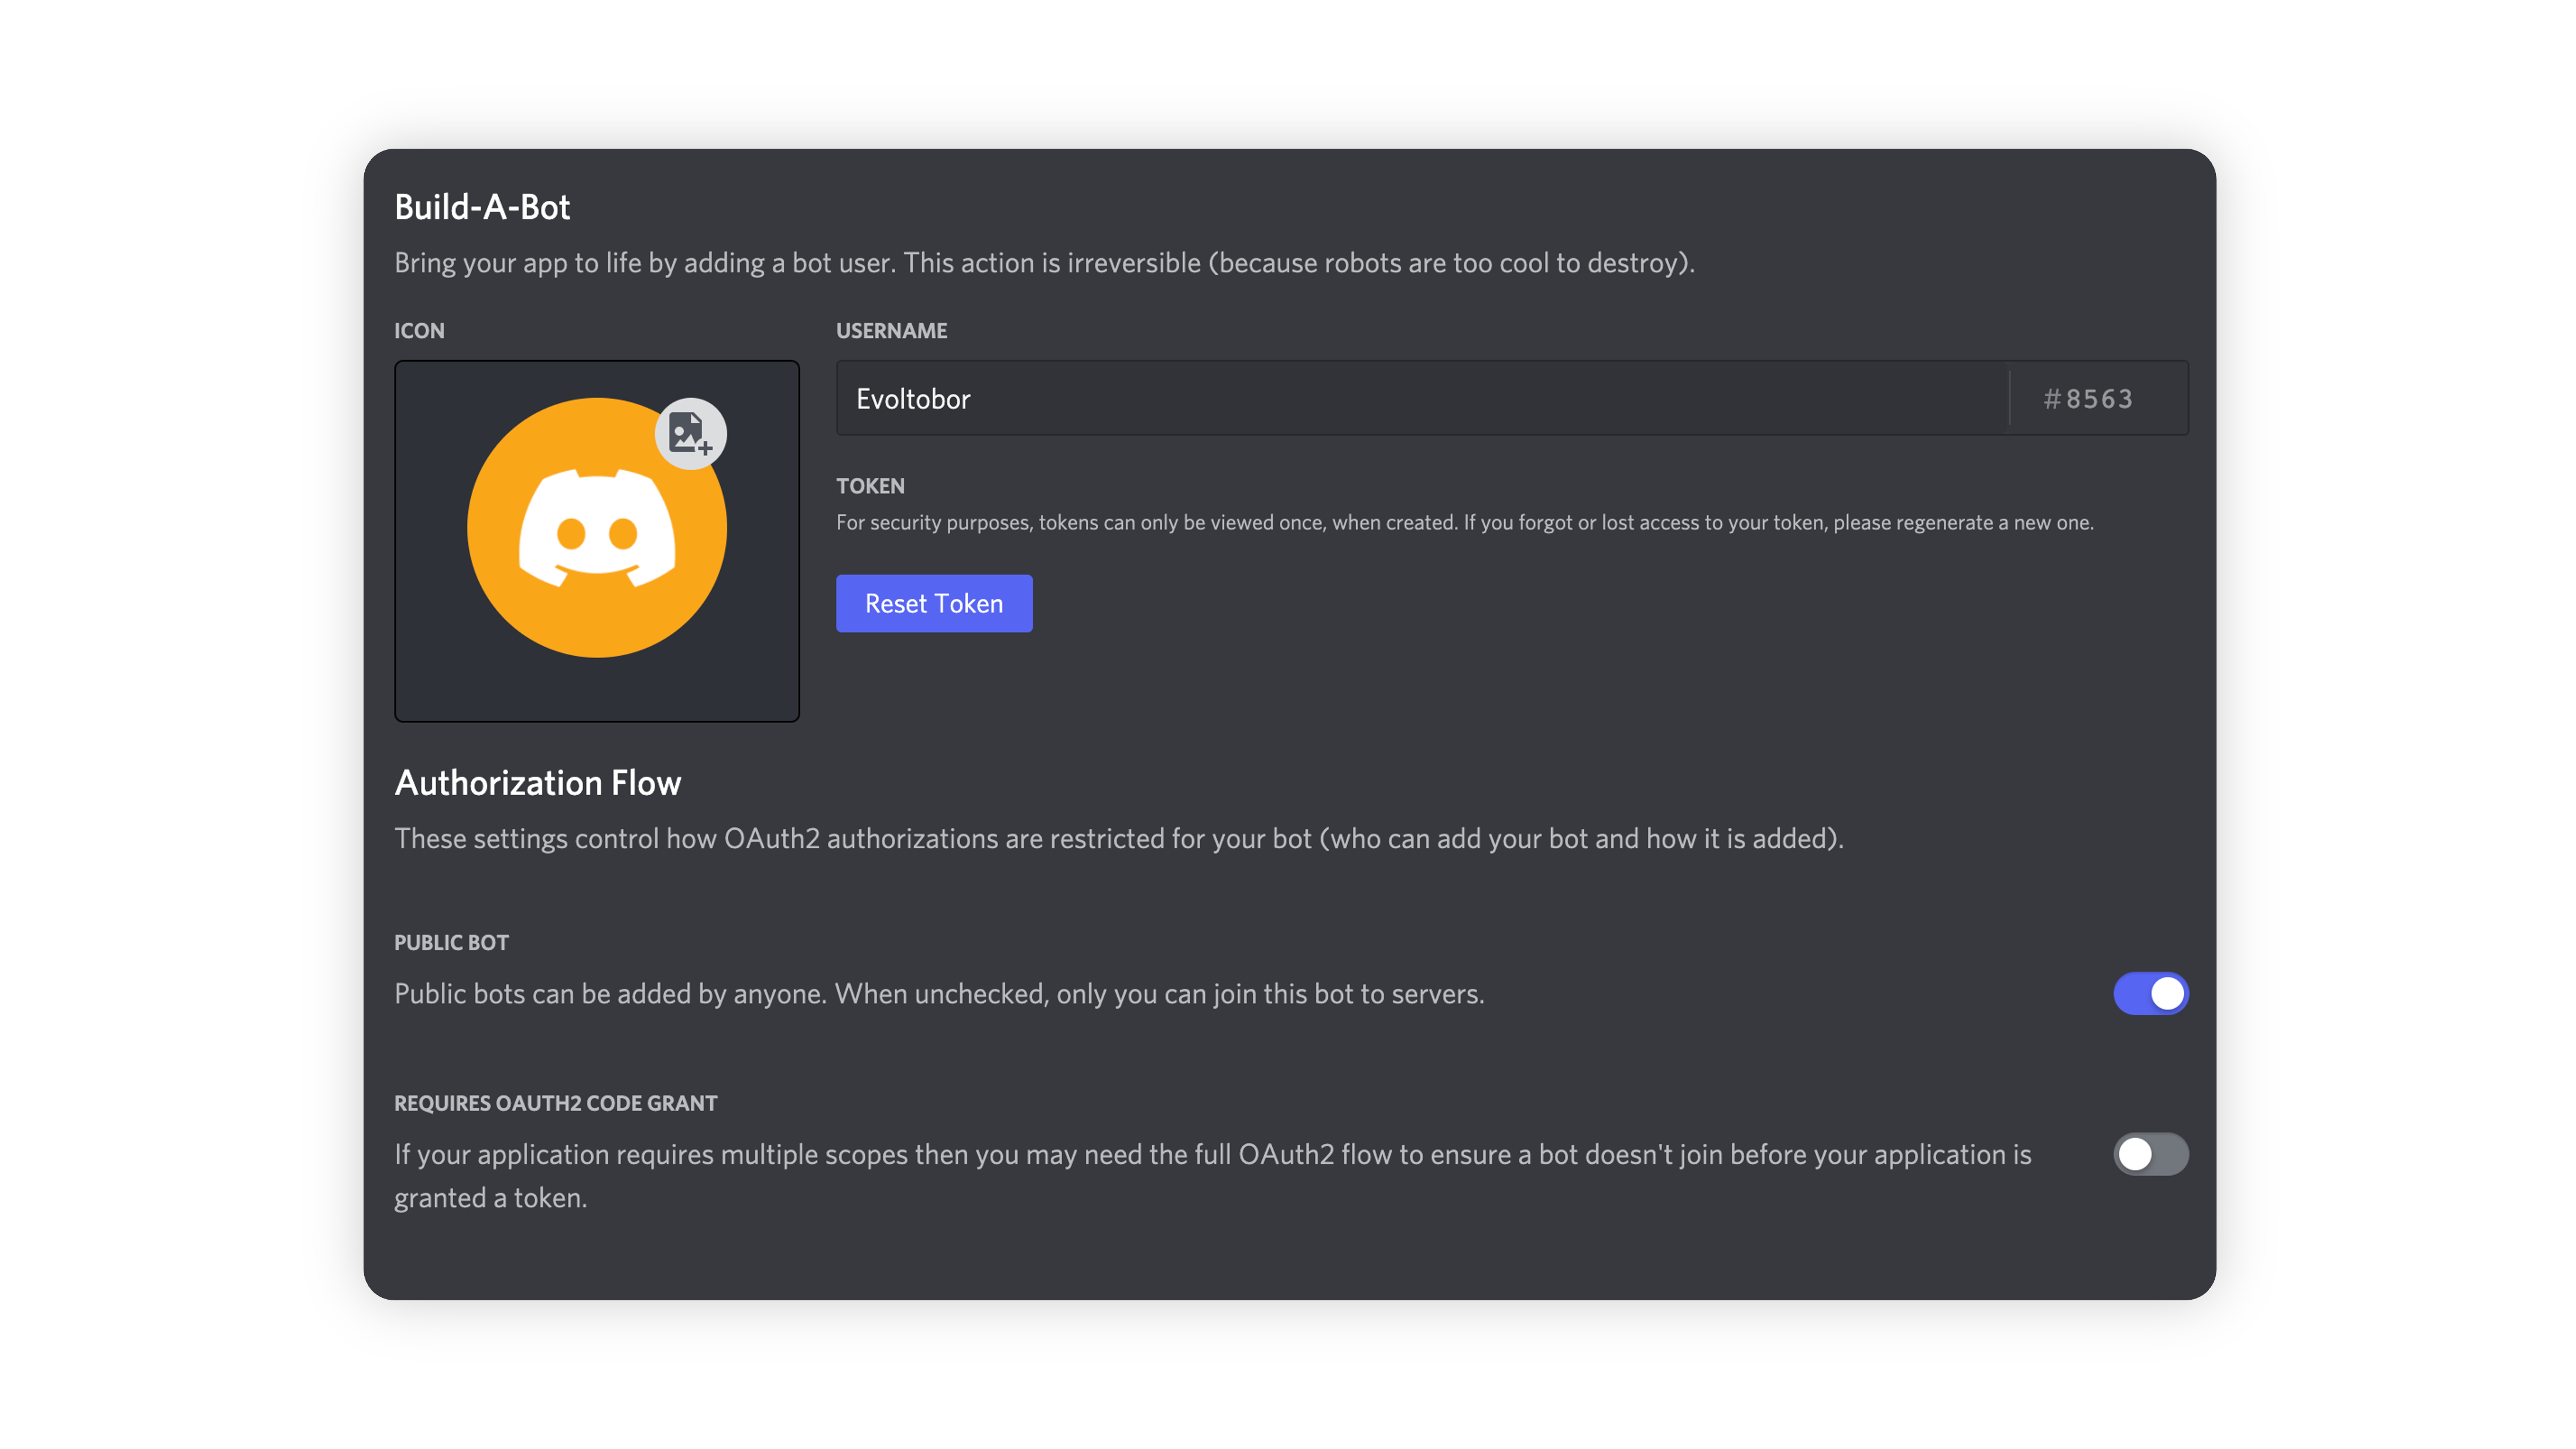
7. Additionally, you should also make sure that Require OAuth2 Code Grant is unchecked unless you are developing a service that needs it. If you’re unsure, then leave it unchecked.
8. Click on the Reset Token to generate the Bot Token.
9. Next, copy the token using the Copy button.
![]() Note: Consider the following points:
Note: Consider the following points:
This token is your bot’s password. Never share it with anyone. If someone gains access to your token, they can take control of your bot and perform harmful actions, such as leaving servers, banning members, or sending unwanted messages (like pinging everyone).
If the token was accidentally leaked, click Regenerate immediately. This will revoke the old token and create a new one. You’ll then need to update your bot to use the new token to log in.
Inviting Your Bot
You’ve created a Bot User, but it isn’t added to any servers yet. To invite your bot, you’ll need to generate an invite URL.
To invite your bot, follow these steps:
1. Log in to the Discord website.
2. Navigate to the application page.
3. Click on your bot’s page and go to the OAuth2 tab.
4. Tick the bot checkbox under Scopes.

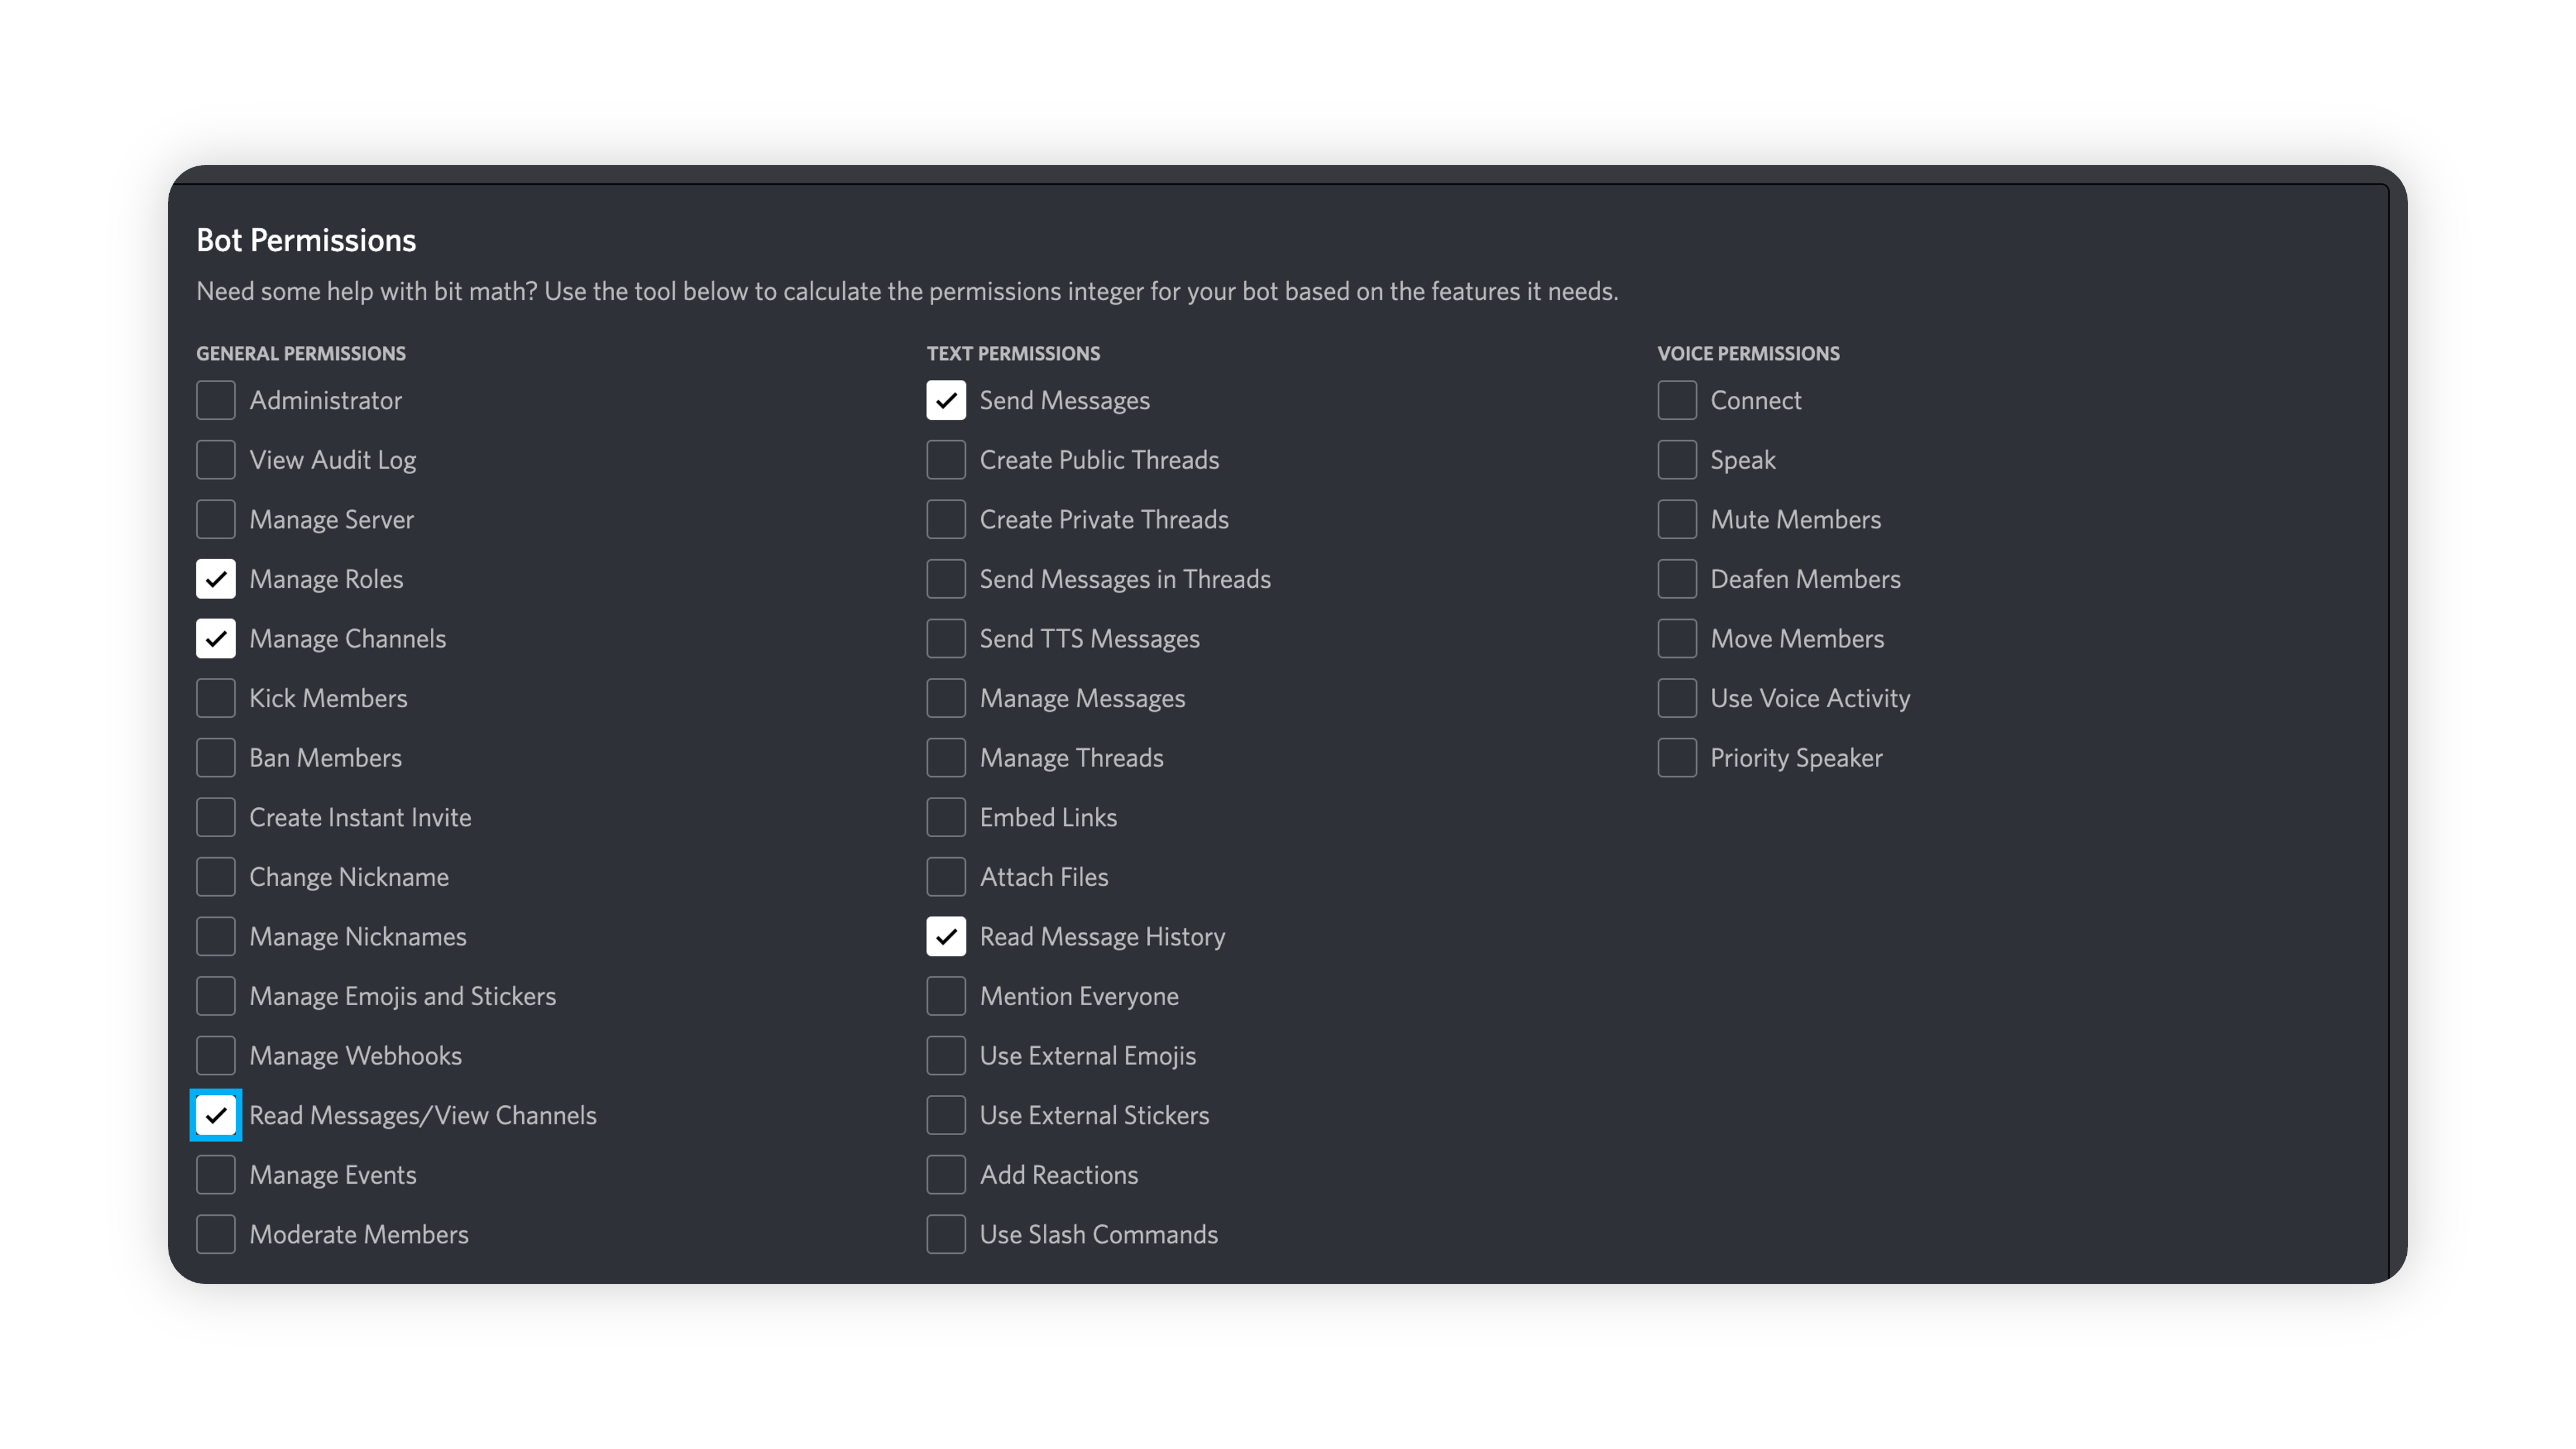
5. Tick the permissions required for your bot to function under Bot Permissions.
![]() Note: Granting your bot the Administrator permission can pose security risks.
Note: Granting your bot the Administrator permission can pose security risks.
Bot owners must have two-factor authentication (2FA) enabled for certain actions and permissions when their bot is added to servers with Server-Wide 2FA enabled. For more details, see the 2FA support page.
The resulting URL can be used to add your bot to a server. Copy and paste the URL into your browser, choose a server to invite the bot to, and click Authorize. Note that the person adding the bot needs Manage Server permissions to do so.
Intent Enabling for Bots
For bot with servers less than 100, intent enabling and saving is required to start message influx again.
For message grabbing: Enable the message content intent and save the changes.
For bots with greater than 100 servers, intent enabling+privilege intent access should be enabled from the client side to get the data.
For more information, see Message Content Privileged Intent FAQ and Bot Verification and Data Whitelisting.
