Guided Workflow Canvas - UI Capabilities
Updated
This article provides detailed information on the Guided Workflow Canvas UI capabilities.
Actions on a Node
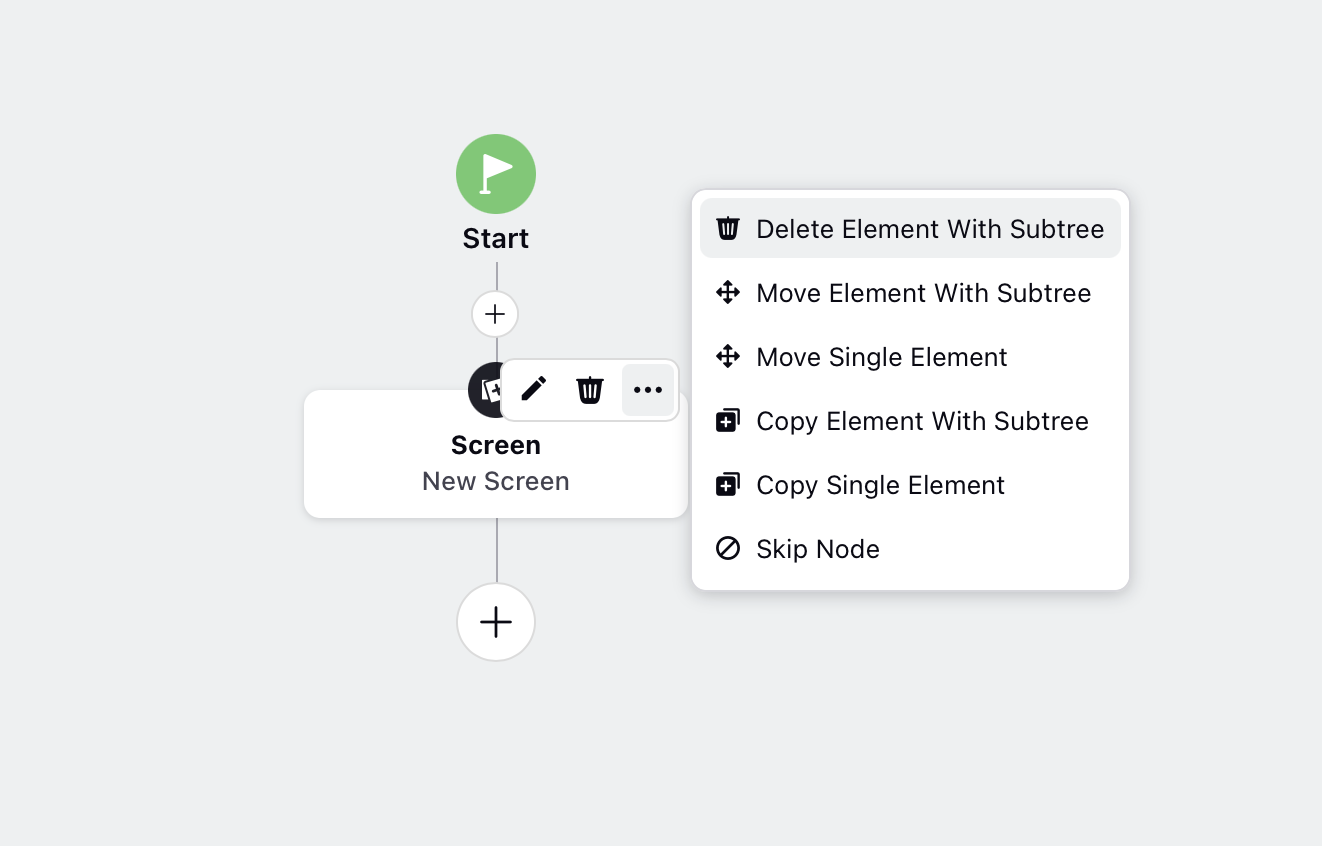
Hover over the card to perform the following quick actions:
Edit Element: Modify the properties of the element.
Delete Element: Remove the element from the workflow.
Once you click on the options icon, you can perform the following additional actions:
Delete Element with Subtree: Delete the element along with all its child elements beneath it.
Move Element with Subtree: Relocate the element, along with all its child elements, to the end of another branch.
Move Single Element: Move the element to any location within the structure, except directly above or below its current position.
Copy Element with Subtree: Copy the element and all its child elements, then paste them at the end of the workflow or into another guided workflow.
Copy Single Element: Copy a single element and paste it anywhere within the structure.
Skip Node: Skip the current node within the guided workflow.
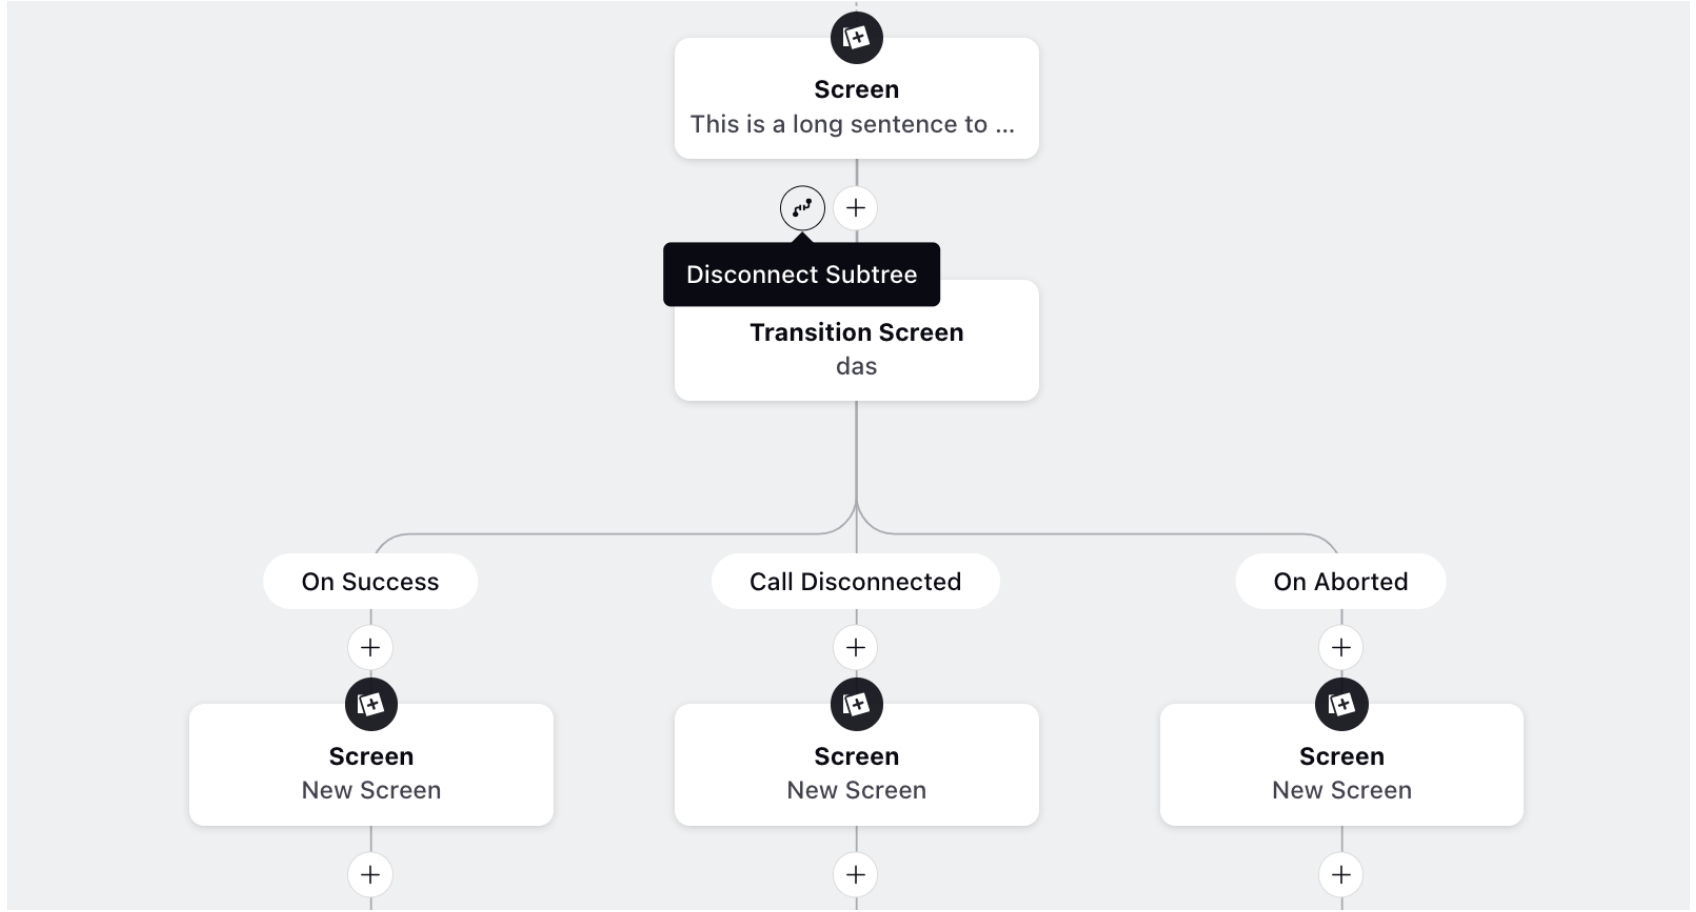
Disconnect Subtree: Disconnect the element and all its child elements. These can be reconnected later if needed.
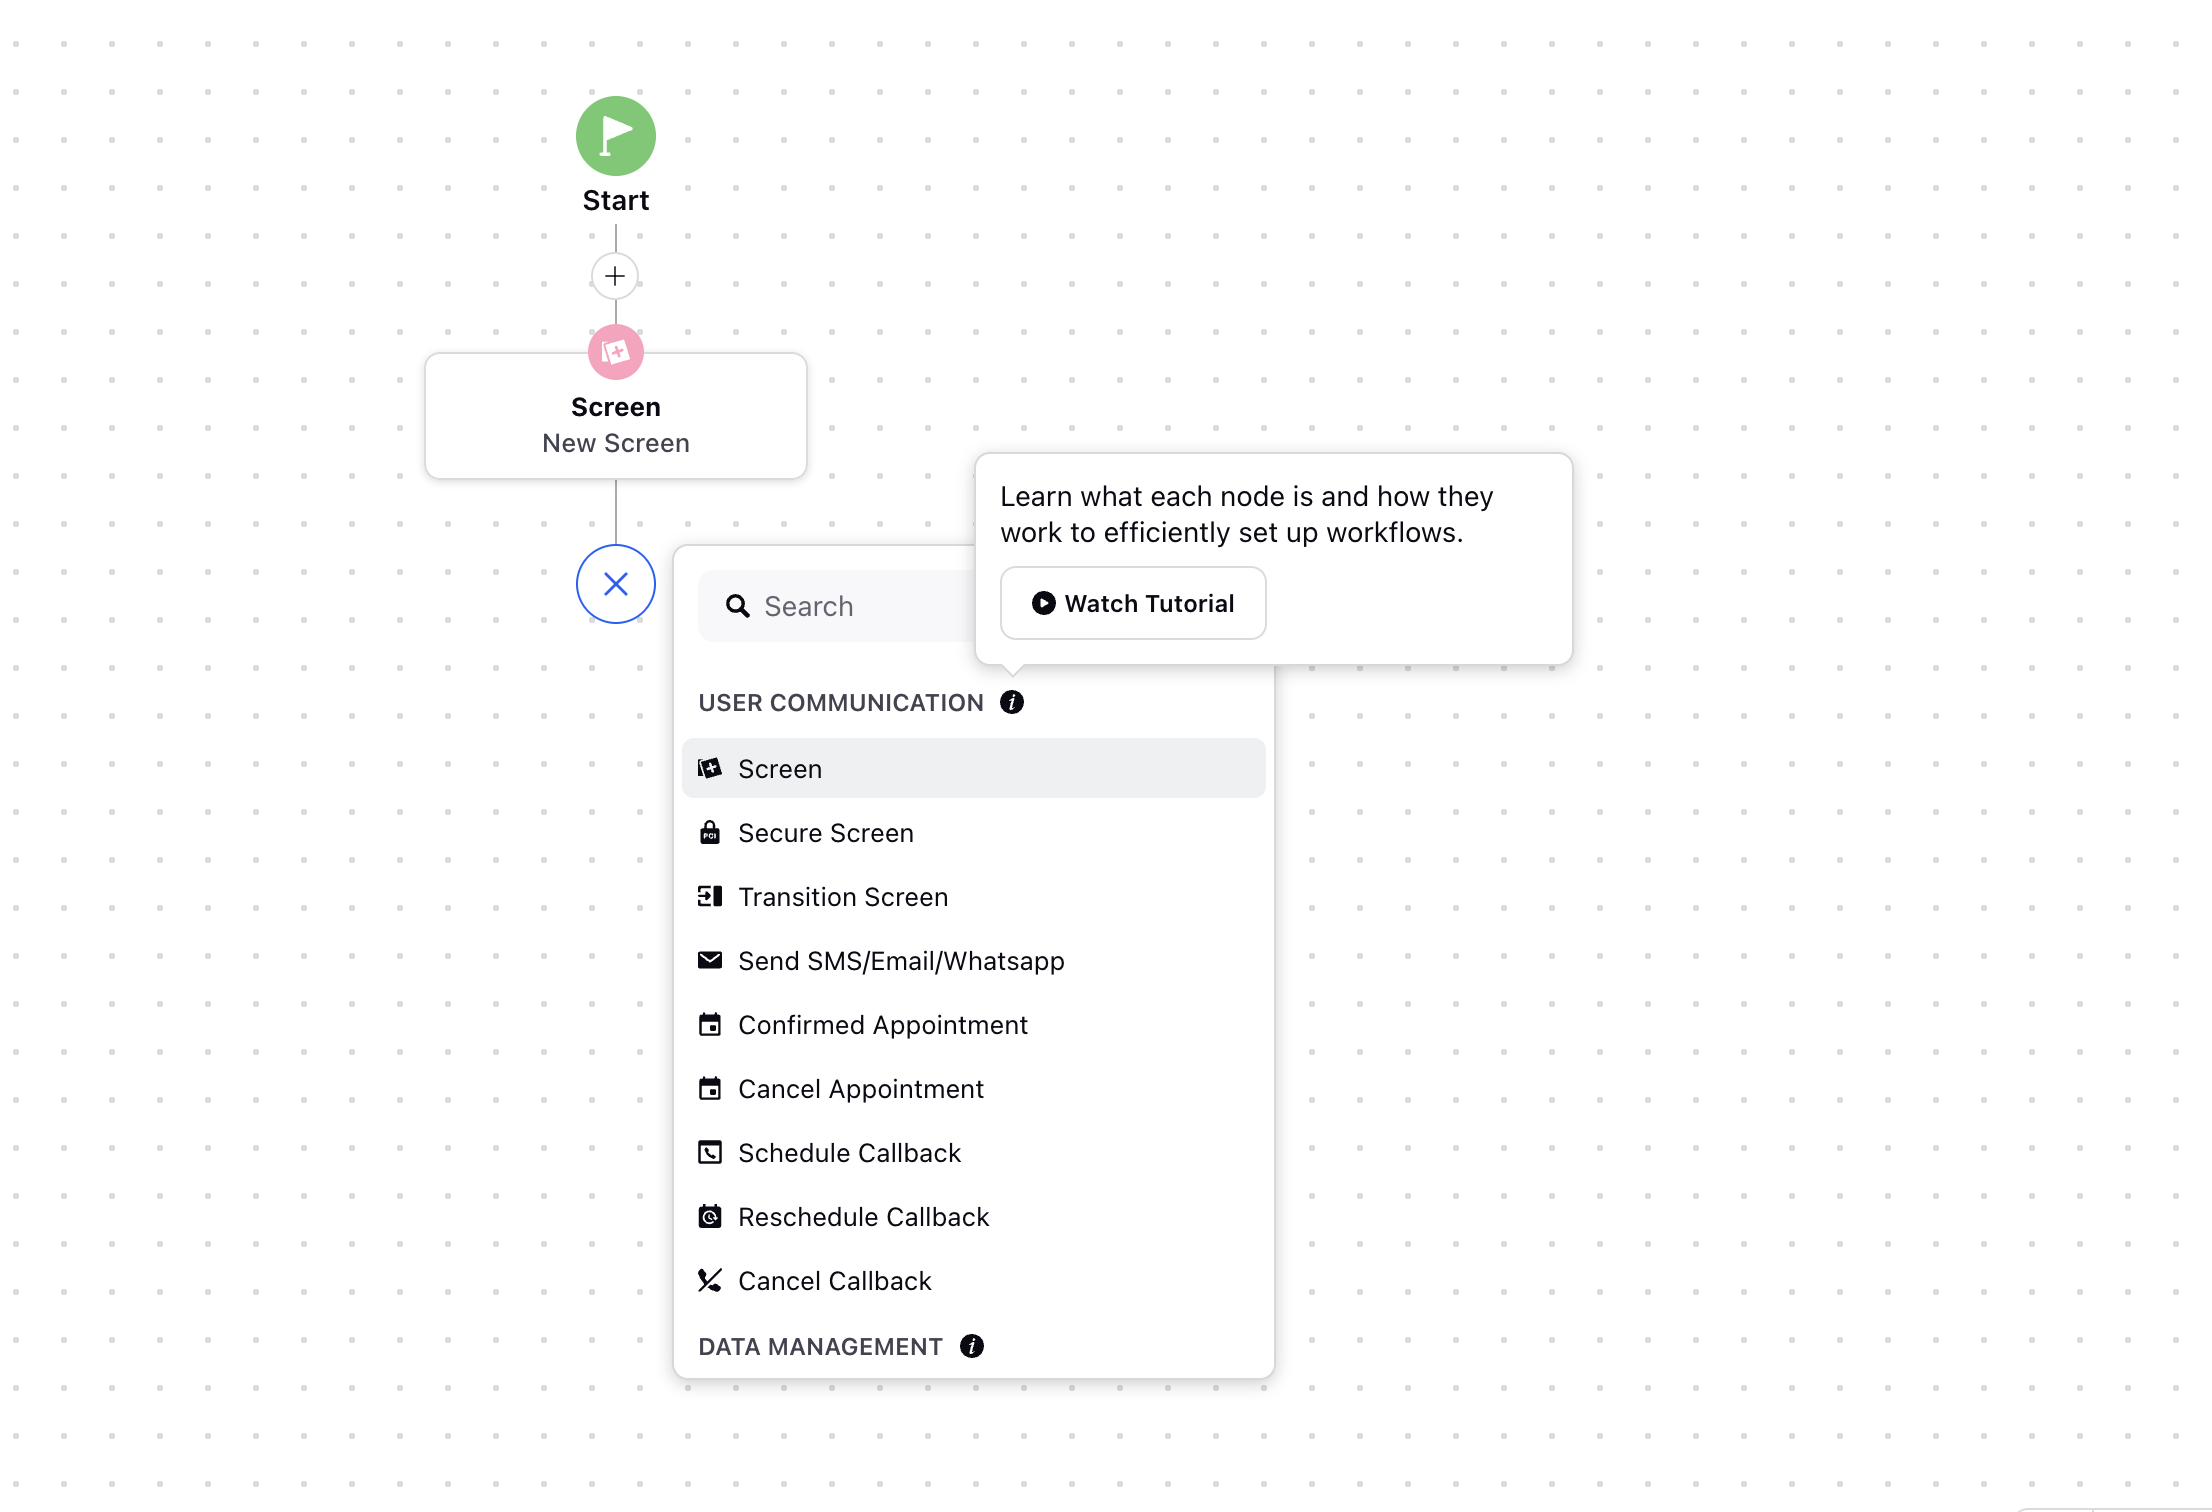
Watch Tutorial
You can check the tutorials for each category level. Click on the information icon next to the node category name and then click Watch Tutorial in the pop-up to view a video walkthrough that explains how the nodes work and how you can use them to efficiently configure your workflow. These tutorials are available at each node and category level.
Enable Progress Bar
By clicking on the Settings icon located at the top, you can enable the progress bar feature in the guided workflow. This progress bar visually represents the overall progress of the workflow to users that has executed at the current stage.
Note: Progress Bar will be applicable only on agent-facing guided workflows executed in the Quick window.

Enable Progress Timeline
By enabling the progress timeline, customers can view a timeline of the steps executed in the workflow. It allows customers to track their progress and see which steps have been completed and which are still pending.
Note: The progress timeline will apply only to agent-facing guided workflows executed in the Quick window.

Enable Screen Telemetry
The Screen Telemetry feature, also known as Agent Activity Tracking or Guided Workflow Telemetry, captures detailed insights into how agents interact with guided workflows. It tracks metrics like scroll depth, button clicks, and time spent on each screen, helping you identify workflow bottlenecks, optimize user experience, and improve overall productivity through data-driven decisions.

Version History
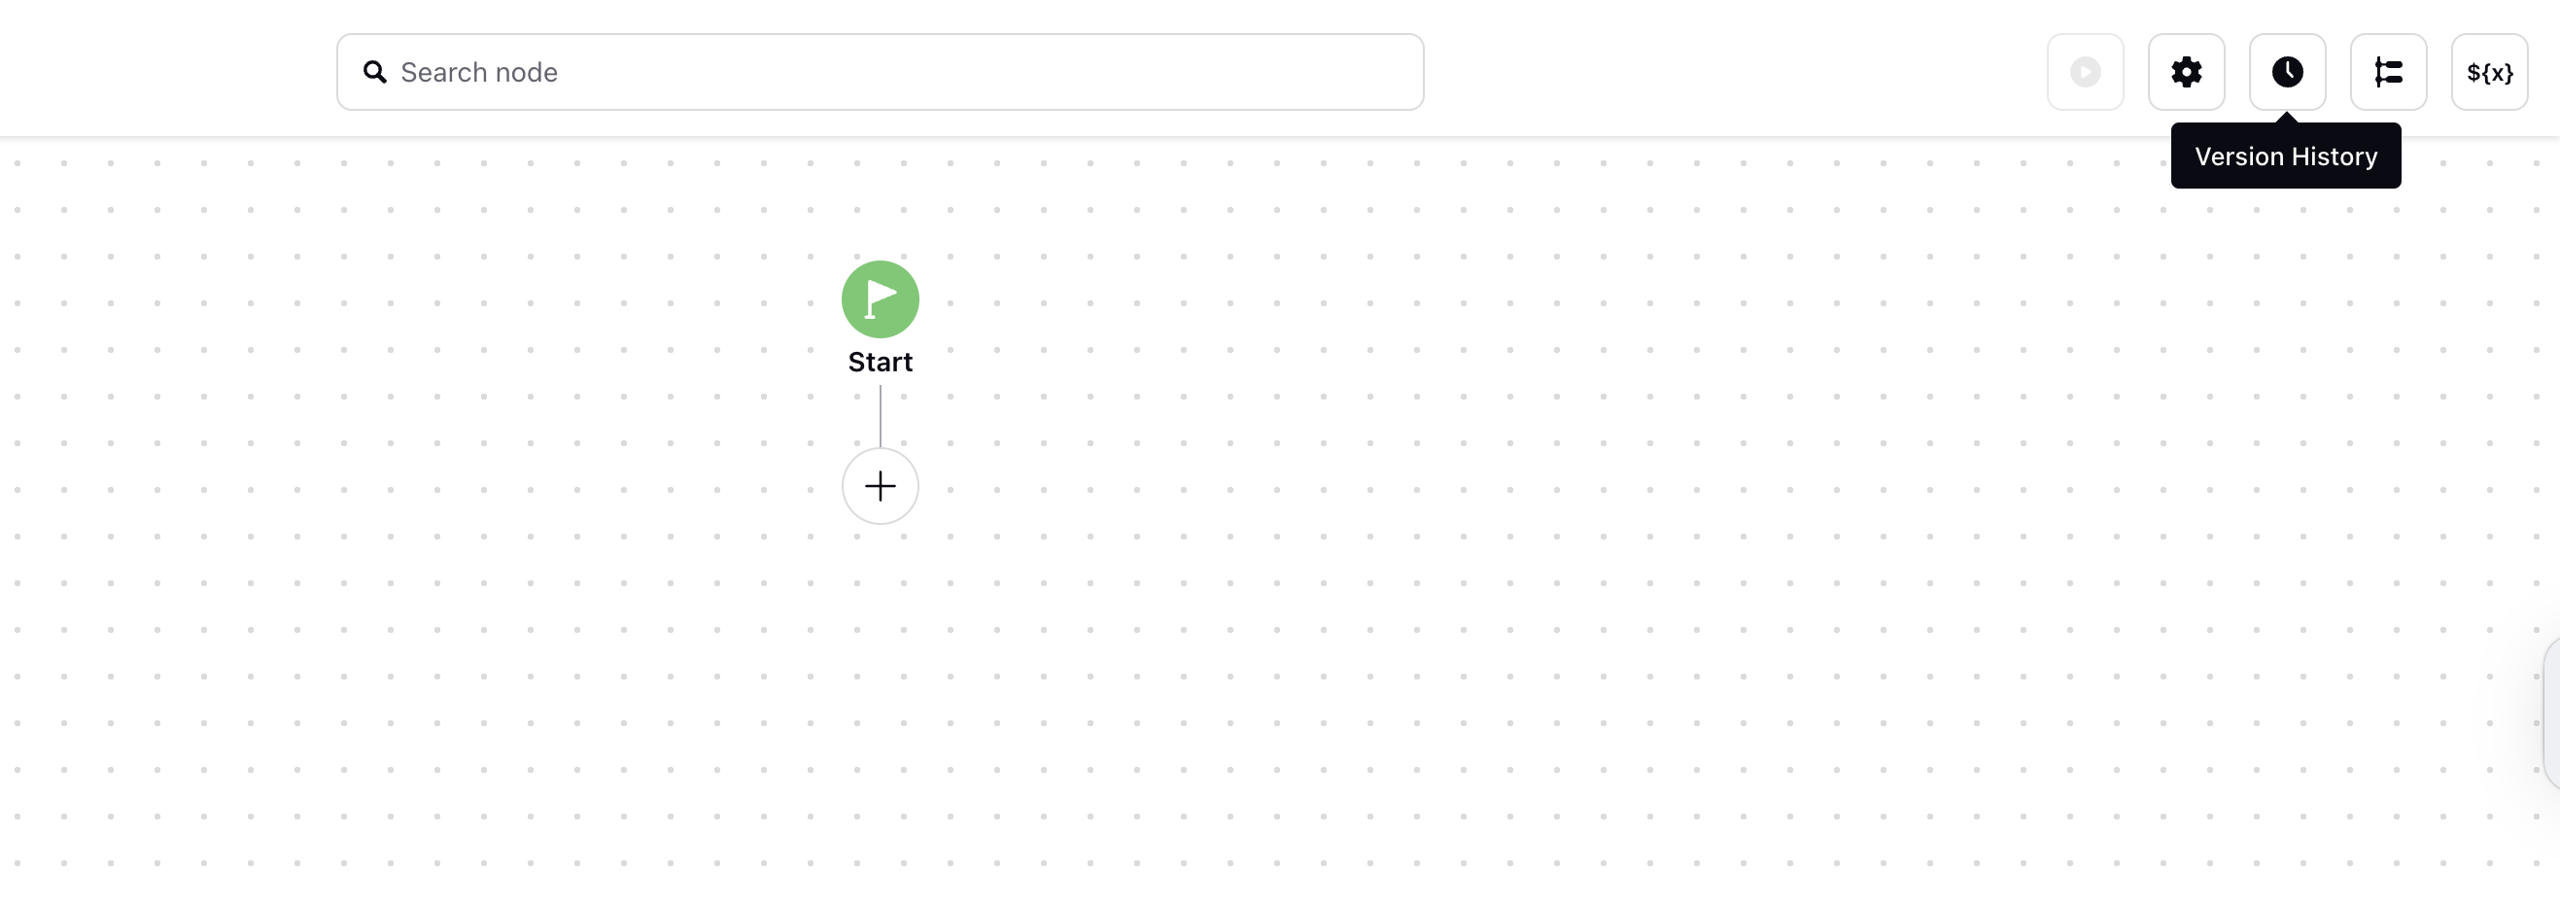
The Version History feature allows you to view all previously saved versions of a Guided Workflow in one place. From this history, you can choose to preview, restore, or compare any two versions using the Version Comparator. This helps you track changes over time, revert to an earlier version if needed, and ensure that your workflow evolves smoothly without losing important updates.
Execute
You can execute the Guided Workflow from here. Once you click this button, you have to select the correct Entity Type as Case and then select the Case Number. Once done, click Execute.

Manage Resources
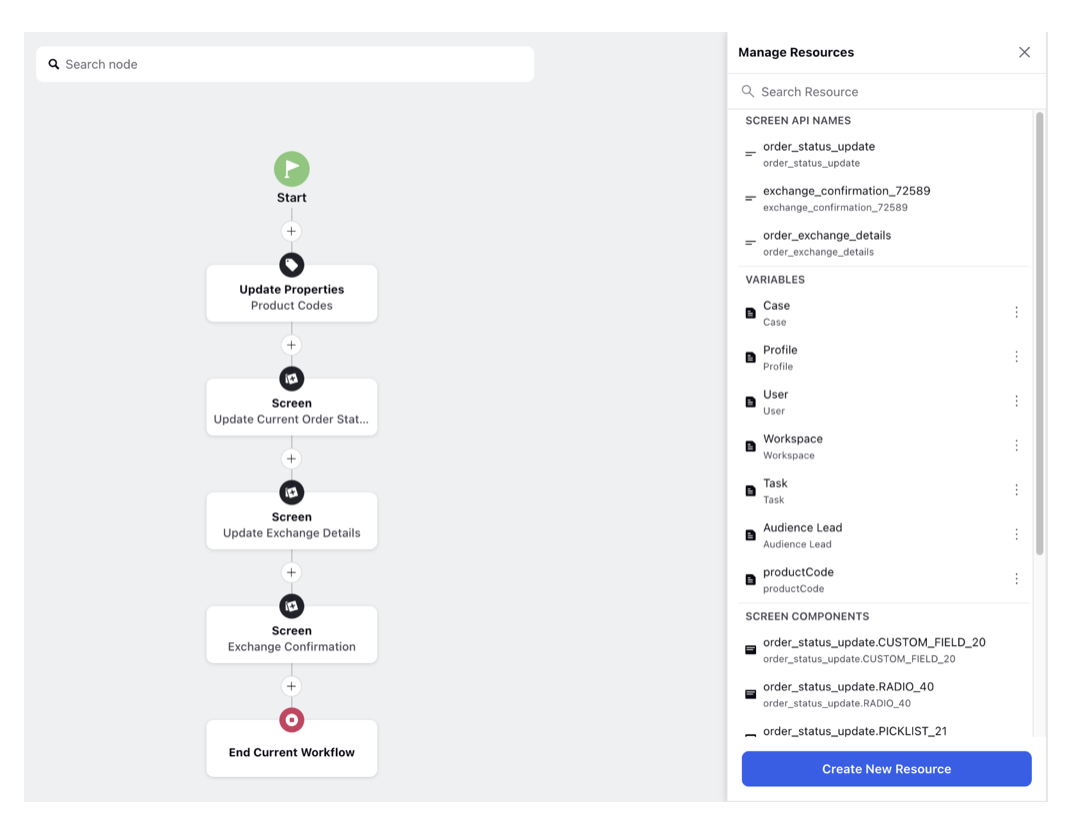
The Manage Resources section is used to view various resources created so far inside the guided workflow and to create and edit variables. To mark variables as reportable, the variable must be edited and marked as available for reporting. It also provides the option of creating new variables.

New Resource
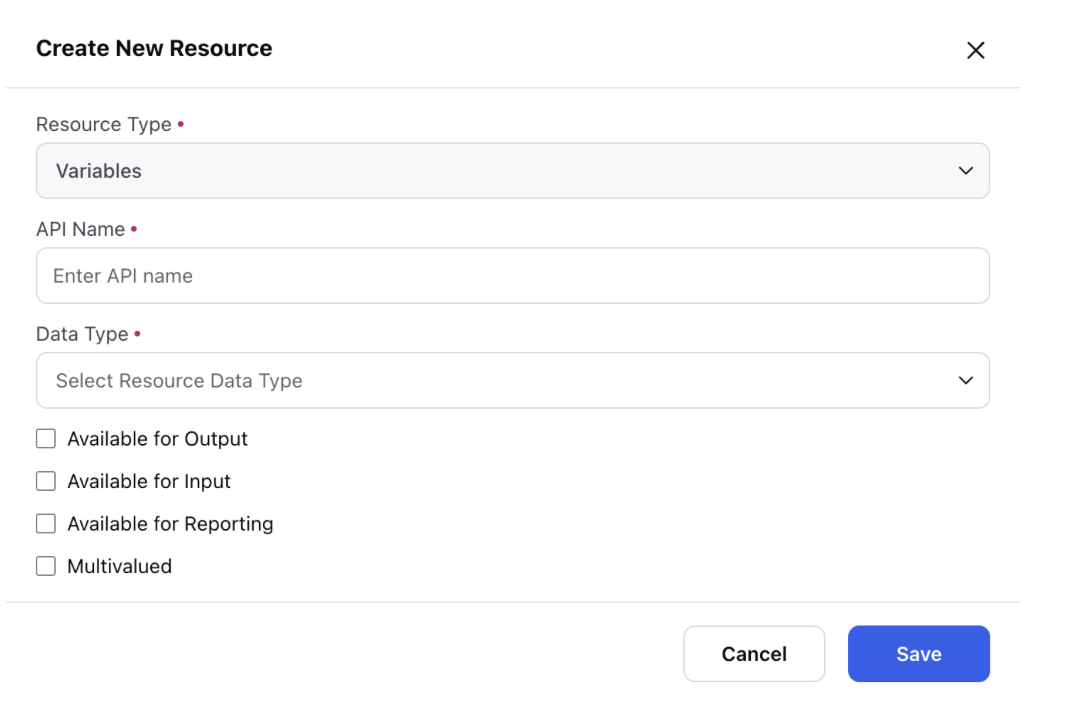
A new resource can be created by clicking on the ‘Create New Resource’ button, which opens up a screen to enter the API name, data type, and variable permissions – ‘Available for Output’, ‘Available for Input’, ‘Available for Reporting’, and ‘Multivalued’.
Activity
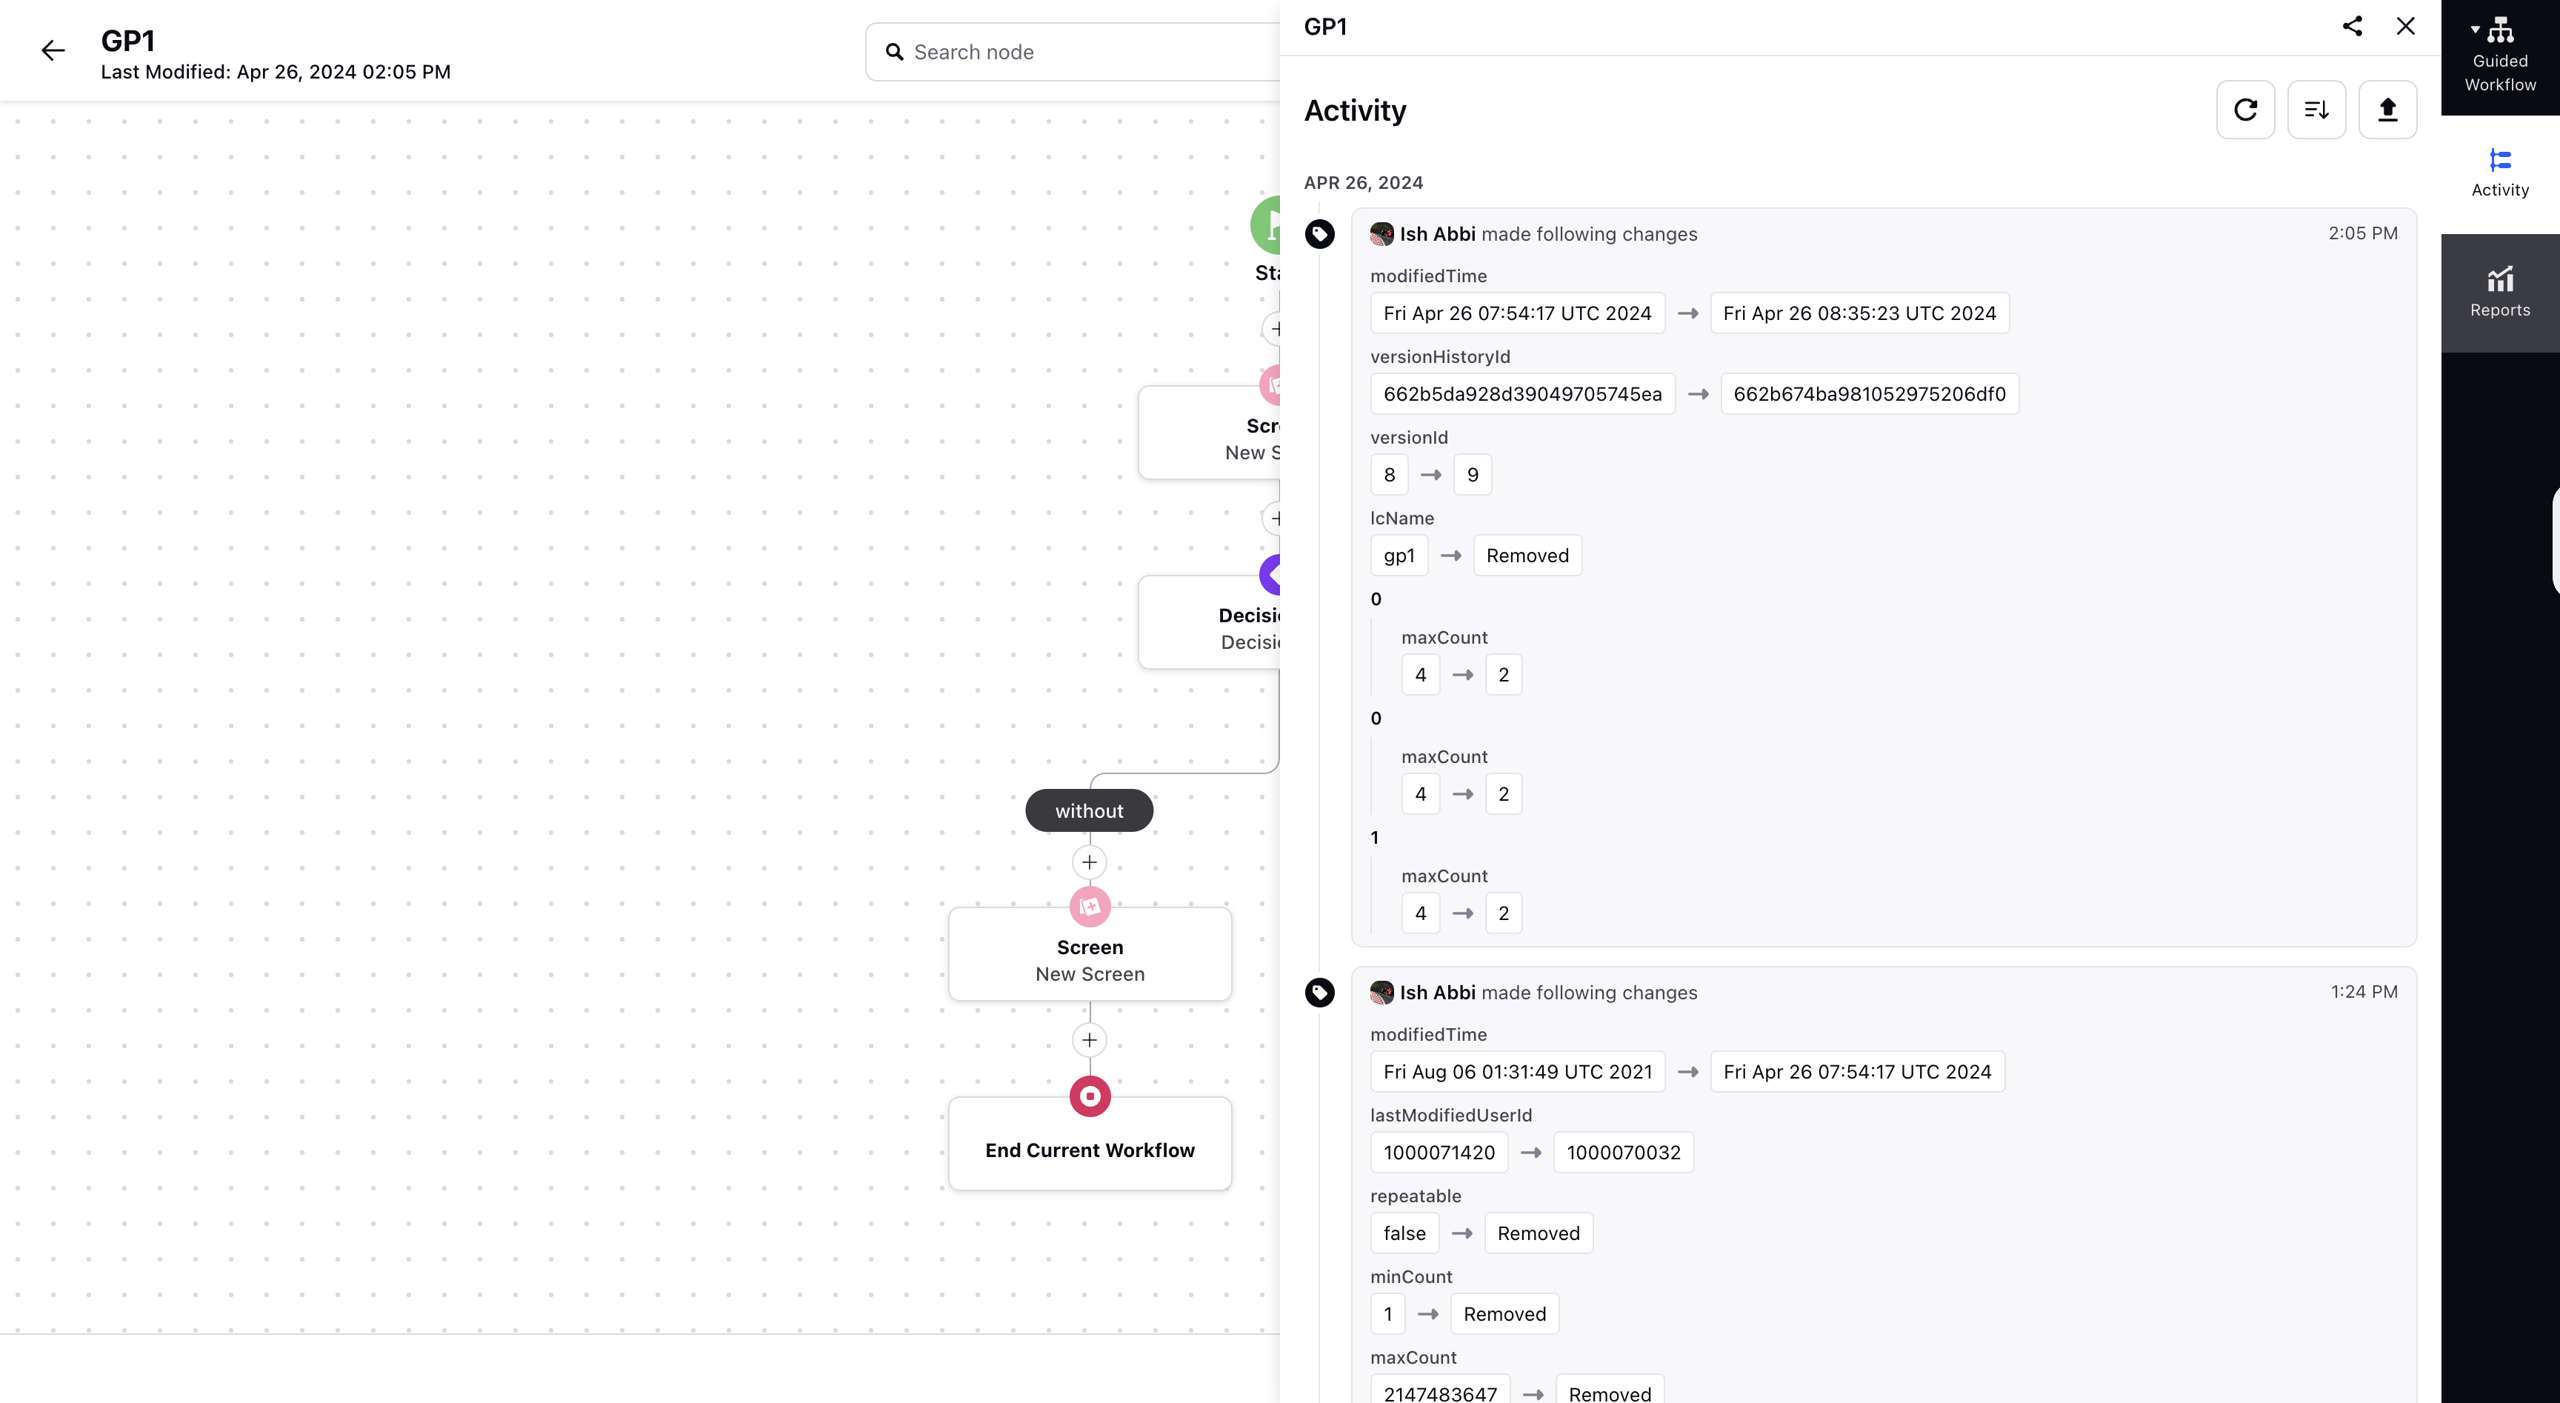
The Activity pane in the Guided Workflow provides a log of changes made within the workflow, along with the details of the person who made each change. This log keeps track of the modifications, updates, and actions performed on the workflow, allowing users to monitor and review the workflow's revision history.
Reports
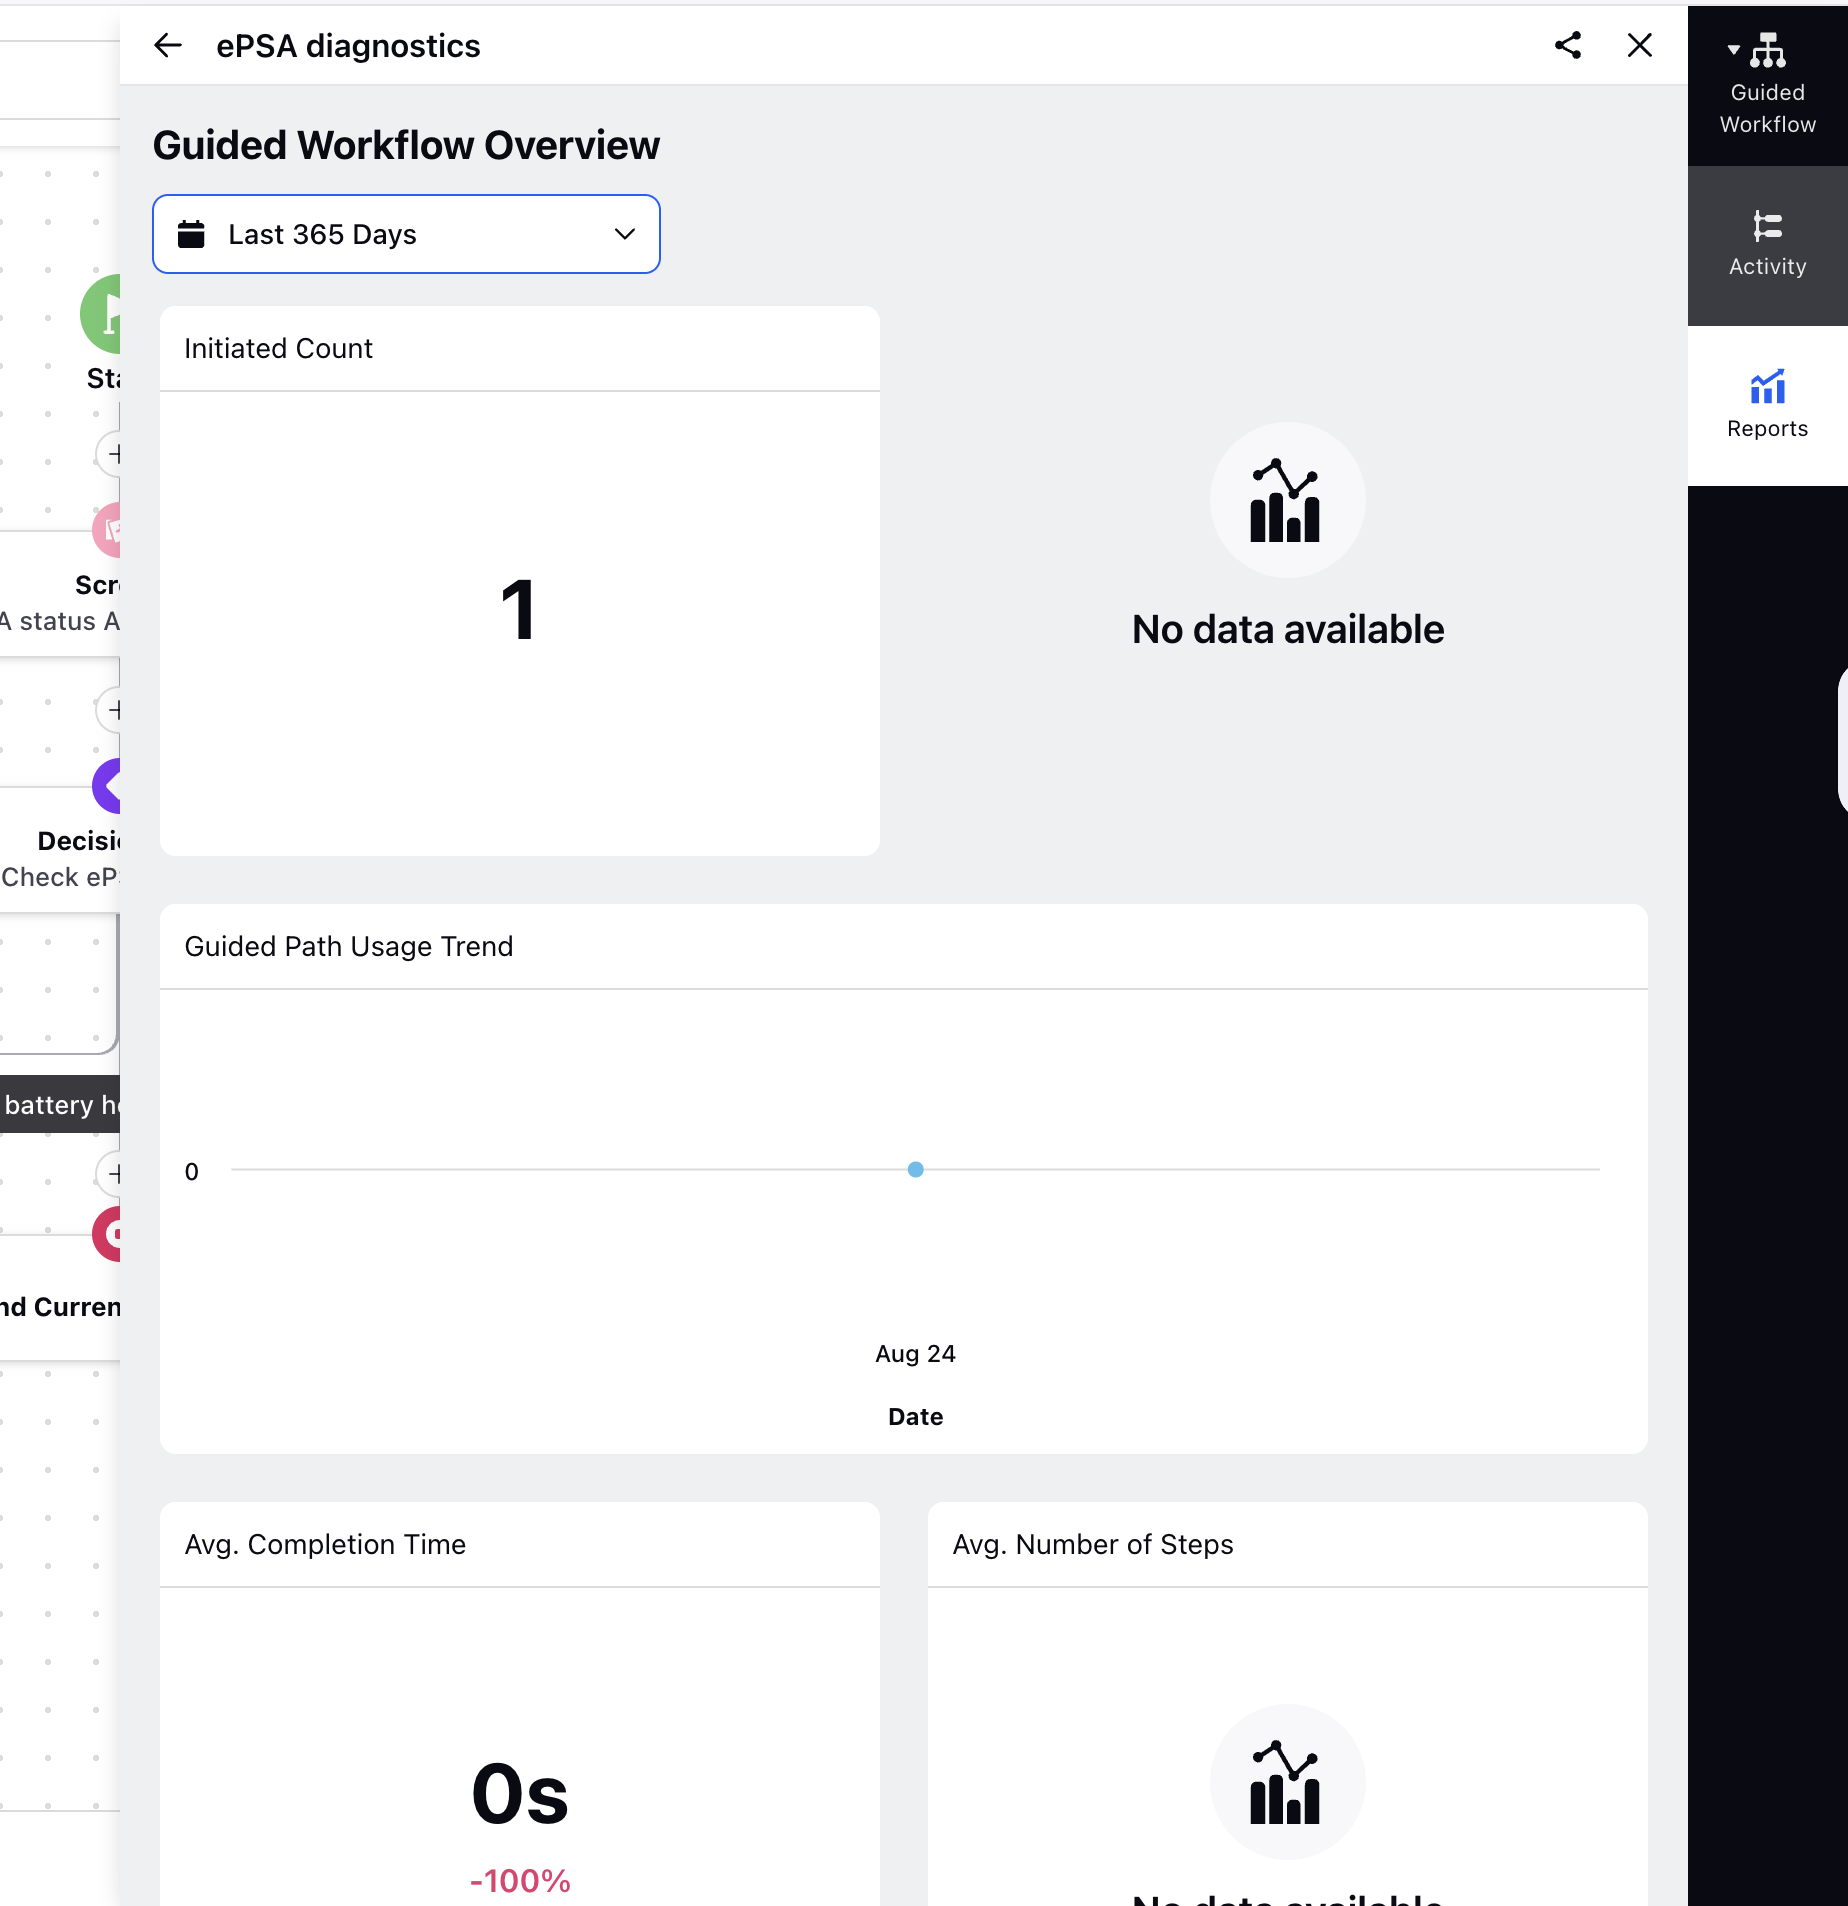
The Reports pane can be used to view the usage statistics of the guided workflow. The user can select the relevant period to view execution, usage, and completion metrics. The Guided Workflow Canvas offers a user-friendly, visual platform for designing, configuring, and managing workflows with features like customizable nodes, decision points, real-time visualization, and seamless integration, enabling efficient workflow creation and optimization.
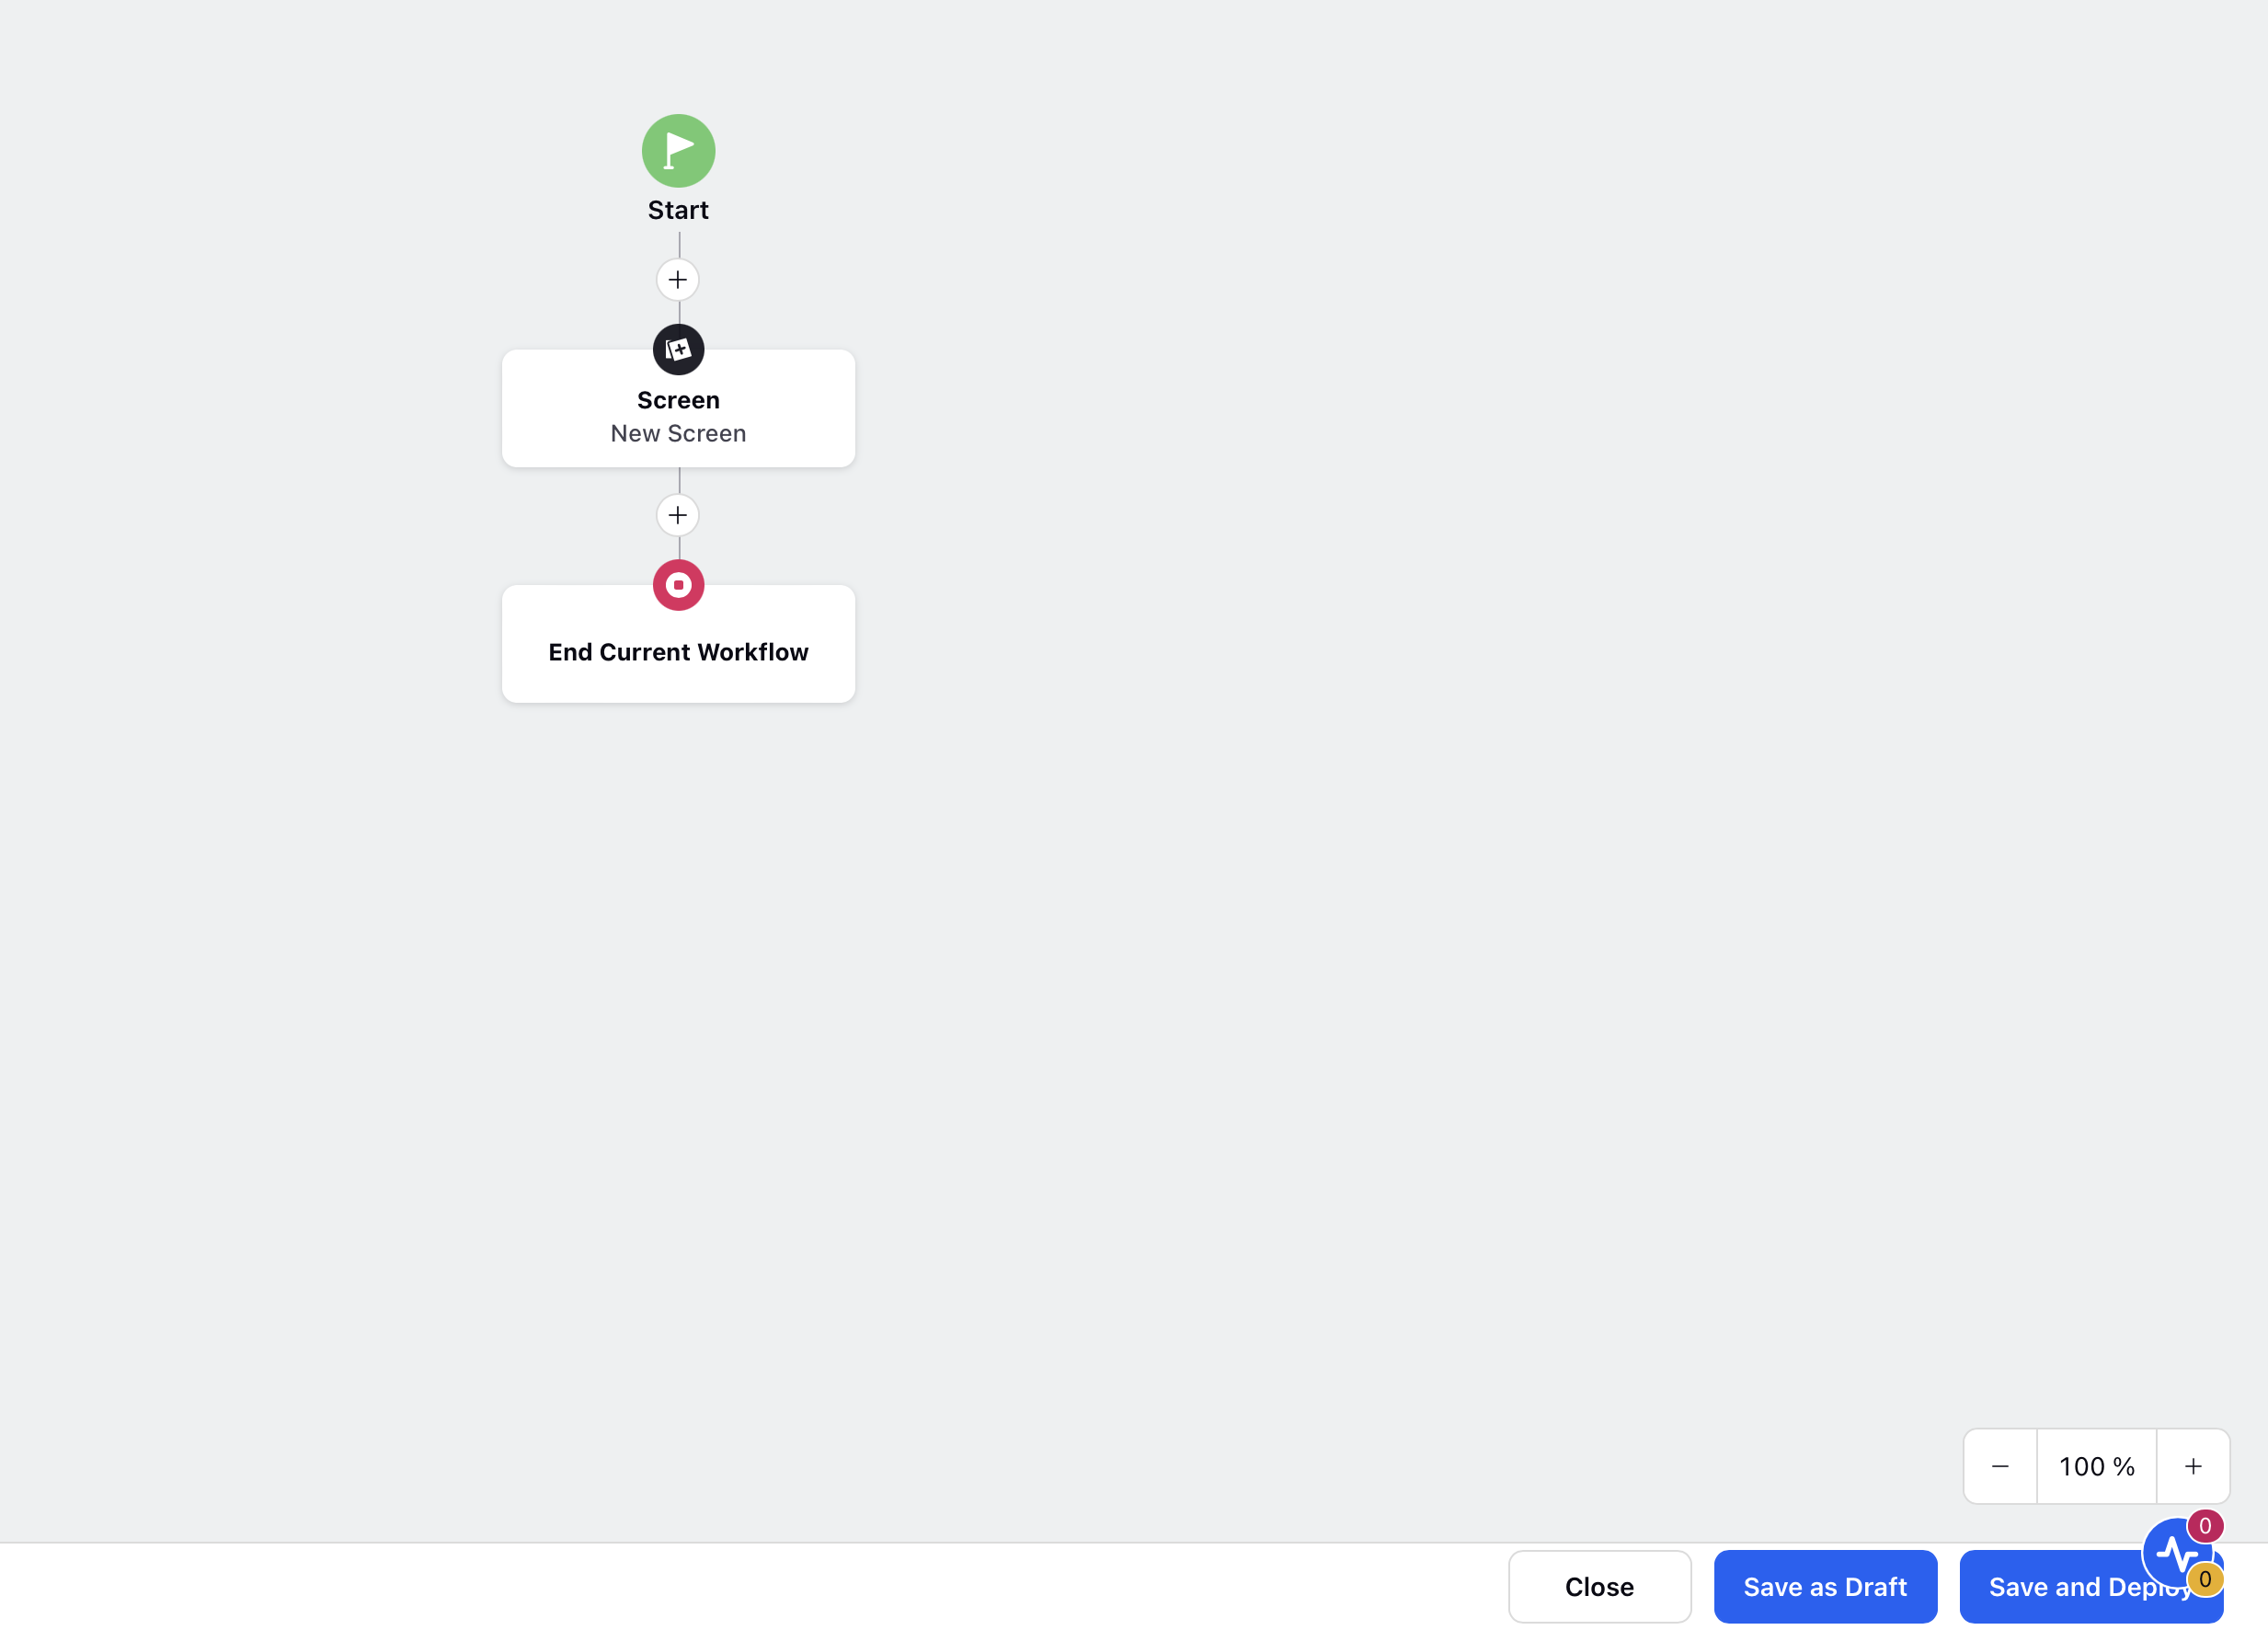
Save as Draft
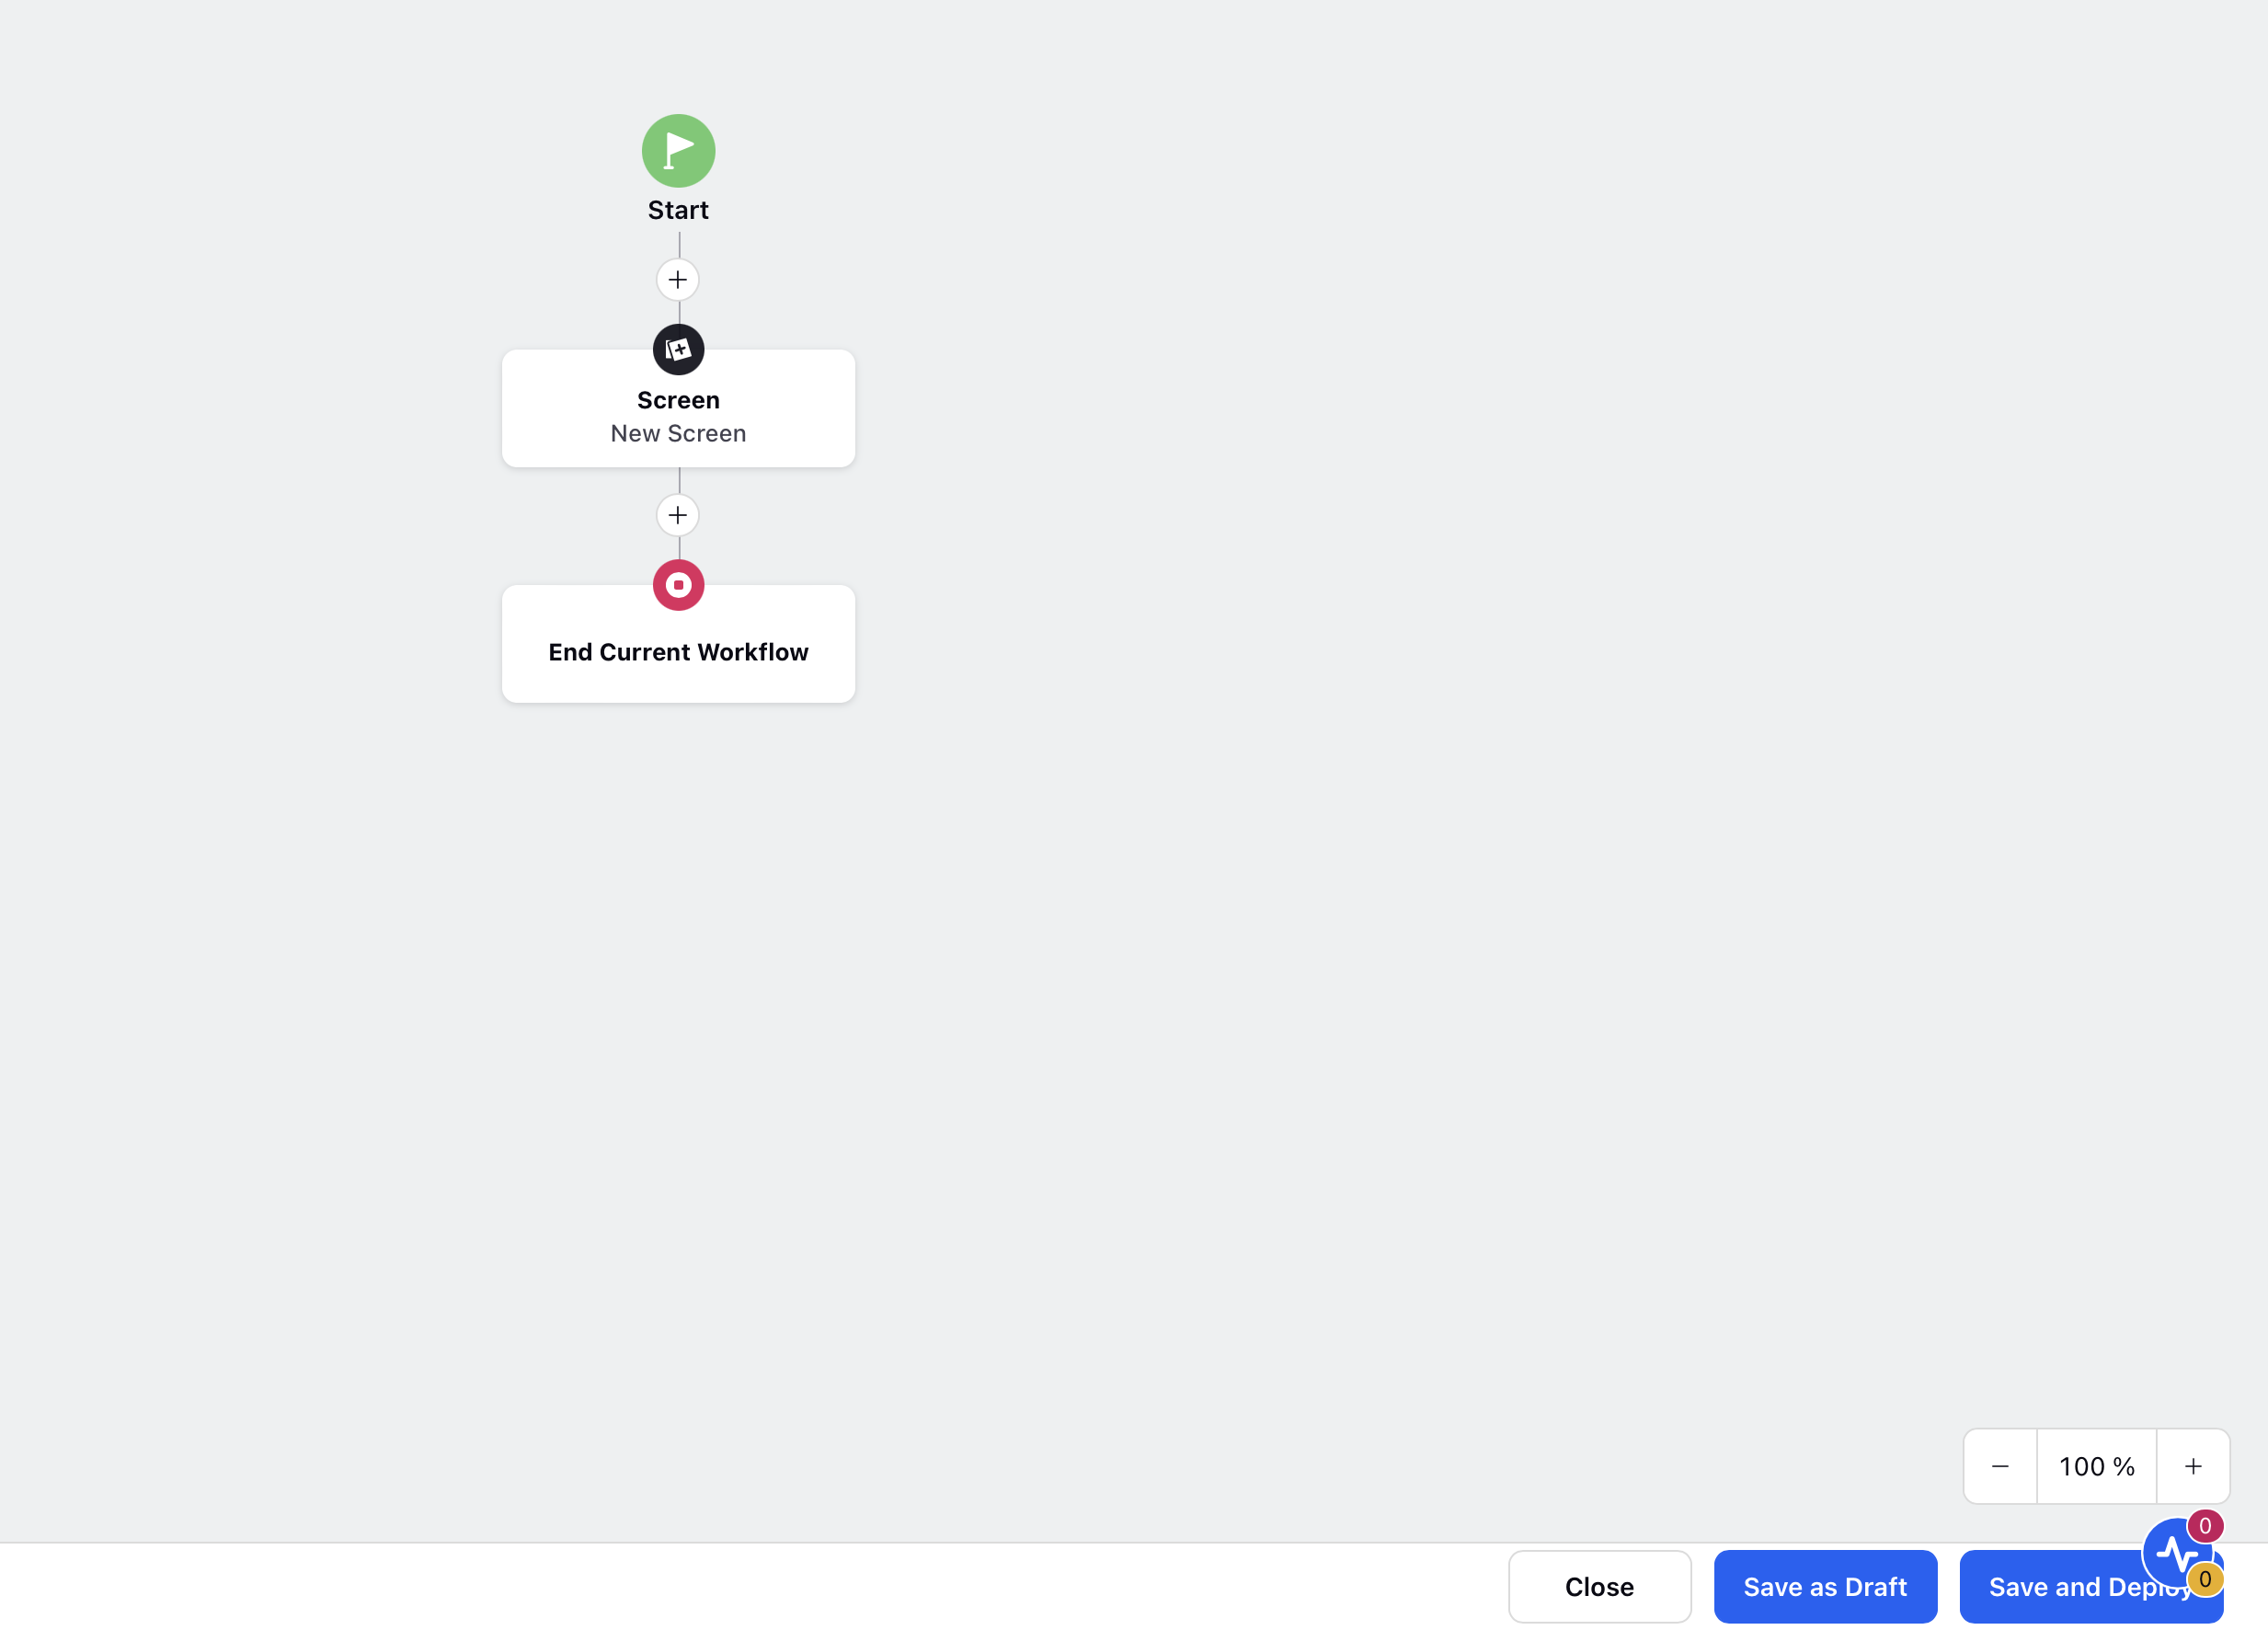
The Save as Draft button serves the purpose of saving the configuration changes made to the guided workflow without immediately deploying the latest changes.
Save and Deploy
The Save and Deploy button is used to deploy the workflow, making it live and ready for execution.
