Conversation History Card
Updated
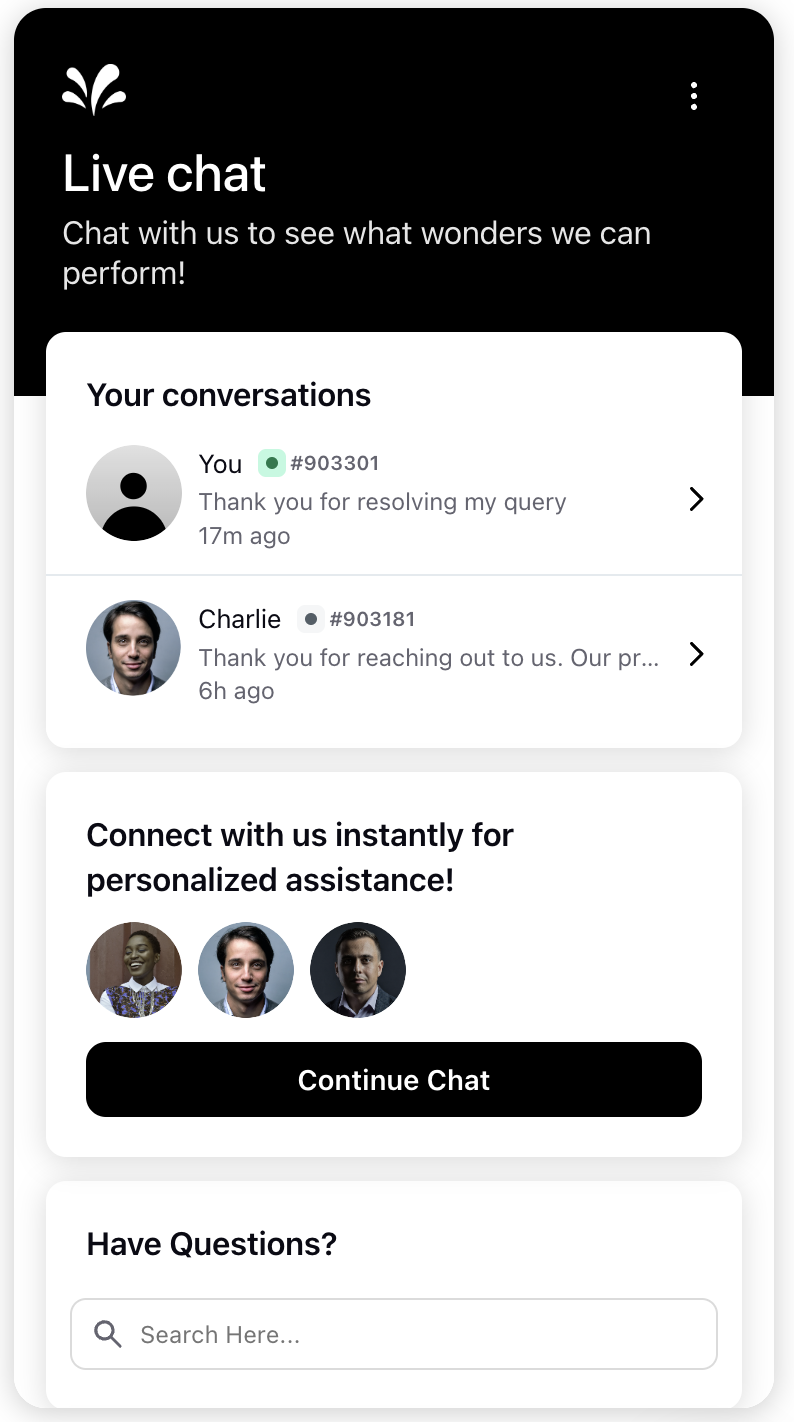
The Conversation History Card displays a user's previous conversations on the chat home page. This allows users to easily pick up where they left off, provides context for ongoing issues, and helps reduce repetitive questions.
When old conversations are present, a new widget is shown on the home page of chat, which shows existing conversations, as shown below. This is often called as "Conversation History Card".

Persona Configuration
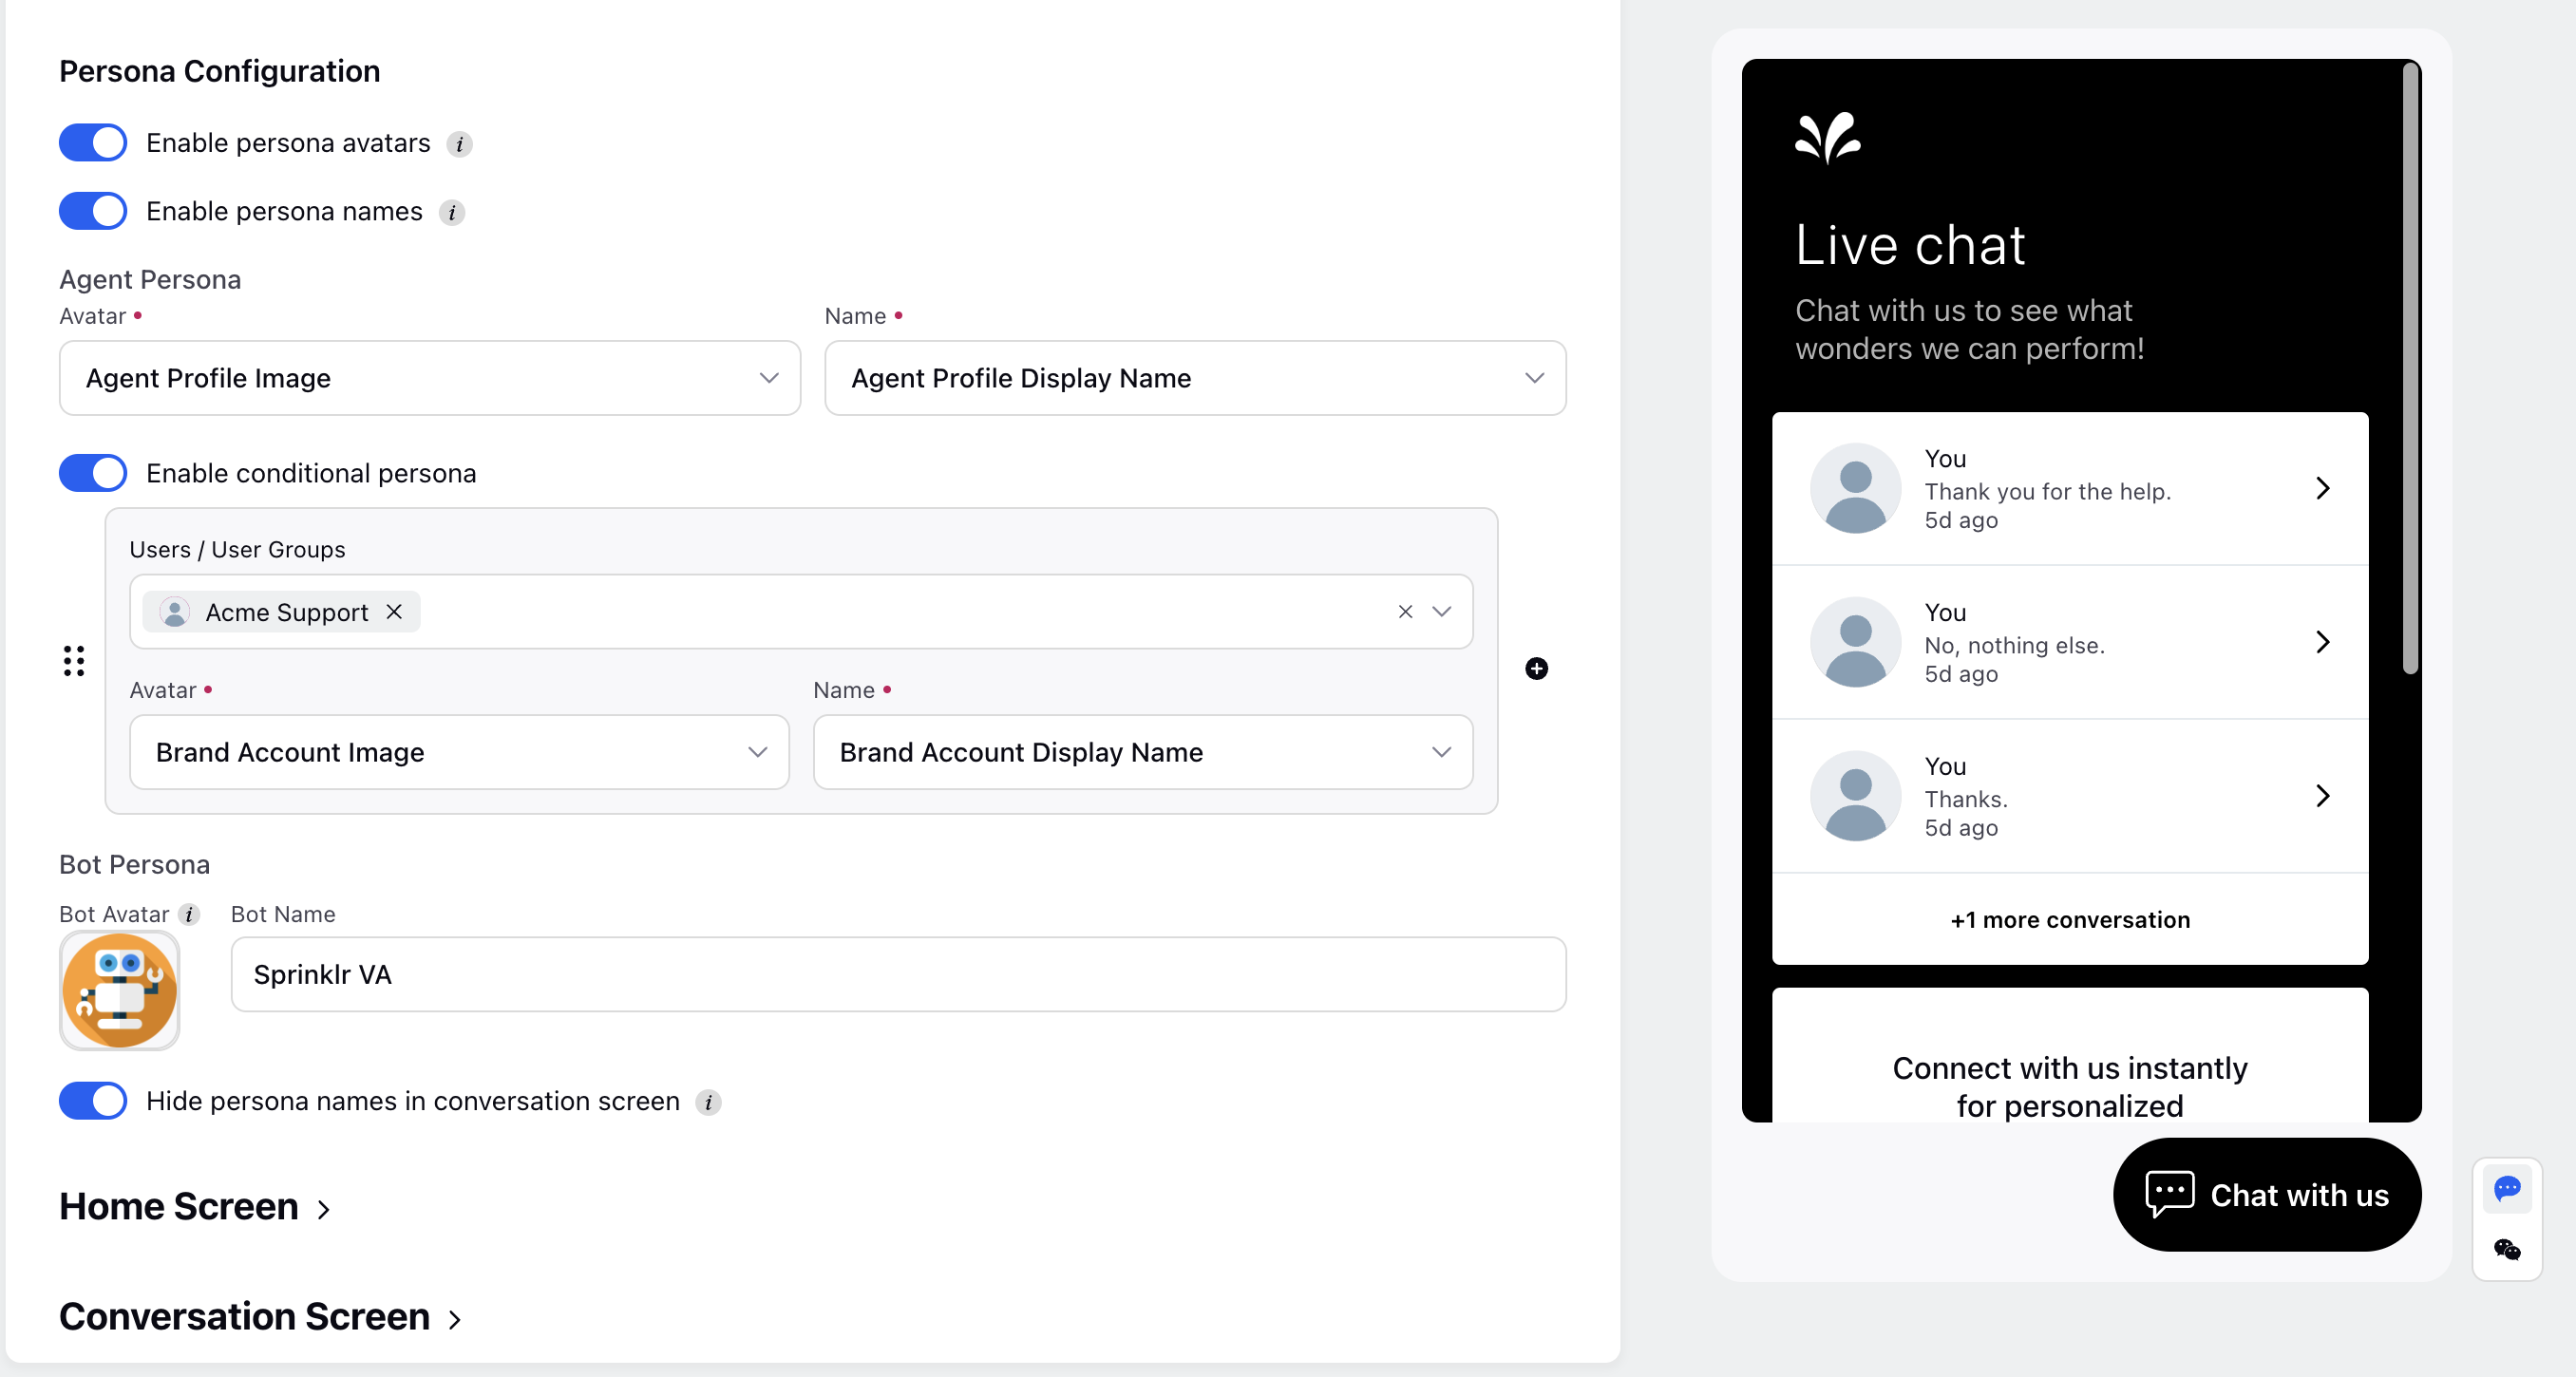
Within the Live Chat Builder's "Personalize Your Live Chat" section, you can customize the avatars and names of senders in chat interfaces, depending on whether the reply comes from a bot or an agent.
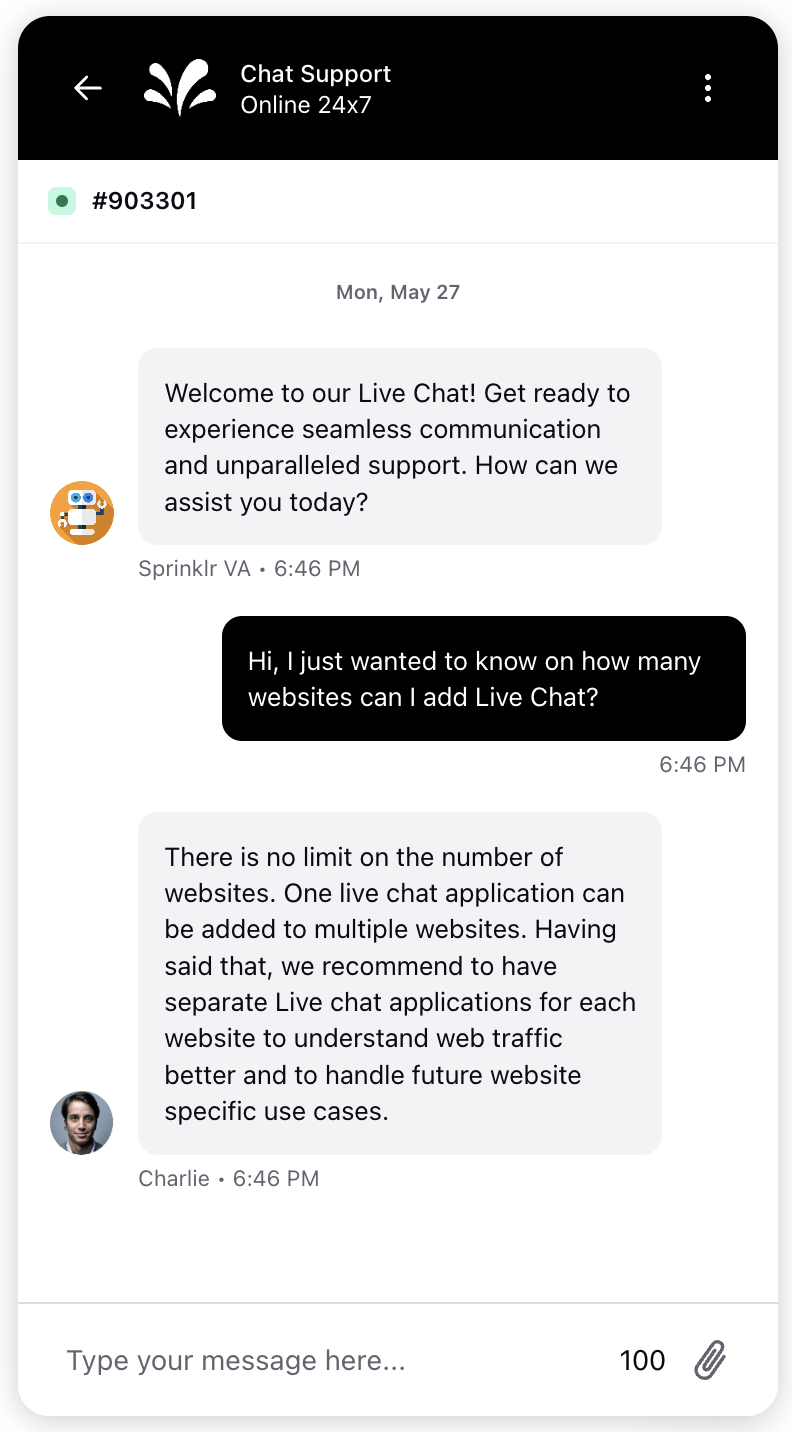
Enable persona avatars: Bot and agent avatars will be visible in the chat. You have the option to select the agent avatar as either Name Initials, Agent Profile Image, or Brand Account Image. Additionally, you can add the desired image for the bot.
Enable persona names: Bot and agent names will be visible in the chat. You can choose to display the agent's name as either the Brand Account Display Name or the Agent Profile Display Name. Additionally, you can input the desired name for the bot.
Enable conditional persona: It allows for the assignment of different agent avatars and names for different users and user groups. This means that for different sets of agents or agent groups, different avatars (profile pictures) and names will be displayed to customers.
Hide persona names in conversation screen: Bot and agent names will be hidden in the conversation screen.


Display Conversation Tags on Conversation History Card
Live Chat can be configured to display conversation tags on the Conversation History Card. These tags help users understand the main reason or topic of each conversation, making it easier to follow and manage.
With this feature, you can automatically show meaningful tags like Billing Issue, Technical Support, or Out of Scope, making it easier to track and manage customer interactions.

Create a Rule for Conversation Tags
To create a rule for case closure tags, follow these steps:
1. Click the New Page (+) icon to open the Launchpad.
2. Under Platform Modules > Collaborate > Automate your workflows, click Rule Engine.
3. In the top-left corner, select the dashboard as Case Update (Customer) from the dropdown.
4. In the top-right corner, click Create New Rule.
5. Add the necessary details and click Next.
6. Under Actions on chat conversation associated to the case, set the Live Chat Conversation Topics to either a custom field value or a static text entry.
