Add a Google RBM Infobip Account
Updated
Sprinklr supports Google RBM integration through Infobip, in addition to the existing native integration.
Why This Integration is Needed?
Google RBM is designed as an SMS replacement and operates similarly, with communication dependent on the telco carrier hosting the agent. Under the native integration model, partners are required to establish individual agreements with each telecom provider where they want to deploy agents, making scalability complex.
Role of Infobip as an Aggregator
Infobip functions as a telco aggregator, meaning it already maintains relationships with a wide network of telecom providers. By integrating through Infobip:
Brands no longer need to negotiate separate deals with each telco.
Deployment of RBM agents becomes easier and more scalable.
Access is enabled across a broader region due to Infobip’s existing telco coverage.
Steps to Add a Google RBM Infobip Account in Sprinklr
1. Click the New Tab icon. Under Platform Modules, click Social Accounts within Listen.
2. Click Add Account in the top right corner of the Accounts window.
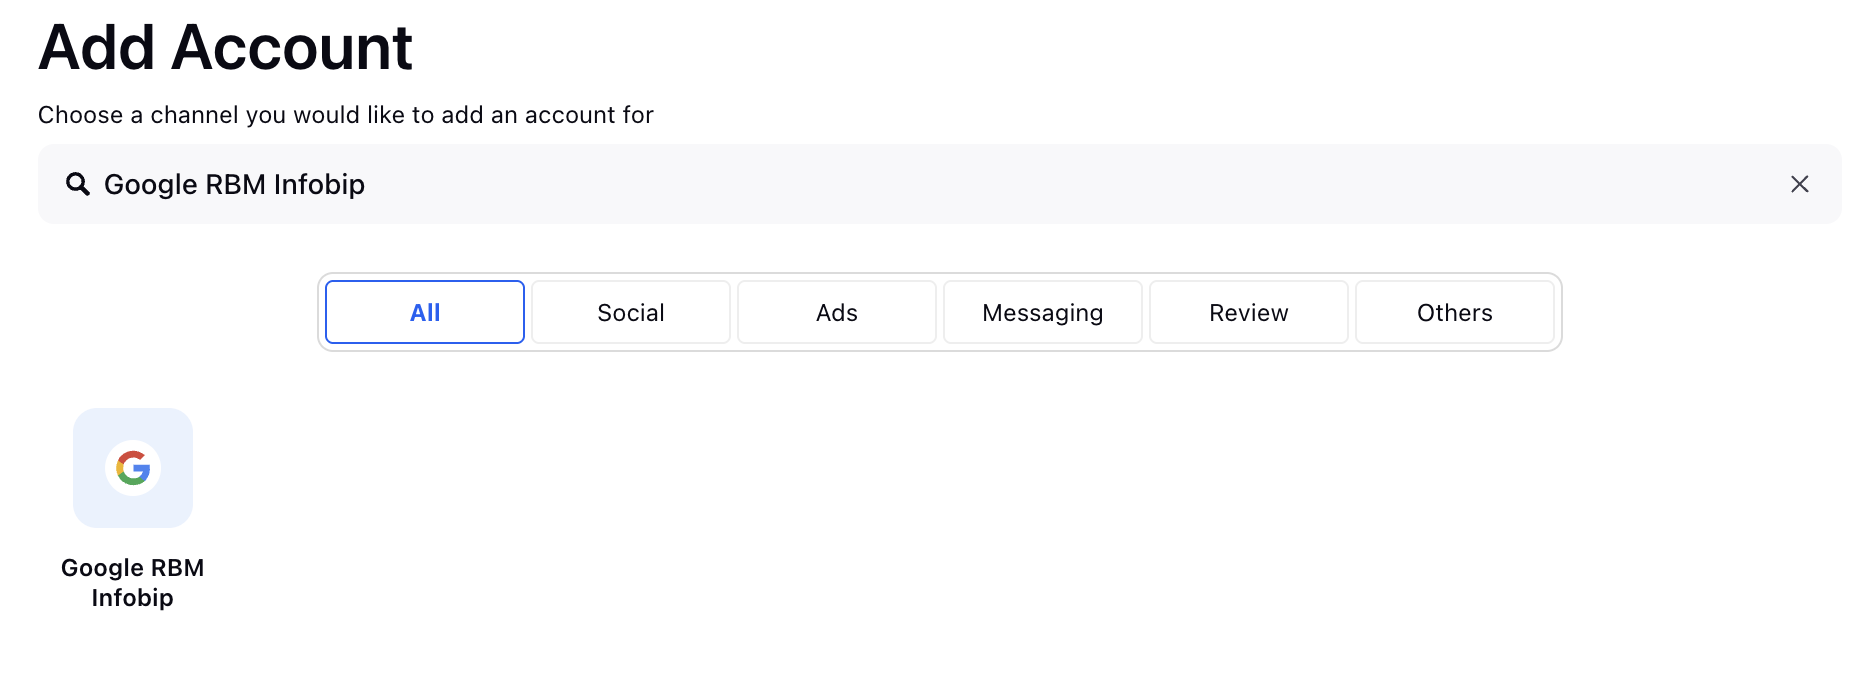
3. On the Add Account window, select Google RBM Infobip from the channel options provided.

4. On the Add Google RBM Infobip account window, enter the following details:
Field | Description |
Display Name | The name of the Google RBM Infobip account in Sprinklr that you want to define. |
Sender Name | The sender name listed in your Infobip account. You can find it in the Channels section. |
API Key | The API key for your Infobip account. It is available in the Developer Tools section of the Infobip Console.
|
Base URL | The base URL for your Infobip account. It is also found in the Developer Tools section of the Infobip Console.
|
5. Click Save in the bottom right corner.
.png)
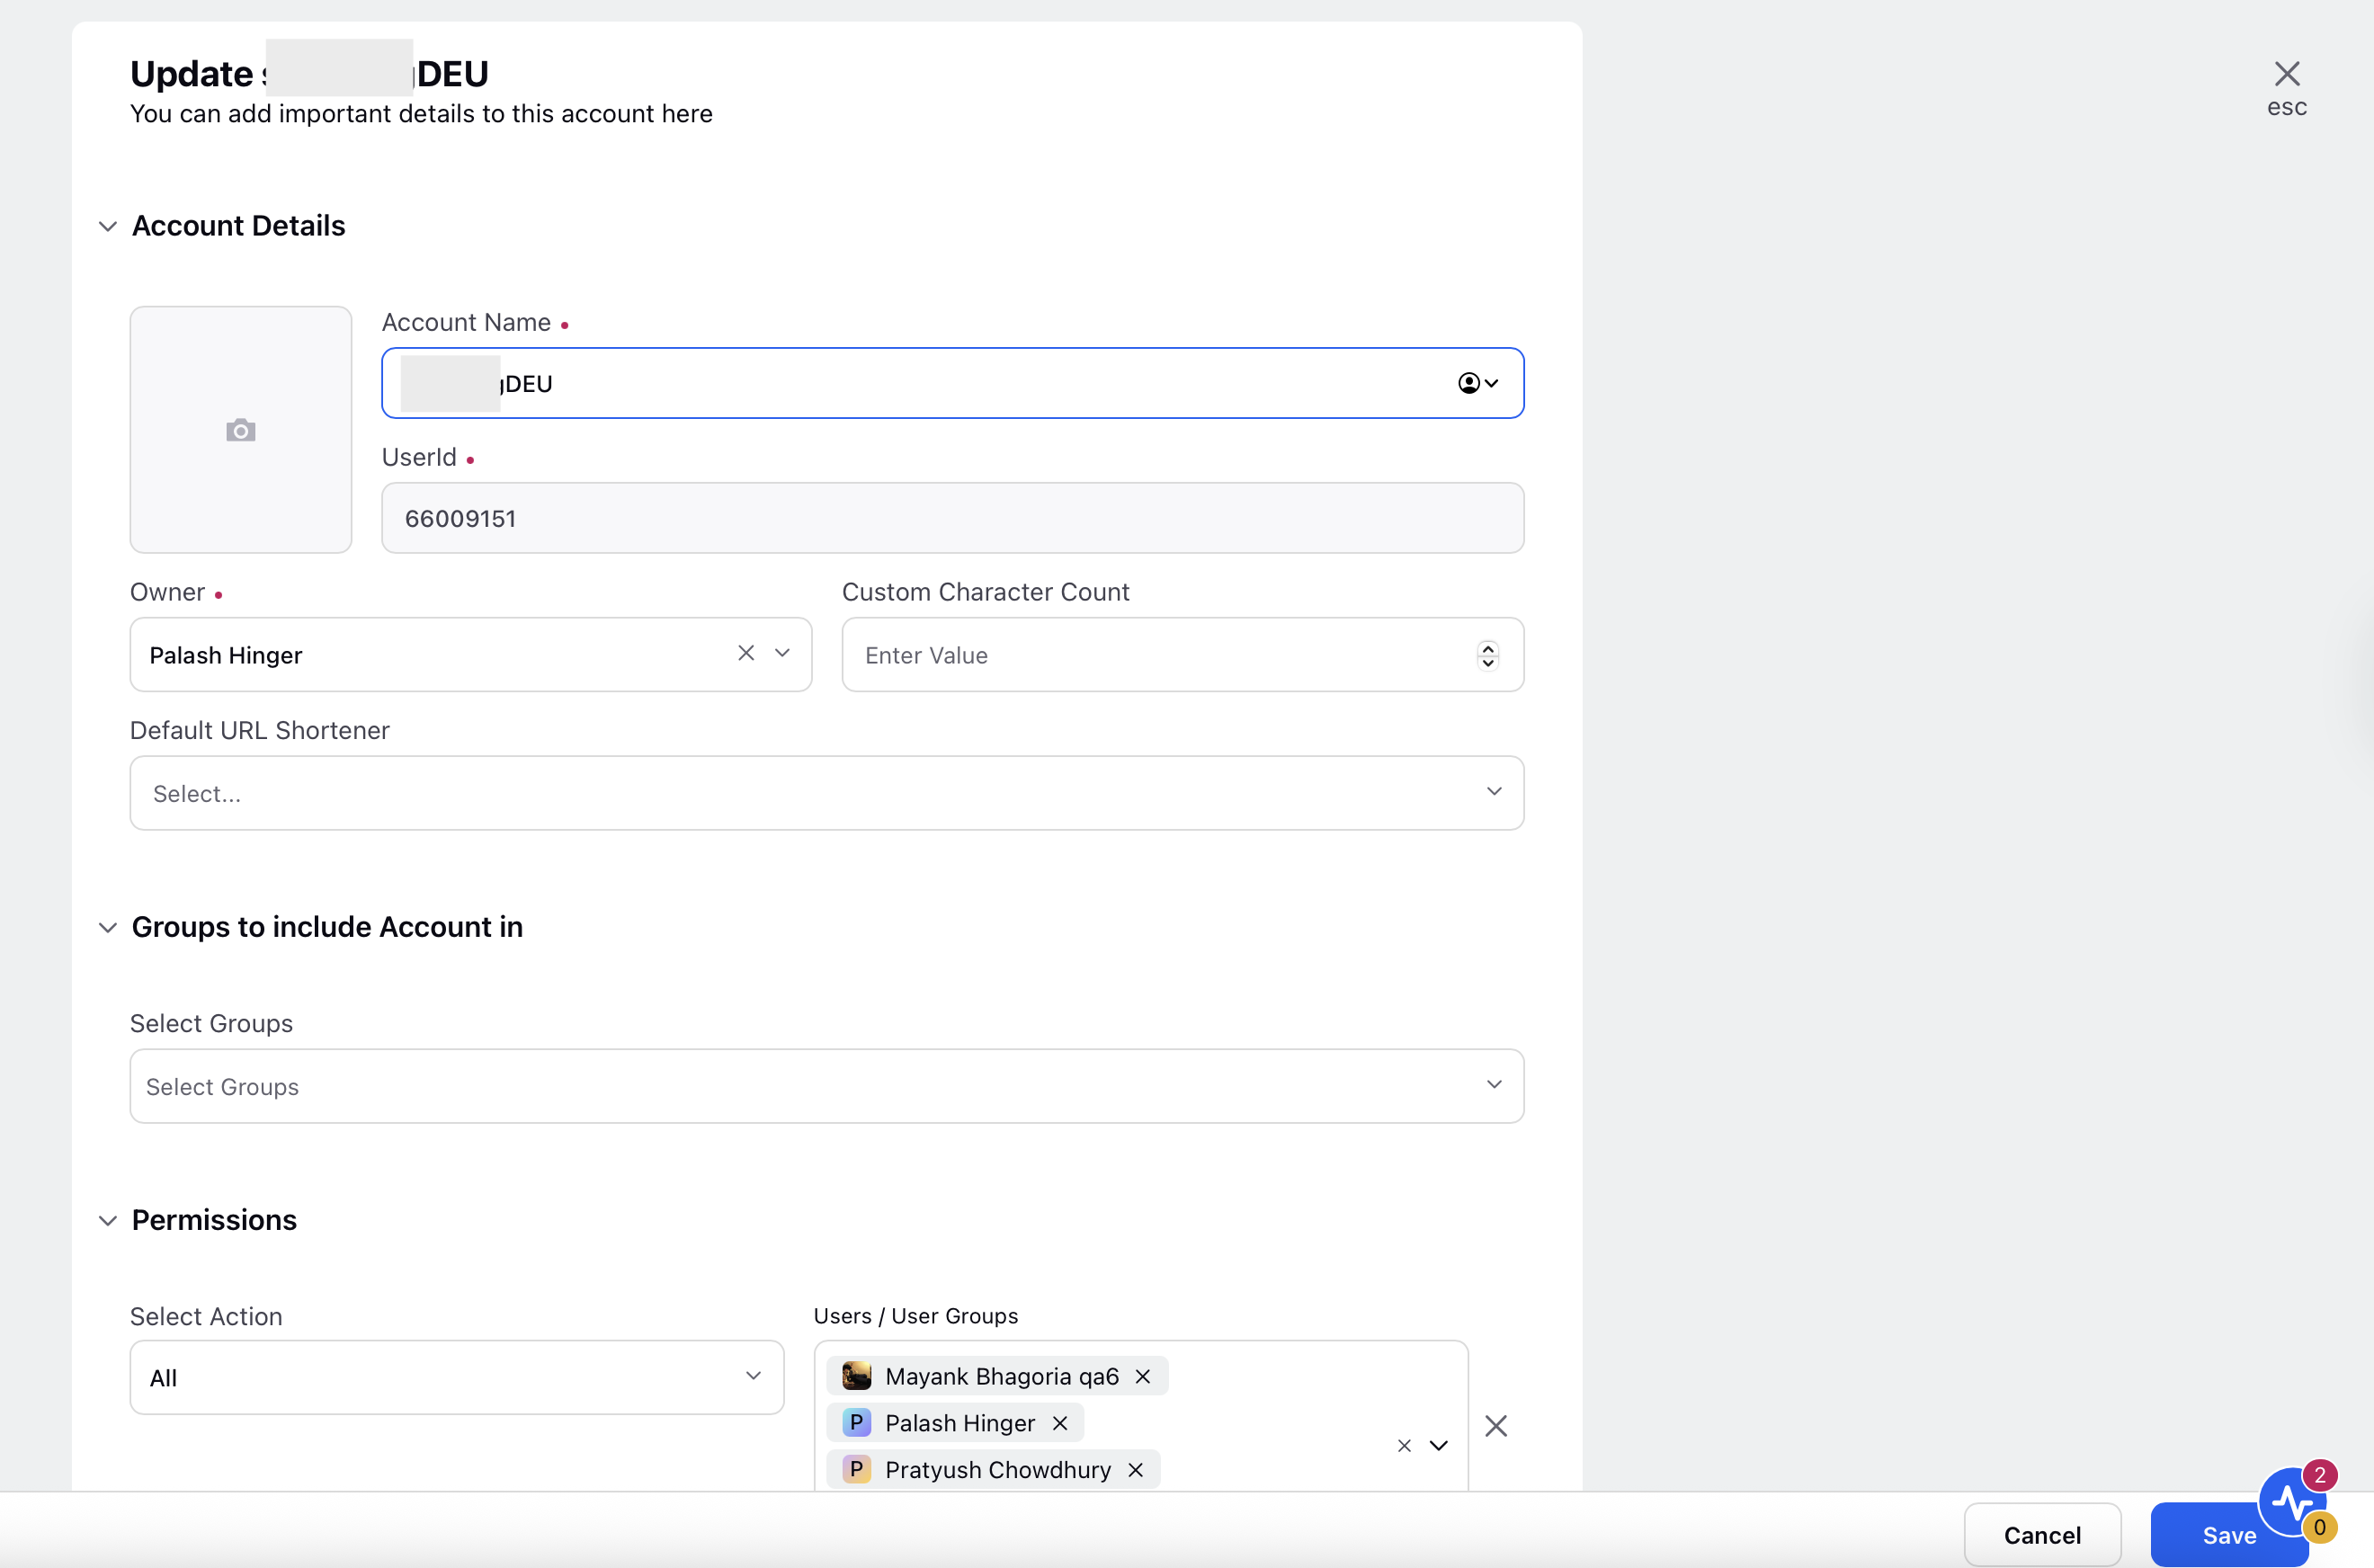
6. On the Update account (Account Name will be displayed), you can configure the details as required and click Save in the bottom right corner to add the Google RBM Infobip account.

You have successfully added a Google RBM Infobip Account account in Sprinklr.
.png)
.png)