Setting Up the In-App distribution with Trigger Conditions
Updated
In-App Surveys enable brands to gather solicited feedback directly within their mobile apps during key customer interactions. You can choose from pre-designed formats like micro-surveys or create fully customized pop-ups to align with your brand. Creatives can be activated based on set criteria, like browsing habits or the length of a session, or they can be initiated by custom events to gather specific feedback. You can also refer to the In-Apps article for use cases and value additions.
Prerequisites
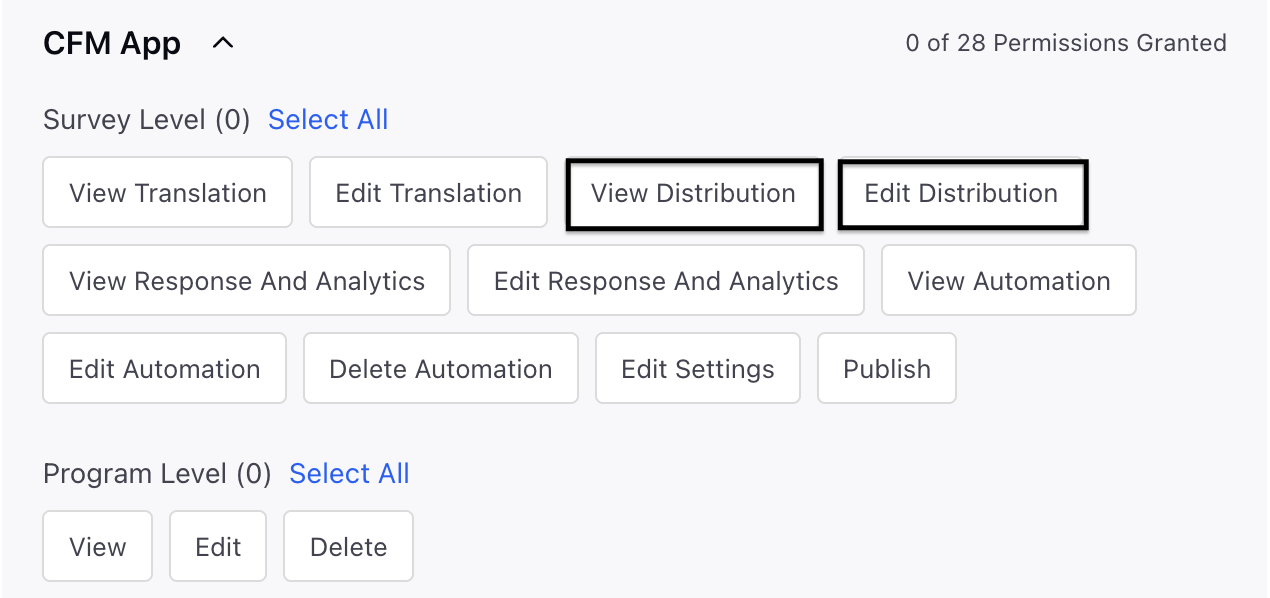
You would need access to the Survey Level View and Edit Distribution in order to access In-Apps distribution.

Setting up the In-App distribution with Trigger Conditions
Go to Distribution page.

Click on Create Distribution and select In-App distribution.

Define Distribution Details:

Distribution Name: Enter a meaningful name to the distribution.
Expiration Date: Enter an expiry date.
Live Chat Application: You can select an existing LiveChat application or create a new one. Any proactive prompts related to the chosen LiveChat will be displayed in the dropdown menu. If you select an existing LiveChat, you will also be able to see all other distributions tied to that particular LiveChat instance.

Note: Selecting a LiveChat here does not immediately display a live chat on the Mobile App. Instead, it links the proactive prompts to the appropriate code required to render the creative within the app.
The LiveChat ID is utilized during the SDK installation process.
Click Next and go to Setup Conditions:

Add Variant details (one can select multiple variants. Variant details help to define the trigger condition).
Variant Name: Add variant name.
Intercept Condition: Define the criteria that will trigger the survey. Start selecting conditions. Keep adding conditions by clicking on + Add Condition. (Multiple conditions can be added). There is also a possibility to add condition group by clicking on + Add Condition Group.

Creative: Create the Creative and look at the preview (Learn how to create a creative at the end). To find more details refer to this article.

Schedule: Click Schedule and set the time zone, start date, and end date for when the survey should be distributed.

Time Zone: Select the time zone for sending the survey.
Start Sending From: Select the start date for sending the survey.
Stop Sending From: Select the end date to stop sending the survey.
Note: We have the ability to regulate the number of times surveys can be completed, even if the conditions are met. For instance, if we set this limit to 1, you will need to exit the app and reopen it in order to fill out the survey again, which helps prevent spam.
Disable Auto Trigger for Variant: Enable this option to prevent the creative from automatically displaying when the variant is evaluated and the conditions are met.

Note: Disabling auto trigger provides the client app’s developer with greater control over when the creative is shown, allowing for more customized user experiences.
This will be discussed in the In-App SDK Documentation
Click Create and Enable to create the distribution in active state.
Note: Conditions can be incorporated by utilizing a mix of AND and OR operators, or a combination of both. Furthermore, groups of conditions can be established using the same mix of operators to refine targeting criteria more accurately.
How to use it?
Save and Deploy
Save the distribution and duplicate the LiveChat and Variant IDs.
Install SDK. Follow the Install SDK article for more details.
Analyze Distribution Report: Once the surveys are distributed, you can check the metrics in the Distribution Record Manager. By clicking on the summary metrics, you can obtain comprehensive reports and visualize the data using widgets.