Install Jira Connector
Updated
This guide walks you through the step-by-step process to install the Jira Connector and add a Jira user for the integration.
Prerequisites
Before you begin, ensure the following prerequisites are met:
Sprinklr Requirements
Sprinklr Service Care must be enabled and configured.
A Sprinklr Global Admin user is required for authentication and authorization.
You must have the Integrated Applications permissions. For steps to manage the permissions for integration, see Manage Marketplace Permissions.
Jira Requirements
Supported Jira Editions: Free, Standard and Premium Editions.
Whitelist Sprinklr IP addresses.
A Jira admin to create a webhook in Jira.
A dedicated Integration User with required permissions must be created.
For installation, you need the following details:
Jira Subdomain: This is the subdomain in your Jira instance URL. For example, if sprinklr.atlassian.com is your instance URL, then sprinklr will be the sub-domain.
Jira user authentication credentials: Jira user credentials that you created to use for the integration.
Install Jira Connector
To install the Jira connector, follow these steps:
1. Access Sprinklr Marketplace.
Click the New Page (+) icon to open the Launchpad.
On Launchpad, go to Platform Modules > Integrate.
Click All Marketplace.
.png)
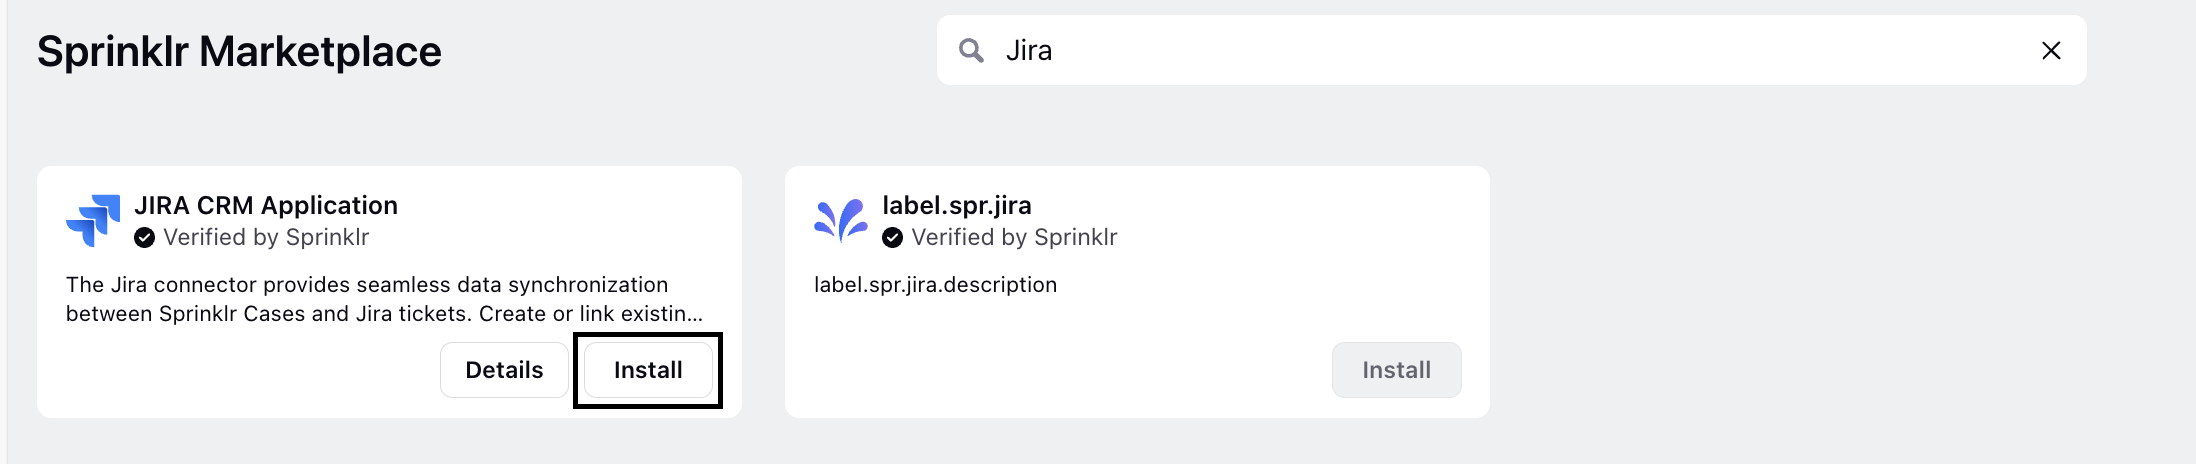
2. In Sprinklr Marketplace, search for Jira. The Jira application card is displayed.
3. On the Jira application card, click Install.
The Install Jira screen is displayed.
4. On the Install Jira screen, enter the Jira and OAuth details.
The description of each field is given in the following table:
Field | Required/Optional | Description |
App Name | Required | The name of the application. Enter a descriptive name that will help you identify the application later. |
Description | Optional | The description specifies the purpose of the application. |
Authentication Type | Required | Sprinklr supports integration with Jira Cloud only. |
Sub Domain | Required | The subdomain of the Jira instance you want to connect to. This is the prefix part of the Jira URL. For example, if sprinklr.attlassian.com is your instance URL, then sprinklr will be the sub-domain. |
5. Once you have filled in all the details, click Next.

A success message confirms that the Jira application is created. And, the Add User page is displayed.

Add Jira User
The next step is to add a Jira user account that will be used for read/write requests from Sprinklr to your Jira instance.
![]() Note: It is recommended to have a dedicated Jira user for this setup.
Note: It is recommended to have a dedicated Jira user for this setup.
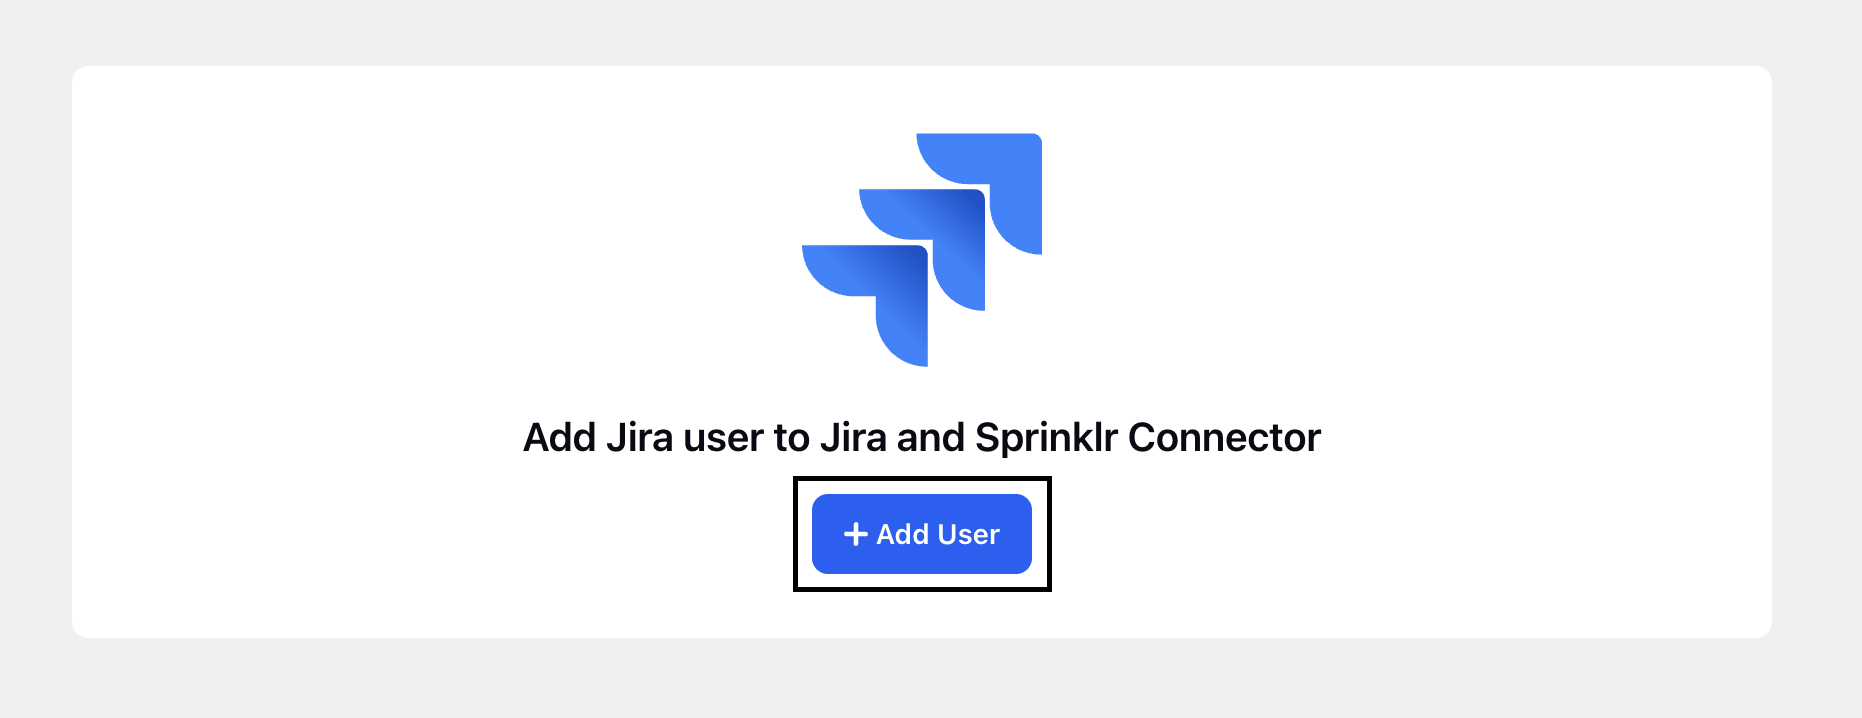
On the Add User page, follow these steps:
1. Click Add User.
You are redirected to the Jira authentication screen.
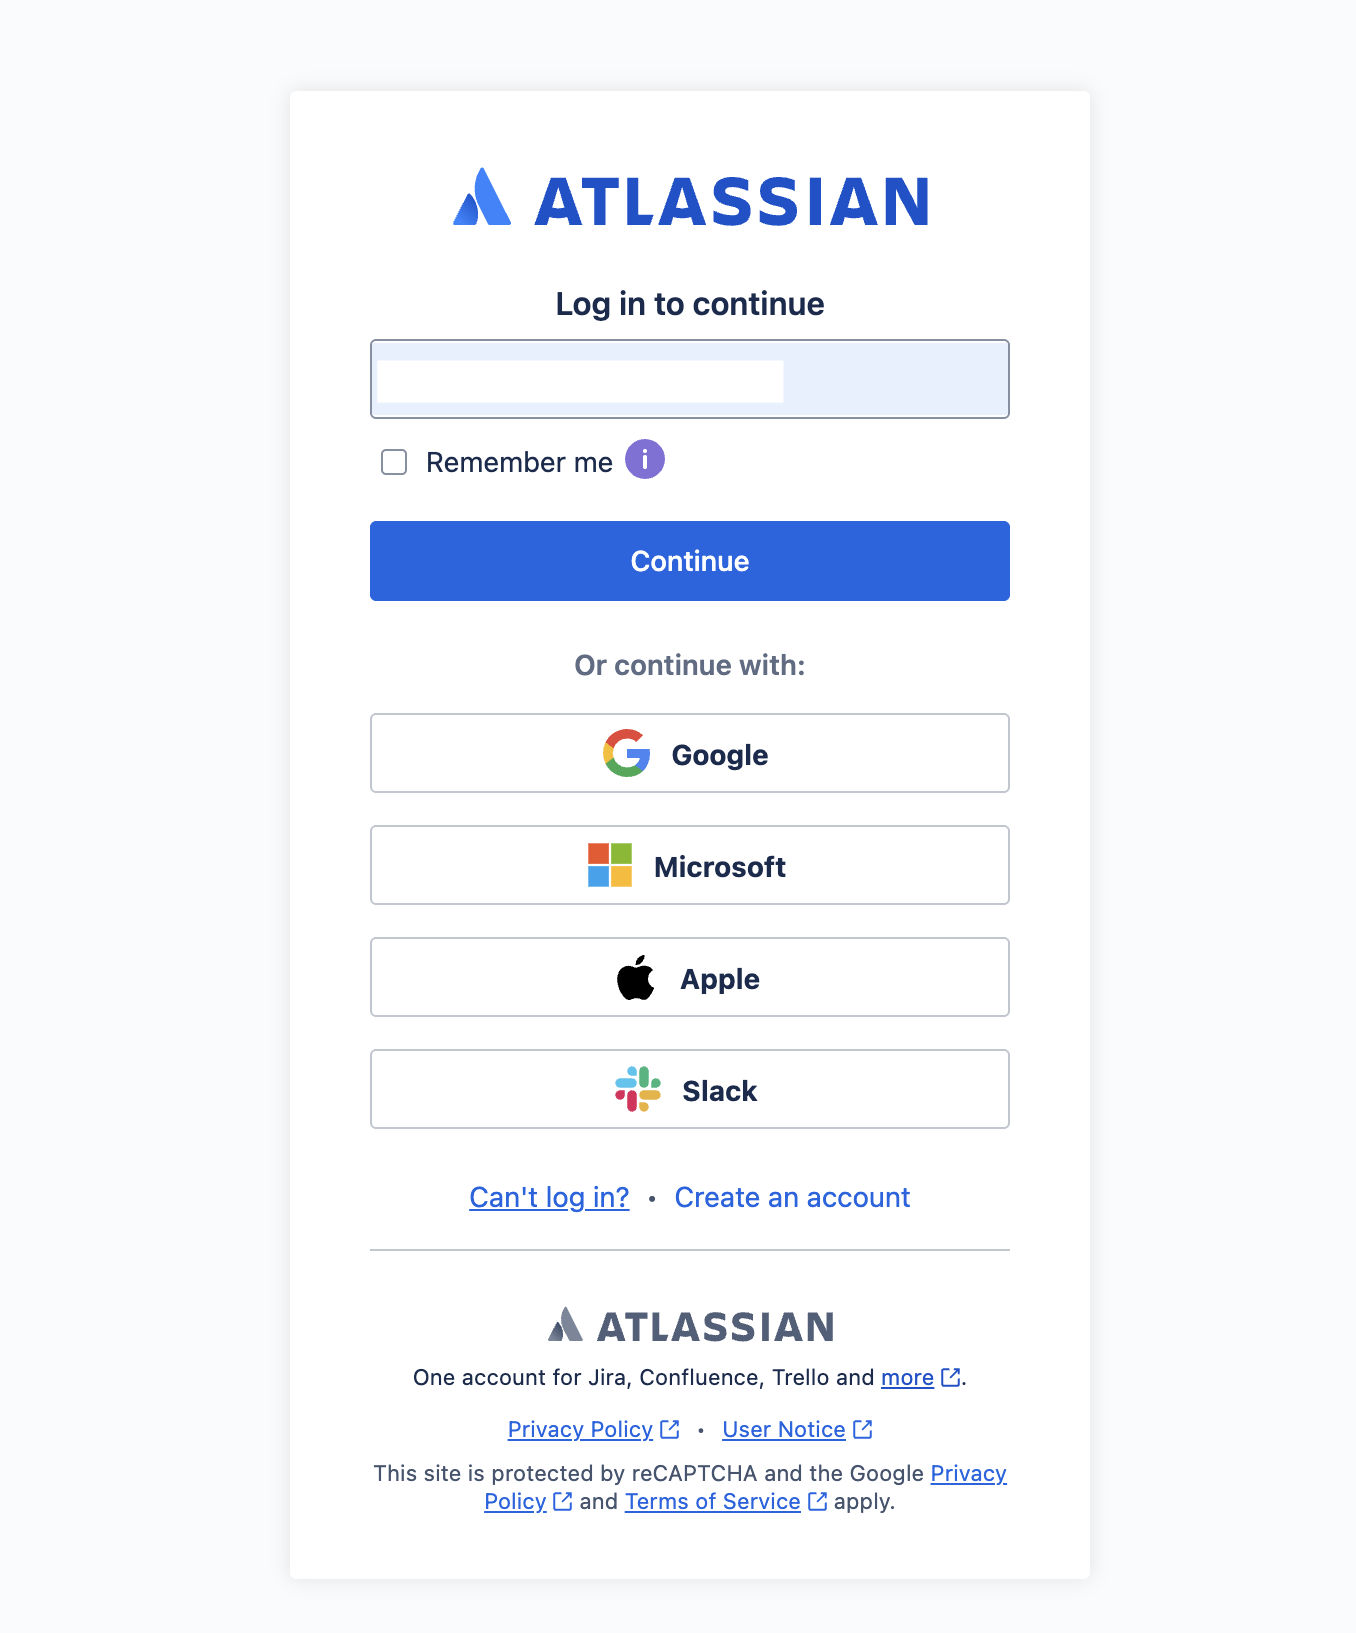
2. On the Jira authentication screen, authenticate with the Jira user you want to use for the integration.
Once you are authenticated, you are redirected to the permissions screen.
3. On the Atlassian permissions screen, in the Use app on drop-down, select the Jira instance you want to connect with Sprinklr. Review the permissions and click Accept.

4. Next, you are prompted to select the Jira projects. You can select multiple projects.
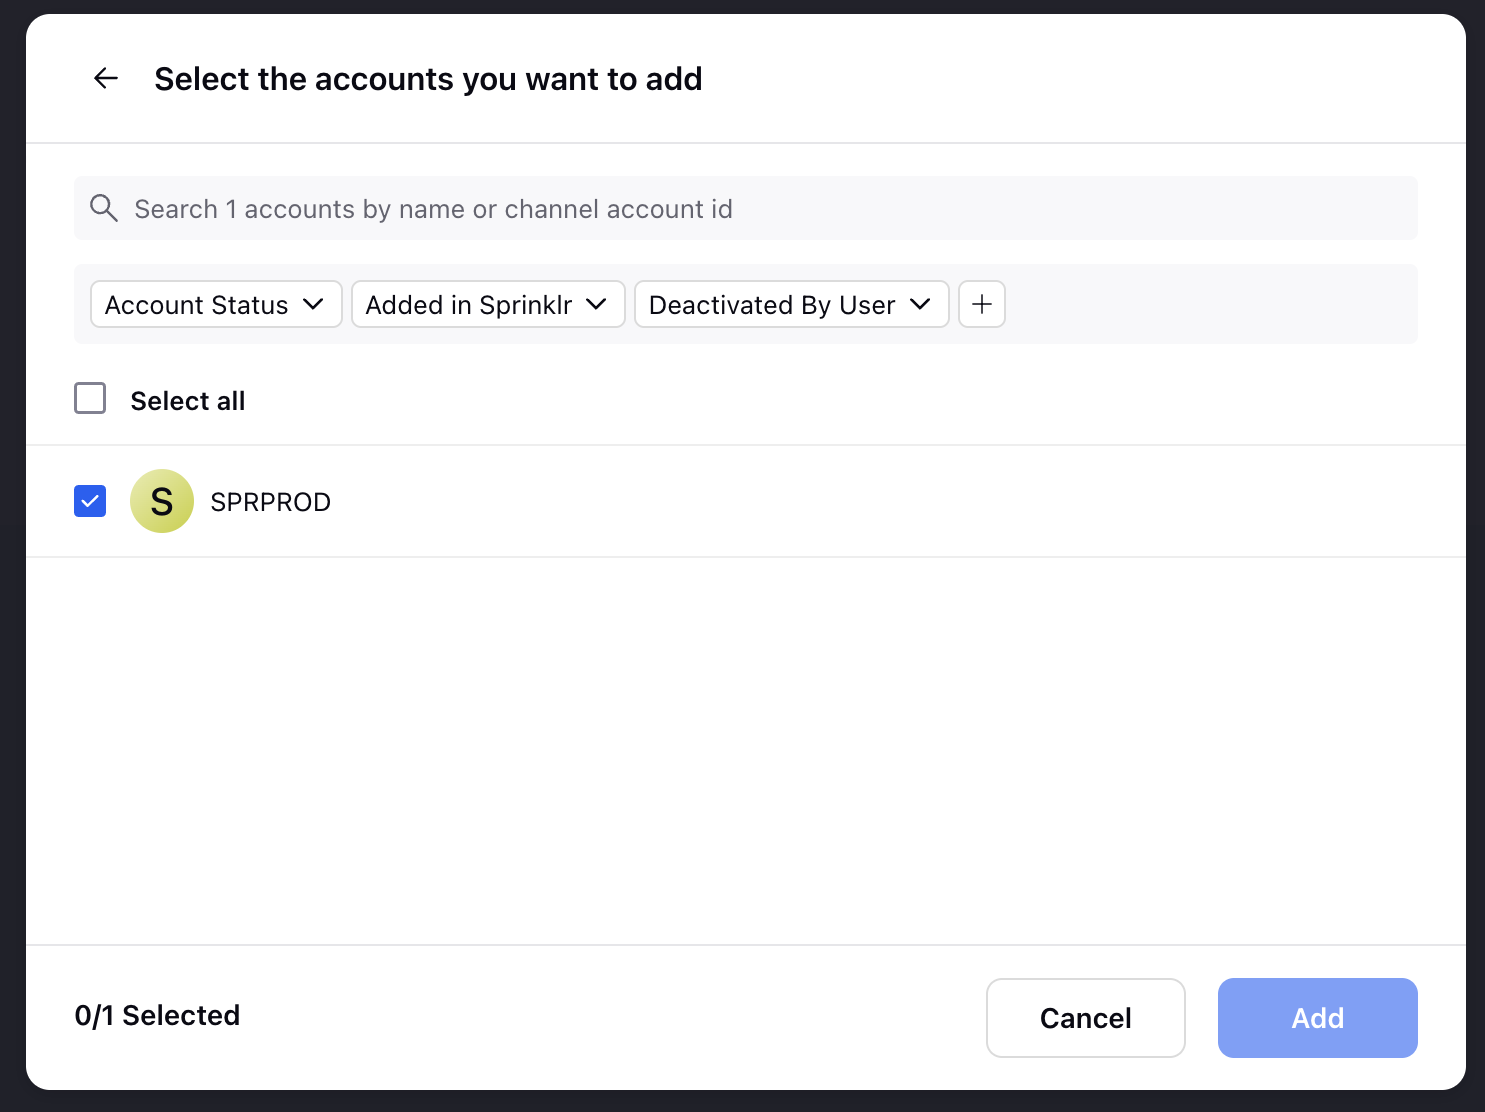
Your Jira user is now added, and the Jira instance is now connected with Sprinklr.
Go back to the Sprinklr Marketplace. You will be taken to the Jira Connector configuration screen, where you can configure the connector settings, customize the ticket layout, and manage visibility.