Manage Agent Preferences
Updated
The Agent Preference feature allows supervisors to define preference windows, apply constraints, and enable agents to submit their preferences within a controlled timeframe. This structured approach enhances scheduling accuracy, reduces manual effort, and promotes fair and balanced shift allocation.
Note: In this section, the terms Agent Preference, Shift Preference, and Preference are used interchangeably.
Navigate to Agent Preferences Record Manager
Prerequisites for creating Agent Preferences:
Workforce Management should be enabled for the environment.
You must have access to the Workforce Manager Persona App.
View permission under the Preferences section in the Workforce Management module.
Follow these steps to navigate to the Agent Preferences record manager:

Go to the Workforce Manager Persona App on the Launchpad.
Select Settings from the Left Pane to open the Governance page.

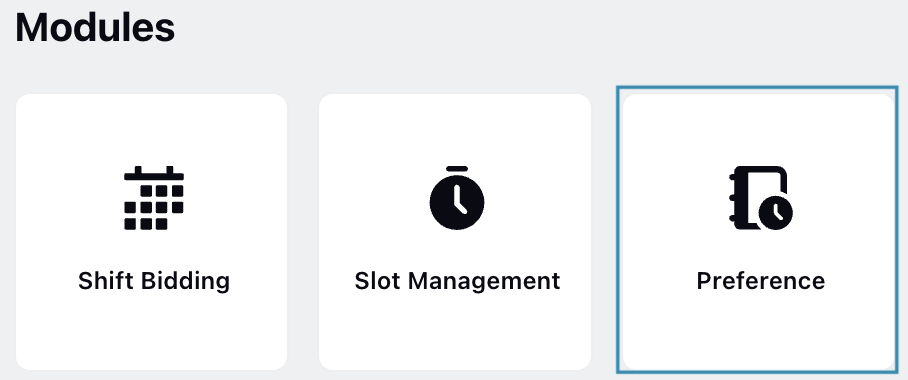
Go to Preference to open the Preferences record manager.
Create Agent Preference
Prerequisites for creating Agent Preferences:
Workforce Management should be enabled for the environment.
You must have access to the Workforce Manager Persona App.
View and Create permissions under the Preferences section in the Workforce Management module.
Follow these steps to create Agent Preferences:
Navigate to the Agent Preference record manager.

Click the “+Agent Preference” button at the top right to open the Create Preference page.
Fill in the required fields on the Create Preference page. Fields marked with a red dot are mandatory. Below are the descriptions of the fields on this page:
Shift Preference Name: Enter the name of the Shift Preference. (Required)
Description: Provide a brief description of the Shift Preference.
Users / User Groups: Select the Users and/or User Groups who will be part of the Preference. (Required)
Schedule Period: Specify the date range during which this Shift Preference will apply. This defines the period for which agents can submit their preferences. (Required)
Preference Input Window: Specify the period when agents can submit their preferences. This window can extend up to one day before the Shift Preference takes effect, that is, one day before the start of the period defined in the Schedule Period field. (Required)
Cut Off Date for Review: Select the date by which the Shift Preference review must be completed. Only dates between the end of the Preference Input Window and the start of the Schedule Period will be available for selection. (Required)
Preference Type: Choose how do you want the agents to provide their Preferences. The following are the available options: (Required)
Standard: This will allow agents to select only those Shifts linked to the Assignment-type Schedule Policies assigned to them when submitting their Preferences. Shift details, such as the earliest start time and duration, will follow the Shift configuration associated with the Schedule Policies.
Custom: Allows agents to choose their Shift start time and duration within a pre-configured, customized range. The following steps explain how to configure these start times and duration ranges for agents to select when submitting their Preferences.
Earliest Start Time: Enter the earliest time at which the agents can choose their Shift to start.
Latest Start Time: Enter the latest time at which the agents can choose their Shift to start.
Increment: Specify the time interval, in minutes or hours, between the Earliest Start Time and the Latest Start Time at which the agents can choose their Shift to start.
Possible Durations: Specify the Shift duration, ranging from 1 to 10 hours, that agents can choose for their Shift.
Restricted Days: Specify the date or date range for which the Shift Preference should not be applicable. Multiple restricted days can be configured, each customizable based on specific scheduling needs.
Note: The Restricted Days field will appear only for Standard Preference Type.
Note: Restricted days can be defined only within the duration defined in the Schedule Period field.
Policies to Validate: Select the types of Schedule Policies to be validated for each agent when they submit their preferences. For example, if a "Work Contract" type Schedule Policy is selected, the system will verify that any assigned Work Contract policies are satisfied before allowing agents to submit their preferences. (Required)
Note: Agents must already have the selected type of schedule policies assigned to them.
Note: For the Standard Preference Type, Work Contract, Assignment, Day Off, and Shift are selected by default and cannot be modified. This means the system will check all Schedule Policies that apply to the Standard Preference Type.
Approval Workflow: Select how the Agent Preferences will be approved once they are submitted by agents. (Required)
Requires approval by the Supervisor: Select this option if the agent’s supervisor or manager must approve the preference request. It is selected by default.
Auto Approval: Select this option to automatically approve the preference request without manual intervention.
Share Settings
Visible in all workspaces: Select this checkbox to share the Agent Preference with all available Workspaces.
Workspaces: Select the Workspaces that you want to share the Agent Preference with. This field will be accessible only if the Visible to all users checkbox is not selected.
User/User Groups: Select the User(s)/User Group(s) you want to share the Agent Preference with. This field will be accessible only if the Visible to all users checkbox is not selected.
Click the Create button to create the Agent Preference.
This completes the process of creating Agent Preferences.
Edit Agent Preferences
Prerequisites for editing Agent Preferences:
Workforce Management should be enabled for the environment.
You must have access to the Workforce Manager Persona App.
View and Edit permissions under the Preferences section in the Workforce Management module.
Follow these steps to edit an Agent Preference:
Navigate to the Preferences record manager.

Hover over the vertical ellipsis (⋮) icon corresponding to the Agent Preference you want to edit. This will show a list of options.
Select Edit from the list of options to open the Edit Preference page.
Update the necessary details for the selected Agent Preference. The fields are the same as those when creating an Agent Preference.
After entering the updated details, click the Save button at the bottom right of the Edit Preference page to save the Agent Preference with the new details.
Note: If an Agent Preference is in the Draft state, all details can be edited. However, once it transitions to the Open state, meaning when the Preference Input Window has started, the following fields can no longer be modified:
Users / User Groups
Schedule Period
Restricted Days
Preference Type
Policies to Validate
Approval Workflow.
This completes the process of editing an Agent Preference.
Share Agent Preferences
Prerequisites for sharing Agent Preferences:
Workforce Management should be enabled for the environment.
You must have access to the Workforce Manager Persona App.
View permission under the Preferences section in the Workforce Management module.
Follow these steps to share an Agent Preference:
Navigate to the Preferences record manager.

Hover over the vertical ellipsis (⋮) icon corresponding to the Agent Preference you want to share. This will show a list of options.
Select Share from the list of options to open the Share With dialog box.
Fill in the required fields on the Share With dialog box. Below are the descriptions of the fields on this dialog box:
Visible in all workspaces: Select this checkbox to share the Agent Preference with all available Workspaces.
Workspaces: Select the Workspaces that you want to share the Agent Preference with. This field will be accessible only if the Visible to all users checkbox is not selected.
User/User Groups: Select the User(s)/User Group(s) you want to share the Agent Preference with. This field will be accessible only if the Visible to all users checkbox is not selected.
Click the Share button to share it with the selected Users, User Groups, or Workspaces.
This completes the process of sharing an Agent Preference.
Delete Agent Preferences
Prerequisites for sharing Agent Preferences:
Workforce Management should be enabled for the environment.
You must have access to the Workforce Manager Persona App.
View and Create permissions under the Preferences section in the Workforce Management module.
Follow these steps to share an Agent Preference:
Navigate to the Preferences record manager.

Hover over the vertical ellipsis (⋮) icon corresponding to the Agent Preference you want to delete. This will show a list of options.
Select Delete from the list of options to open the Delete Schedule Preference confirmation box.
Click the Delete button. This action cannot be undone.
Note: You can delete Agent Preferences only if they are in the Draft state.
This completes the process of deleting an Agent Preference.
Set Agent Preference on Agent’s Behalf
Supervisors can set and submit Agent Preferences on behalf of an agent. This is useful when agents are unavailable or need assistance configuring their preferences.
Prerequisites for configuring Preferences on the agent's behalf:
Workforce Management should be enabled for the environment.
You must have access to the Workforce Manager Persona App.
View, Create, and Submit Preference permissions under the Preferences section in the Workforce Management module.
Follow these steps to set Preferences on the agent's behalf:
Navigate to the Preferences record manager.
Click the View Preference (Eye icon) button corresponding to the Agent Preference you want to set the Preference for. This will open a detailed view of the submitted Preferences.

Click the vertical ellipsis icon corresponding to the agent, then select Set Preference.
This will open the page to configure the Preferences of the selected agent only. The steps are identical to how agents submit their Agent Preference. Refer to this section for detailed steps on submitting Agent Preferences.
Things to keep in mind when setting Preferences on behalf of an agent:
Supervisors can set Preferences for one agent at a time.
Supervisors can set Preferences only for days where the agent hasn’t already added any.
Supervisors can edit or delete existing Preferences that are in the Draft or Resubmit state.
Supervisors cannot edit existing Preferences that are in the Approved, In Review, or Rejected state.
Review Submitted Agent Preferences
Prerequisites for reviewing Agent Preferences:
Workforce Management should be enabled for the environment.
You must have access to the Workforce Manager Persona App.
View, Approve/Reject Preference, and Send Back Preference permissions under the Preferences section in the Workforce Management module.
Follow these steps to review submitted Agent Preferences:
Navigate to the Preferences record manager.

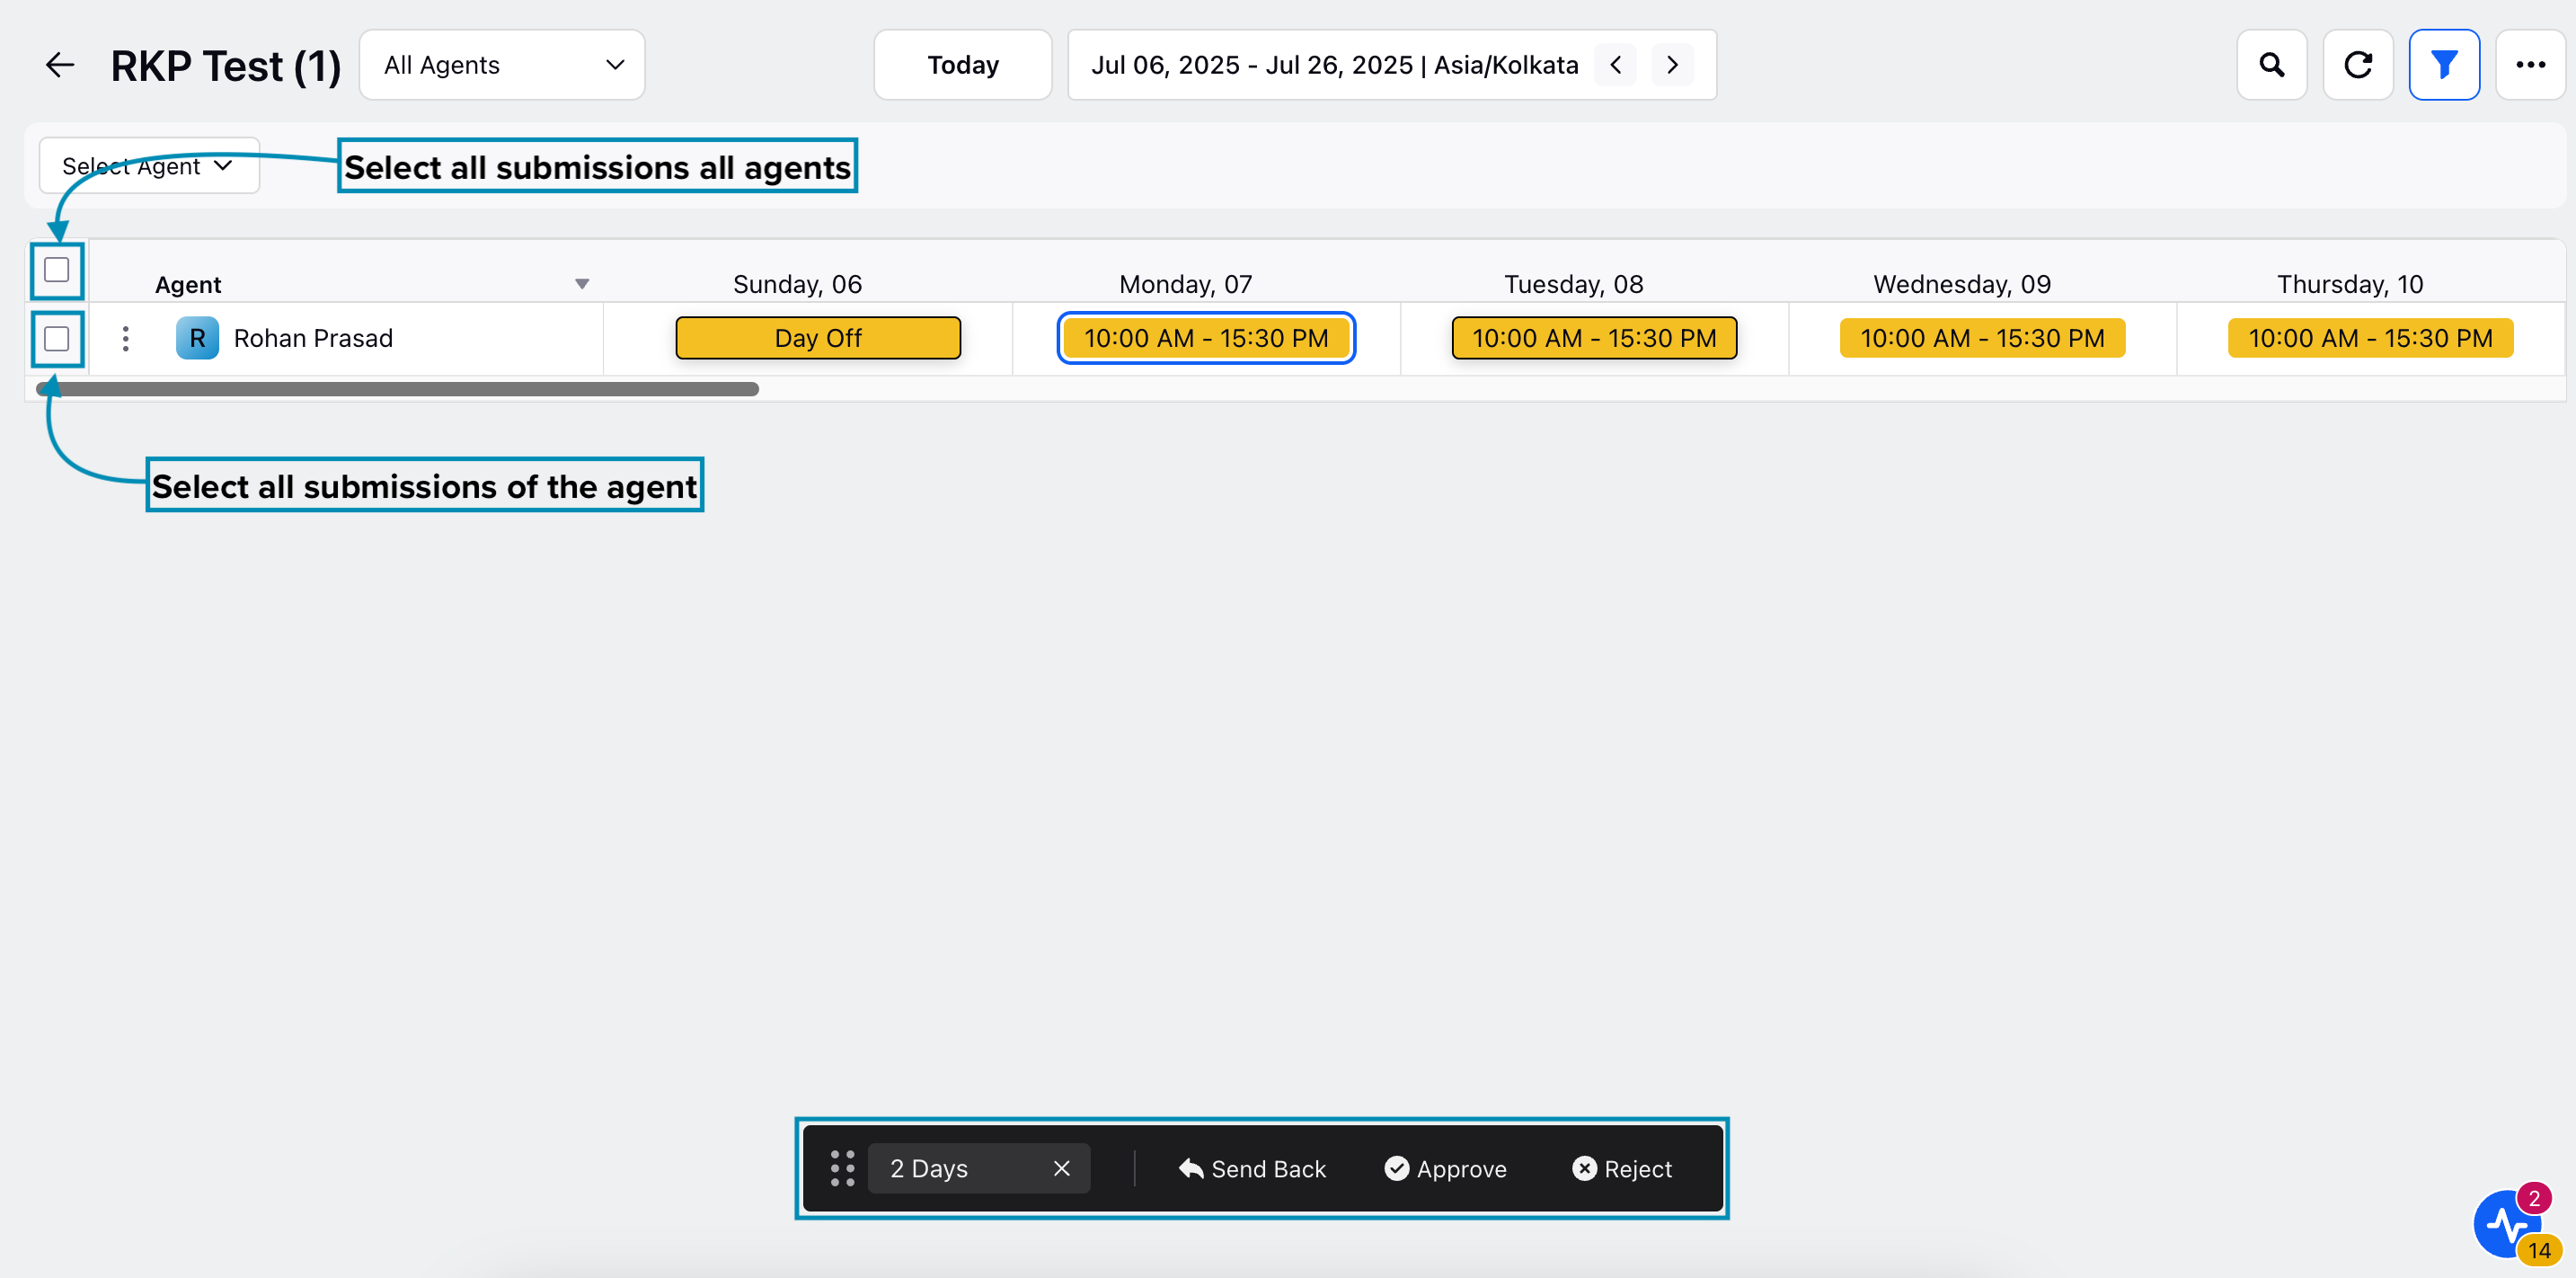
Click the View Preference (Eye icon) button corresponding to the Agent Preference you want to review. This will open a detailed view of the submitted Preferences.
Use the agent filter at the top of the page to control which agents' submissions are displayed. You can choose to view submissions from All Agents, My Reportees, or My Team, depending on your needs.

From this page, you can moderate submitted preferences. To do so, either select specific days or use the checkboxes next to agents’ names to moderate all Preferences submitted by them. This will open a floating menu with options to Accept, Reject, or Send Back the submissions.
Accept: Approves the Shift Preferences submitted by agents.
Reject: Declines the submitted Shift Preferences. A note explaining the reason for rejection is required.

Note: Once rejected, agents will not be able to resubmit Preferences for that specific Shift Preference.
Note: For Standard Preferences, if the request is not approved, agents will be assigned Shifts based on the assigned policies.
Send Back: Returns the submitted Preferences to the agent for revision and resubmission. A note must be provided, outlining the reason or highlighting any issues or deficiencies.