Request Forms for Paid Briefs
Updated
Request Forms for Paid Briefs allow you to submit requests for paid social campaigns within Sprinklr Marketing. This helps your marketing team capture, manage, and review all incoming requests from various business units in one place saving valuable time and cost.
In this article, we will learn how to:
To Create Paid Brief Request Form
While creating a request form for Campaigns or Sub-Campaigns, you have the option to select Paid Brief as Brief Category. A list of standard fields that are necessary for the creation of a paid brief will appear (by default) in the right pane of the Request Form Builder window.
Once the form has been created, you will be able to share it with other users through Copy Link and Share options.
Click the New Tab icon
. Under the Sprinklr Marketingtab, click Request Forms within Plan.
In the top right corner of the Request Forms window, click Create New Request Form.
From the Select Request Form Type pop-up window, select Campaign or Sub-Campaign as the form type.
Click the Brief Category dropdown and select Paid Brief.
Click Proceed to compose. You will be redirected to the Request Form Builder window.
On the Request Form Builder window, fill in the required details. You will see a list of standard fields consisting of Paid Brief Name, Channels, Currency, Budget, Timezone, StartDate, and EndDate. For more information, see Create a Request Form.
Click Save in the bottom right corner.
To Submit Response for Paid Brief Request Form
Click the New Tab icon
. Under the Sprinklr Marketingtab, click Request Forms within Plan.
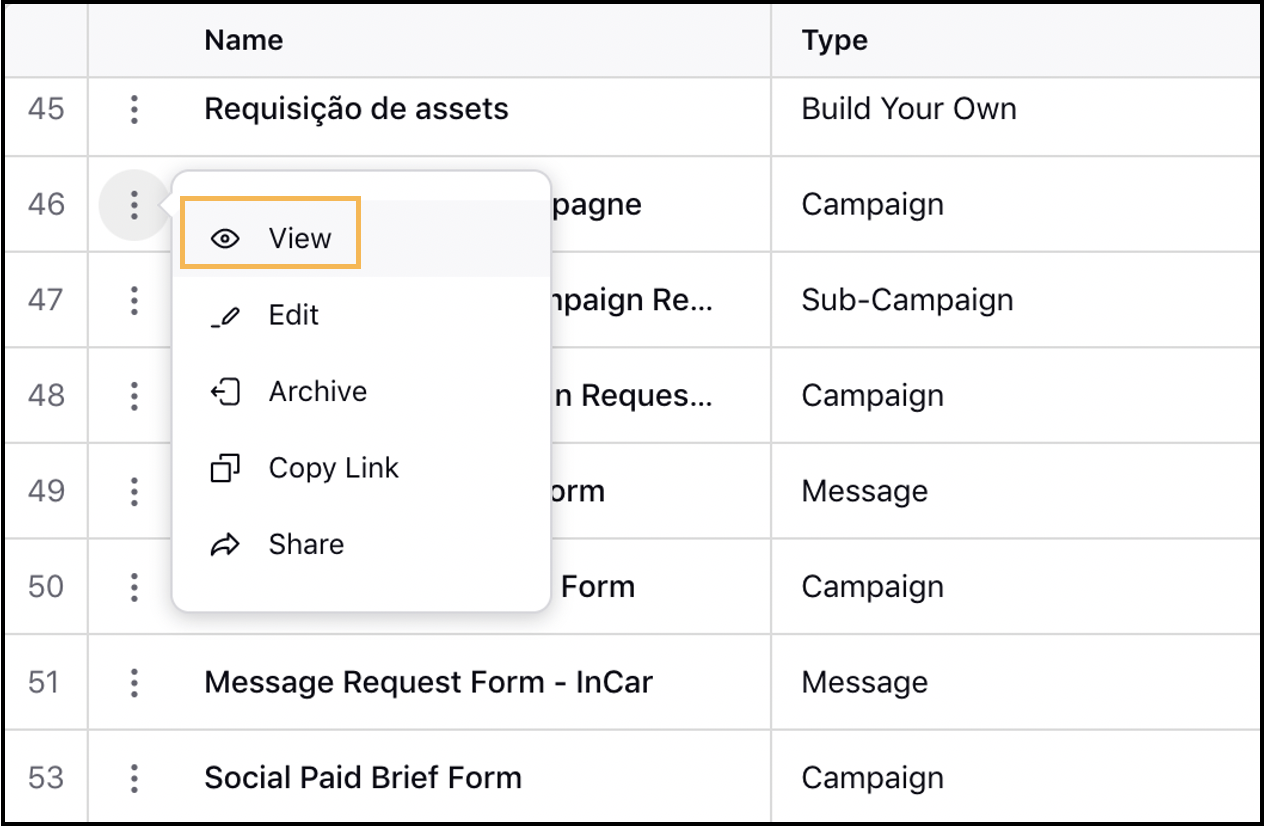
On the Request Forms window, hover over the Options icon
of the desired request form and select View. The request form will open in a new tab.
Fill in the Request Form details and click Submit. On clicking Submit, you will be redirected to the Production Dashboards.
To View Paid Brief Request Form in Production Dashboards
On submitting a response to your Paid Brief Form, you will be redirected to the Production Dashboards. All responses will be available in the Request Management dashboard.
Within the Request Management dashboard, every Paid Brief Form for which a request has been submitted is available in a separate tab of the same name as of the Paid Brief Form. All responses for a particular form will be available in this tab. The tabs will have following columns:
Request Form
Request Type
Created Time
Modified Time
Submitted By
Perform additional actions on a form such as Edit, Initiate Workflow, Create, and Delete. Opening the request form in Third Pane will allow you to view additional details such as request form’s Properties, Collaboration done on it, and Tasks associated with the request form. You can also track the changes done to the request form in the Activity tab.
On the Request Management dashboard, navigate to the desired Paid Brief Request Form's tab.
Hover over the Options icon
of the desired response to perform additional actions such as Edit, Initiate Workflow, Associate a Campaign/Sub-Campaign (will vary depending on the Form Type selected during the creation of Paid Brief Request Form), and Delete.
Click the Open Details icon
to open the request form in Third Pane.
On the Requests Third Pane, you can see additional details in Overview, Properties, Collaborate, Tasks, and Activity tabs. For more information, see Requests Third Pane.
To Associate Campaigns/Sub-Campaigns with the Form
You can Associate Campaigns/Sub-Campaigns with request forms for Paid Briefs by creating new campaigns/sub-campaigns or by selecting the existing ones. You can view these Paid Briefs on the Brief Tab of the associated campaign/sub-campaign along with details such as Budget, Start and End Date, Timezone, etc.
The option to associate campaign or sub-campaign will vary depending on the Request Type selected during the creation of the Paid Brief Request Form. Here, we are taking an example of a Paid Brief request form with Campaign as the Request Type.
Hover over the Options icon
of the desired Paid Brief Request Form and select Associate a Campaign. You can associate campaigns from the third pane as well.
Select Create New Campaign or Associate with Existing Campaign option from the pop-up.
Create New Campaign: You will be redirected to the Add Campaign window to create a campaign. On clicking Add you will be taken to the Overview tab of the created campaign.
Associate with Existing Campaign: Search and select for the desired campaign from the dropdown that appears. Navigate to Campaigns and open the associated campaign to View Details.
To View Paid Brief on the Associated Campaign
Once a campaign has been associated, navigate to campaigns to view details. Click Add Paid Initiative or View Paid Initiatives in Manager from the Brief Tab to apply your Strategy Group on a Campaign.
Switch to the Brief Tab of the associated campaign.
In the left pane of the Brief tab, you can view your Paid Briefs.
On the Paid Brief section in the middle, view additional details. For more information, see paid brief details below.
Click Manage Briefs to add other briefs to your campaign.
Paid Brief Details
Term | Description |
Strategy Group Name | View the name of the Paid Brief. |
Channels | View the channels associated with the paid brief. |
Budget | View or change the budget for the paid brief as per your requirements. |
Timezone | View the timezone of the paid brief. |
Start Date | View the start date of the paid brief. |
End Date | View the end date of the paid brief. |
View Paid Initiatives in Manager | Click to view the list of already existing paid initiatives within the Ads Manager. |
Click to Add a new paid initiative. |
To Add Paid Initiatives
You can add paid initiatives from the Brief tab of the associated campaign. You can compose Facebook, Twitter, LinkedIn, Pinterest, Snapchat, LINE, TikTok, and Nextdoor Ads from the Ads Composer, allowing you to create the same ads through Sprinklr that you can create on various channels.
In the top right corner of the Strategy Group section of the Brief tab, click Add Paid Initiative.
On the Create New Paid Initiative pop-up window, select an Ad Account.
Select an Objective from the available options. Here, we are selecting Page Likes.
Click Proceed in the bottom right corner. The Campaign Name and Details pane will open on the right.
On the Campaign Name and Details pane, fill in the required details.
Switch to the Strategy tab. Here, you can view your Paid Brief already added under the Strategy Group field along with Pacing Control details such as Pacing mode, Lifetime Budget, Daily Budget, Allow campaign pausing, etc. Also, you can Create and Apply Smart Rules.
Click Review Changes in the bottom right corner.
On the Review Changes window, review the changes made to the Campaigns, Ad Sets, and Ad-Variants. If you want to make any edits to the changes, click Edit Changes in the Ads Manager.
After reviewing, click Apply Changes in the bottom right corner. Once you have successfully applied the changes, you will be redirected to the Campaign Details window of the associated campaign.
On the Brief Tab of the associated Campaign's Details window, you can view your added Paid Initiative.
Hover over the Paid Initiative to perform quick actions such as Edit and Clone.
Click View Paid Initiative in Ads Manager to view your paid initiative in the Ads Manager window.
The Paid Initiative will open in the Campaigns tab of the Ads Manager window. Your Paid Brief will be selected as the Strategy Group filter by default.
Hover over the Options icon
to perform additional actions on the Paid Initiative. For more details, see Paid Initiative — Action Descriptions below.
Paid Initiative — Action Descriptions
Action | Description |
Go To | Click to view the Ad Sets or Ads associated with the respective campaign. |
Clone | Click to make copies of the campaign. You can select from:
|
Use as Template | Click to clone a template by using either its initials or current state as a template in the Ads Composer. |
Create New Ad Sets & Ads | Click to add Ad Sets or Ad Variants to the Campaign. |
Apply Rule | Click to apply a rule to your campaign. |
Click to apply smart rules to your campaign. | |
View Insights | Click to view the reporting insights for the respective Campaign in the Reporting Dashboard. |
Copy Links | Click to copy the link to your Campaign. |
View Campaign Summary | Click to view the summary of your campaign. |
Edit in Composer | Click to edit your Campaign in the Ads Composer window. |