Setting Up Triggered SMS Survey Distribution
Updated
Creating an SMS distribution allows you to send survey links directly to recipients through text message. You can customize settings such as distribution details, message content, link expiration, and response limits. You can also configure reminders and target specific audiences, making SMS a fast, flexible, and effective way to boost survey participation.
You can refer to this article for detailed information on business problems solved.
Prerequisites
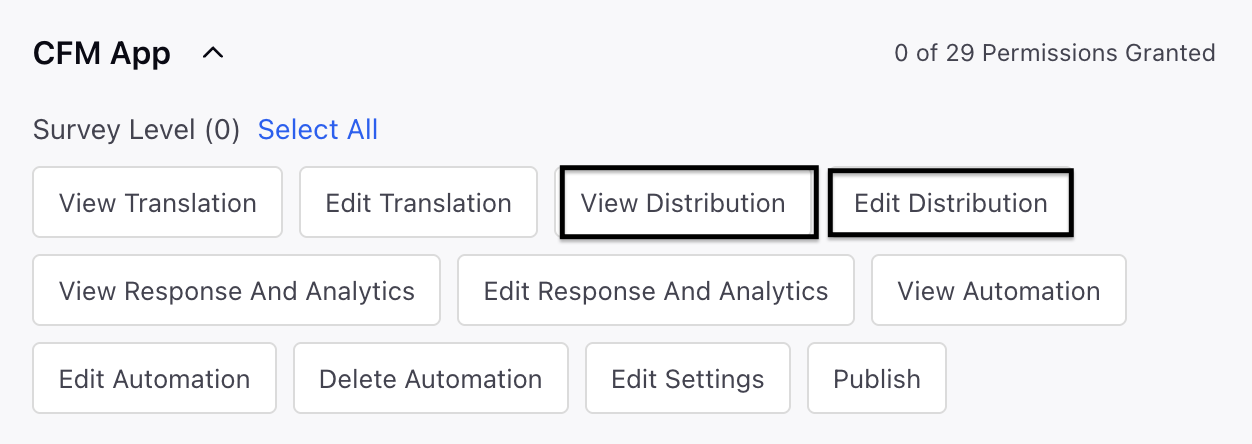
You need to have Edit and View Distribution permissions in order to access SMS Distribution.

Setting up Triggered SMS Distribution

Follow this article for the steps to create SMS distribution.
Choose the Trigger-Based option while scheduling the distribution:
After you have prepared your SMS content, thank you or reminder messages, settings, and survey, you can move on to the ‘Schedule’ page to dispatch SMS to your customers.
Type: Select Trigger Based from the dropdown.
Sender Account: Select the SMS account through which you want to send the SMS.
Link Expiry Details:
Start Date and Time: You can select a start date and time.
Expiration Type: Select the expiration type from the dropdown.
Static: Set a fixed expiration date and time, after which the survey link will no longer be accessible.
Dynamic: Set a fixed expiration date and time, after which the survey link will no longer be accessible.
Choose the value for Expires After and specify the hours or days.
Limit submissions per respondent: You can adjust the limit on submissions for each respondent. Choose the maximum number of submissions permitted and also toggle to reset the limit after a specified time period.
Example: Adjust the limit to "a value" on a daily, weekly, or monthly schedule.
Distribution Tagging: You have the ability to set up custom tags for reporting associated with this distribution. You can select the custom field and its value. Each custom field you create will result in a new column appearing in the Responses Tab and click Create.
Go to Create Trigger Workflows page and click Create Workflow. Once you choose Create from a Trigger-Based Distribution, you will be prompted to configure a workflow, either right away or at a later date.

Note: Creating a workflow right away is optional, workflows can be set up separately from distributions. All trigger-based distributions will automatically appear as available events when configuring a workflow.
Preview
While setting up an SMS distribution, you can use the preview feature to see how your message will appear on recipients’ devices, ensuring it’s visually optimized and correctly formatted before sending. For a full test, including message delivery, timing, reminders, and link functionality, create a test distribution targeting a small group of test phone numbers. Review the entire recipient experience, including reminders and thank-you messages. Once everything is verified, simply clone the tested distribution, make any necessary adjustments, and send it to your intended audience.
Best Practices
Preview Messages: Use the preview feature during setup to check formatting and ensure the message appears correctly on recipients’ devices.
Be Clear and Concise: Keep messages short, focused, and within character limits to clearly communicate your intent.
Add Personalization: Use placeholders like name or location to make messages feel more relevant and engaging.
Time It Right: Schedule messages when your audience is most likely to respond, considering time zones and user habits.
Ensure Compliance: Include an unsubscription option and follow privacy regulations to stay compliant.
Test Links: Double-check that all survey links are working and direct users to the correct survey.
Set Smart Reminders: Use reminders strategically, enough to boost responses, but not so many that they overwhelm recipients.