Add a Viber Service Account
Updated
You can add a Viber Service account in Sprinklr to utilize its messaging features for sending business messages to your customers. Viber Service messaging supports both one-way and two-way communication.
With one-way messaging, you can send messages to your customers, but they cannot reply. With two-way messaging, customers can respond to your messages, enabling interactive conversations.
Prerequisites
Before you begin, ensure that the following prerequisites are met:
Infobip account: Ensure you have an active Infobip account.
 Note: Infobip account is required because Sprinklr relies on Infobip’s API infrastructure to send and receive messages over the Viber channel.
Viber Service Sender Name: The Sender Name mentioned in your Infobip account. You can find it in the Channels section.
API Key and Infobip Base URL: Available in the Developer Tools section of the Infobip Console.

Raise a Support Ticket: To enable this feature in your environment, contact Sprinklr Support at tickets@sprinklr.com and include your Infobip Base URL in the request.
Steps to Add a Viber Service Account
Step 1: Whitelist Viber Service App
Before you add a Viber Service account, it is essential to whitelist the Viber Service app in Sprinklr. To whitelist the Viber Service app, follow these steps:
1. Click the New Page (+) icon. Under Sprinklr Social > Listen, click Owned Social Accounts.
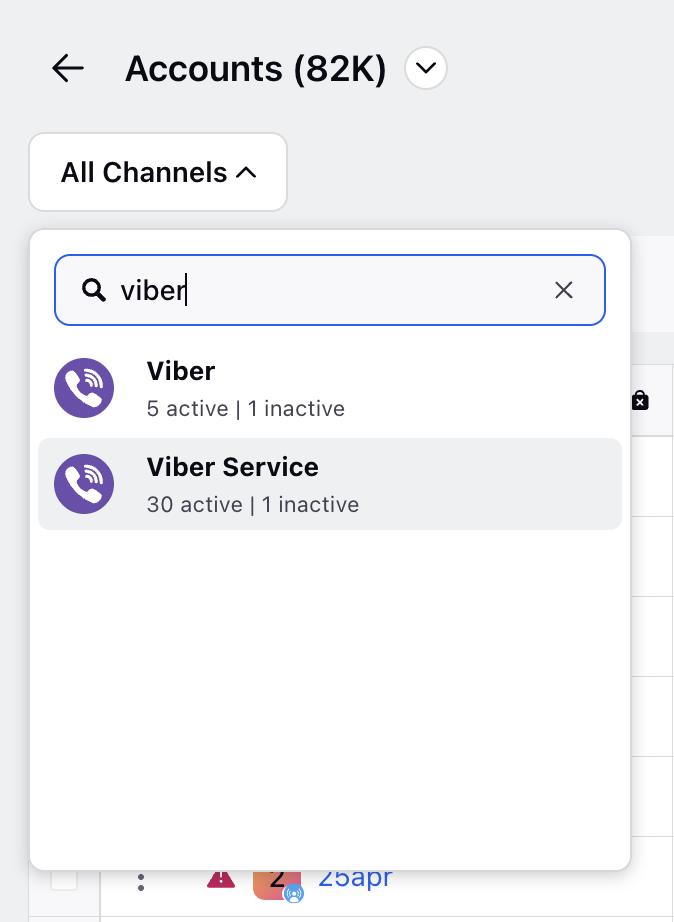
2. On Accounts page, from the All Channels dropdown, search for and select Viber Service.
3. Click the Viber Service Actions icon at the top-right corner.
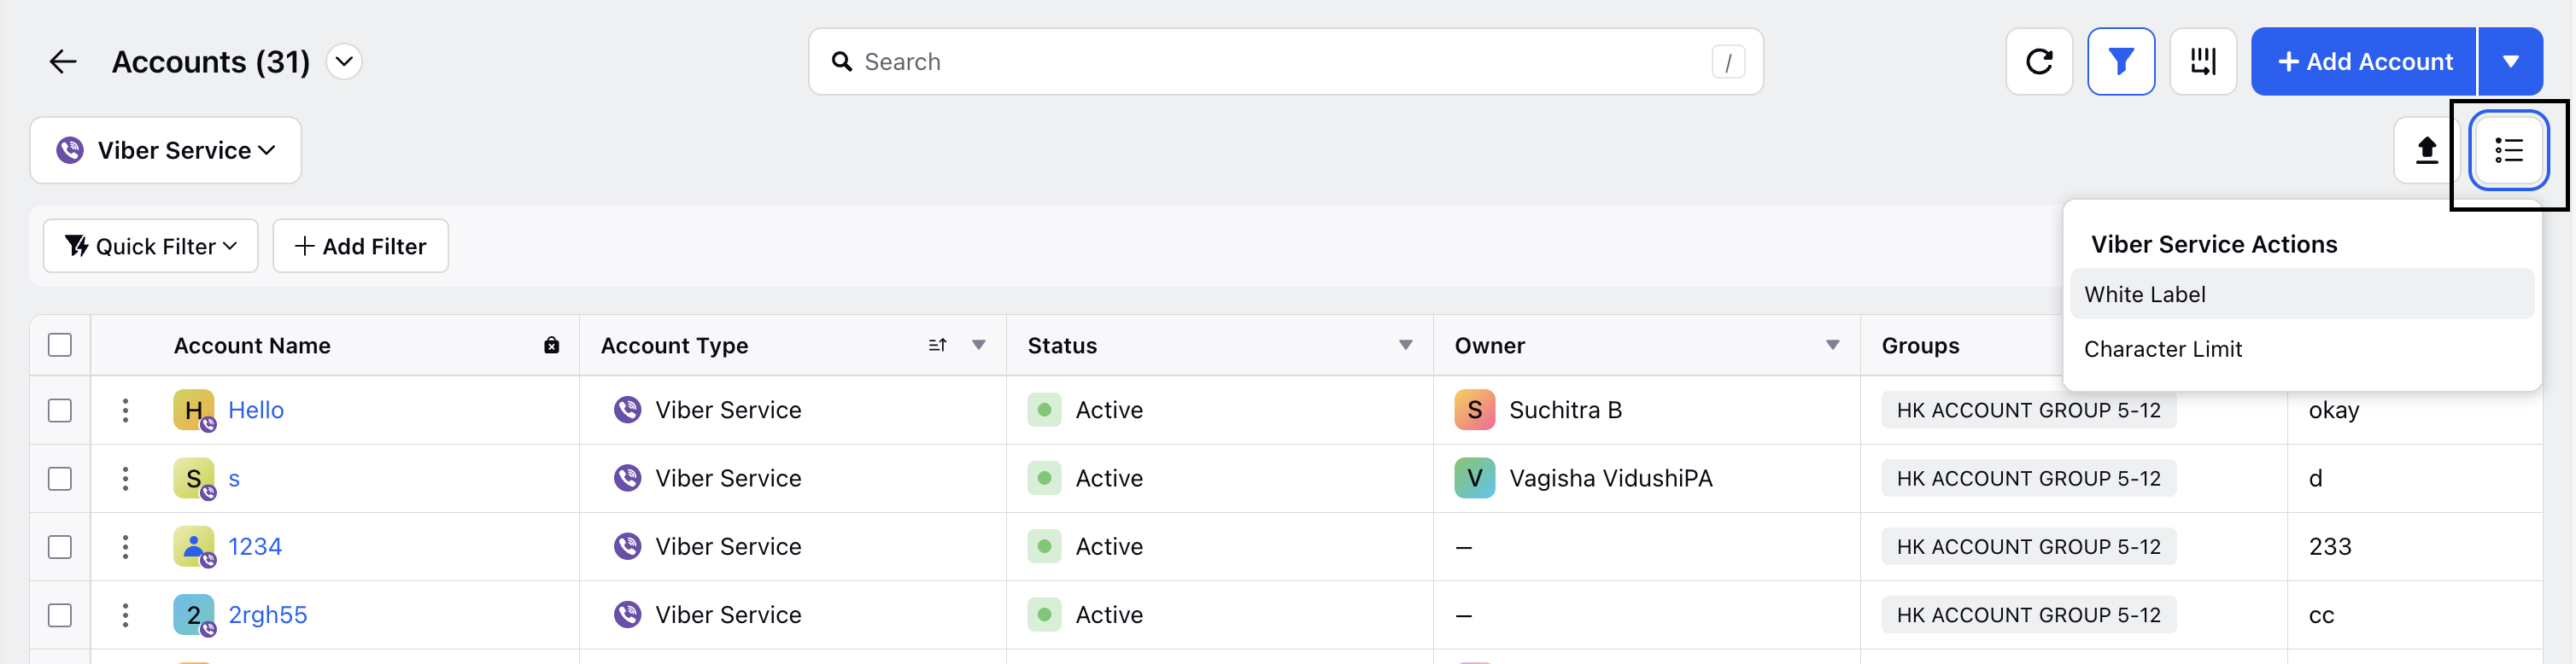
3. Click White Label.
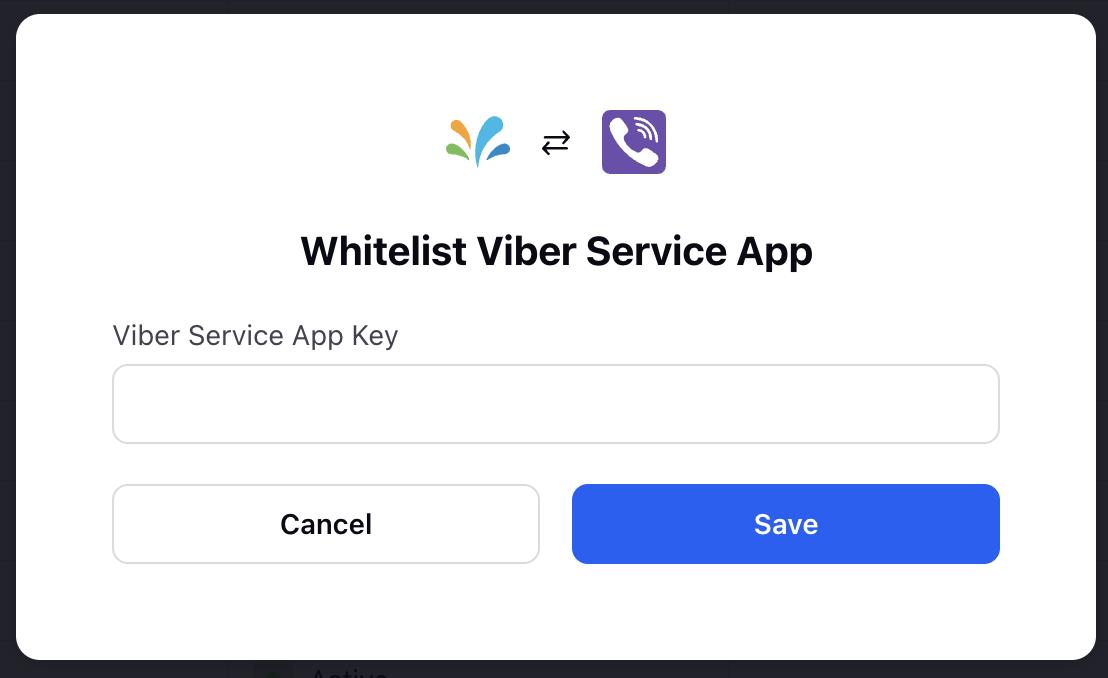
4. On the Whitelist Viber Service App window, enter the Viber Service App Key that you got from the Infobip Developer Tools and then click Save.
You have successfully added a Viber Service account in Sprinklr.
Step 2: Add a Viber Service Account
To add a Viber Service account in Sprinklr, follow these steps:
1. Click the New Page (+) icon. Under Sprinklr Social > Listen, click Owned Social Accounts.

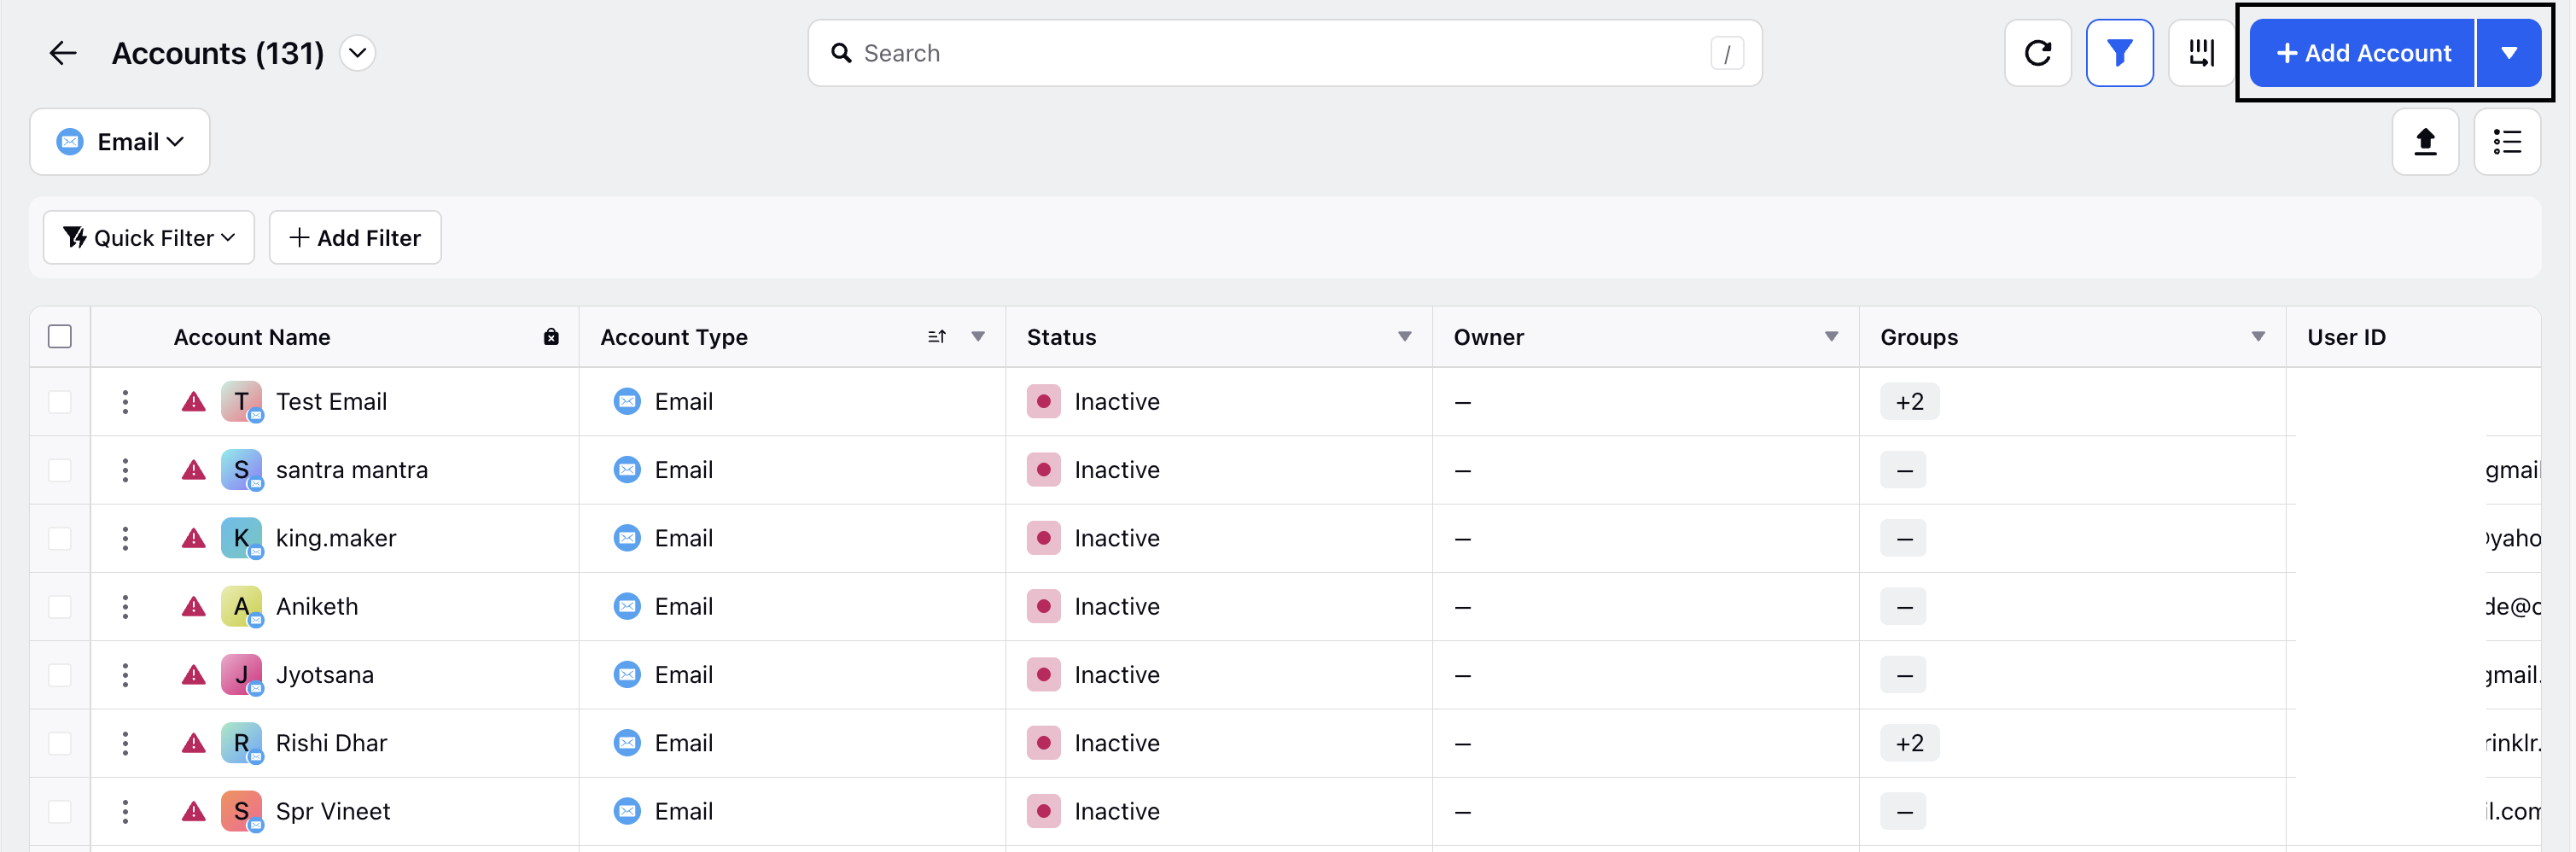
2. In the Accounts window, click Add Account in the top-right corner.
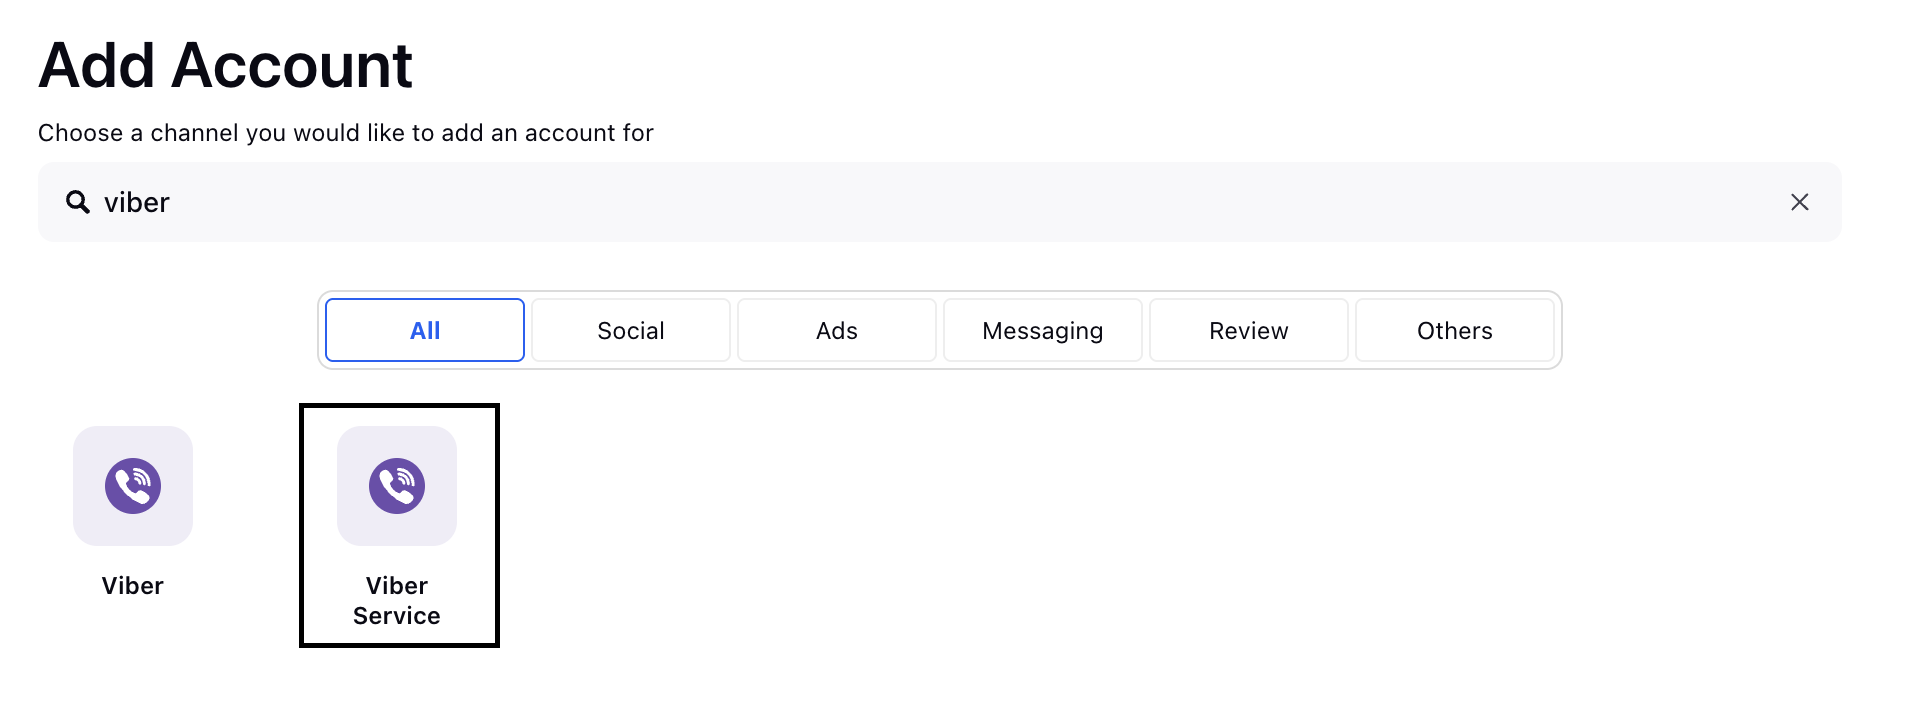
3. In the Add Account window, search and select Viber Service from the list of channels.
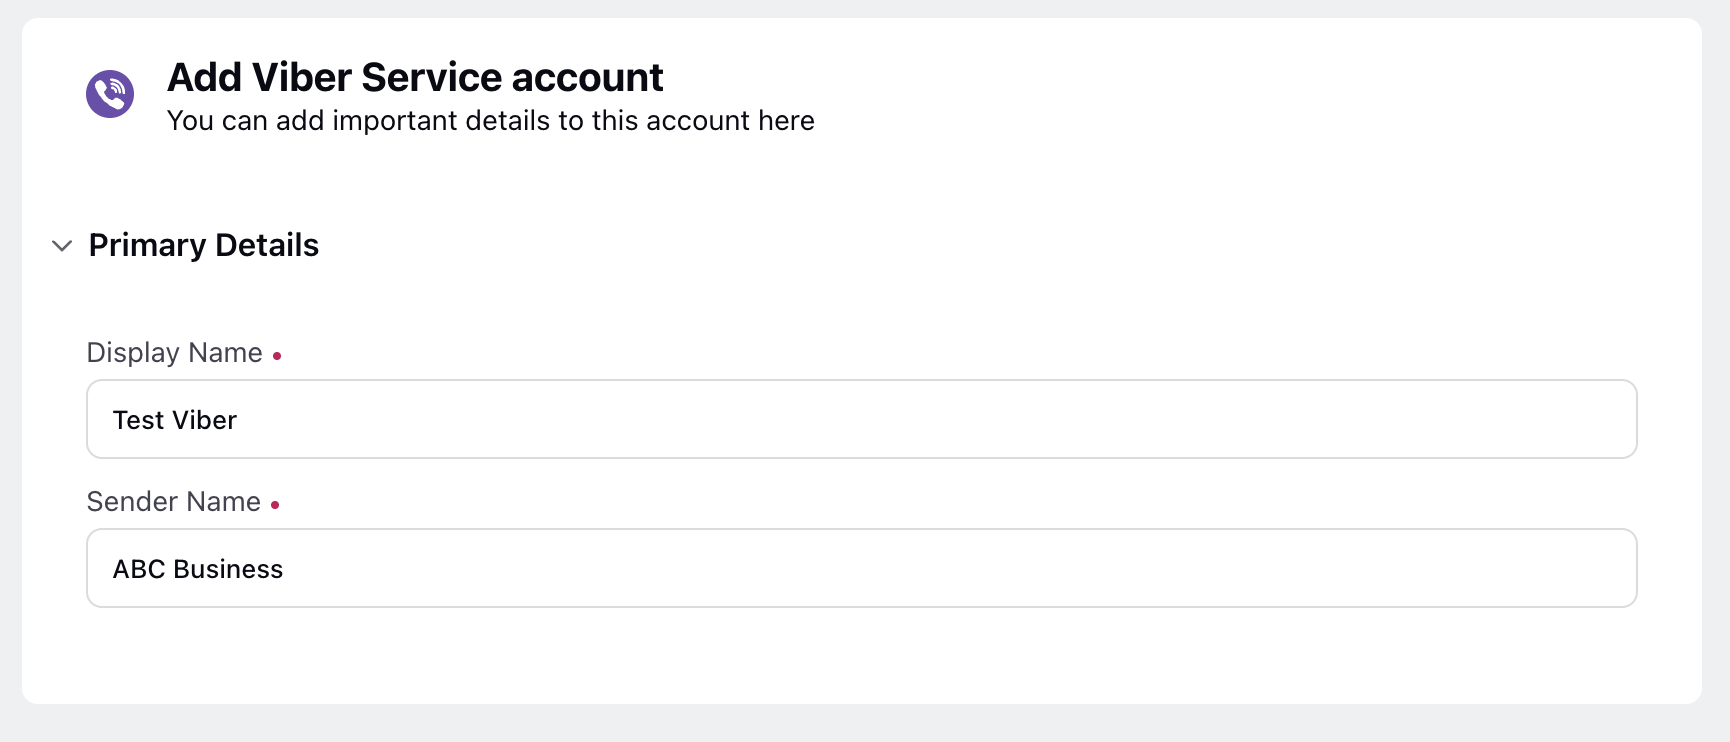
4. In the Add Viber Service account window, enter the following primary details.
Display Name: The name of the Viber Service account in Sprinklr.
Sender Name: The sender name you get from the Infobip account.
5. Click Save in the bottom-right corner. The Update Account window is displayed.
6. On the Update Account window, you can do the following:
Section Name | Description |
Account Details | Edit basic details of the Viber Service account. This includes:
|
Groups to include Account in | To add the Viber Service account to account groups, select the desired groups from the dropdown menu. |
Permissions | Provide permissions for specific channel actions to selected users and user groups who should have access to the account. |
Share this Account Across Spaces | Choose the Workspaces that you would like the account to be visible in. You can also share across all Workspaces to make the account visible globally within your Customer environment. |
Subscribers | Select users or user groups to subscribe them to receive account notifications. |
Timezone | Select a country and time zone to associate with the account if desired. |
Primary Details | Shows the service type, Infobip Balance, and Infobip Free Message Count. |
Properties | Set any account properties as needed. |
7. Click Save in the bottom-right corner.
Next Steps